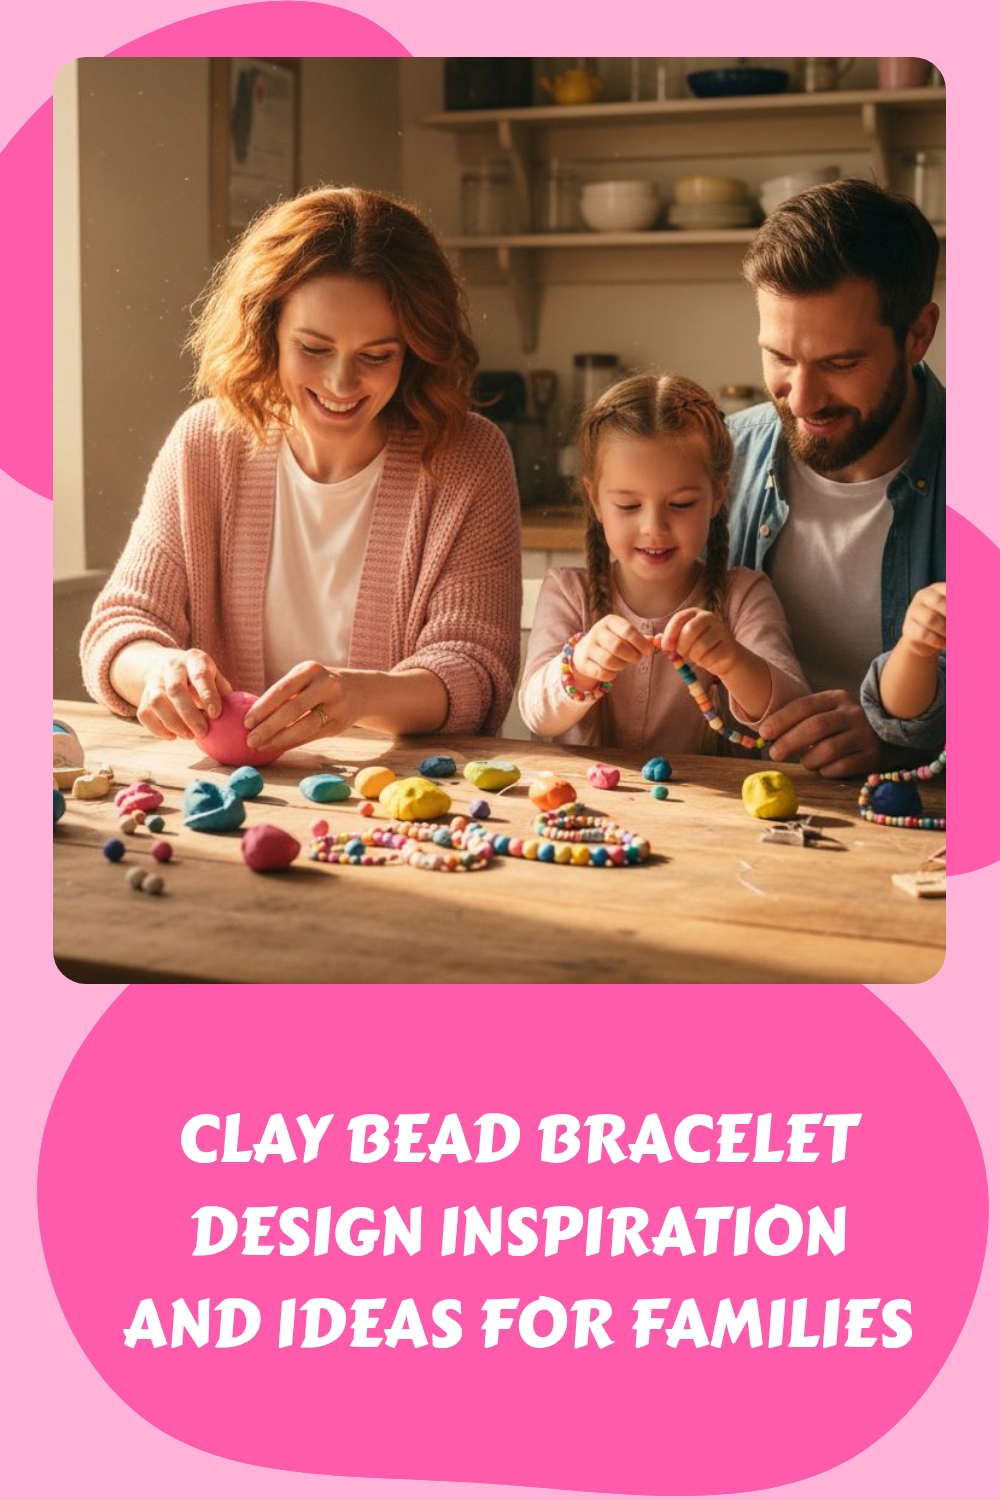
Clay Bead Bracelet Design Inspiration and Ideas for Families
Every american family loves activities that bring everyone together and spark creativity. Crafting clay bead bracelets not only encourages teamwork but also allows each person to showcase their unique style. With over 60 percent of parents searching for hands-on projects that boost bonding and fine motor skills, setting up the right craft space makes all the difference. This simple guide helps you organize supplies, inspire original designs, and create memorable keepsakes every family member will be proud to wear.
Table of Contents
- Step 1: Gather Supplies and Set Up a Craft Space
- Step 2: Choose Colors and Plan Fun Bracelet Patterns
- Step 3: String Beads and Assemble Unique Designs
- Step 4: Secure Ends and Personalize with Charms
- Step 5: Check Fit and Share Your Finished Creations
Quick Summary
| Key Point | Explanation |
|---|---|
| 1. Gather essential crafting supplies | Collect polymer clay, tools, and a clean workspace to ensure a smooth crafting experience. Organize everything for easy access and set up in a well-lit area. |
| 2. Choose creative color schemes | Select colors that reflect your family’s personality and design bracelet patterns together. Consider themes or individual palettes for a personalized touch. |
| 3. Assemble beads thoughtfully | Lay out beads according to your design and string them on elastic cord, ensuring to leave room for a secure knot. Mix shapes and colors for visual interest. |
| 4. Personalize with charms | Add small charms representing family members and interests to enhance the bracelet’s uniqueness. Secure knots carefully to maintain durability. |
| 5. Check fit before sharing | Ensure all bracelets fit comfortably and look appealing. Celebrate by taking photos to highlight your collective creativity and shared memories. |
Step 1: Gather Supplies and Set Up a Craft Space
Creating a fun and organized clay bead bracelet crafting area starts with gathering the right materials and designing a workspace that sparks creativity. You’ll want to collect everything you need before diving into your family project, making the experience smooth and enjoyable.
Start by assembling your essential supplies. You’ll need polymer clay in multiple colors, clay cutting tools, a rolling pin or pasta machine for flattening clay, a work surface like a smooth ceramic tile or glass cutting board, and some basic tools like craft knives, rulers, and toothpicks. Consider getting cool craft supplies for kids to make the project more exciting. Pick a dedicated crafting area with good lighting and a flat surface where you can spread out your materials without interruption. Cover your workspace with a disposable plastic tablecloth or silicone craft mat to protect surfaces and make cleanup easier.
Pro tip: Keep wet wipes or hand towels nearby for quick cleanup, and consider setting out small containers to organize your clay colors and tools. This preparation will help your family enjoy a stress free crafting experience and keep your creative space tidy and inviting.
Step 2: Choose Colors and Plan Fun Bracelet Patterns
Designing clay bead bracelets is all about unleashing your family’s creativity and personal style. This step transforms a simple craft project into a chance for everyone to express themselves through colorful patterns and unique combinations.
Start by gathering your polymer clay colors and spreading them out where everyone can see and touch them. Pick a color palette that speaks to your family’s personality maybe matching favorite sports team colors or choosing shades that complement each other. When designing gifts for artistic teens, encourage each family member to select their own color scheme. Consider creating themes like rainbow gradients, earth tones, or matching friendship bracelets with coordinated patterns. Sketch out basic design ideas on paper first simple geometric patterns like stripes, chevrons, or alternating color blocks can look stunning.
Pro tip: Take photos of your color combinations before mixing clay to remember successful palettes. This helps you recreate favorite designs and learn from each crafting session. Remember that imperfections make handmade bracelets special every unique bead tells a story of creativity and family time.
Step 3: String Beads and Assemble Unique Designs
Now comes the exciting part of transforming your carefully crafted clay beads into beautiful bracelets that tell a unique family story. This step is where creativity truly comes to life as you begin assembling your personalized jewelry pieces.
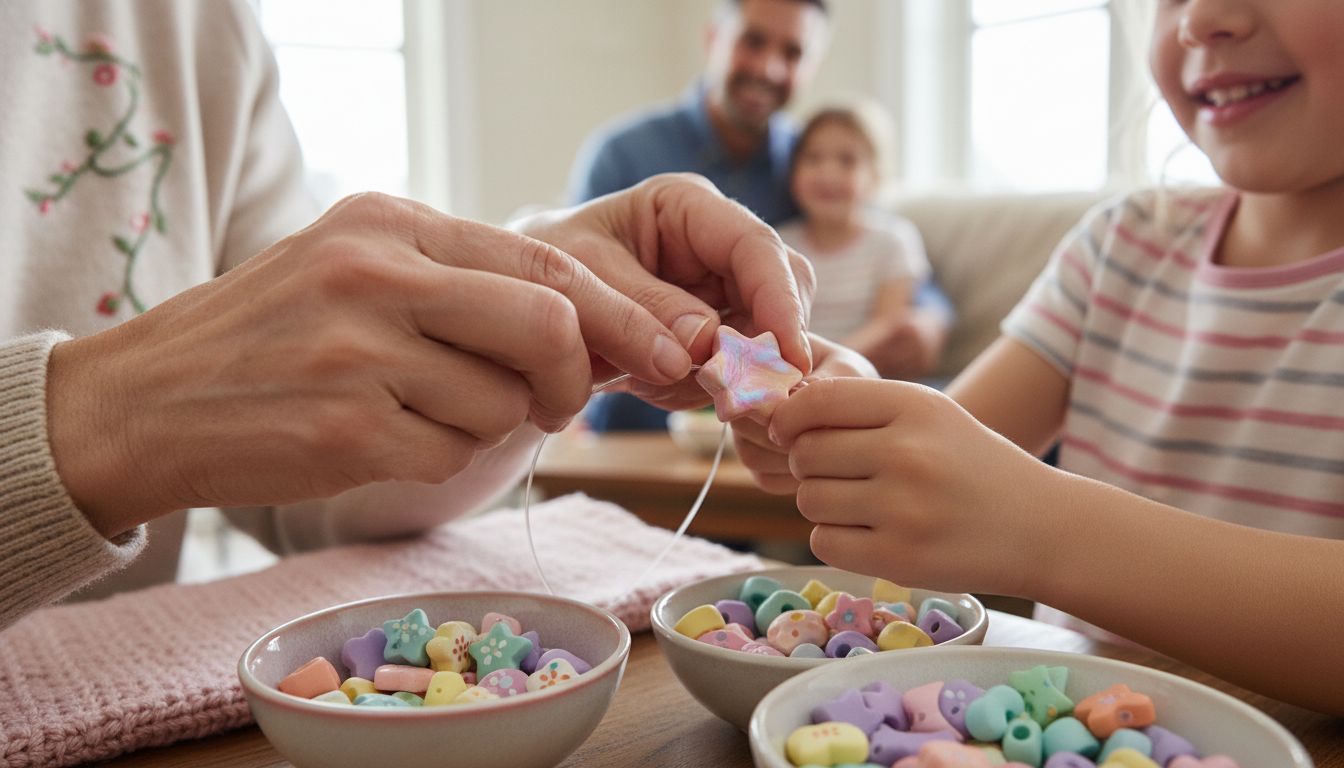
Start by laying out your beads in the pattern you designed earlier. Exploring stunning clay bead bracelet techniques can help you create more intricate designs. Choose a sturdy elastic cord or bracelet wire that matches the thickness of your beads. Measure your wrist and add about an inch for comfortable movement. Begin stringing your beads carefully sliding them onto the cord one by one. Mix different sizes and shapes to add visual interest play with alternating colors or create gradient effects that catch the light. When you reach the desired length, leave enough cord to tie a secure knot that will hold your bracelet together.
Pro tip: Use a small piece of clear tape at the end of your cord to make threading easier avoid fraying and create a makeshift needle. Double knot your bracelet for extra security and trim any excess cord close to the knot. Each bead represents a moment of family creativity so take your time and enjoy the process of bringing your unique design to life.
Step 4: Secure Ends and Personalize with Charms
You are now in the final stage of creating a memorable clay bead bracelet that reflects your family’s unique style and creativity. This step transforms your handcrafted piece into a personalized keepsake that everyone will treasure.
Clay bead bracelet personalization techniques offer numerous ways to add special touches to your design. Use jump rings to attach small meaningful charms that represent each family member or their interests. You might add a tiny heart for love, a star for dreams, or a musical note for a family musician. Secure the bracelet ends by carefully knotting the elastic cord multiple times for strength. If using wire, crimp beads can provide a professional finish. Consider adding a small lobster clasp or extender chain to make the bracelet more adjustable and comfortable.
Pro tip: Before making your final knot, lay the bracelet flat and ensure all beads are facing the right direction. A drop of clear fabric glue on the knot can provide extra security and prevent unraveling. Remember that imperfections make your bracelet unique each little detail tells a story of your family’s creative journey.
Step 5: Check Fit and Share Your Finished Creations
Congratulations on completing your unique clay bead bracelets! This final step is all about making sure your handmade jewelry looks and feels perfect while celebrating your family’s creative achievement.

Beautiful clay bead bracelet design tips recommend carefully checking the fit before calling your project complete. Try on each bracelet to ensure it slides comfortably over your hand without being too tight or too loose. Exploring bracelet sizing techniques can help you make minor adjustments if needed. Take some fun family photos showcasing everyone wearing their personalized bracelets or create a small display area to highlight your collective creativity.
Pro tip: Natural light works best for photographing your bracelets to capture all the intricate details and vibrant colors. Consider creating a shared digital album or social media post where each family member can share the story behind their unique design. Remember that these bracelets are more than just accessories they are wearable memories of a special crafting moment you shared together.
Create Lasting Family Memories While Staying Organized and Inspired
Crafting clay bead bracelets is more than just a fun project. It brings families together to express creativity and build cherished memories. Yet, finding the right balance between engaging family activities and managing a busy home can feel overwhelming. The article highlights challenges like assembling supplies smoothly and designing personalized bracelets without stress. These moments call for a clutter-free, well-organized craft space and easy-to-follow planning strategies.
Discover how to transform your home environment and family time with practical tips designed for busy families like yours. From smart organization hacks to thoughtful time management tools, Its a Southern Life Yall offers solutions that help you create a peaceful crafting area and make creativity part of your everyday life. Ready to turn those clay bead bracelet ideas into joyful family traditions without the mess or hassle? Explore more on simple living strategies and keep your creative spirit flowing with ease.
Frequently Asked Questions
What supplies do I need for making clay bead bracelets as a family?
To make clay bead bracelets, you will need polymer clay in various colors, cutting tools, a rolling pin or pasta machine, and a work surface like a ceramic tile. Start gathering these materials to prepare your crafting area and ensure a fun family project.
How can I design unique color patterns for our clay bead bracelets?
Design unique color patterns by spreading out your polymer clay colors and selecting combinations that reflect your family’s style. Consider themes like rainbow gradients or matching colors, and sketch out your designs on paper before beginning to mix and shape the clay.
What techniques can I use to string the clay beads onto the bracelet?
To string clay beads, lay them out in your desired pattern and use a sturdy elastic cord or bracelet wire. Measure your wrist and leave enough cord for a secure knot at the end, ensuring the beads are spaced comfortably for the final bracelet.
How do I personalize clay bead bracelets with charms?
You can personalize your clay bead bracelets by attaching small charms that represent your family members or their interests. Use jump rings to add these charms, and secure the ends of your bracelet by knotting the cord multiple times for strength.
How can I ensure the clay bead bracelets fit comfortably?
To ensure a comfortable fit, try on each bracelet to check that it slides over your hand easily without being too tight or loose. Make any minor adjustments before finalizing your design, ensuring a perfect fit for each family member.
What should I do after finishing our clay bead bracelets?
After finishing your clay bead bracelets, take some fun family photos to celebrate your creations, capturing the colors and details of your work. Consider creating a shared digital album to remember the crafting day and showcase your unique designs.
Recommended
- 7 Best Bridesmaids Gifts for Busy Families to Cherish
- How to Use Inspirational Quotes to Build Stronger Family Values
- 7 Best Ideas for White Elephant Gifts for Families
- 7 Smart Birthday Gifts for Gals Every Family Can Choose
- Bracelet En Pierres : Guide Complet et Explications – Boutique Lithotherapie
Want a little more help with this? I made a free Mental Load Kit that pairs right up with this post — y’all can grab it over on my Free Resources page.