Mason Jar Christmas Luminaries from Dollar-Store Jars (Three Easy Finishes)
The short answer
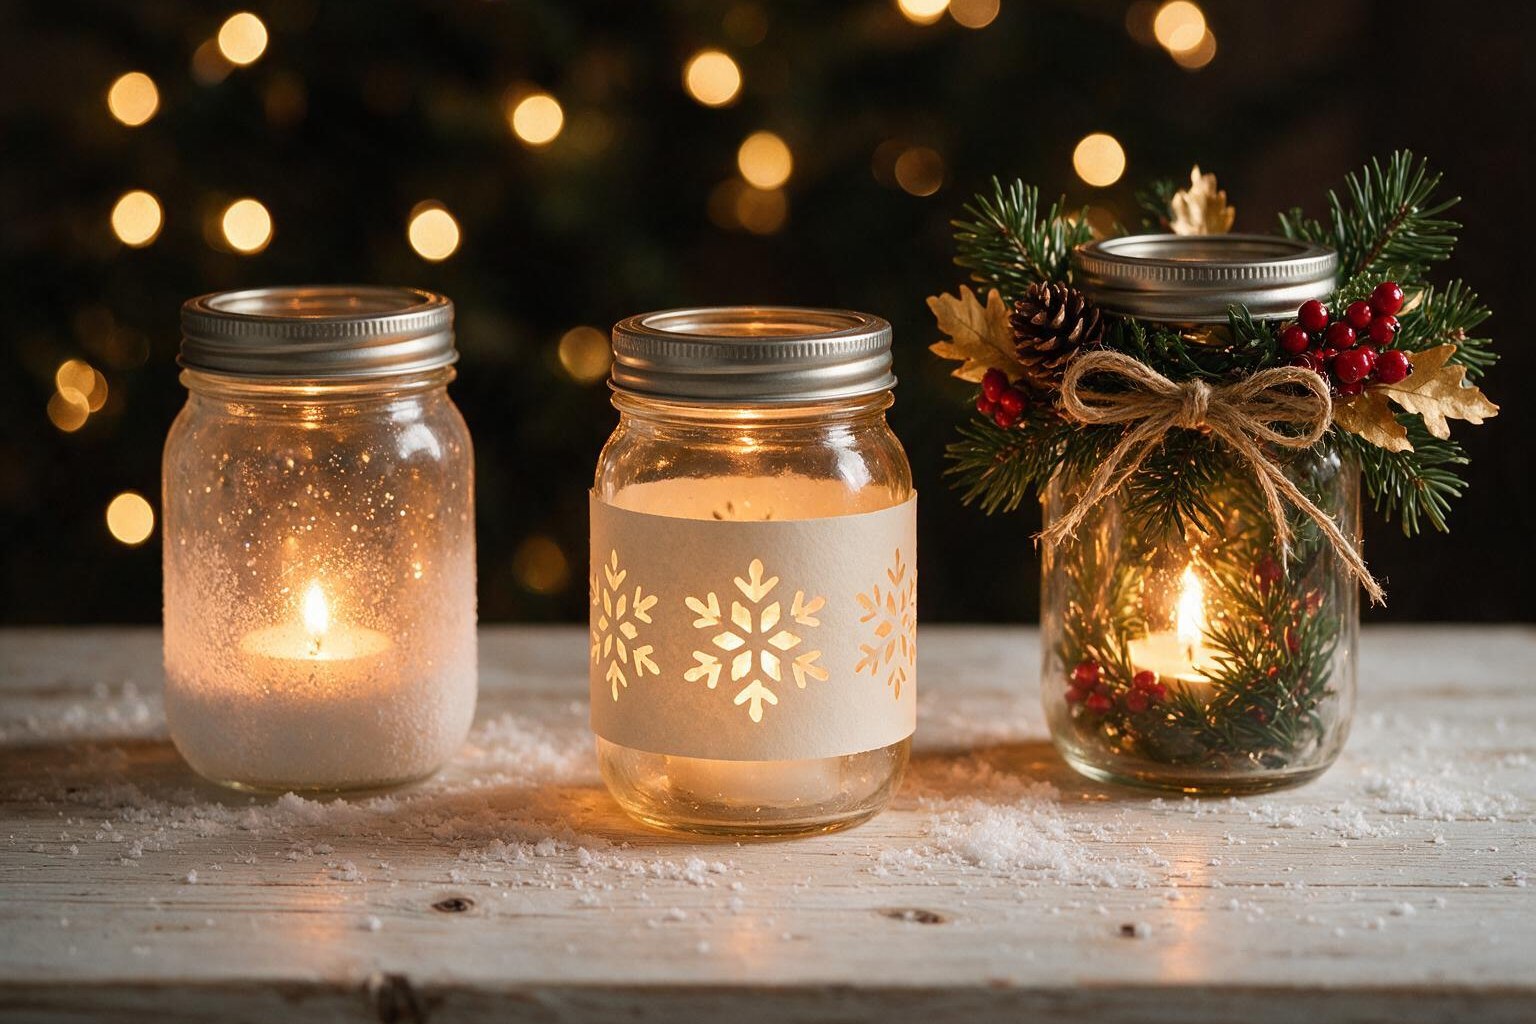
To make mason jar Christmas luminaries, start with clean dollar-store glass jars and pick one of three finishes: a frosted “snow” coat of craft glue and Epsom salt, a printed paper snowflake wrap, or greenery and fairy lights tucked inside. Tie twine at the neck and light each jar with a battery tea light or fairy lights, never a real flame. Each finish is about 15 minutes of hands-on time, and three jars run roughly $8 to $12 in supplies at the time of writing.
Hey, y’all!
Each of these three finishes is 15 minutes of hands-on time, and you can stop after one jar.
Picture the first dark evening of December. Supper is done, the dishes are mostly done, and the house is doing that thing where it is clean enough but does not feel like Christmas yet. The tree is not up. The boxes are still in the attic. And you do not have a free afternoon to haul it all down.
This is the craft I reach for on that evening. Mason jar Christmas luminaries are the project I teach in my Mason Jar Magic workshop, and I chose it for a reason: one plain glass jar, one little light, and the room changes. You do not need to be crafty. You need a jar, a few dollar-store supplies and a kitchen table.
What you need (and what it costs)
Everything here can come from a dollar store, the craft aisle of a big-box store, or the back of your own cabinet. Stock changes by store and by week, so swap freely.
- Glass jars, pint or quart. Dollar-store jars work beautifully, and so does a washed pasta-sauce jar with the label soaked off.
- Battery tea lights and one or two short strings of battery fairy lights.
- Jute twine.
- White craft glue or decoupage glue and a foam brush.
- Epsom salt (the plain kind, from the pharmacy aisle).
- Faux pine and berry picks, and a small pinecone if you have one.
- Plain printer paper and clear tape for the snowflake wrap.
Total: about $8 to $12 for three jars at the time of writing, less if you already own the glue, the twine or the jars. One bag of Epsom salt and one roll of twine will do a dozen.
Before you start any finish: peel the stickers, wash the jars in hot soapy water and dry them well. Glue and tape both hold better on clean glass.
Finish one: the frosted snow jar
This is the one to start with if you have never made anything. It forgives everything.
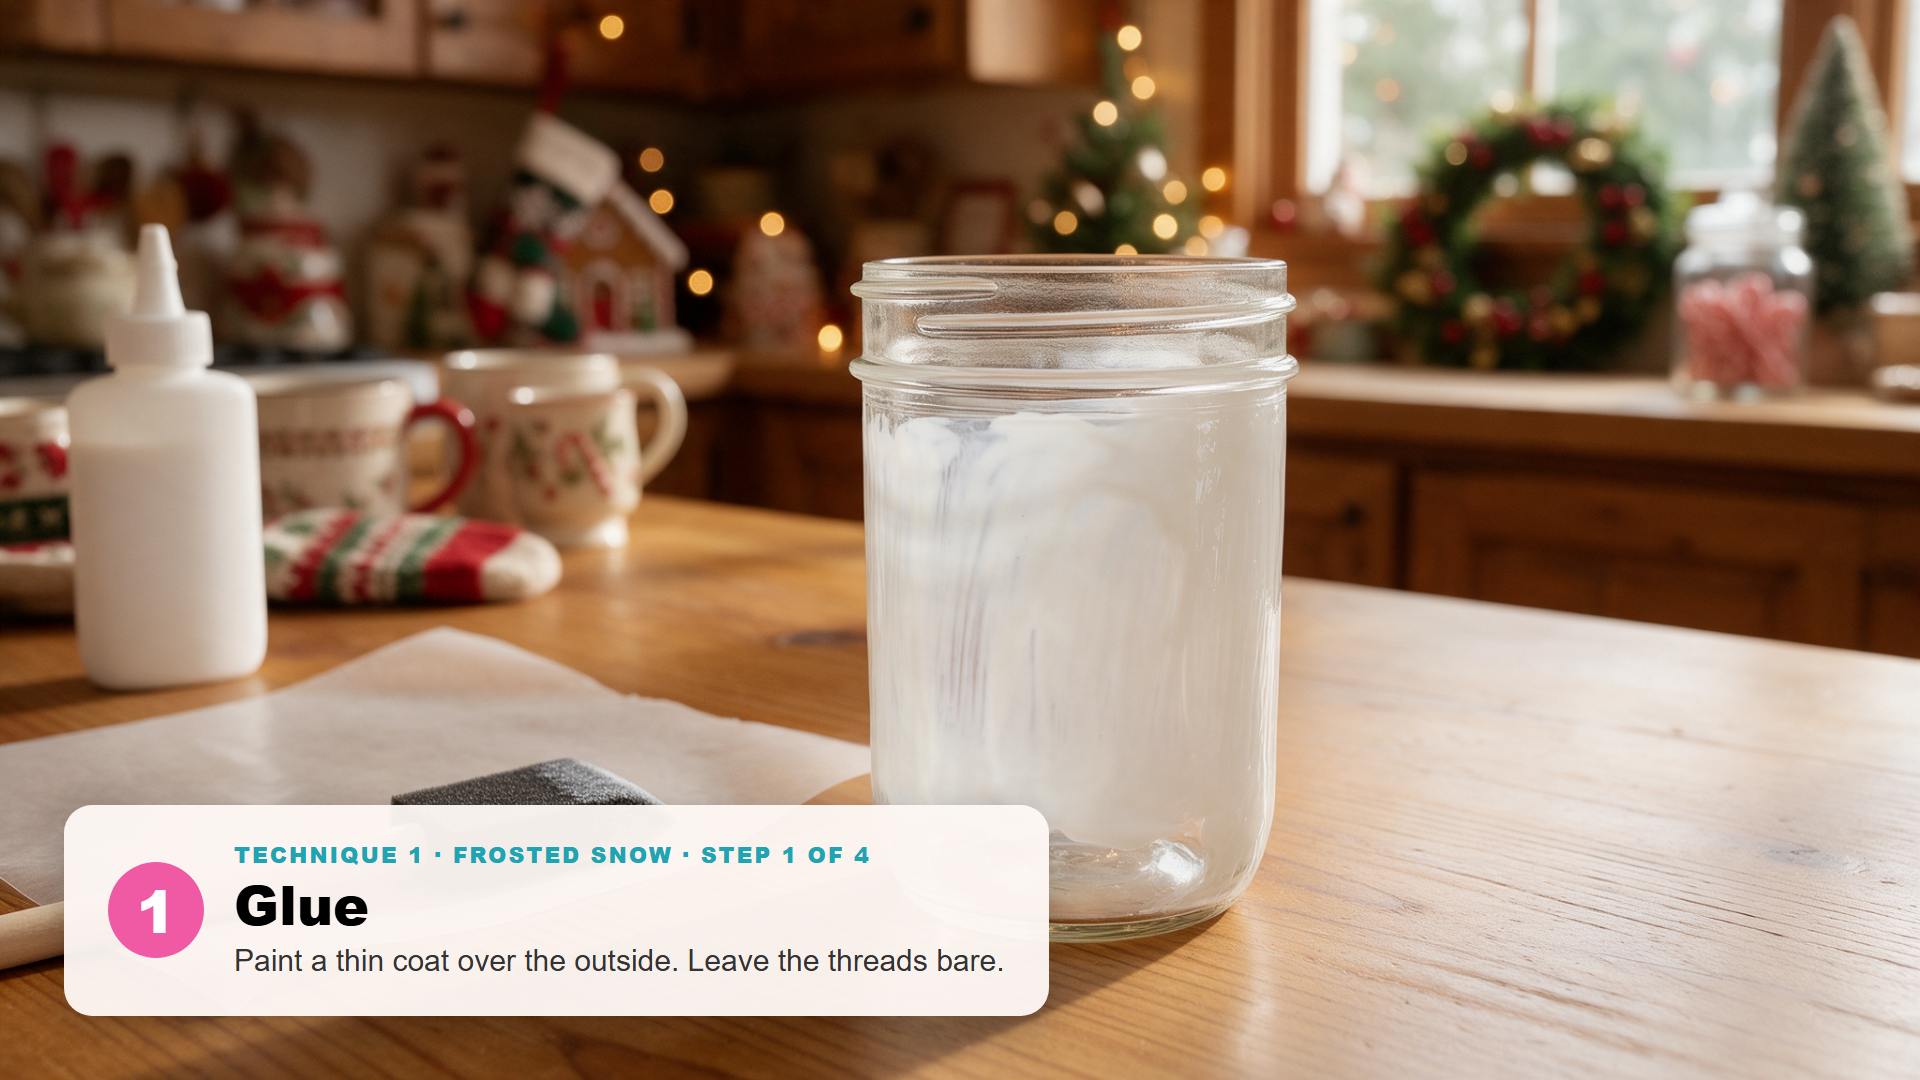
- Glue. Brush a thin, even coat of glue over the outside of the jar. Leave the threads at the top bare so the twine has a clean place to sit.
- Roll. Pour Epsom salt into a shallow dish and roll the jar through it, or spoon the salt over the jar while you turn it. Press gently on any thin spots.
- Dry. Stand the jar upright on wax paper and leave it alone. An hour is usually enough; overnight is better. This part does not need you.
- Glow. Wrap twine around the neck two or three times, tie a simple bow, and drop in a battery tea light.
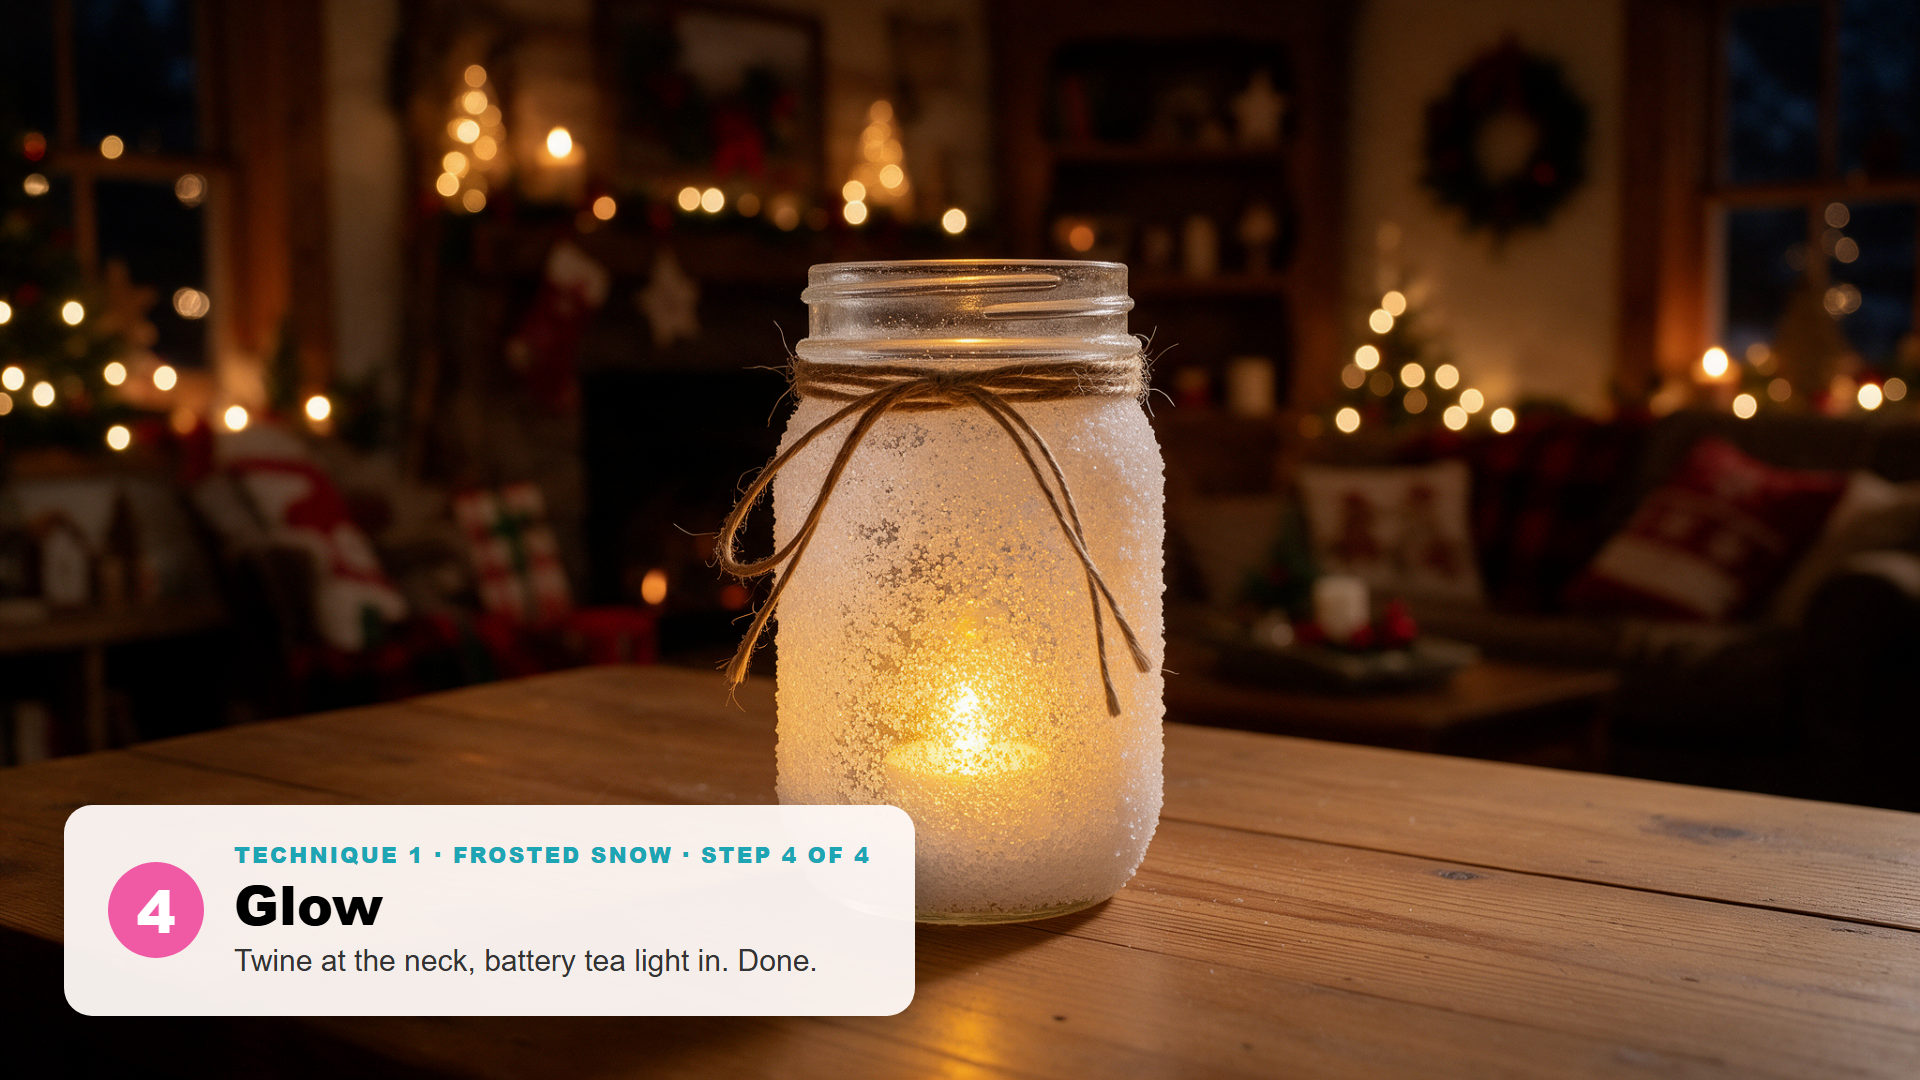
If you want the snow to last for years, a light mist of clear craft sealer once the jar is dry keeps the salt from shedding. If you skip it, the jar still looks lovely; just handle it by the neck.
Want the snowflake wraps already drawn and sized?
The next finish uses a printed paper band. The free Mason Jar Magic Workshop Kit has snowflake, star and silhouette wraps sized for pint and quart jars, plus the full dollar-store supply list and a one-page technique card. Print it and you can skip the measuring. Send me the free kit →
Finish two: the snowflake wrap jar
This one looks like it came from a boutique, and it is the fastest of the three because nothing has to dry.
- Print. Print the wrap strips on plain paper. The wraps in my kit are ivory with white snowflakes, so the light comes through the shapes.
- Join. Cut out two strips and tape them end to end into one long band.
- Wrap. Wrap the band around the middle of the jar and tape it at the back where the ends meet. Tie twine at the neck.
- Glow. Switch on a battery tea light and set it inside.
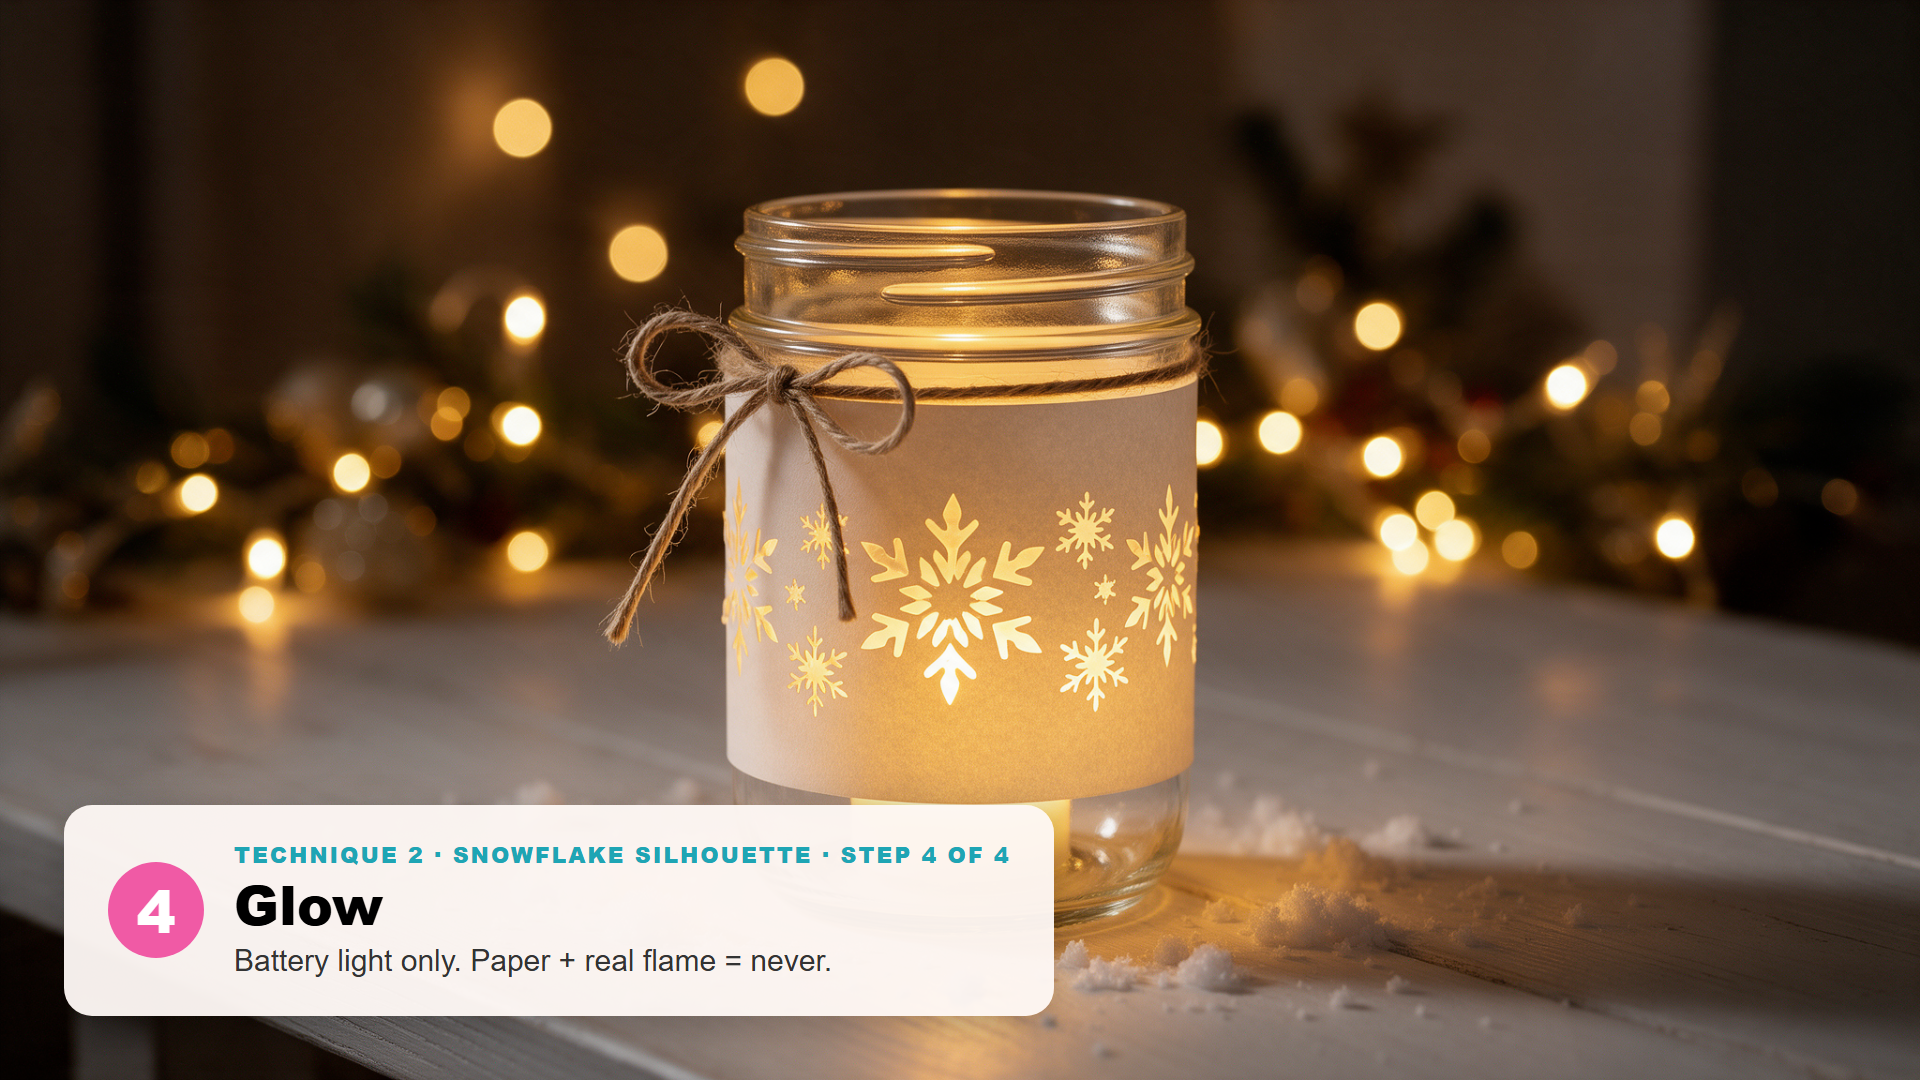
No printer? Cut a strip of plain white or kraft paper to fit around the jar, fold it like a paper fan, snip little triangles out of the folds the way you made paper snowflakes in grade school, and open it back up. It will not match from jar to jar, and that is part of the charm.
One rule on this finish, and it is not flexible: paper and a real flame never go together. Battery lights only.
Finish three: the greenery and twine jar
This is the one people pick up and ask about. It leaves the glass clear and puts the pretty part inside.
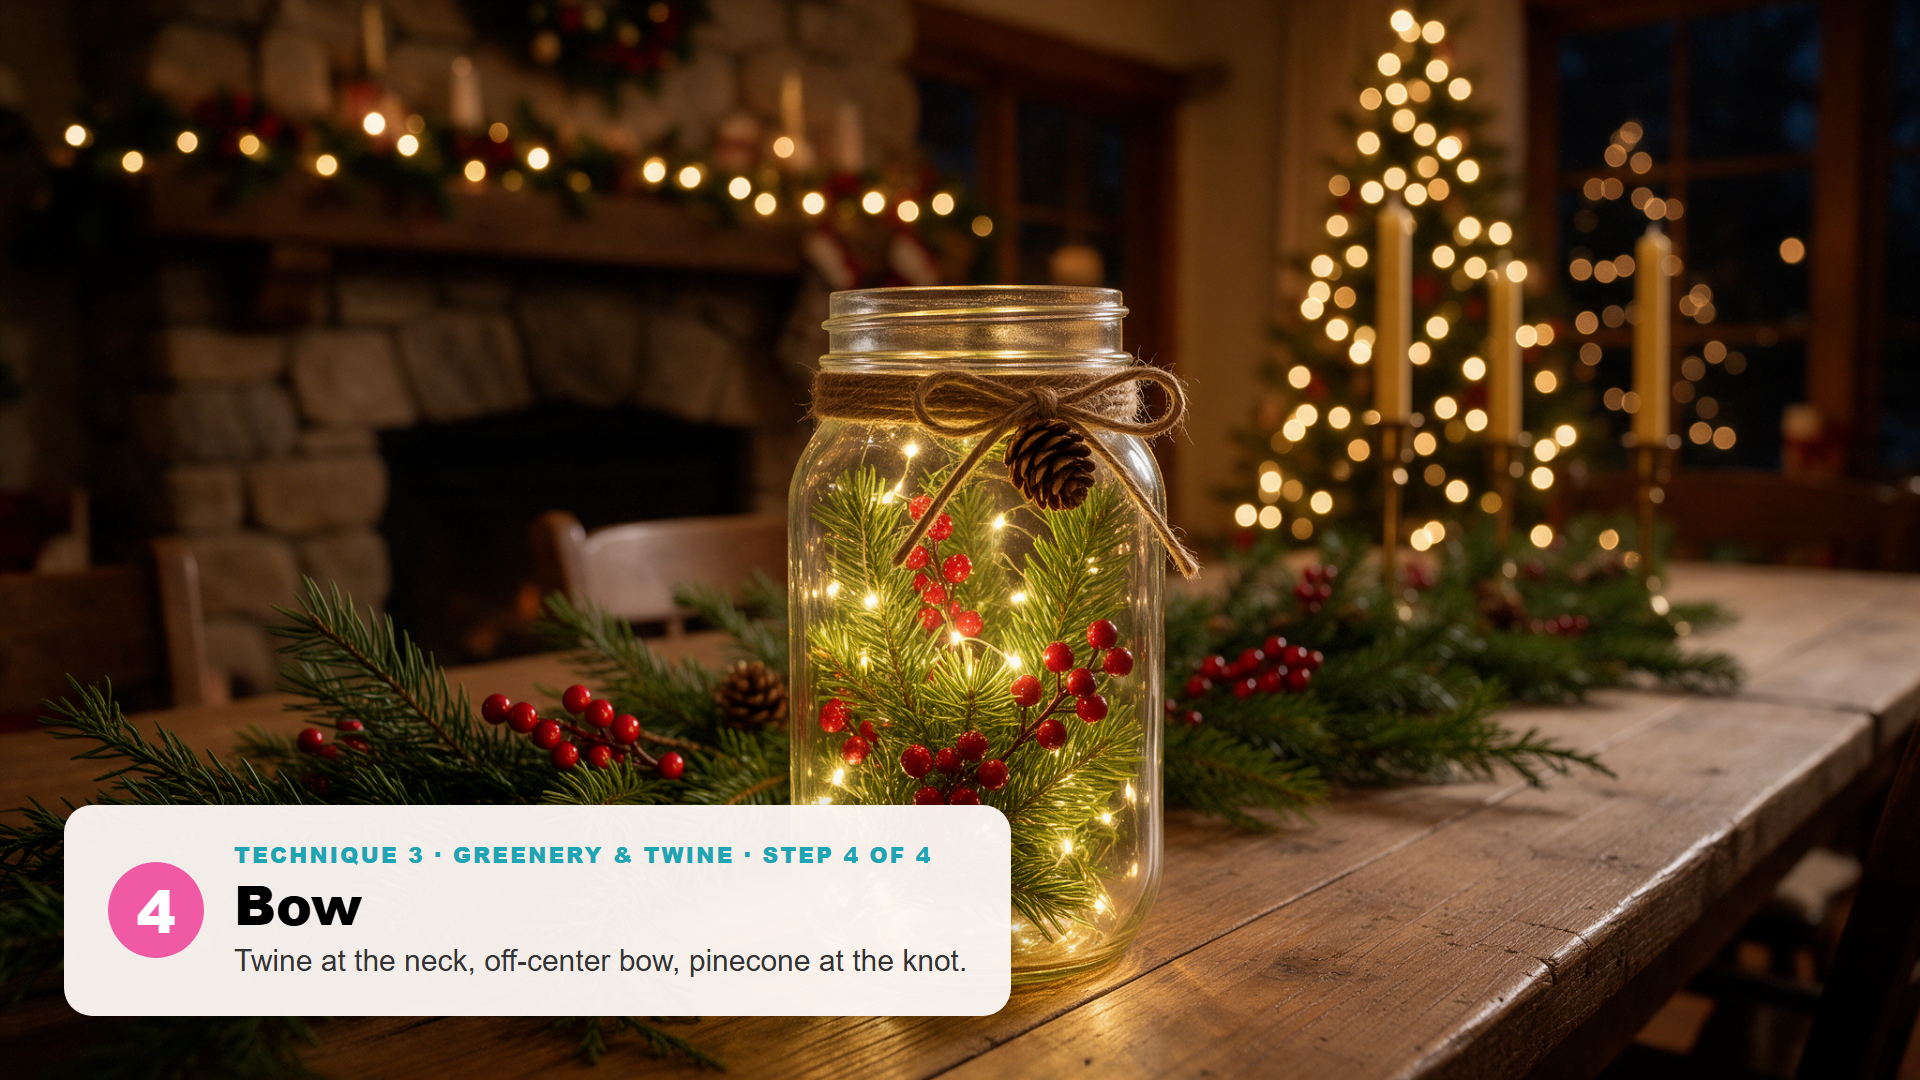
- Fill. Snip a faux pine pick into two or three pieces and curl them around the inside wall of the jar. Tuck in a few red berries.
- Weave. Feed a short string of battery fairy lights down through the greenery, leaving the battery pack at the top or tucked behind the jar.
- Light. Switch the lights on and nudge the greenery until the glow comes through evenly.
- Bow. Wrap twine at the neck, tie the bow a little off-center, and hot-glue or wire a small pinecone at the knot.
Light them safely
Every one of these jars puts salt, paper, twine or greenery right next to the light, so the lighting rule is the same for all three: battery tea lights, flameless candles or battery fairy lights only. No wax candles, no real tea lights, no matter how pretty the flicker is. The newer flameless ones flicker too, they run for weeks on one battery, and you can leave the room without thinking twice. That matters in a house with children and pets.
Two small helps: tea lights with a timer will switch themselves on at dusk, and a strip of clear tape on the bottom of a tea light keeps it from sliding around inside the jar when you carry it.
Three ways to use your mason jar Christmas luminaries
On the mantel
Group three jars at one end of the mantel instead of spreading them out, and vary the height by setting one on a small stack of books or an upside-down bowl. One of each finish looks collected; three of the same looks calm. Both work. If you are doing the whole mantel on a small budget, my hub post on DIY Dollar Tree Christmas decor has the candle trio, the garland and the bottle-brush trees that go with them.
As a centerpiece
Line three or five jars down the middle of the table on a plain runner or a length of kraft paper, and tuck leftover greenery snips between them. Because the lights are battery, nobody has to reach over a flame for the rolls, and the little ones can sit right beside them.
As a gift
A finished luminary with a spare battery taped under the lid is a lovely teacher, neighbor or hostess gift, and it costs less than a card and a candy bar. Tie a paper tag to the twine and you are done. If you are making most of your gifts this year, my guide on how to make homemade Christmas presents will help you plan the rest of the list. And if the gift list is one of forty things you are keeping in your head this season, The Homefire Holiday Season Planner ($24.97) is where I put all forty.
When it goes sideways
It will, a little. Here is what usually happens and what to do.
- The salt went on patchy. Dab a little more glue on the bare spot and press salt on with your fingers. Once it dries nobody can find the patch, including you.
- The salt is shedding. The glue coat was thin or the jar got handled before it dried. Mist it with clear sealer, or call it snowfall and set it on a saucer.
- The wrap will not stay put. Glass that was not fully dry is usually the reason. Wipe the jar, and run one more piece of tape along the back seam.
- The twine bow keeps drooping. Put one dot of hot glue under the knot.
- The greenery hides the light. Take one piece out. Less is prettier here.
And if you make one jar and never get to the other two, you still have a luminary on your table, which is one more than you had this morning. Done is better than perfect.
Questions people ask about mason jar luminaries
Can you put a real candle in a mason jar luminary?
Not in these. Each finish puts salt, paper, twine or greenery close to the light, so use battery tea lights, flameless candles or battery fairy lights only.
How do you make mason jars look frosted for Christmas?
Brush a thin coat of white craft glue or decoupage glue over the outside of a clean jar, roll it in Epsom salt, and let it dry upright on wax paper. A light mist of clear sealer keeps the salt from shedding.
What kind of jars work for Christmas luminaries?
Any clear glass jar: dollar-store jars, canning jars in pint or quart size, or a washed food jar with the label soaked off. Smooth-sided jars are easiest for paper wraps.
How long do mason jar Christmas luminaries take to make?
About 15 minutes of hands-on time per finish. The frosted jar needs an hour or more to dry afterward, but it does not need you while it does.
Ready to make the first jar tonight?
The free Mason Jar Magic Workshop Kit puts the whole project on your kitchen table: the wraps to print, the shopping list to take to the store, and the technique card to prop up while you work. One sitting, one jar, one little glow. I want the kit →
Back to that dark December evening
The tree is still not up, and the boxes are still in the attic. But there is a jar on the table, frosted like a window in January, with a small light steady inside it. Somebody walks through the kitchen and stops. Somebody else asks if they can make one.
That is all it takes, y’all. Not the whole house. One jar, fifteen minutes, and the room knows Christmas is coming.
You don’t have to be perfect — tend the home fire, in the minutes you have.
Keep tending the fire, y’all.
Robin
This post is not sponsored by or affiliated with Dollar Tree or any other store; store names are used only to describe where supplies can be found. Prices and stock vary by store and change over time, so every total here is an estimate at the time of writing. The step images are illustrations of the technique.
Want a little more help with this? The Homefire Holiday Season Planner keeps your craft nights, gift list and holiday budget in one place, from Thanksgiving to New Year’s.