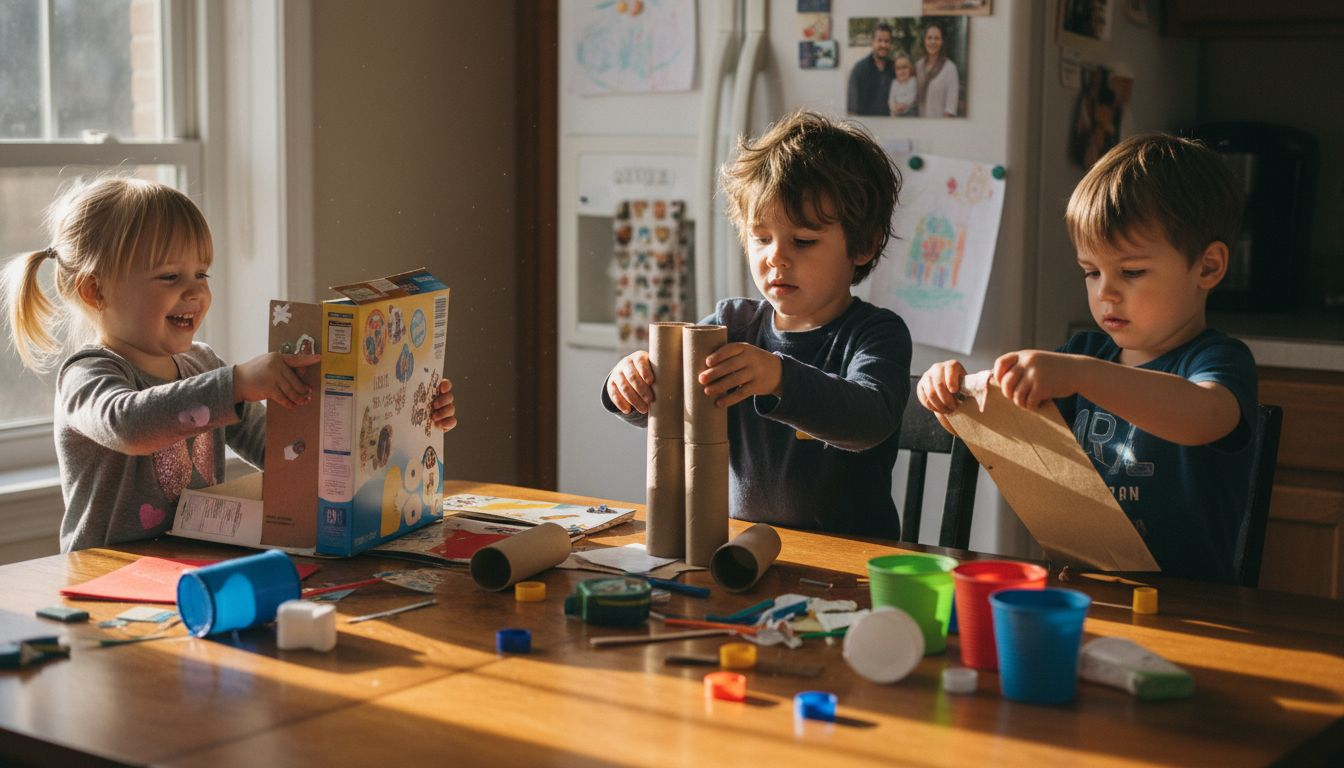
7 Creative DIY Crafts for Kids Using Household Items At Home
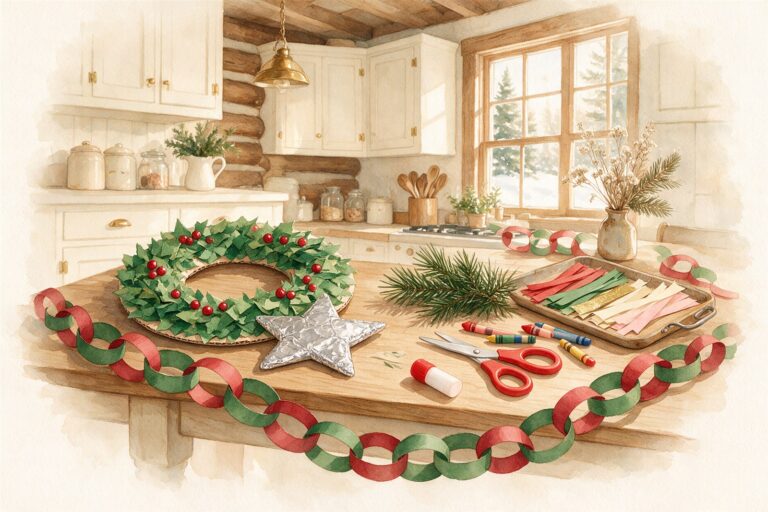
Every parent faces that moment when the kitchen counter starts piling up with jars, boxes, and leftover craft bits, all while energetic kids ask for something new to do. Finding creative ways to use these materials not only keeps children entertained but can also help keep your home organized and your budget in check. Discover how common household items offer endless crafting potential, turning everyday clutter into hands-on adventures that spark imagination and bring the whole family together.
Table of Contents
- Step 1: Gather Common Household Items For Crafting
- Step 2: Select Age-Appropriate Craft Ideas Together
- Step 3: Prepare A Clutter-Free Workspace
- Step 4: Follow Step-By-Step Instructions For Each Craft
- Step 5: Display And Organize Finished Crafts
Quick Summary
| Key Insight | Explanation |
|---|---|
| 1. Gather recyclable crafting items | Collect everyday materials to inspire creativity and keep costs low. Items include cardboard, paper rolls, and old greeting cards. |
| 2. Choose age-appropriate crafts | Tailor projects to develop specific skills based on your child’s age, fostering growth and maintaining engagement. |
| 3. Organize a clutter-free workspace | Set up a dedicated, well-organized area for crafting to enhance focus and enjoyment during projects. |
| 4. Use step-by-step guidance | Break projects into manageable steps, allowing children to learn and express creativity without feeling overwhelmed. |
| 5. Display finished crafts | Create a special space for showcasing children’s work, boosting their confidence and encouraging further artistic expression. |
Step 1: Gather common household items for crafting
Before diving into creative DIY crafts, you will want to collect a variety of everyday items that can be transformed into exciting art projects. Household items offer endless crafting potential that can spark your child’s imagination without spending extra money.
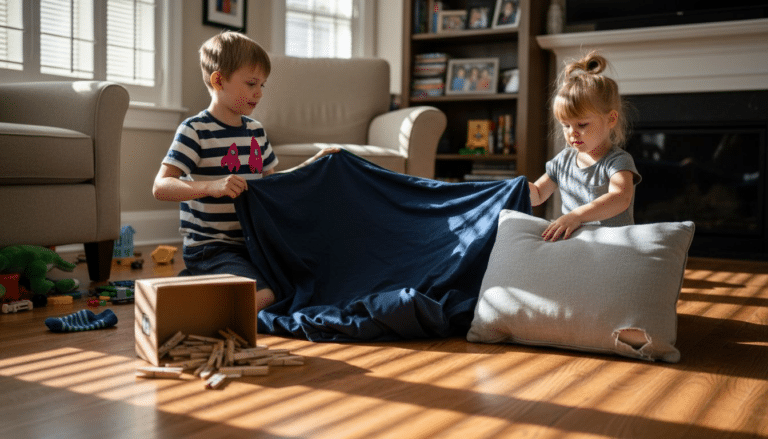
Start by exploring your home for recyclable materials like empty cardboard boxes, paper towel rolls, plastic containers, glass jars, bottle caps, newspapers, and magazines. Kitchen cabinets, craft drawers, and recycling bins are treasure troves for young artists. Look for items like egg cartons, aluminum foil, rubber bands, buttons, yarn scraps, and old greeting cards that can be repurposed into unique crafting supplies.
Sort these items into categories based on their potential craft uses. Plastic containers might become pencil holders, while cardboard boxes could transform into dollhouses or robot costumes. Paper rolls work great for telescopes or musical instruments. The key is seeing potential in objects others might consider trash.
Pro tip: Create a dedicated craft supply box where kids can store and organize their potential crafting materials, teaching them both creativity and organization skills.
Here’s a quick reference guide to the potential craft uses of common household items:
| Item Type | Possible Craft Projects | Age Suitability |
|---|---|---|
| Cardboard Boxes | Dollhouses, costumes | Ages 3 and up |
| Plastic Containers | Pencil holders, organizers | Ages 5 and up |
| Paper Rolls | Telescopes, instruments | Ages 3–10 |
| Newspapers/Magazines | Collages, papier-mâché | Ages 4 and up |
| Buttons/Yarn Scraps | Jewelry, décor | Ages 6–10 |
Step 2: Select age-appropriate craft ideas together
Creating the perfect craft project starts with understanding your child’s developmental stage and interests. Age-appropriate crafts support children’s developmental skills in exciting and meaningful ways.
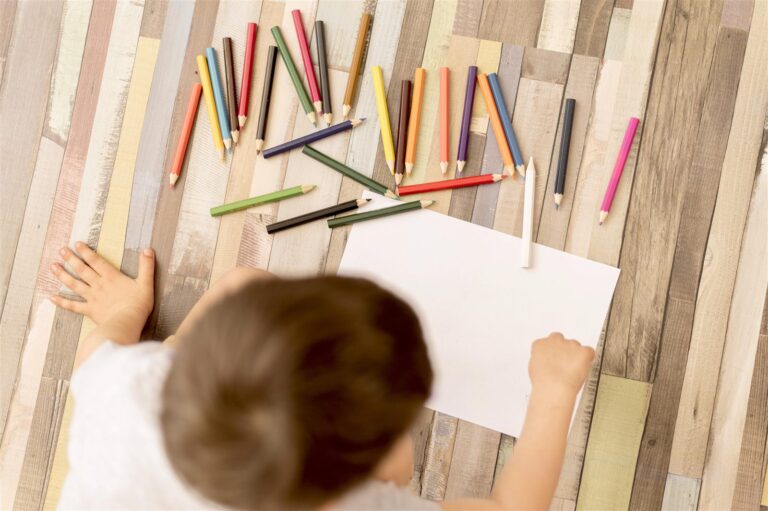
For younger children ages 1 to 5, focus on simple sensory activities that develop fine motor skills. Think about projects like finger painting, playdough sculpting, or creating collages with large paper pieces. Older kids ages 6 to 10 can handle more complex crafts that require multiple steps and greater precision such as papier-mâché sculptures, friendship bracelets, or decorative bead work.
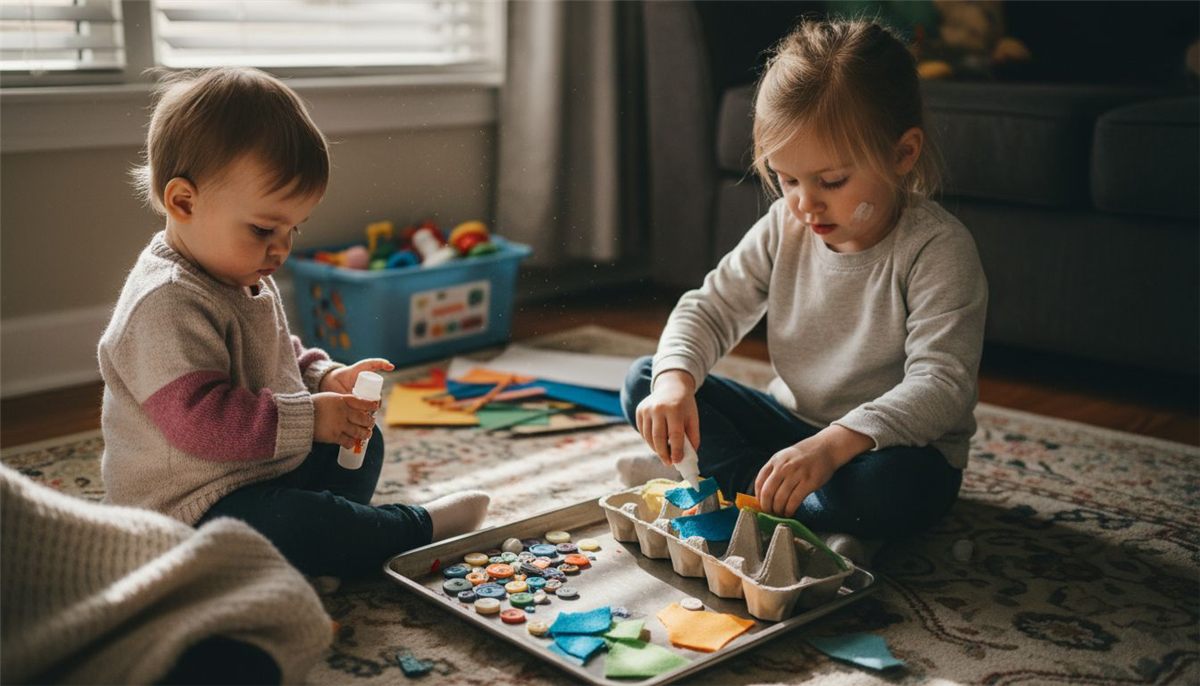
Involve your children in the selection process by spreading out potential craft supplies and asking what inspires them. Look for projects that match their current skill level but also provide a slight challenge to encourage growth. This collaborative approach helps build confidence and keeps crafting fun and engaging for everyone.
Pro tip: Create a craft idea board where kids can pin or draw their favorite potential projects, turning the selection process into an exciting visual adventure.
The table below compares craft project types and their main developmental benefits:
| Craft Type | Key Skill Developed | Ideal Age Group |
|---|---|---|
| Sensory Activities | Fine motor coordination | Ages 1–5 |
| Sculpting/Modeling | Problem solving | Ages 4–8 |
| Beadwork/Jewelry | Hand-eye precision | Ages 6–10 |
| Collaborative Crafts | Teamwork, communication | Ages 5 and up |
Step 3: Prepare a clutter-free workspace
Creating an organized craft area helps children focus and enjoy their creative projects with minimal distractions. A well-prepared workspace sets the stage for successful and enjoyable crafting experiences.
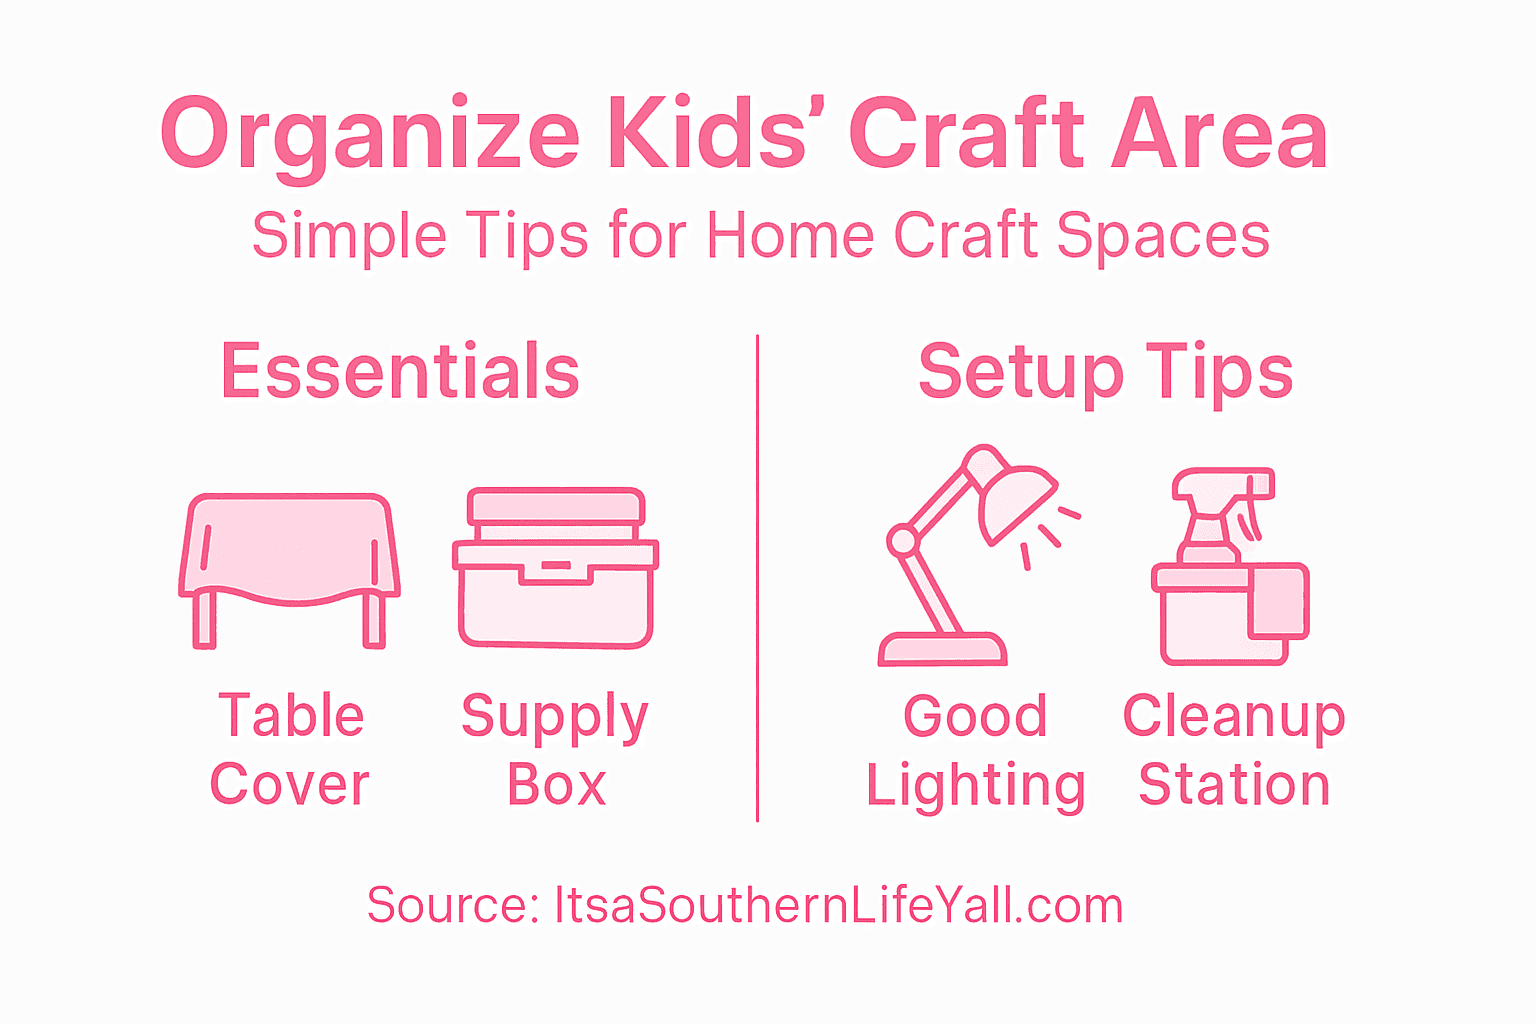
Start by choosing a dedicated area with good lighting and enough room for spreading out materials. Cover your work surface with a disposable tablecloth or large sheet of craft paper to protect furniture and make cleanup easier. Gather clear plastic containers or divided trays to sort and store different crafting supplies like scissors, glue, markers, and decorative items. Keep only the essential tools for your current project within reach to minimize visual clutter and help children stay focused.
Consider setting up your workspace near a sink or have paper towels and wet wipes nearby for quick cleanups. Lay out a small trash container and have a designated spot for works in progress. By creating a structured yet flexible environment, you will help your children feel supported and excited about their creative journey.
Pro tip: Create a portable craft caddy with all essential supplies so you can easily move your workspace and keep everything organized.
Step 4: Follow step-by-step instructions for each craft
Crafting with children requires clear step-by-step guidance to ensure a fun and successful creative experience. Breaking down each project into manageable stages helps kids stay engaged and builds their confidence.
When starting a craft project, read through the entire set of instructions with your child before beginning. Gather all necessary materials and lay them out in order. Demonstrate each step slowly and encourage your child to watch first, then try. If the instructions seem complex, consider breaking them down into even smaller steps or offering hands on assistance. Remember that the goal is not perfection but enjoyment and learning.
Be patient and flexible during the crafting process. Some steps might take longer for children to complete, and they may want to add their own creative twists. Allow room for personal expression while gently guiding them through the basic instructions. Praise their efforts and focus on the fun of creating something unique together.
Pro tip: Take photos of each project stage to create a visual instruction guide that children can reference and feel proud of their progress.
Step 5: Display and organize finished crafts
Displaying children’s artwork builds confidence and creativity by celebrating their hard work and artistic achievements. Creating a special space to showcase completed projects helps kids feel proud of their creations and encourages continued artistic exploration.
Designate specific areas in your home for craft display such as a dedicated wall, refrigerator section, or bulletin board. Rotate displays periodically to keep the space fresh and exciting. Use simple frames, clothespins, or magnetic clips to hang artwork. Consider creating a digital portfolio by taking photos of crafts, which allows you to preserve memories while managing physical clutter.
Involve your children in the organization process. Let them choose which crafts to display and help decide on arrangement. This not only teaches organizational skills but also gives them a sense of ownership and pride in their creative work. Use clear plastic containers or labeled boxes to store crafts that are not currently on display, keeping them safe and accessible.
Pro tip: Create a rotating display system where children can swap out their favorite crafts monthly, keeping the presentation dynamic and engaging.
Boost Creativity and Keep Your Home Organized with Simple Solutions
Transforming common household items into fun crafts can be exciting but also challenging when it comes to organizing supplies and managing clutter. This article highlights the need for an organized workspace and clear processes to keep your child’s creative projects manageable and enjoyable. If you have ever felt overwhelmed by scattered craft materials or struggled to create a clutter-free area for your kids to explore their artistic side then you are not alone. The key pain points include managing craft supplies, creating a focused environment, and celebrating finished projects without adding chaos to your home.
At ItsaSouthernLifeYall.com we understand these challenges and offer proven organization hacks and simple living strategies made just for busy families like yours. Our tips empower you to create dedicated craft spaces that inspire creativity while providing smart storage solutions to tame the mess. You can learn easy ways to declutter, set up effective home management systems, and balance your time so crafting becomes a joyful experience for everyone.
Ready to bring order to your creative chaos and support your child’s imagination without stress? Discover practical ideas and lifestyle changes that transform your home and daily routine at ItsaSouthernLifeYall.com. Start creating peaceful, organized spaces today and watch your family flourish in both creativity and calm.
Frequently Asked Questions
What household items can I use for DIY crafts with kids?
You can use common household items like cardboard boxes, plastic containers, egg cartons, and old newspapers for creative DIY crafts. Start collecting these items and sort them by type to inspire a variety of art projects.
How do I choose age-appropriate craft projects for my child?
Select craft ideas that match your child’s age and skill level, like simple sensory activities for younger kids and more complex projects for older children. Engage your child by discussing their interests and exploring suitable project options together.
What steps should I follow to prepare a crafting workspace at home?
Create a clutter-free crafting area by choosing a well-lit space and organizing materials in clear containers. Ensure essential supplies like scissors and glue are within reach while minimizing distractions to enhance focus during crafting.
How can I guide my child through crafting step-by-step?
Break down each craft project into simple, manageable steps, and read the full instructions together before starting. Encourage your child to follow along, and offer help as needed, all while emphasizing the enjoyment of creating rather than perfection.
What should I do with finished crafts to encourage my child?
Display your child’s completed crafts in a dedicated area, like a bulletin board or wall, to celebrate their creativity. Rotate the displays regularly and involve them in choosing placements to foster pride and ownership in their artistic achievements.
Can you suggest some specific craft projects using household items?
Some great projects include using cardboard boxes to create dollhouses, turning plastic containers into pencil holders, or using paper rolls to make telescopes. Explore the potential of each item and let your child’s imagination guide you in crafting.
Recommended
- Cool Crafts for Kids to Make at Home –
- Creating Homemade Bath Bombs for Fun Family Projects – It’s a Southern Life Ya’ll
- 5 Easy and Delicious Recipes to Cook with Your Kids This Weekend – It’s a Southern Life Ya’ll
- 27 Old Things to Use New Ways (To Save Money) – It’s a Southern Life Ya’ll
- Craft Your Own Homemade Hair Conditioner for Healthy Growth | MyHair
Keep reading: more parenting help
Need a stack of these ready for the next rainy day? The Boredom Buster Activity Pack keeps a whole deck of household-supply projects on hand so you are not inventing one on the spot.