Welcome to Day 1 of the 12 Days of Christmas Crafts! I’m so excited to share some of my most favorite crafts with you starting with this one, the Ribbon Poinsettia.
Christmas is my favorite crafting season and I’m ready to share these easy and inexpensive crafts with you.
Over the next 12 days, I will post a new budget-friendly craft here on the blog. Many of the crafts will be decorations but I do plan to throw a few gift ideas into the mix.

(This post may contain affiliate links. What does that mean to you? Well, if you click on a product and make a purchase, I may receive some compensation at NO charge to you. If you want to read the boring stuff, my full disclosure can be found here.)
Don’t you just loving crafting and creating DIY projects? I love the money I save BUT I just love creating. That’s why I’m so excited about the next 12 days. In no time at all, we will have your home jolly and completely decorated for the holiday season.
HERE is another of my favorite Christmas crafts. It’s not part of the 12 Days of Christmas Craft series but I love it.
Let’s get started…
Supplies To Make a Ribbon Poinsettia
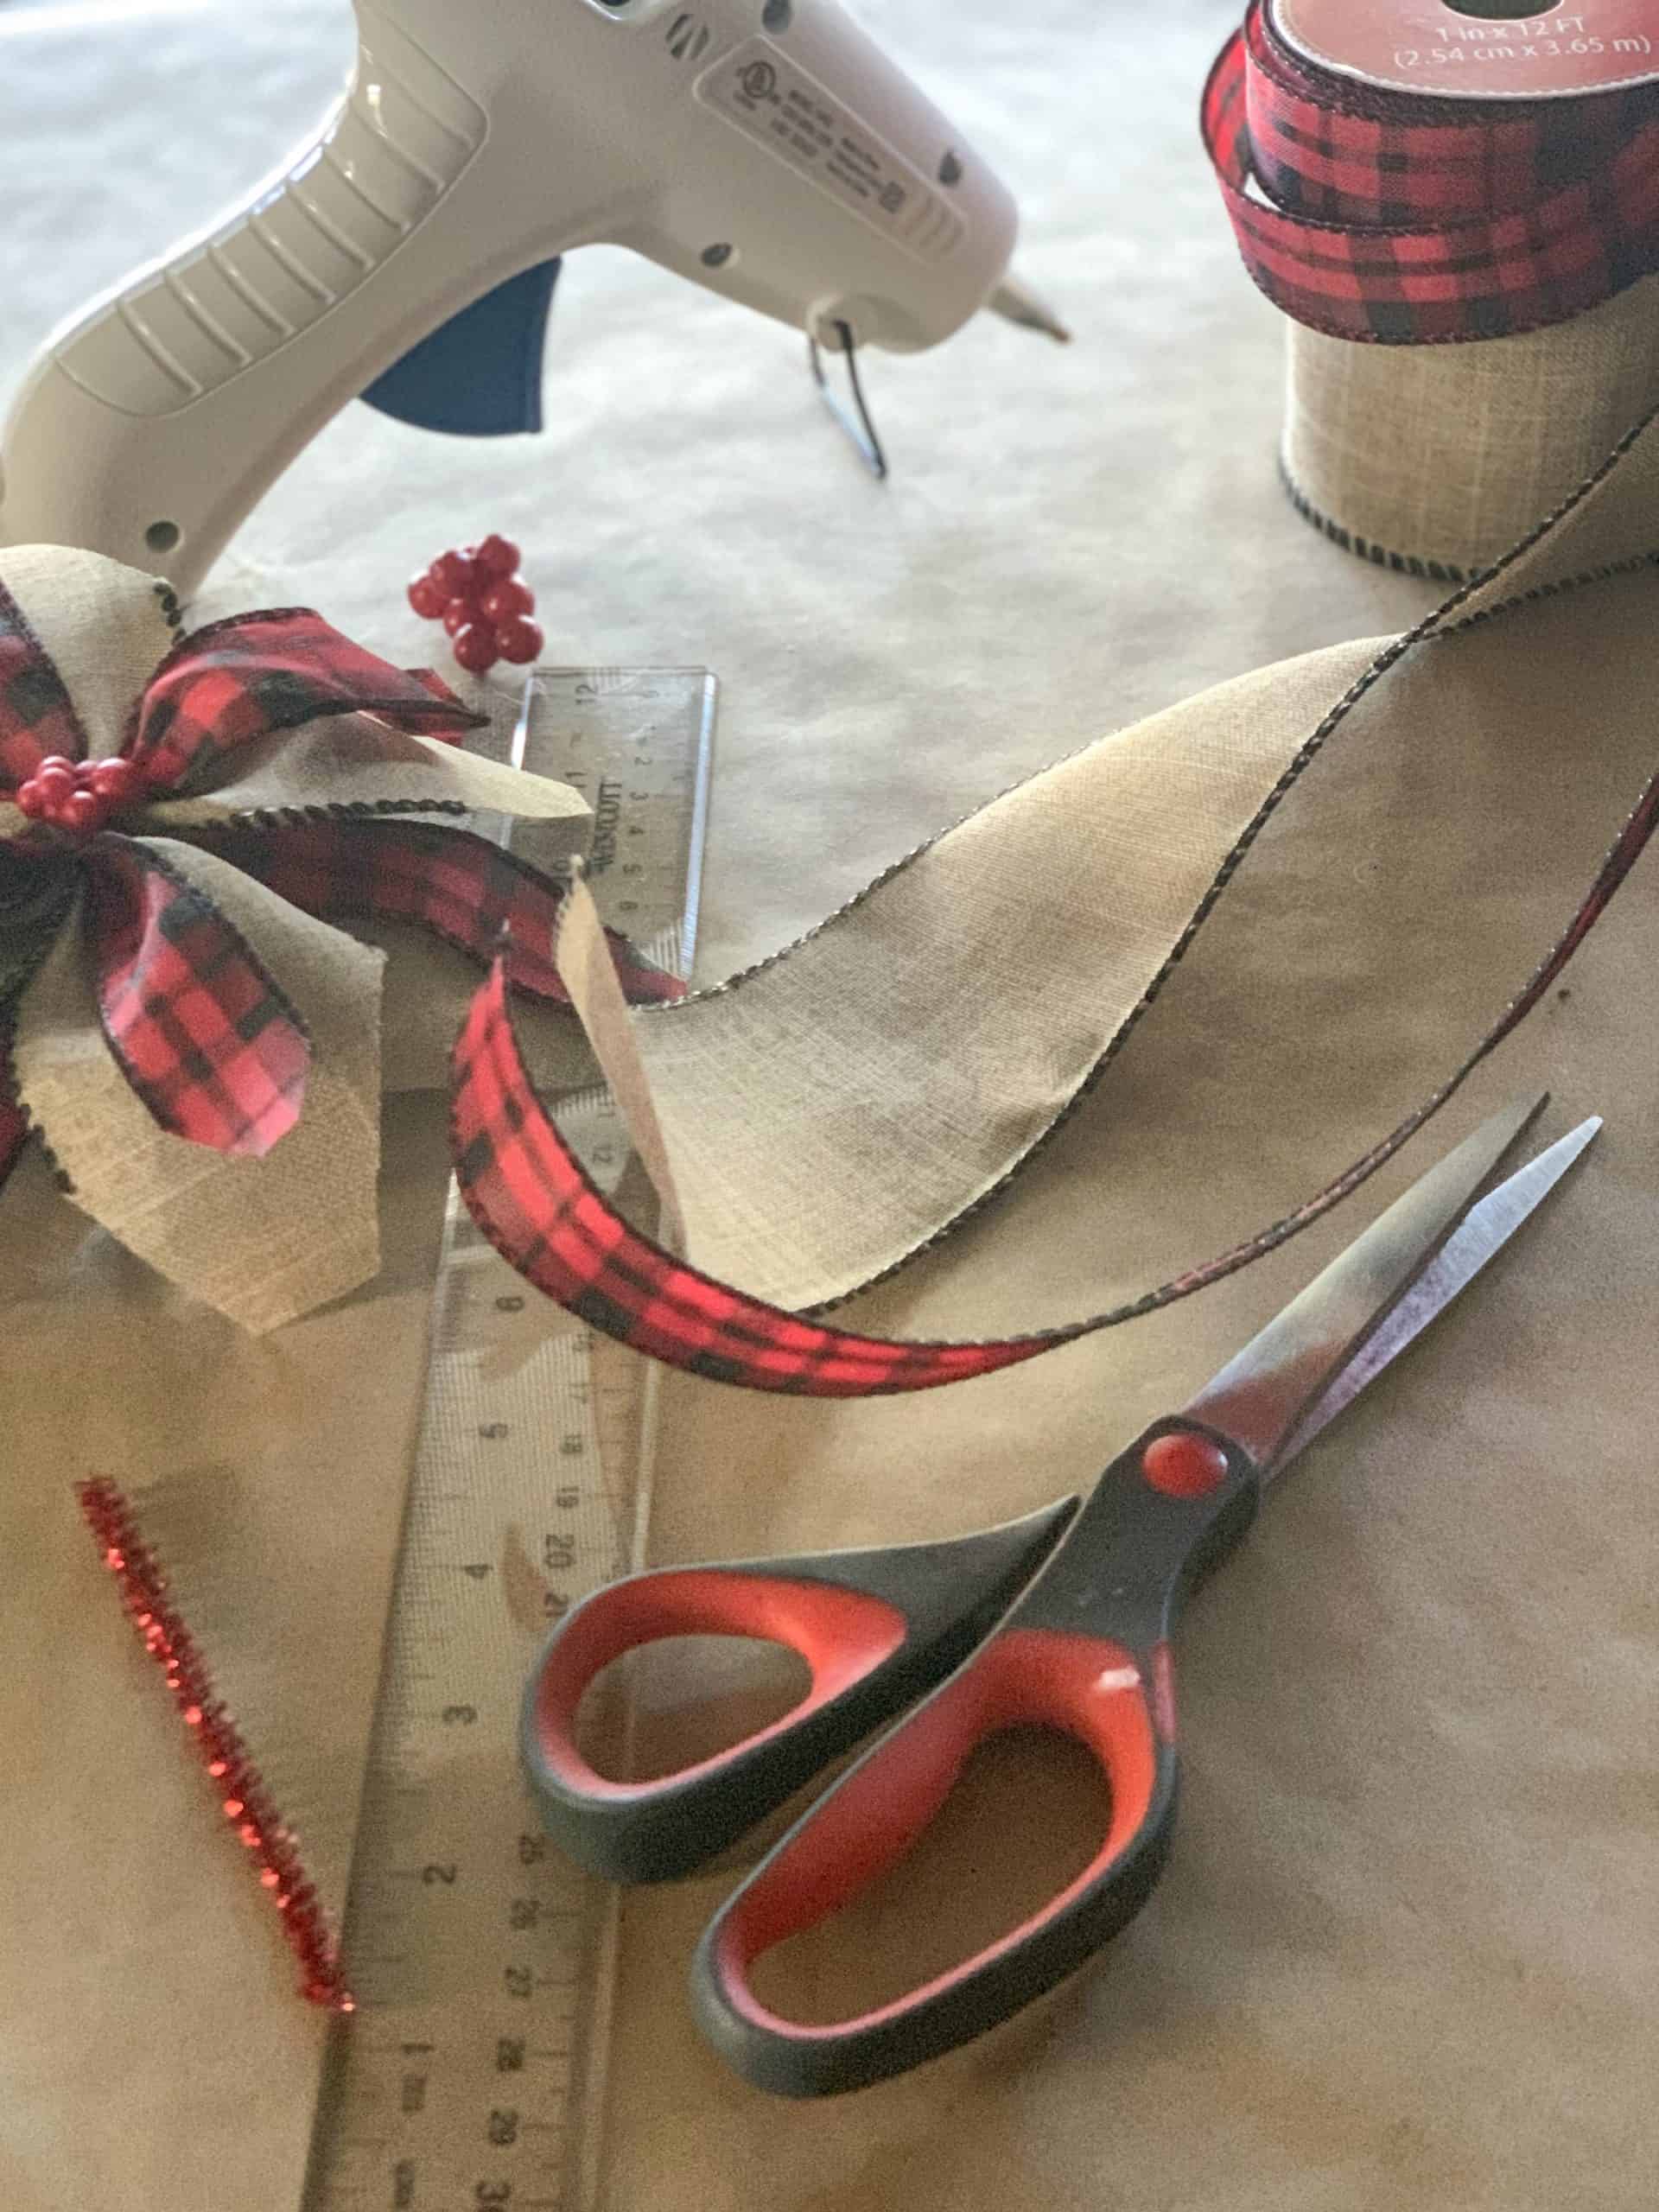
Supplies needed:
- Wired Ribbon
- 1″ Wired Ribbon
(optional)
- Scissors
- Glue Gun
- Glue Sticks
- Pipe Cleaners
- Ruler
- Small Red beads or berries for the center of the flower
How To Make A Ribbon Poinsettia
STEP 1 – Cut four 8″ pieces of 3″ wired ribbon. This craft is very adaptable for different size ribbons. Just alter the length of the pieces to the size you would like your flower. You can easily use a wider or more narrow ribbon for the Christmas craft. If using a narrow ribbon, cut more pieces of ribbon to fill out the area.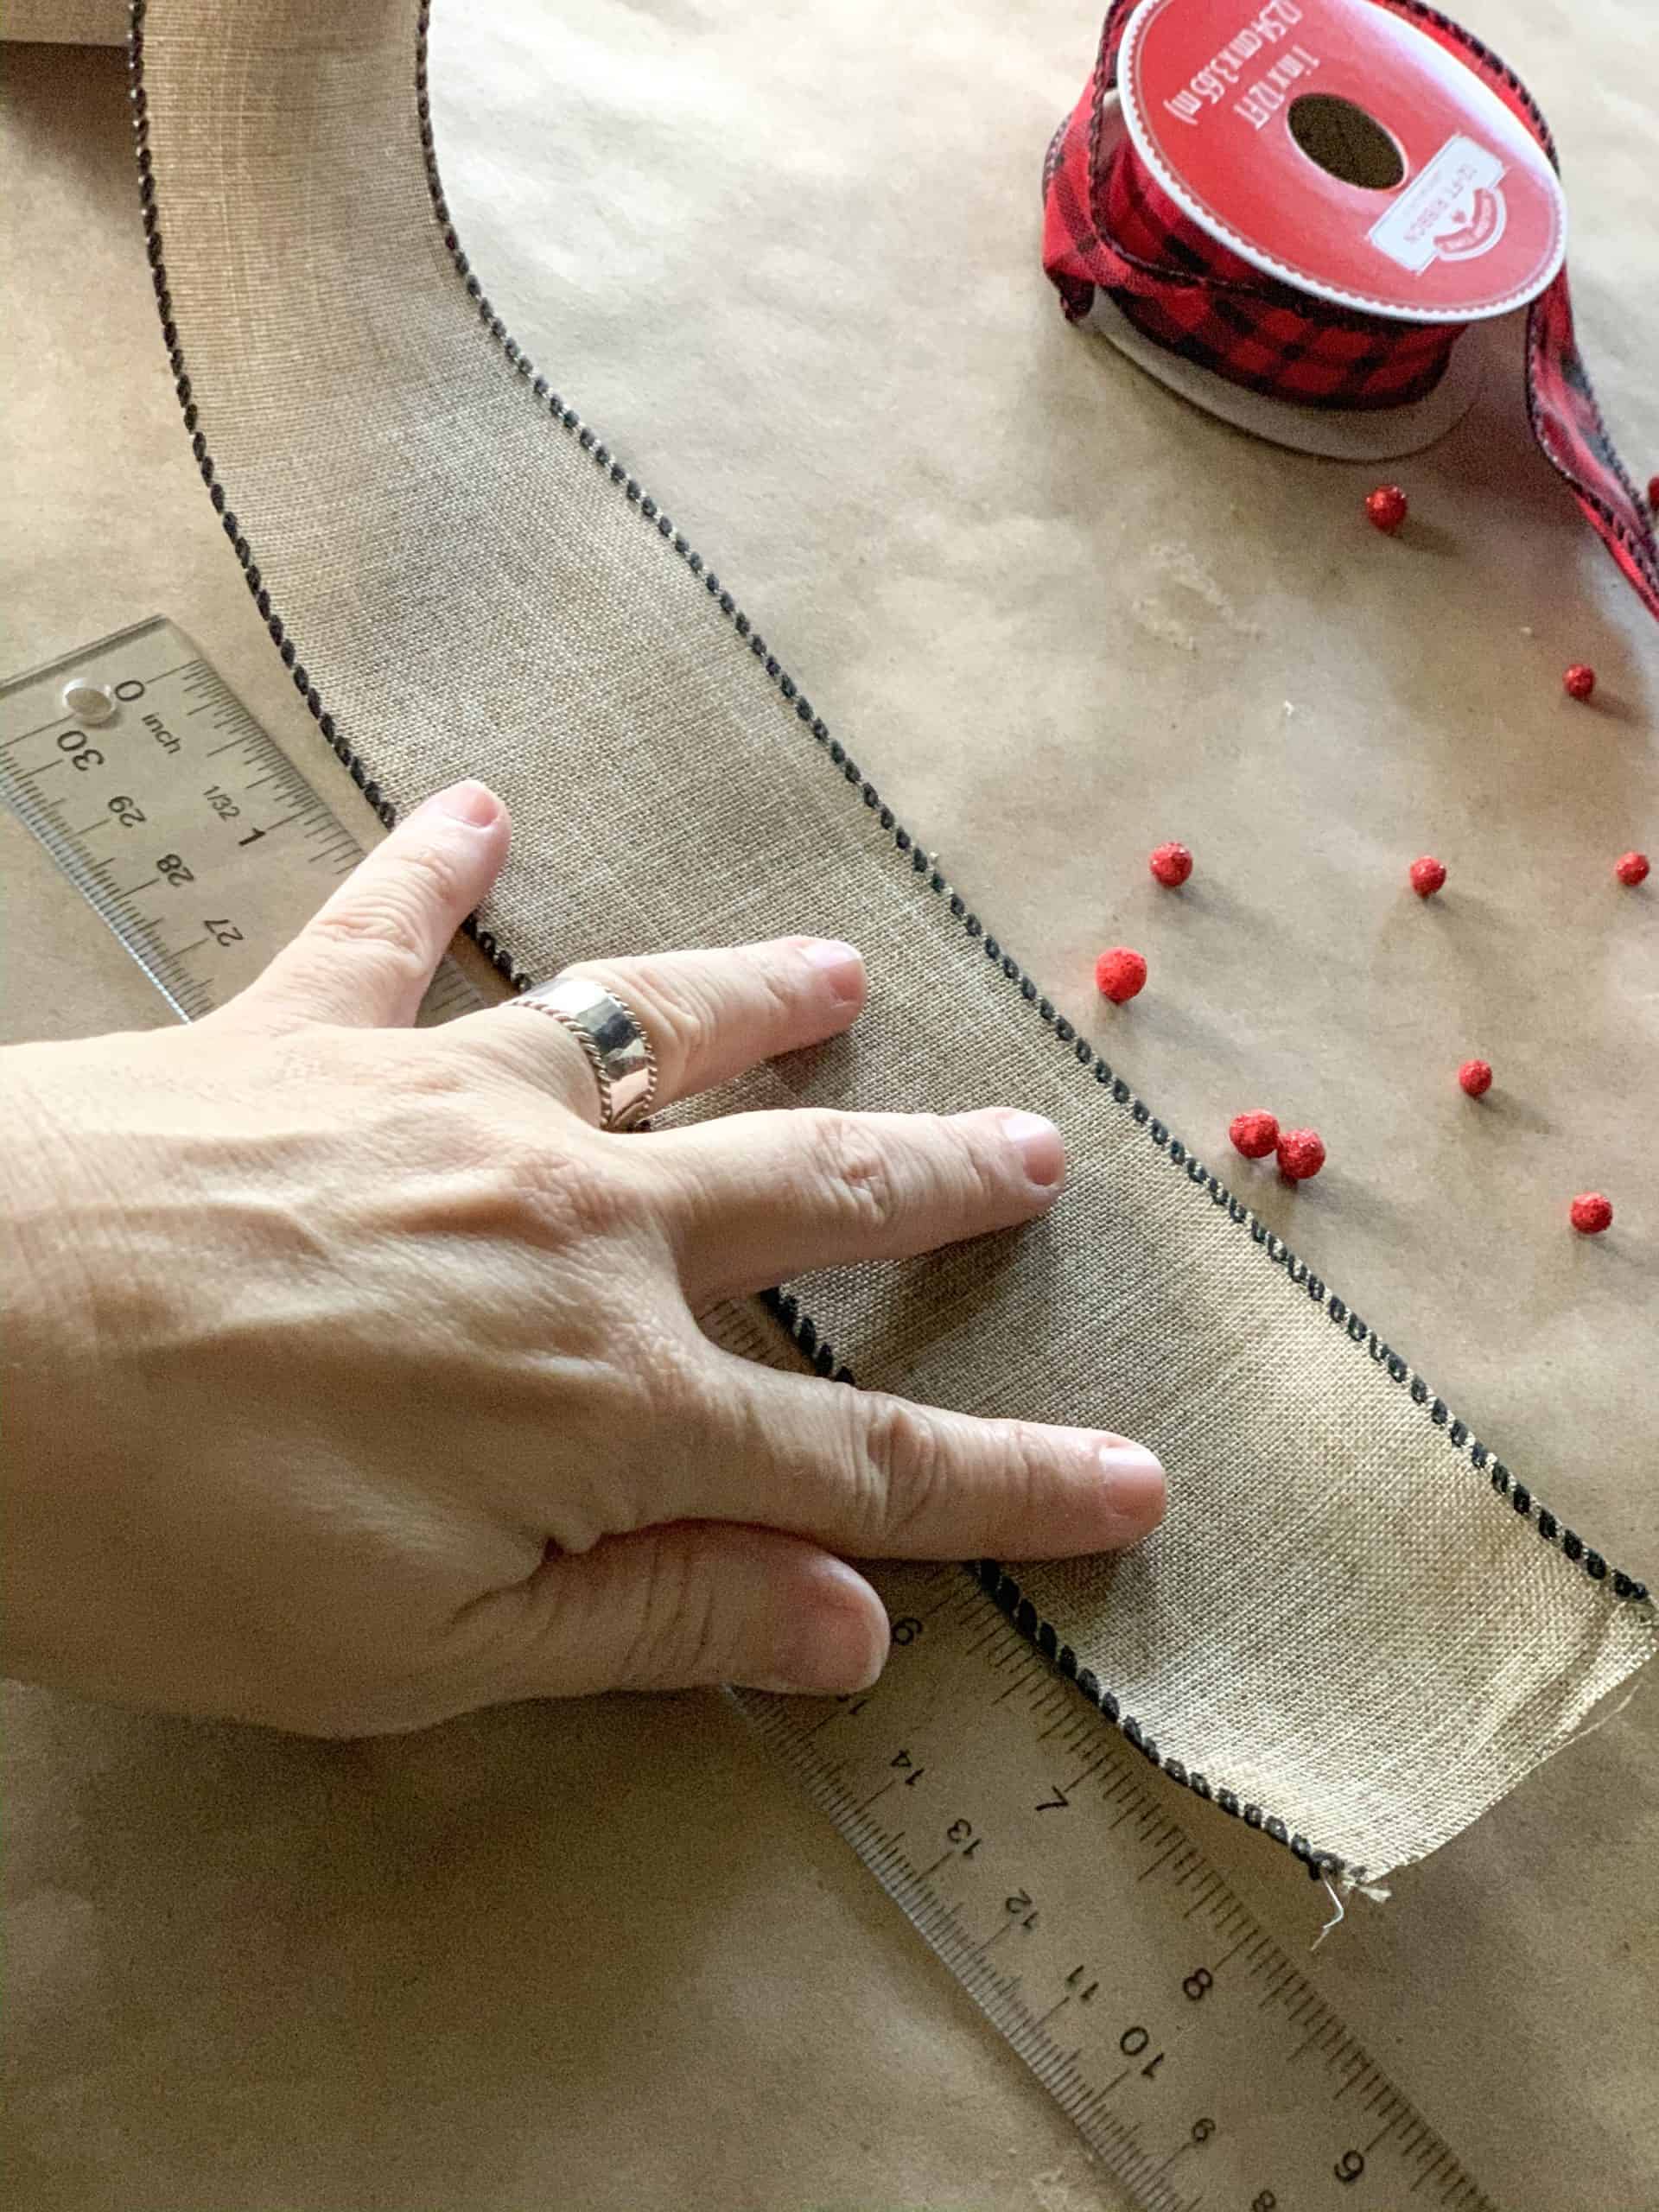
STEP 2 – **OPTIONAL** Cut four 8″ pieces of 1″ wired ribbon. I love the layered look of the ribbons but as you will see in the video, I made an additional poinsettia without the plaid ribbon and it is delightful! Use your creativity to decide how to create your flowers.
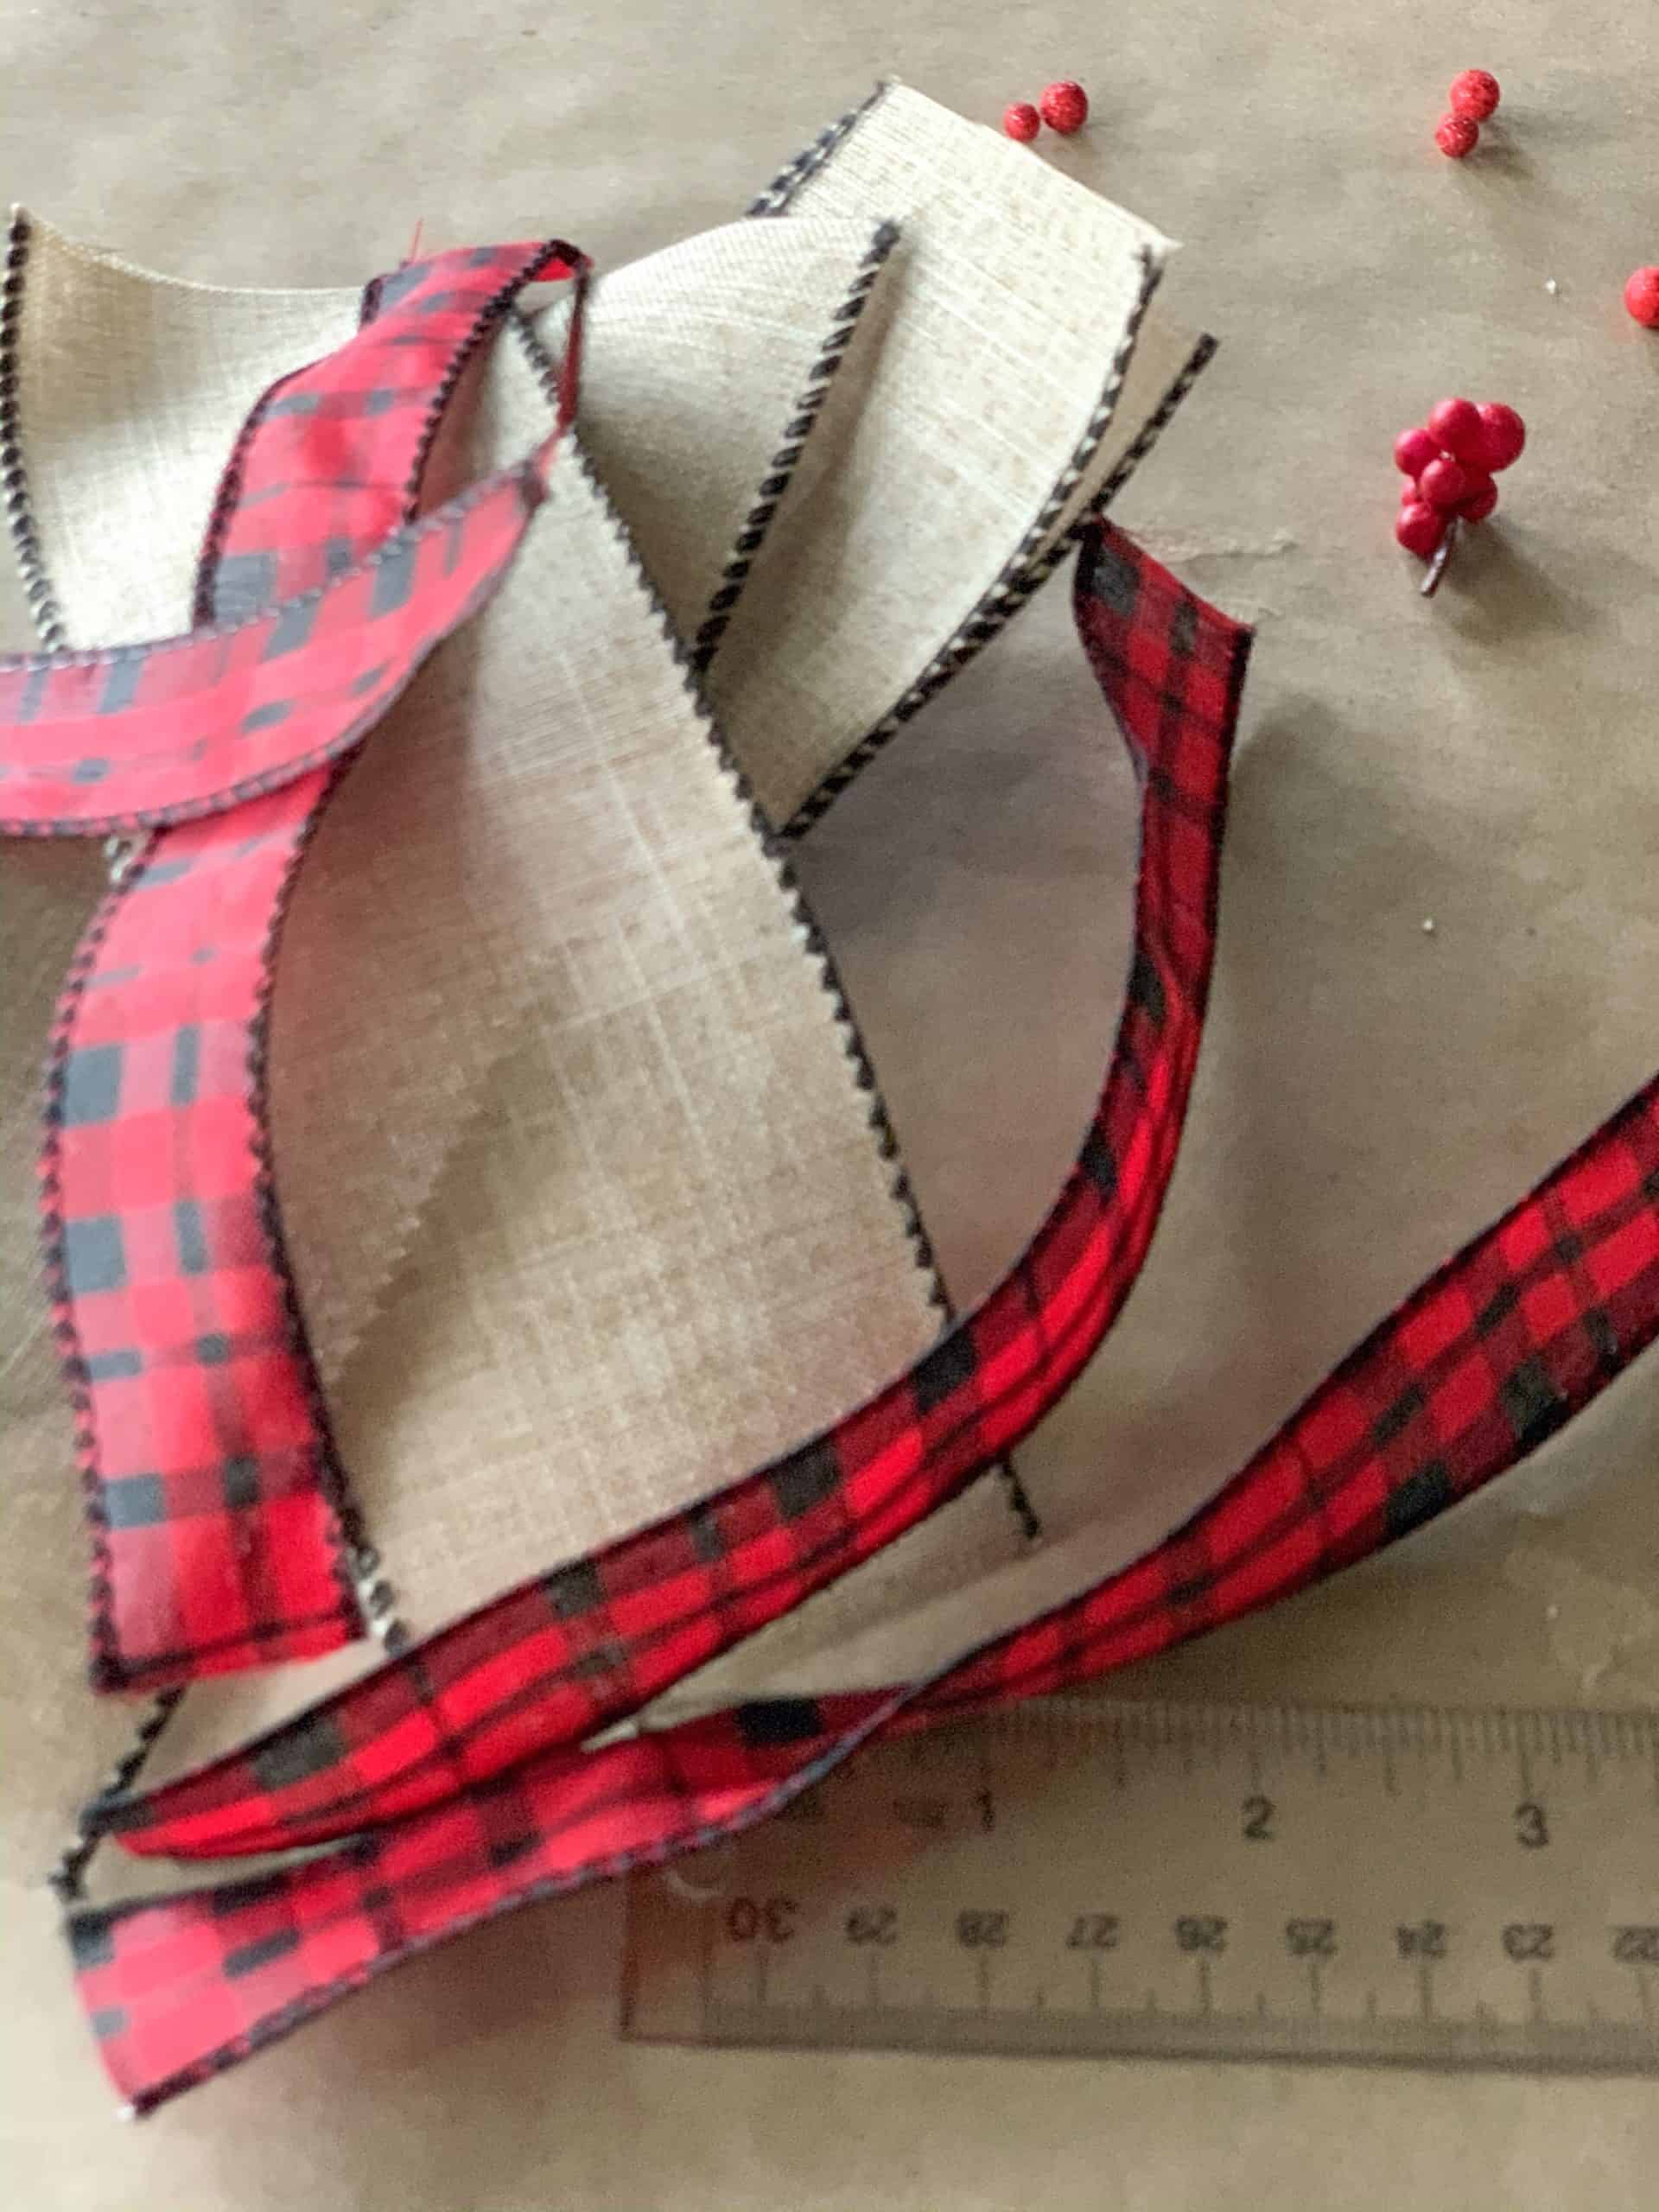
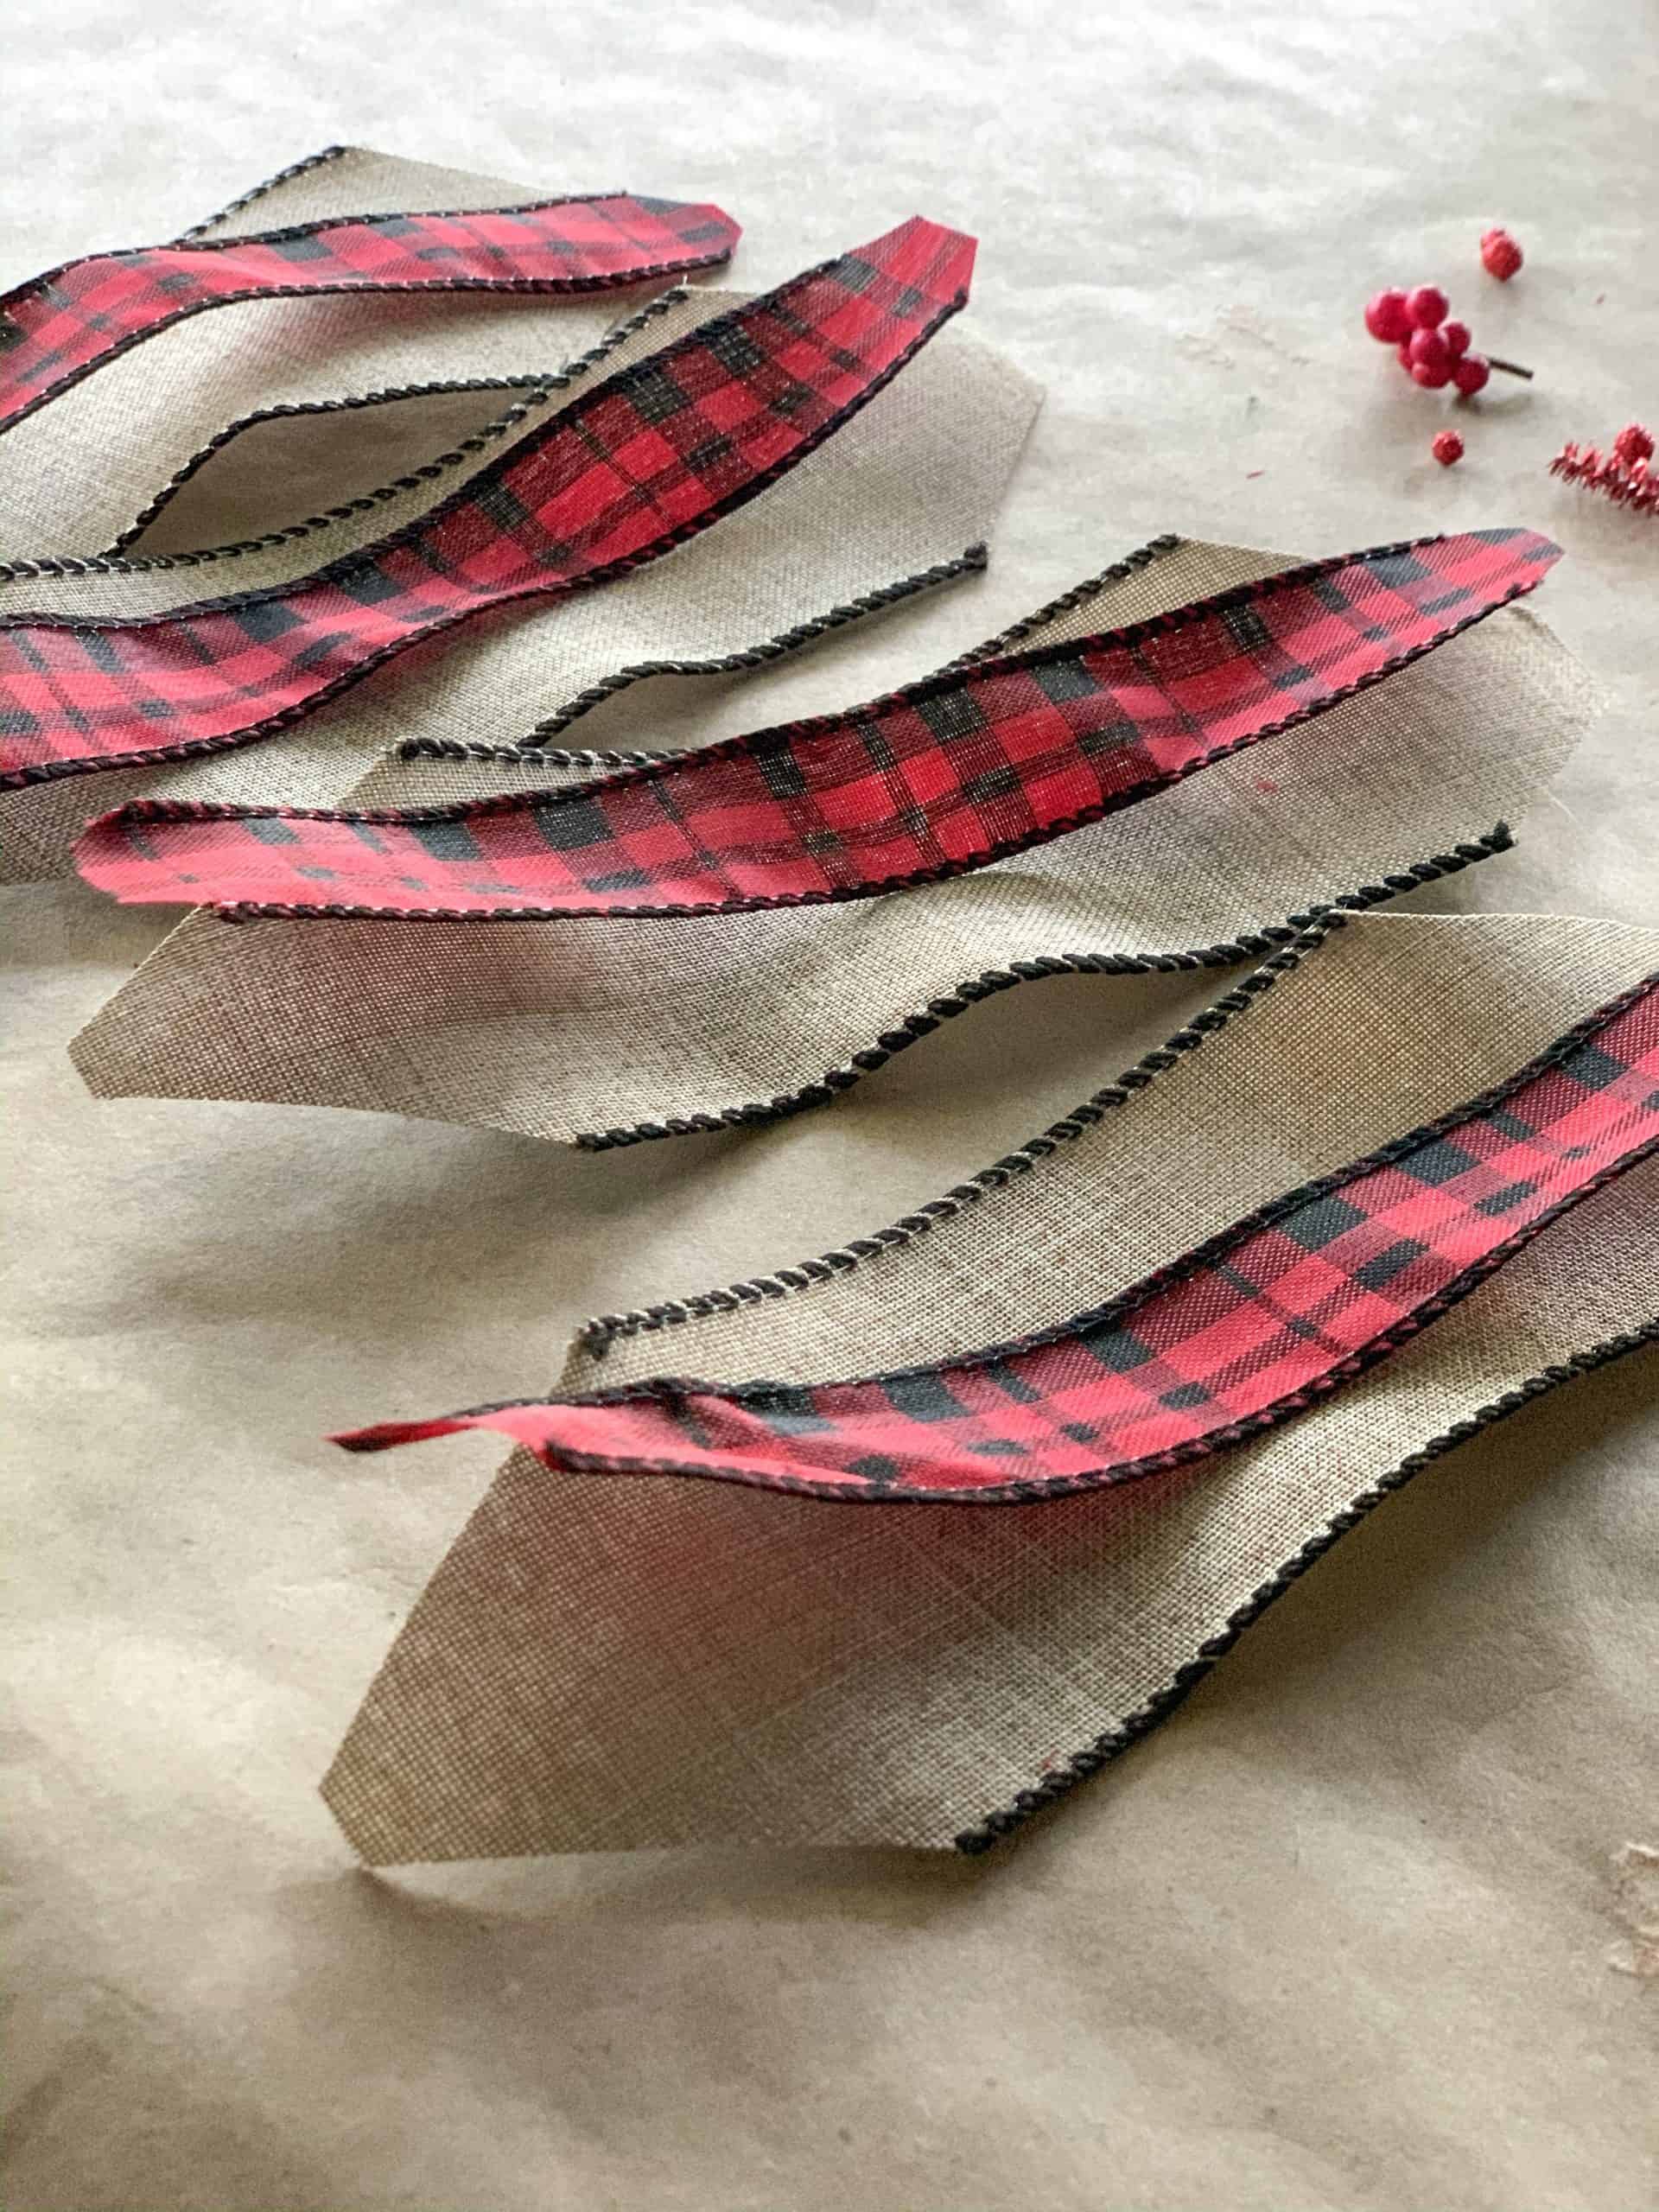
STEP 3 – Stack the four larger ribbons and cut ends to the desired shape. I cut diagonal corners with a flat center. You could do this to the smaller ribbon (if using) but you can see in the video that I opted to shape my 1″ ribbon after the flower was made. I discovered on my first flower that sometimes this layer would shift and I needed to adjust.
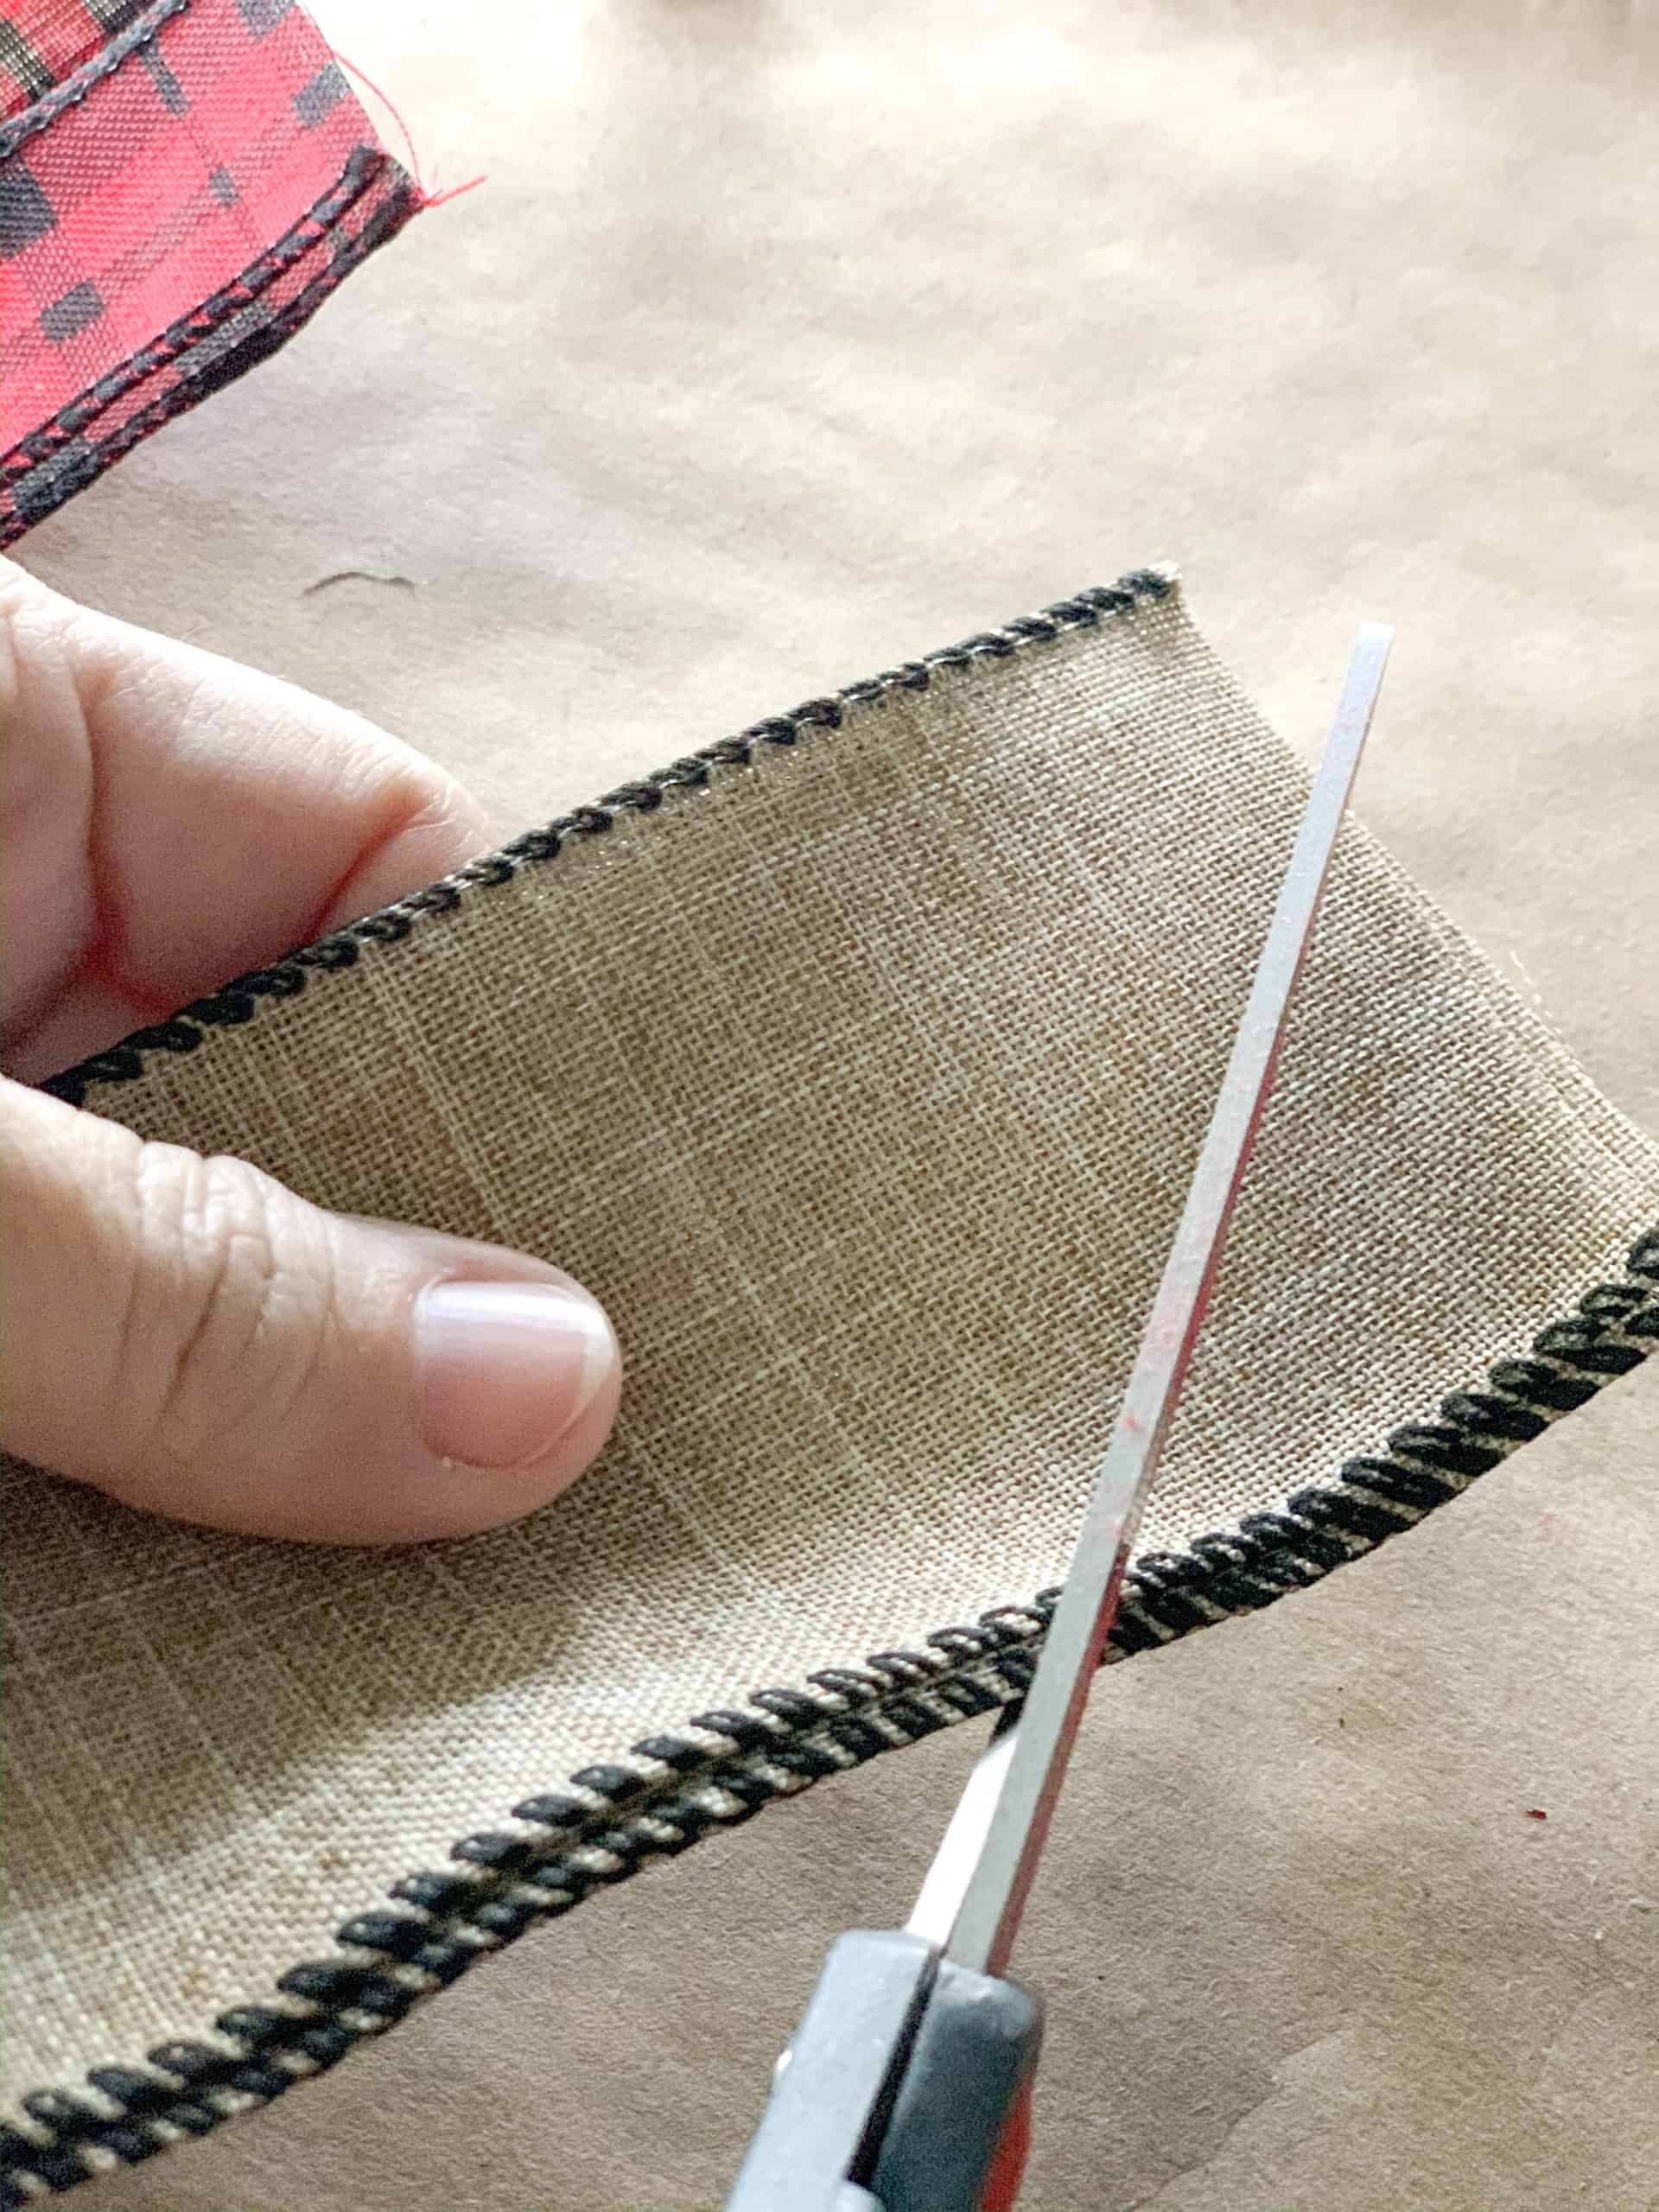
STEP 4 – Fold the ribbon in half and cut matching ends.
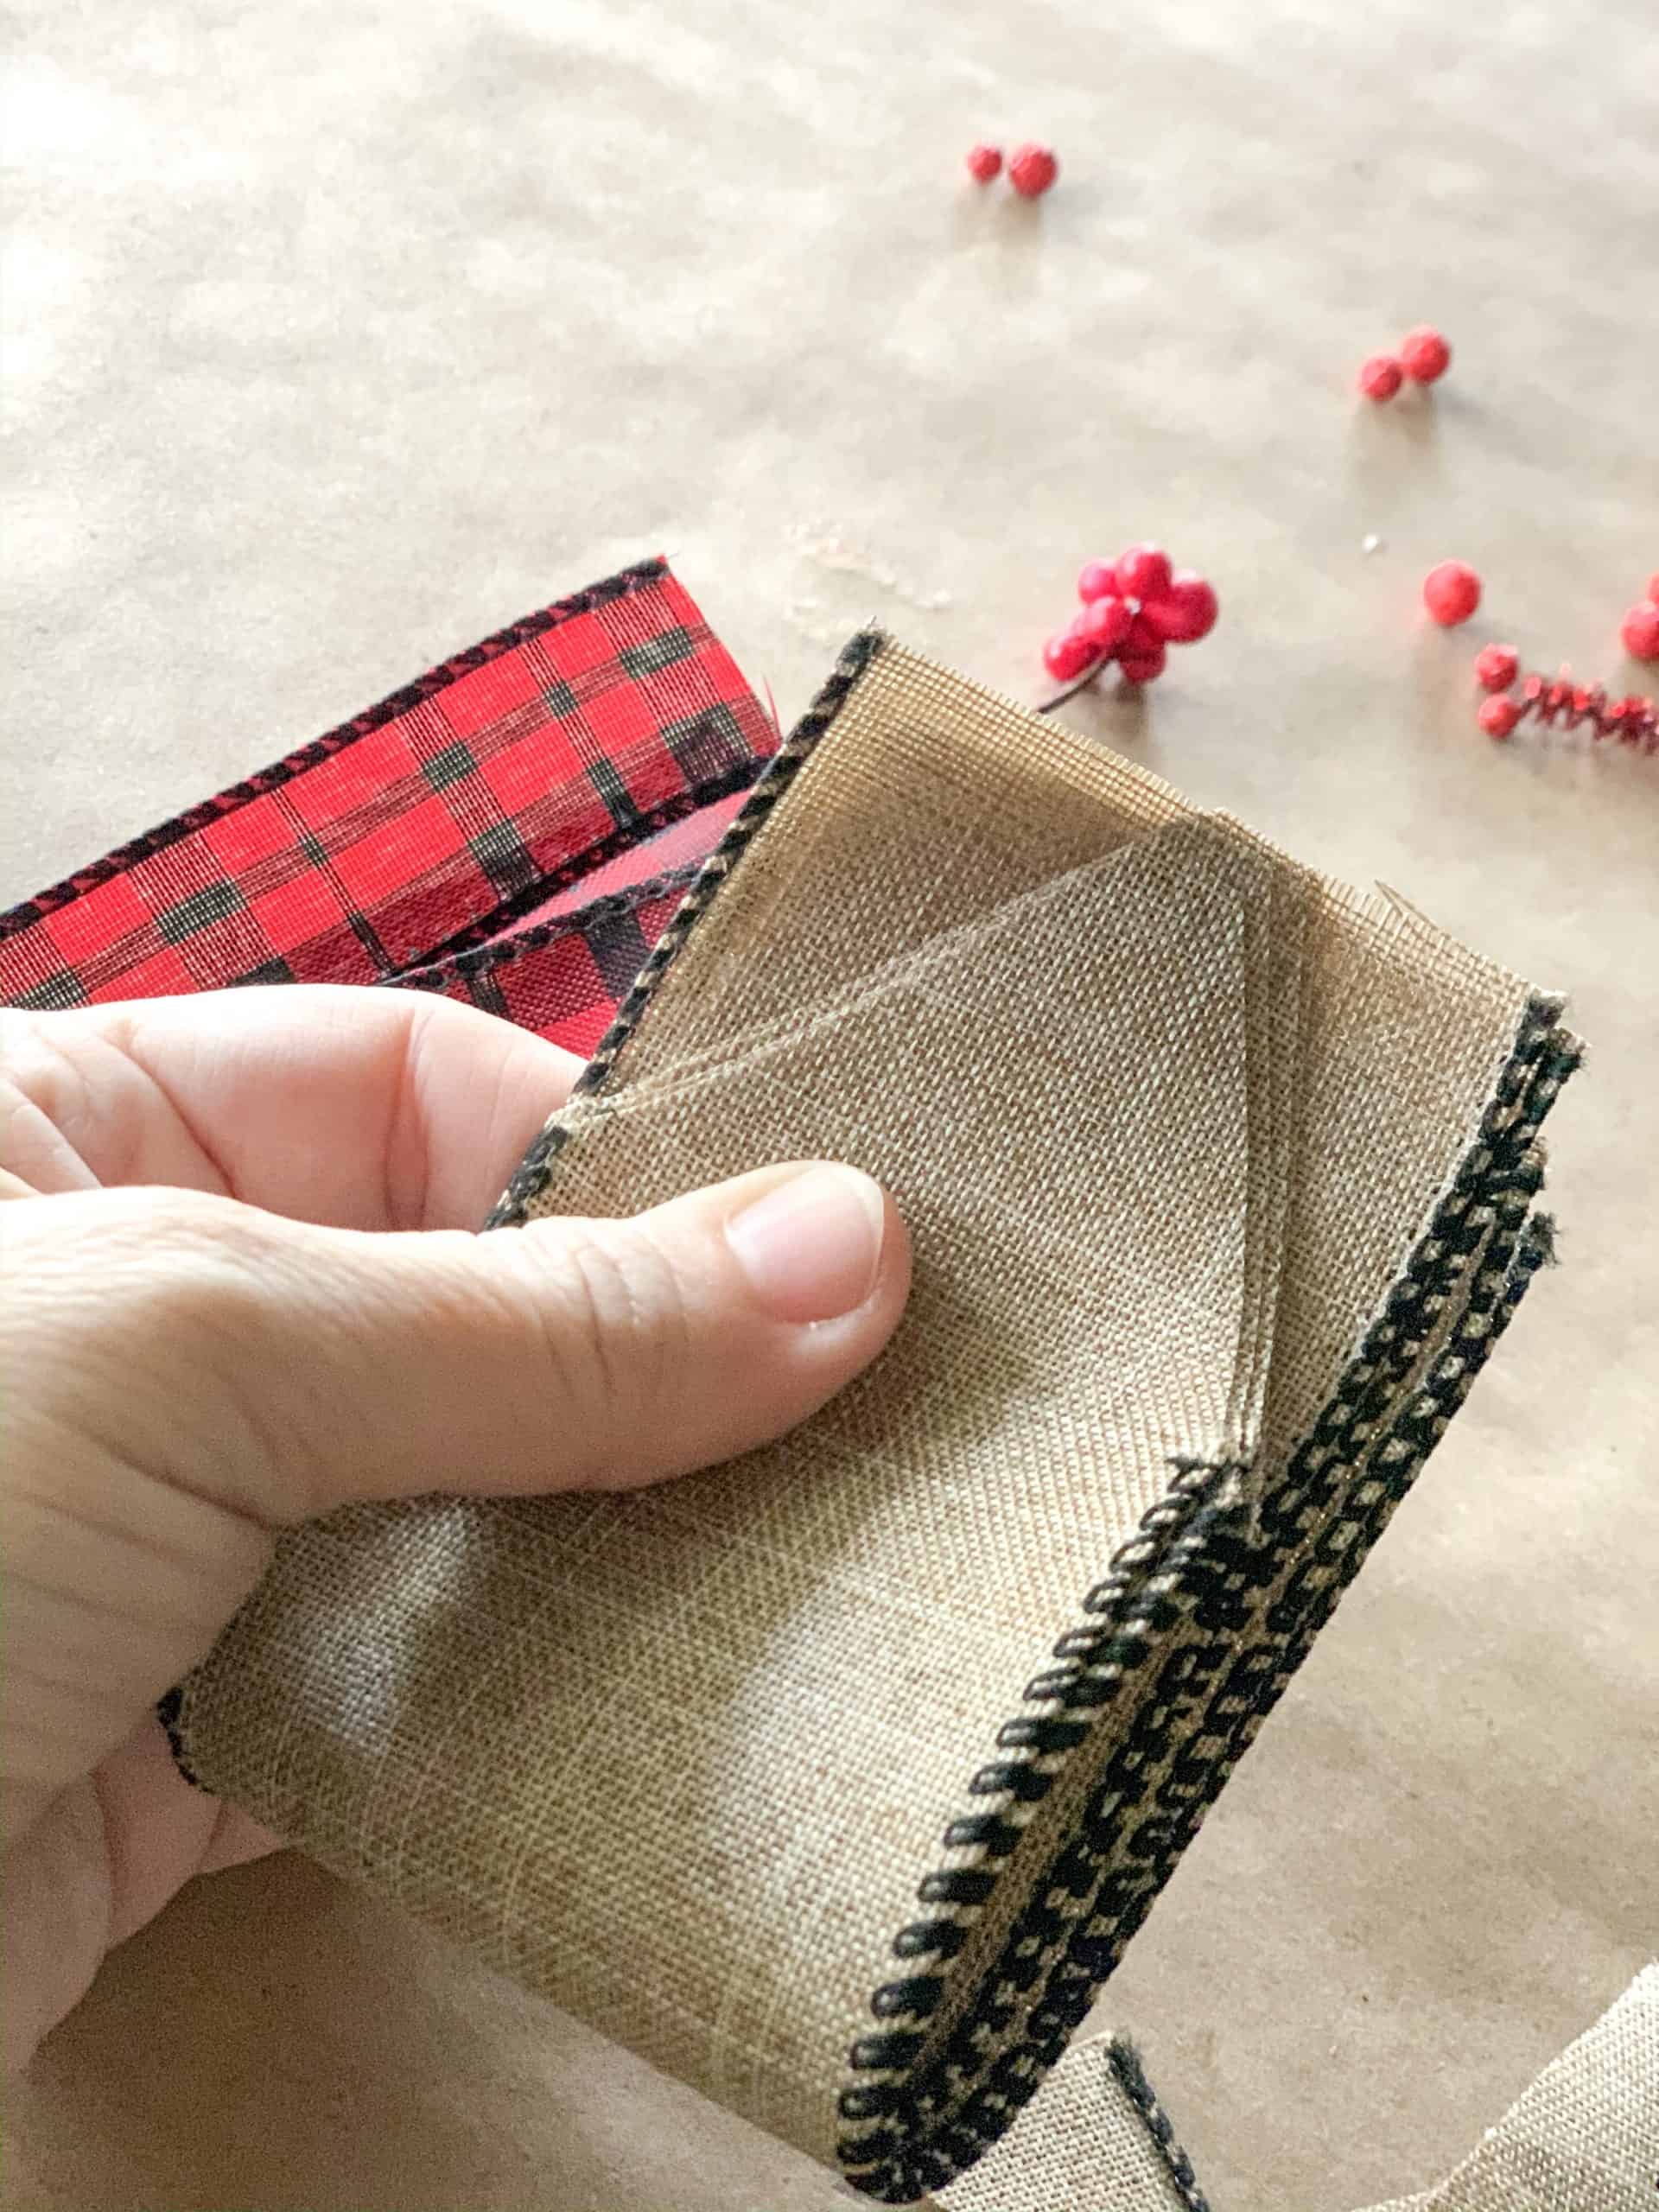
STEP 4 – If you are using the layered ribbon effect, stack the smaller ribbon on top of the larger ribbon pieces.
STEP 5 – Pinch the center of the ribbon in an accordion-type fold and hold in place while doing the same to the second ribbon (set). Attach using a pipe cleaner.
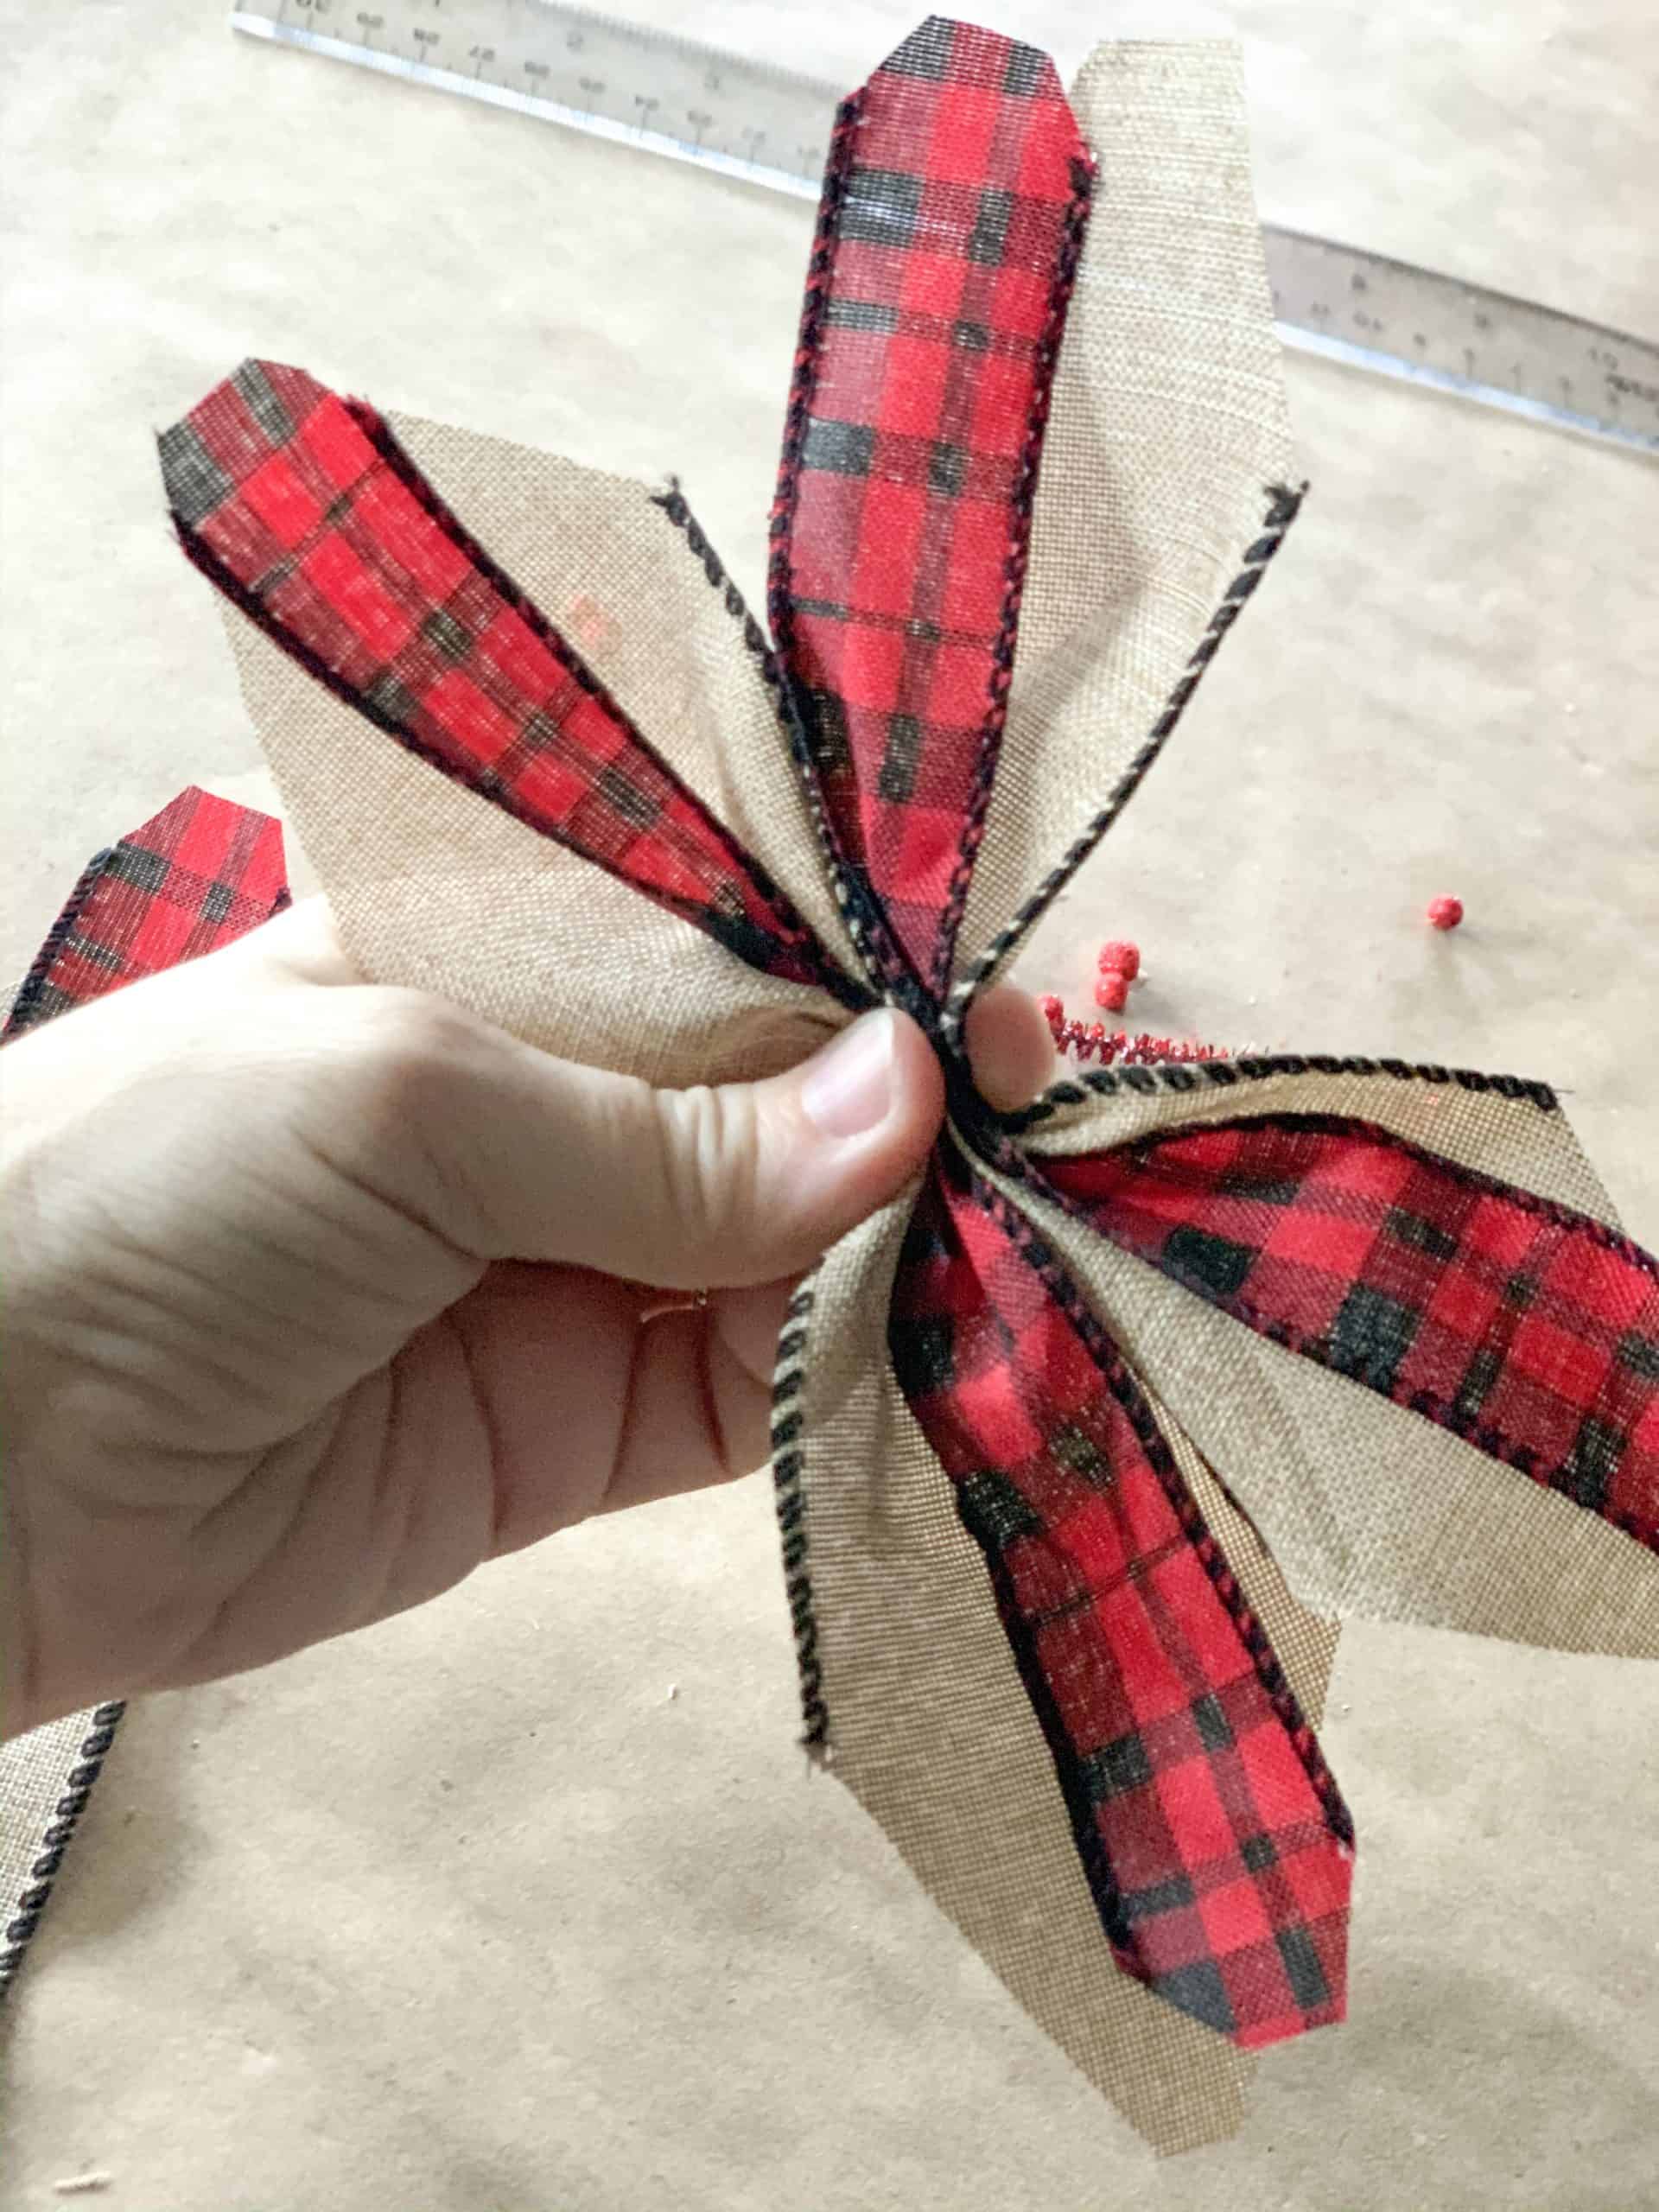
STEP 6 – Repeat Step 5 and place this set of flower petals under your first set securing with the tail of the pipe cleaner.

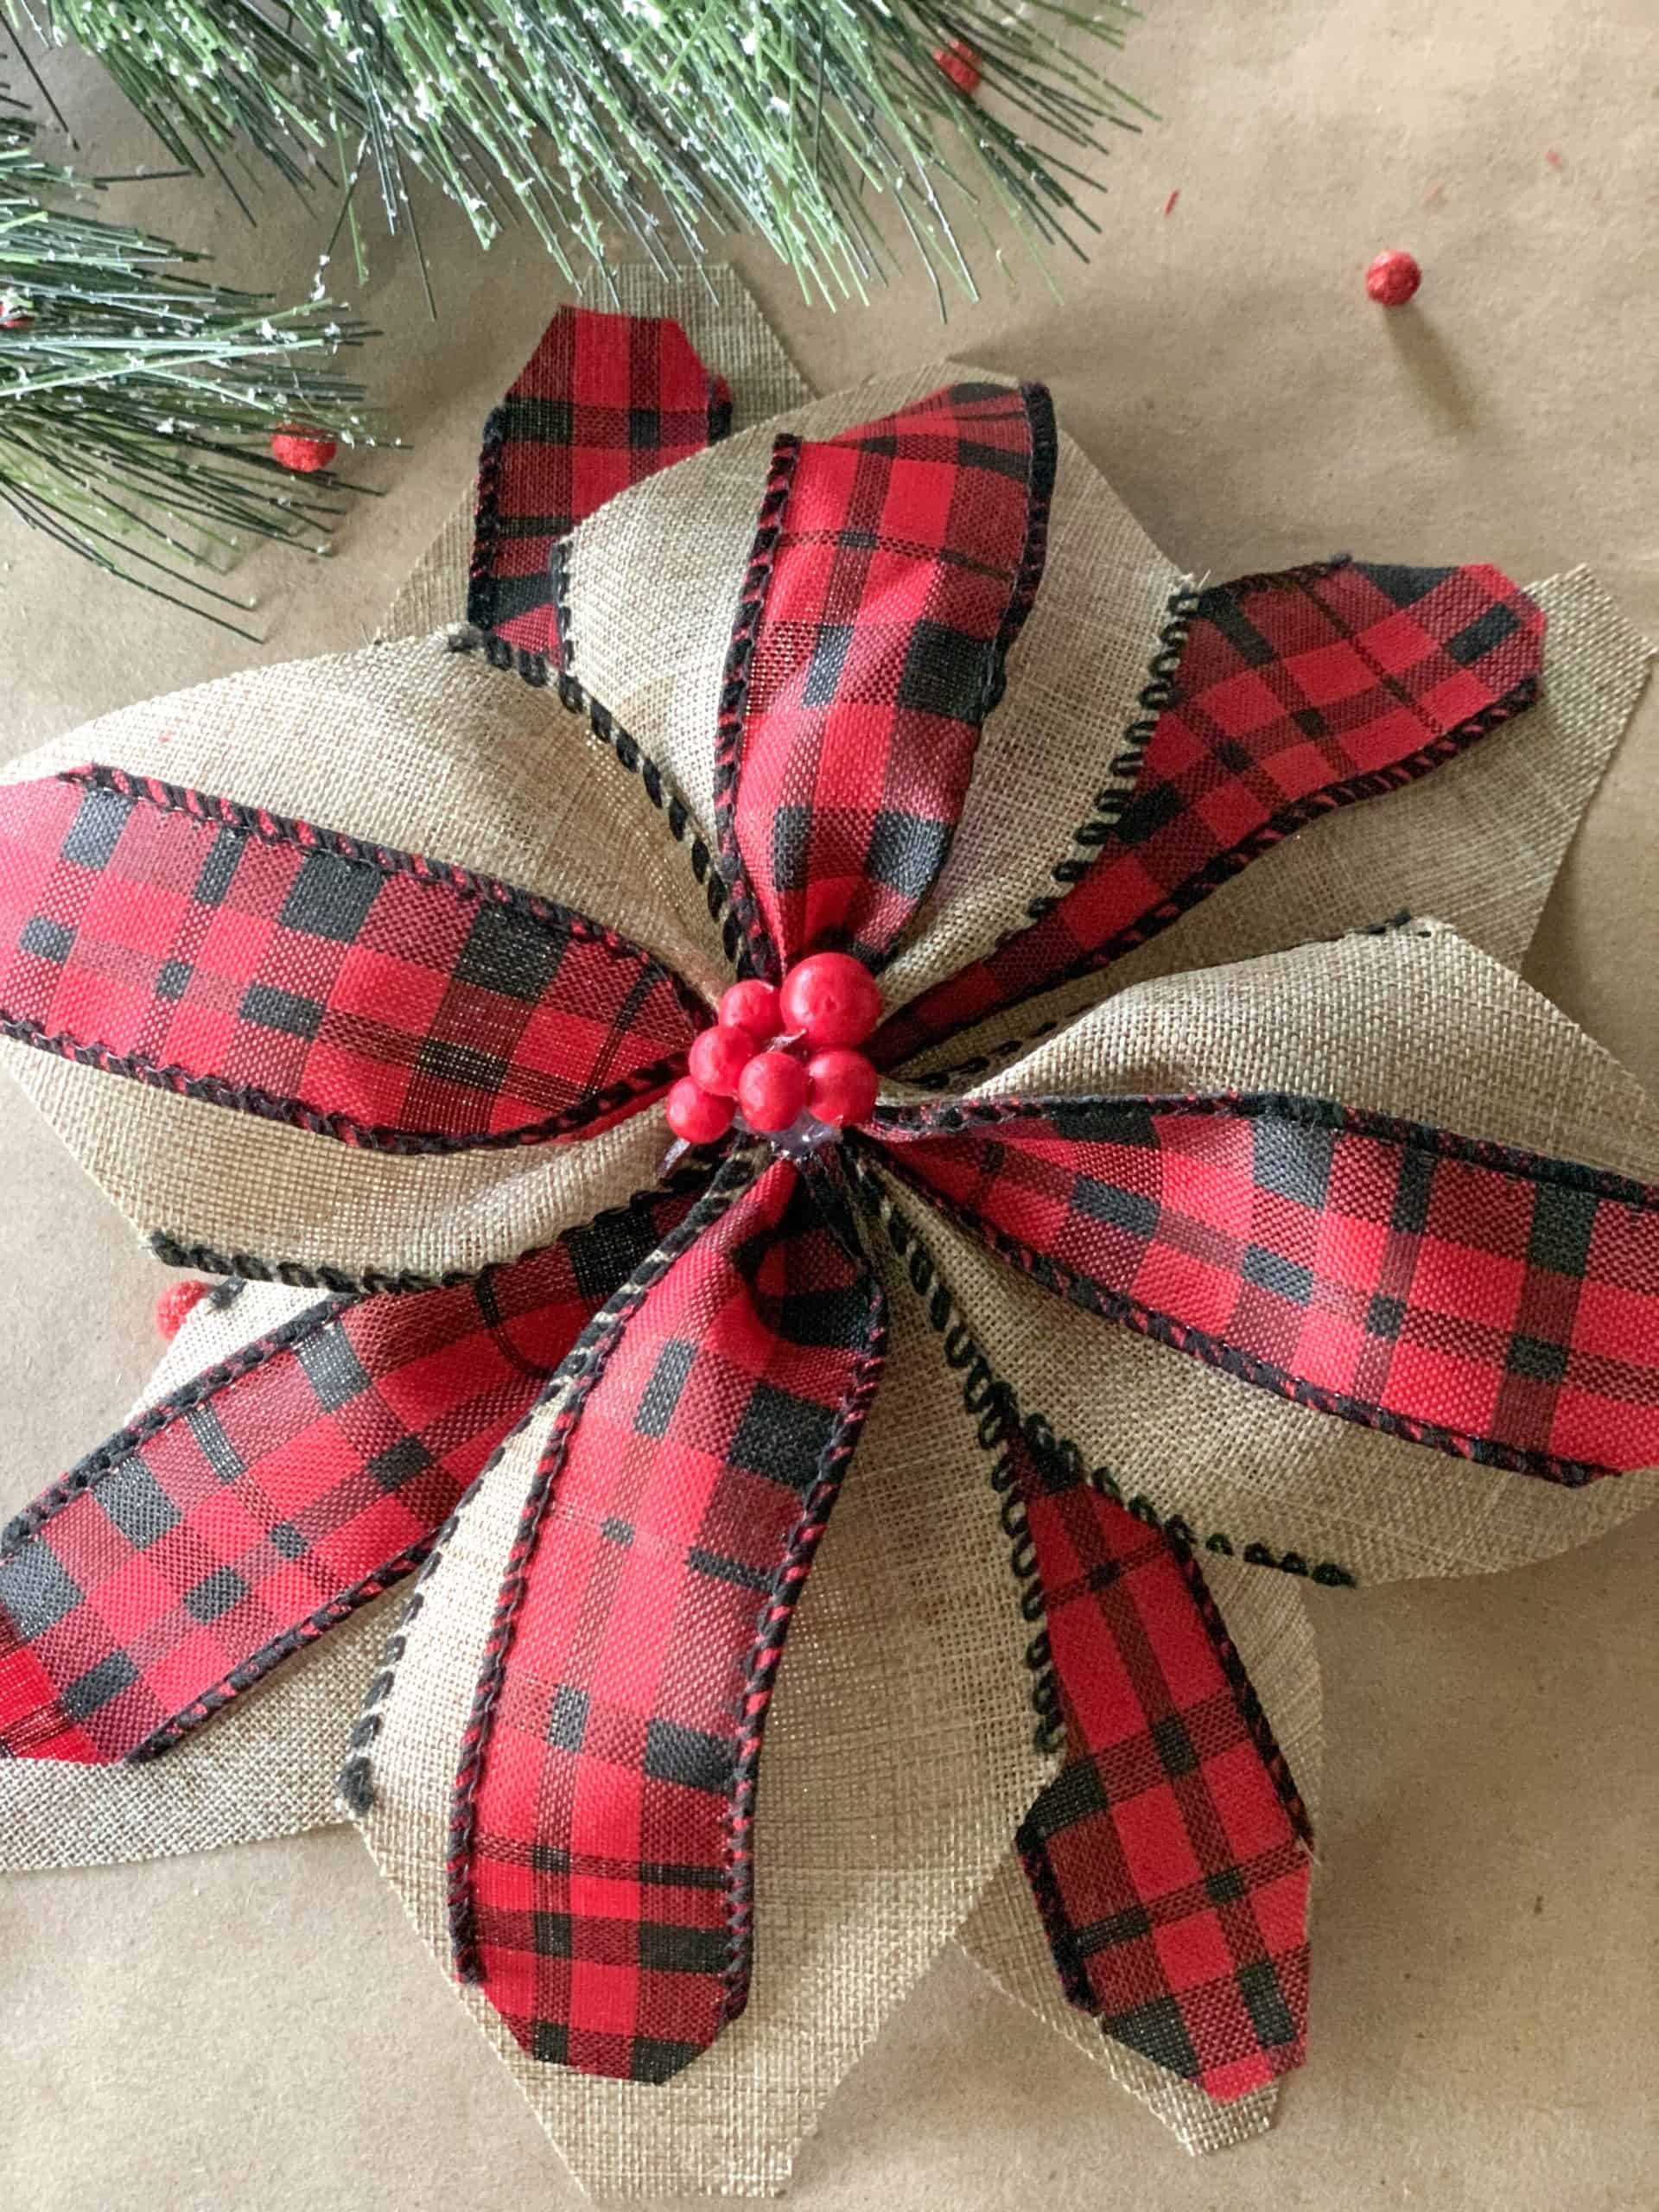
STEP 7 – Fluff the flower petals to the desired shape and look.

STEP 8 – Shape the ends of the 1″ ribbon.

STEP 9 – Add a drop of hot glue to the center of the poinsettia covering the pipe cleaner.

STEP 10 – Add berries or other embellishments to the center of the poinsettia.

This is a super cute and easy Christmas craft. I use these flowers on my tree, as a bow on gifts, additions to wreaths…the ways to use are limitless.
Let me know how you decorate with your Ribbon Poinsettias in the comments below.

I just love this idea for the Christmas tree! Thanks for sharing. ?
I think they are adorable! Thanks for stopping by!
Love this Jada.. So cute
Thank you so much, Linda!
Super cute!
Thank you! ❤️