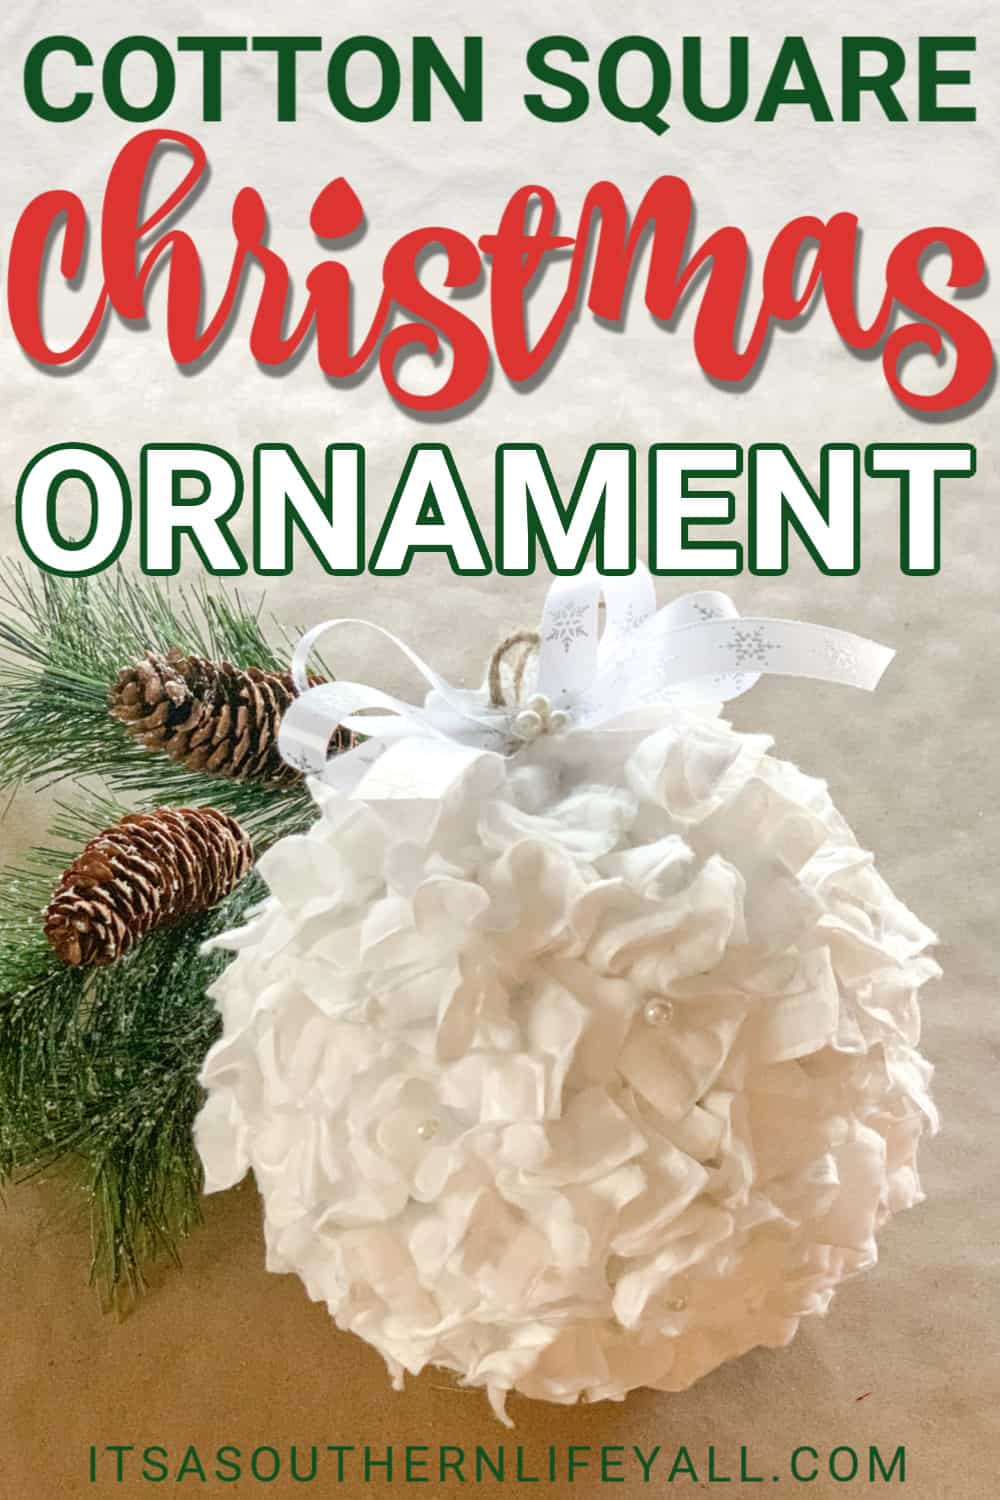
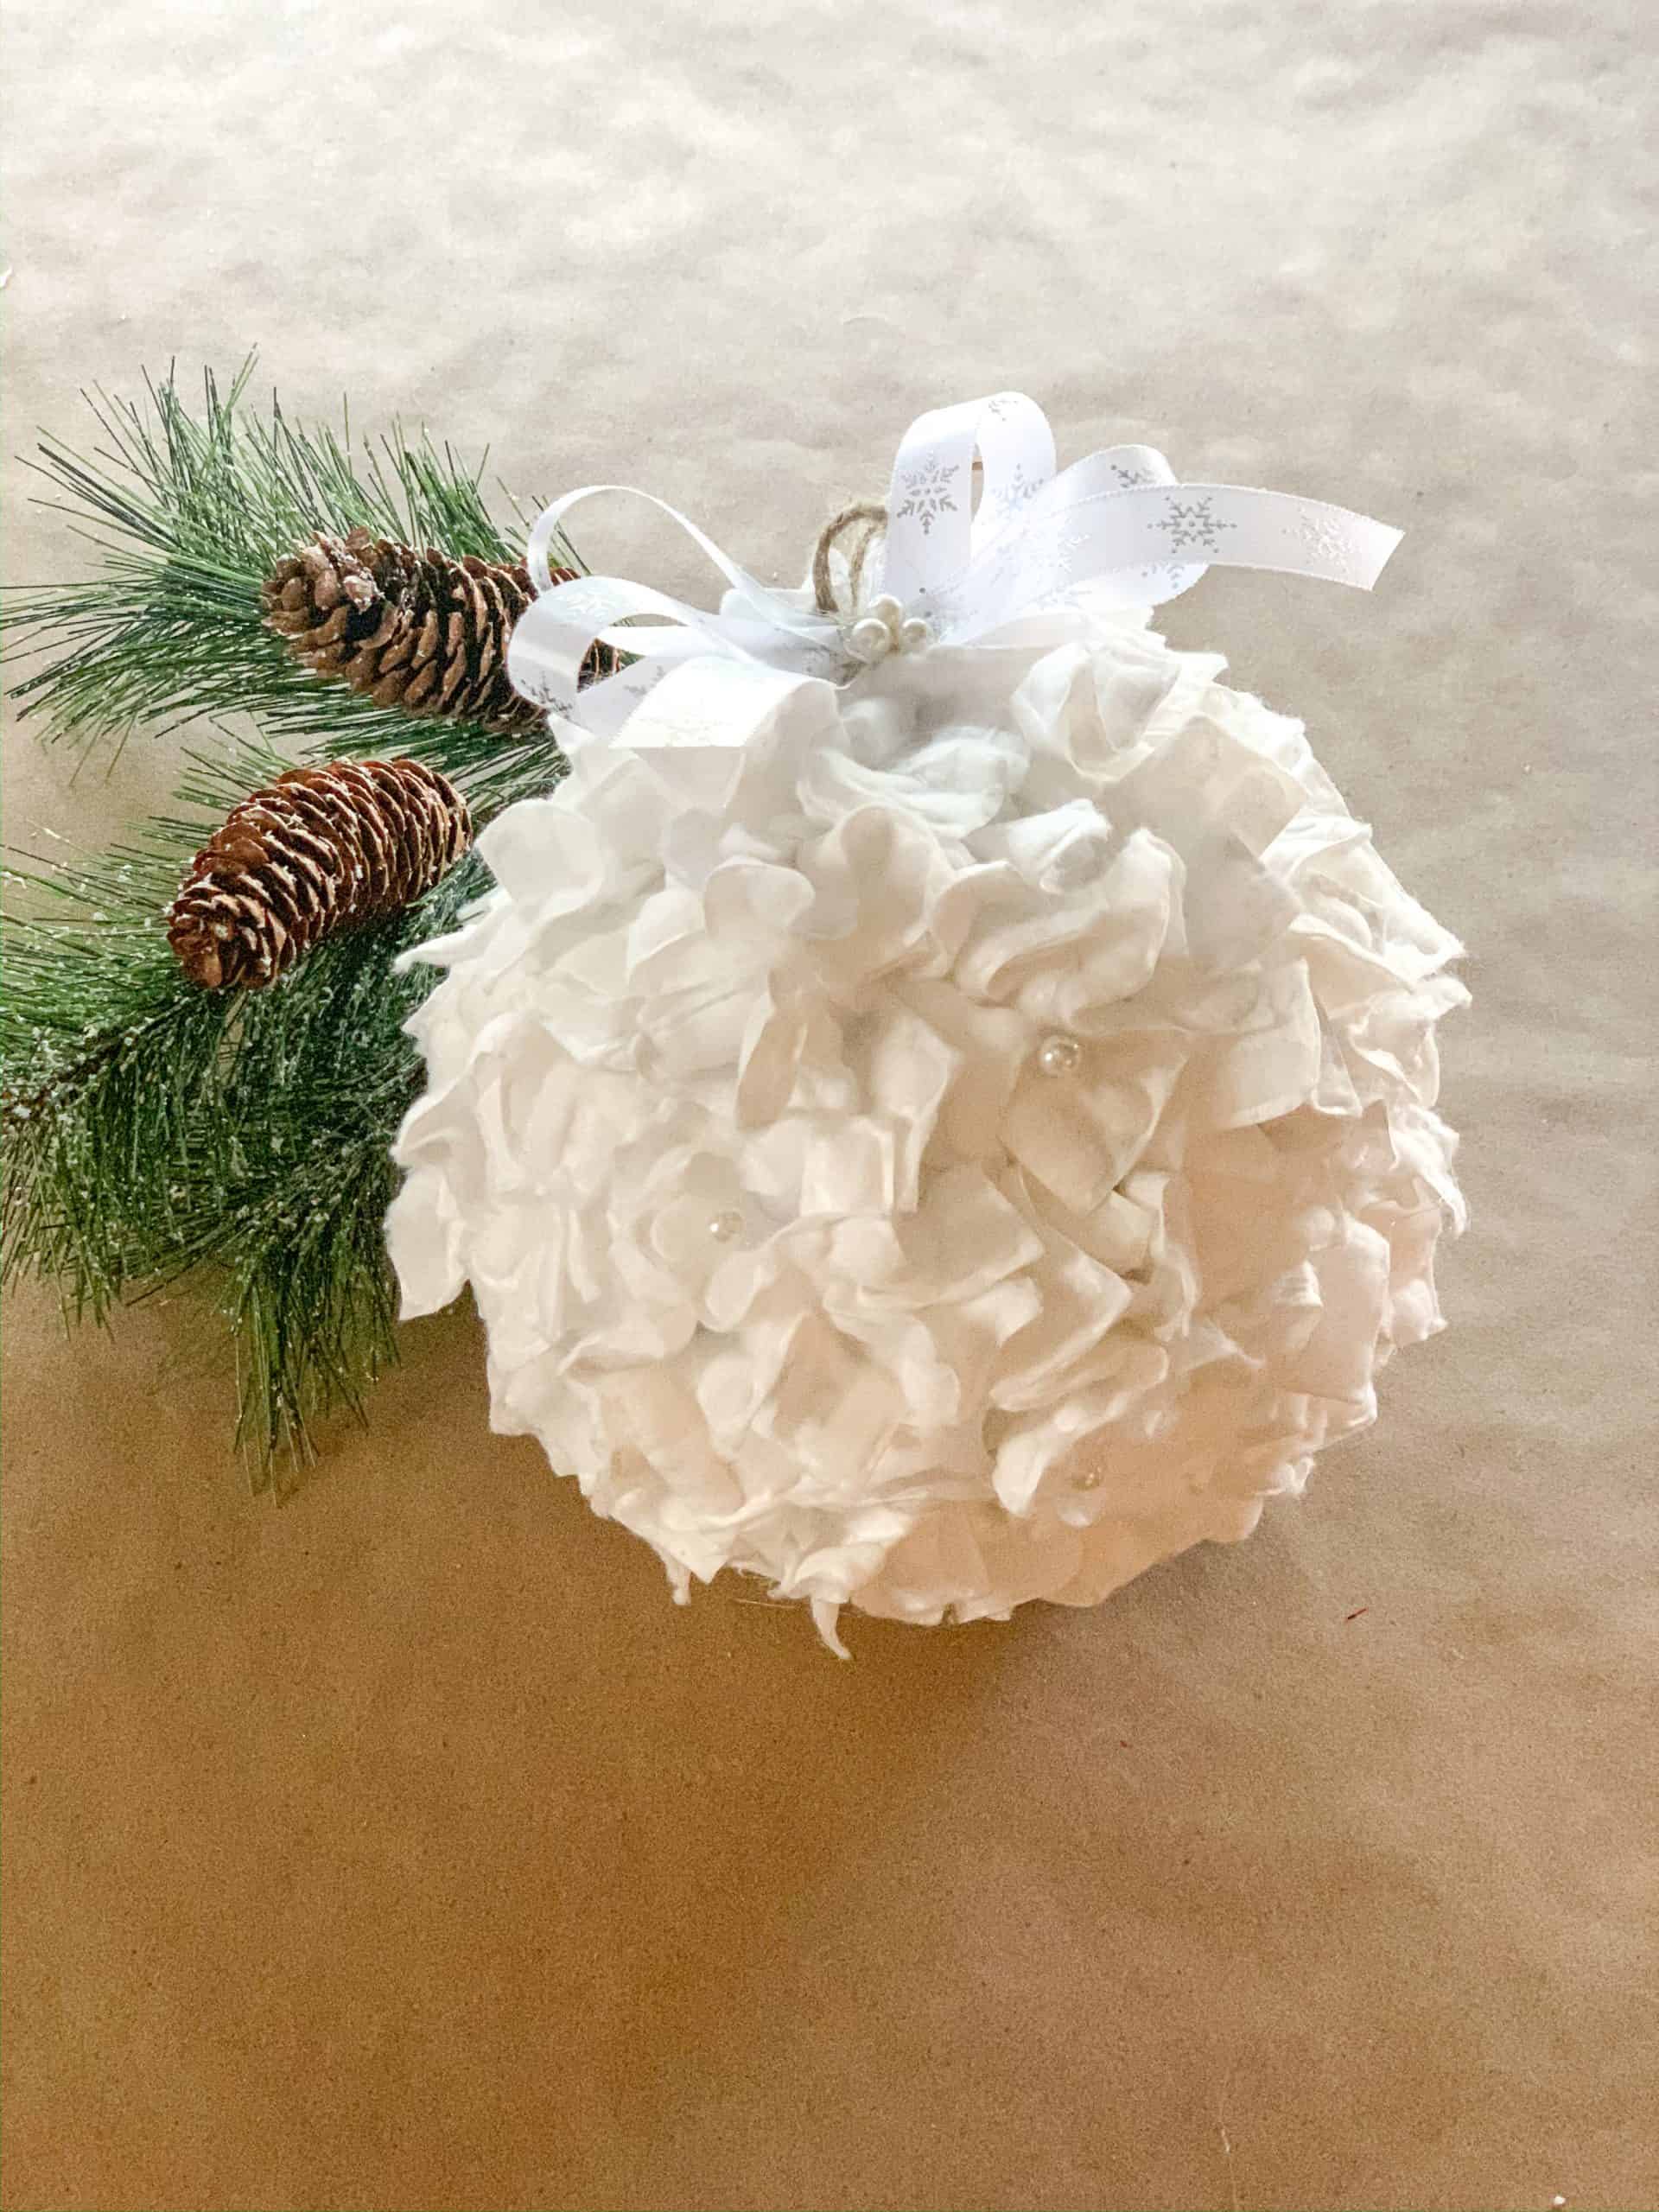
Christmas is drawing near and I’ve been challenging myself to create budget-friendly Christmas decorations. Although this is my favorite time of the year, it’s the most draining on our pocketbooks. Sticking to my budget for a cash-only Christmas includes all of the extras, so I find ways to remain very frugal during the season. This repurposed cotton square ornament is one of my favorite creations. It has that expensive boutique look while costing around $3 and taking 30 minutes to make.
(This post may contain affiliate links. What does that mean to you? Well, if you click on a product and make a purchase, I may receive some compensation at NO charge to you. If you want to read the boring stuff, my full disclosure can be found here.)
Yes! Your eyes aren’t playing tricks on you! This beautiful ornament is very affordable to make…both with time and money.
I sat down to create this beauty as part of an ornament exchange where we had to keep out handmade goodie under $5. I had oodles of ideas but wanted something that would impress.
Thinking of ways to recreate an old fashioned fabric scrap ornament I saw years ago, it hit me to do an all-white version. I first thought of using felt and cutting the squares but that just seemed like a time zapper there. Then it hit me…I would repurpose makeup remover pads and cross my fingers that it would work.
So off to the Dollar Tree for my supplies. Unfortunately, my local Dollar Tree didn’t have square makeup remover pads so these were found at Walmart. But, they were still very affordable with the pack costing around $2.50 (and I didn’t use the entire pack).
RELATED POST: Farmhouse Felt Leaf Ornaments
Supplies needed:
- Large Christmas Ornament
– you are covering the entire ornament so any color would work.
- Cotton Squares
– I used 120 to cover this ornament.
- Jute Twine
- Ribbon
- White Glass Pearls
- Scissors
- Glue Gun
- Glue Sticks
How to make a repurposed cotton square Christmas ornament
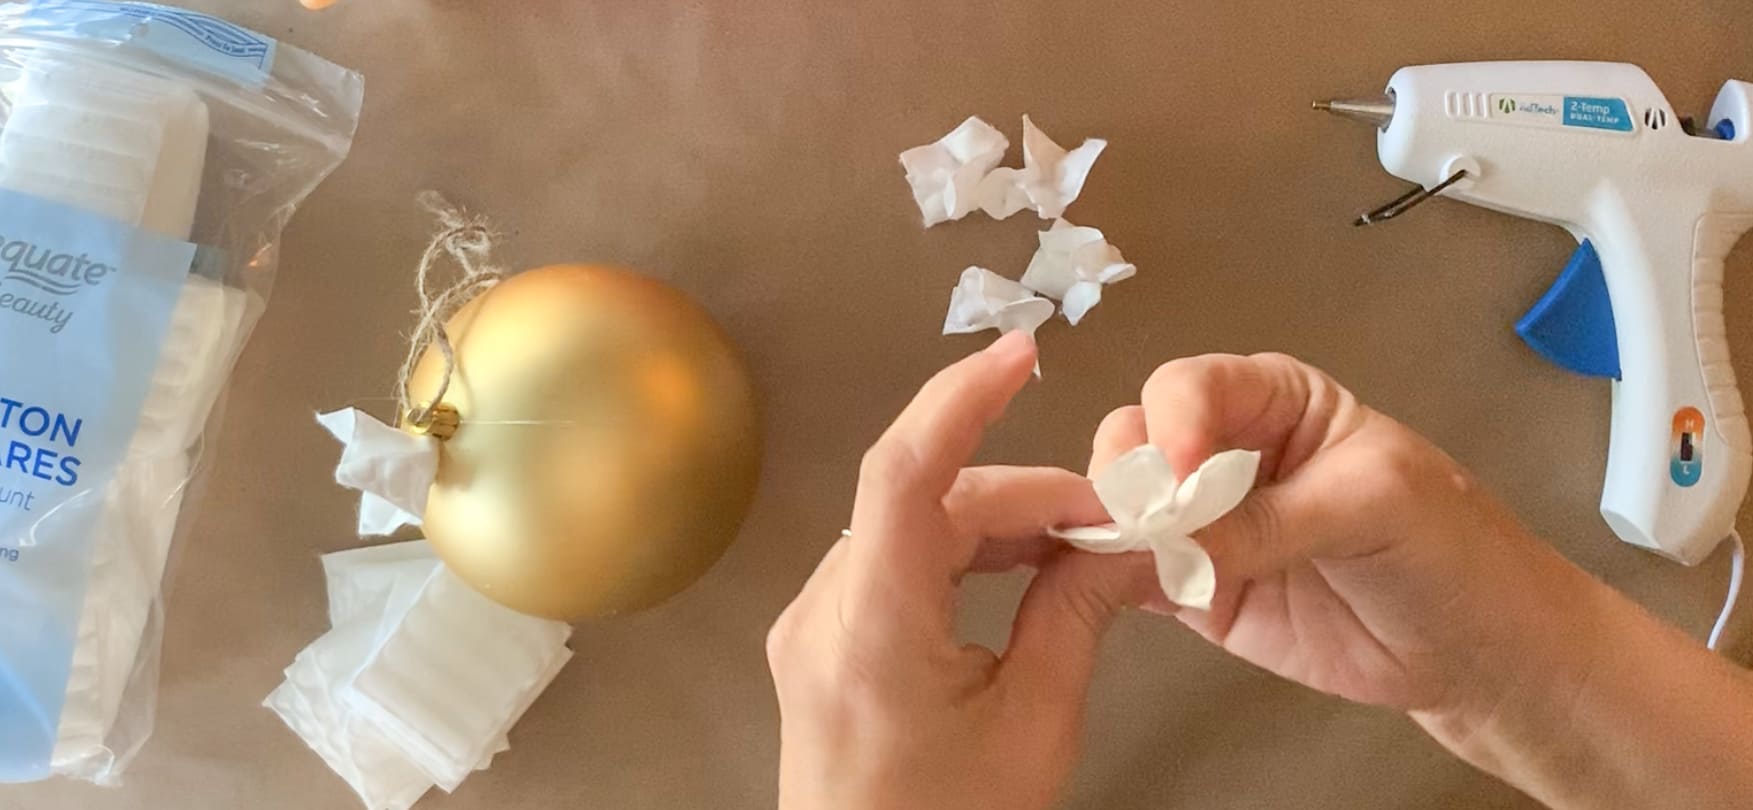
STEP 1 – Cut approximately 8″ of jute twine, slide it through the top of the ornament and tie.STEP 2 – Form cone shapes by adding a drop of glue to the center of the cotton square. Then pinch the backside of the square to form the shape. For this large ornament, I used 120 cotton squares.
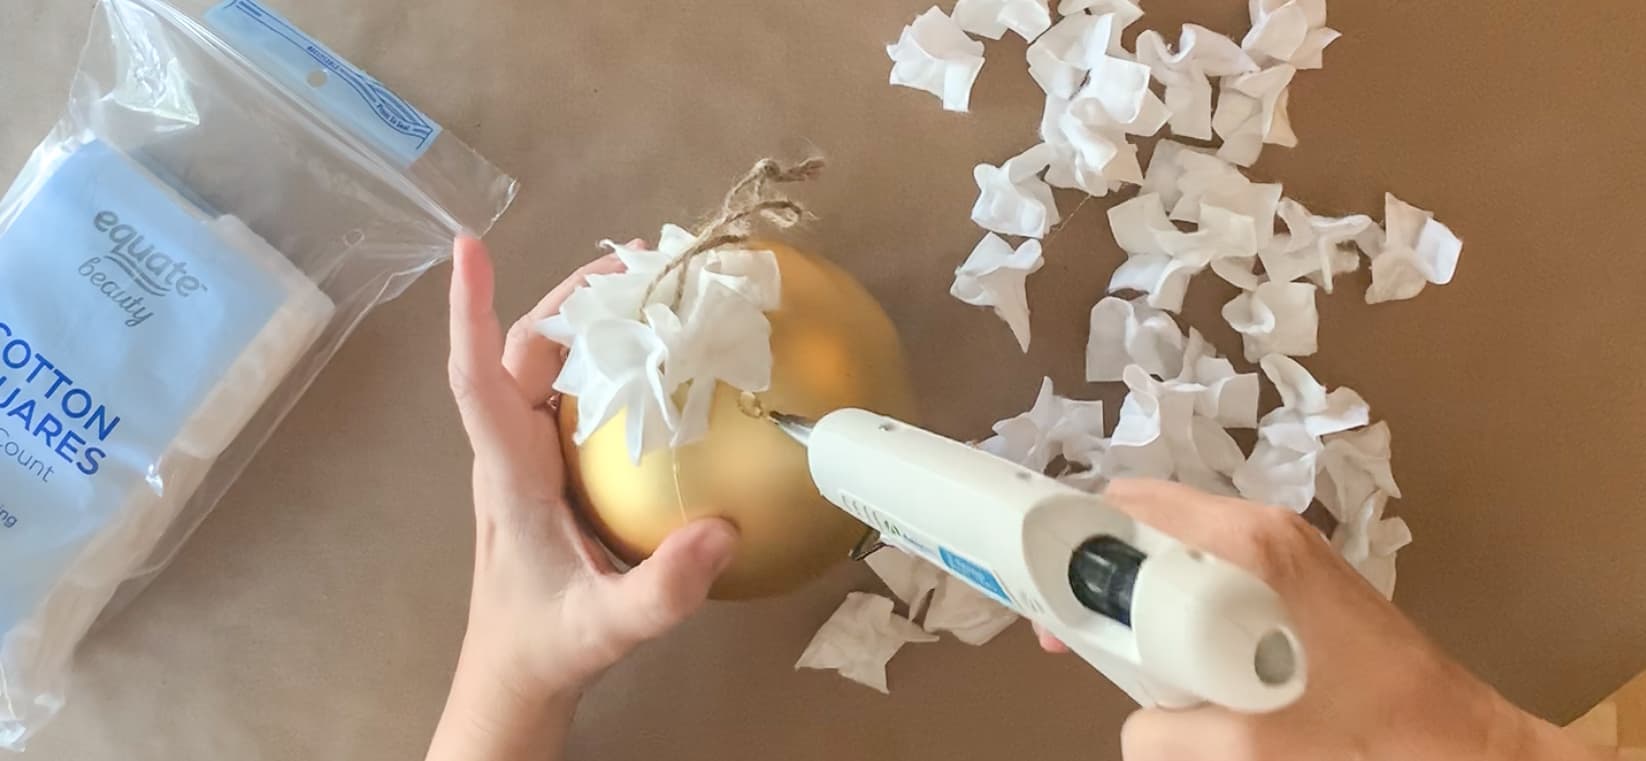
STEP 3 – Glue the cotton shapes to your ornament. Start at the top and work your way down in a circular motion leaving 1/2″ between each shape. Glue the pointed end to the plastic ornament. I left my glue gun on the low setting.

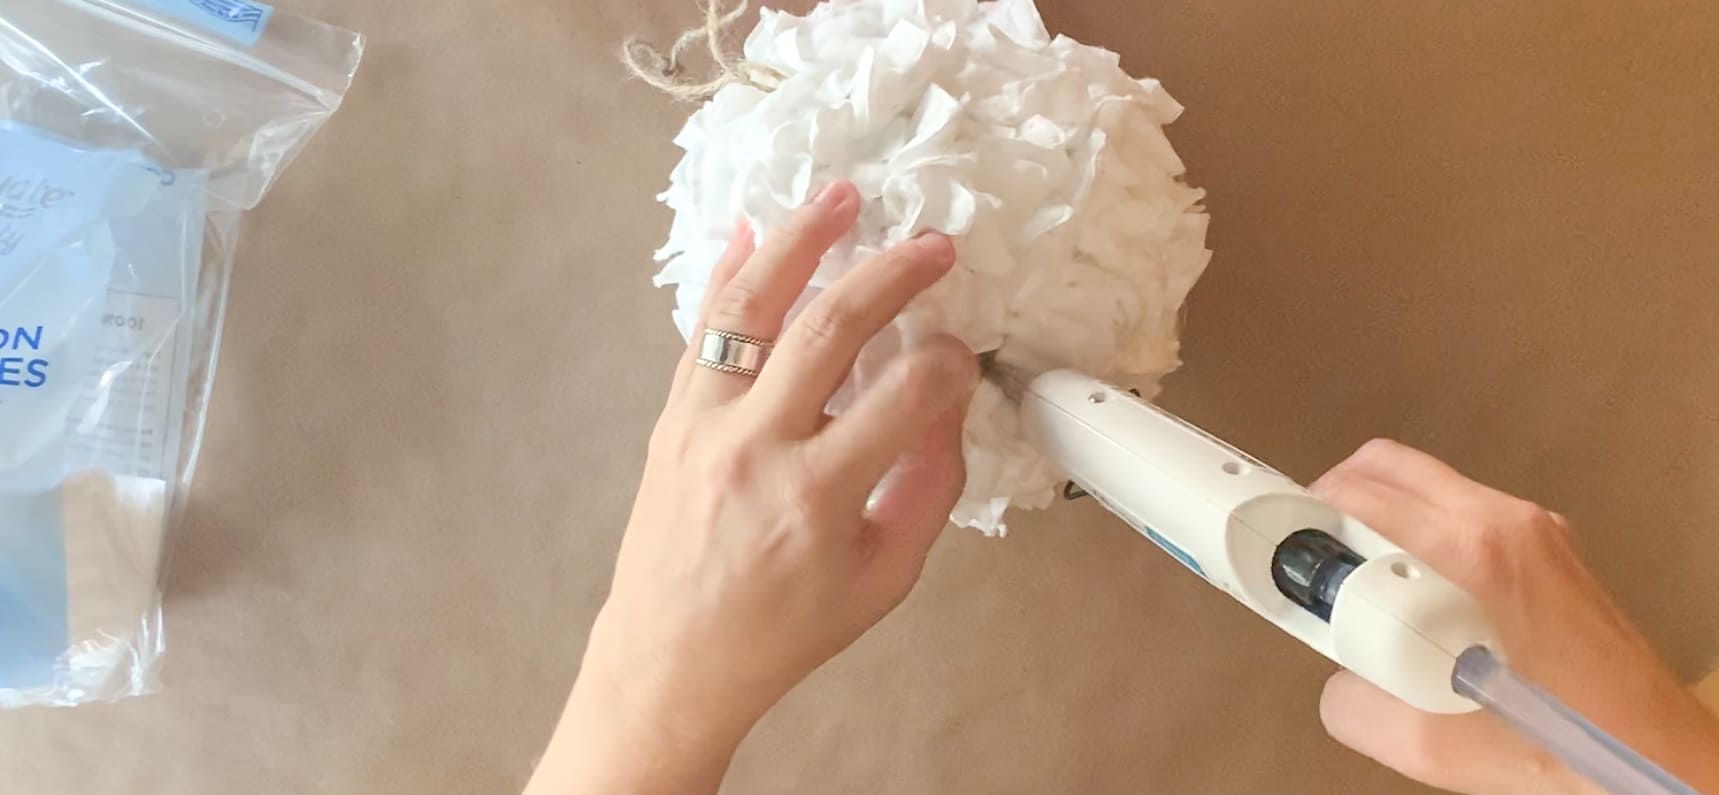
STEP 4 – Ater covering the entire ornament, check for holes where the color of the ornament peeks through. When you find a hole, add a little glue and squeeze the shapes together and push down to cover the hole.
Step 5 – Create a bow for the top of your ornament. I used a 1/2″ ribbon with silver snowflakes from the Dollar Tree. This is a double loop freeform bow and is secured using a small piece of jute. Attach the bow to the top of the ornament using a small amount of hot glue.
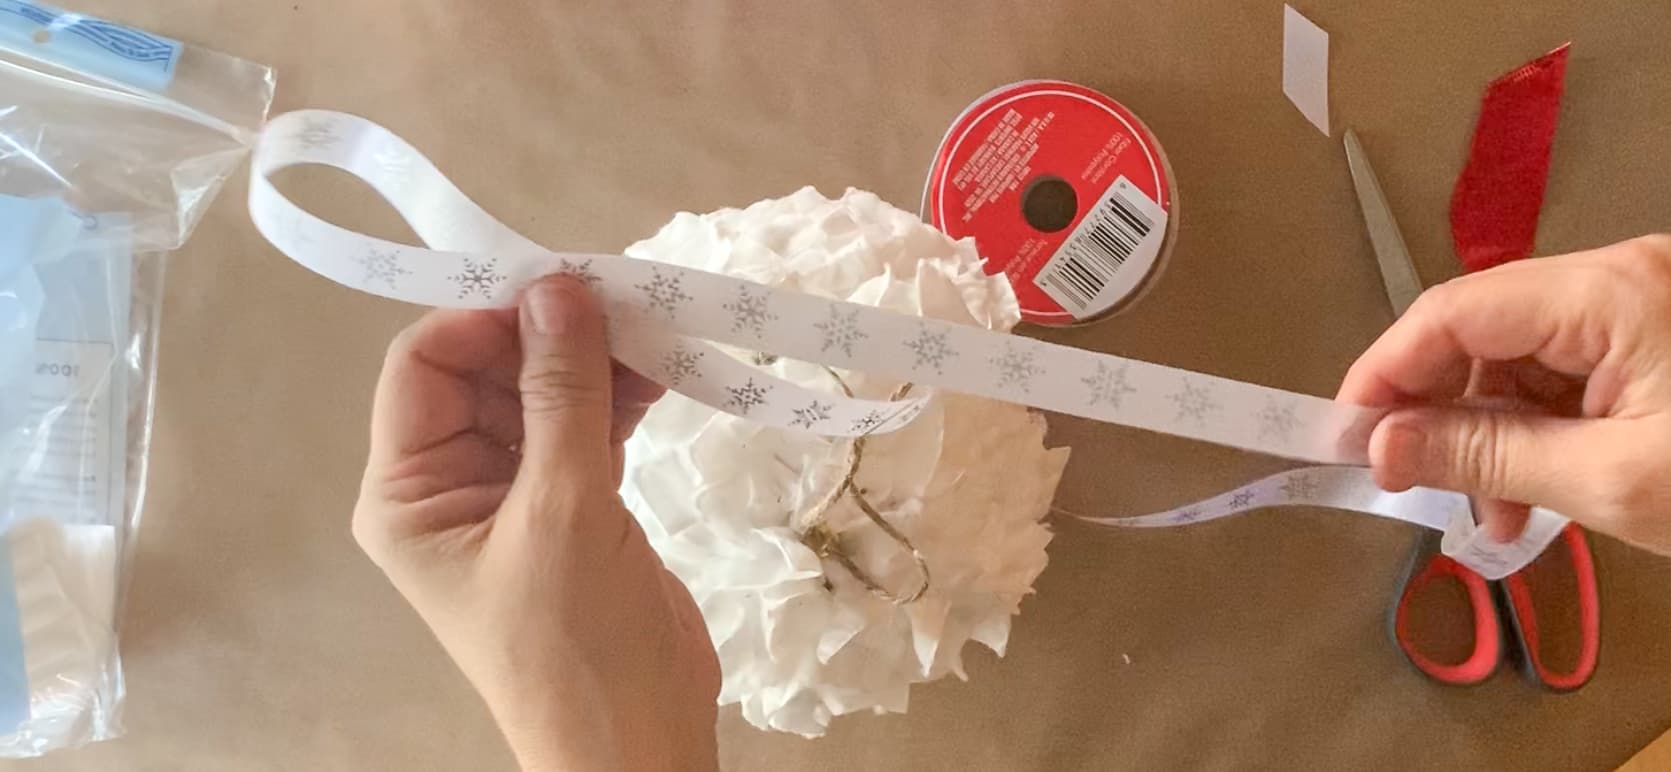
STEP 6 – I glued three glass pearls at the center of the bow to cover the jute twine.

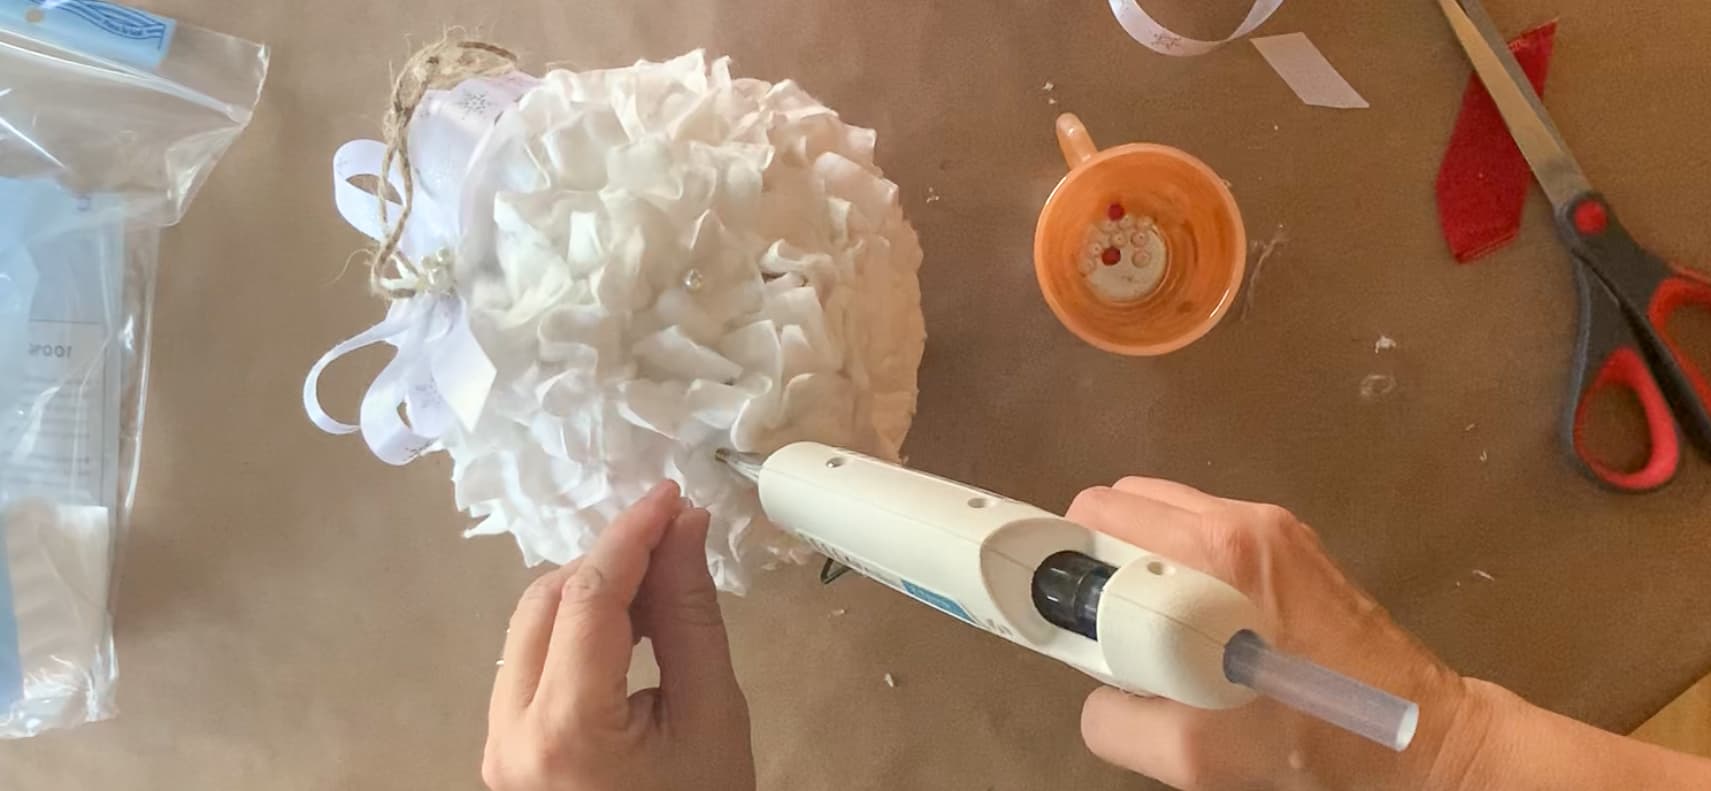
STEP 7 – Randomly glue glass pearls around the ornament. You can add as few or as many as you want.
When I showed my friends the completed project, they couldn’t believe this was made with makeup remover pads. What do you think?
RELATED POST: Rustic Gnome Ornaments
Although I made this as a Christmas ornament, I can see this used at wedding or baby showers. Imagine covering an entire beach ball and hanging in the center of a room…WOW!

Love this, Jada! Will definitely try this! ?
Thank you, Tammy! ❤️