How to Design a Beautiful and Functional Blog Layout on a Budget
This guide offers practical, cost-conscious strategies that help you create a visually beautiful blog while streamlining organization and boosting productivity.
Table of Contents
- Step 1: Assess Blog Goals and Content Needs
- Step 2: Select Cost-Effective Design Tools
- Step 3: Customize Layout for Family Organization
- Step 4: Enhance Visual Appeal with Free Assets
- Step 5: Test Usability and Mobile Responsiveness
Quick Summary
| Key Insight | Explanation |
|---|---|
| 1. Define Your Blog’s Goals | Clearly outline your mission, topics, and audience to shape your blog’s design and content. |
| 2. Choose Budget-Friendly Tools | Select cost-effective design tools like WordPress that meet your needs without overspending. |
| 3. Create an Intuitive Layout | Design sections that are easy to navigate for family organization, using visual elements strategically. |
| 4. Incorporate Free Visual Assets | Use high-quality free stock images to enhance your blog’s aesthetic without financial strain. |
| 5. Ensure Mobile Responsiveness | Test your blog on various devices to ensure a consistent and user-friendly experience across platforms. |
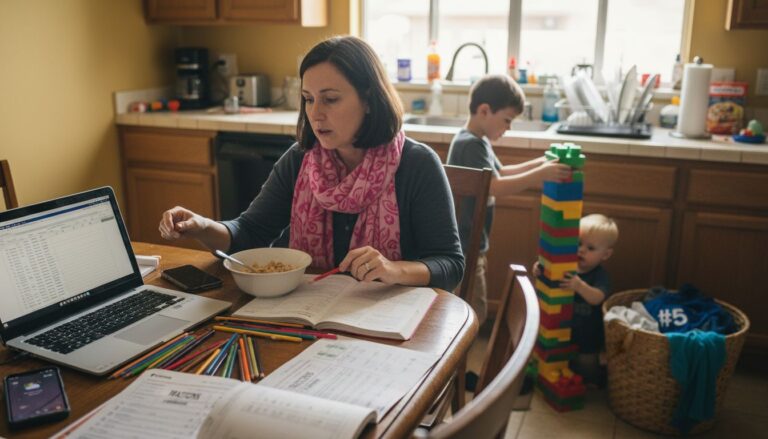
Step 1: Assess Blog Goals and Content Needs
Designing a beautiful blog starts with understanding exactly what you want to achieve. Your blog’s layout and design must directly support your core content strategy and communication objectives. Developing a clear content strategy provides essential direction for creating a purposeful and effective blog.
Begin by asking yourself key questions about your blog’s mission. What topics will you cover? Who is your target audience? What specific goals do you want to accomplish? Whether you aim to share personal stories, provide expert advice, showcase a portfolio, or generate income, your layout should visually reinforce these objectives. Understanding the nature of your blog’s content helps you make intentional design choices that enhance user experience and engagement.
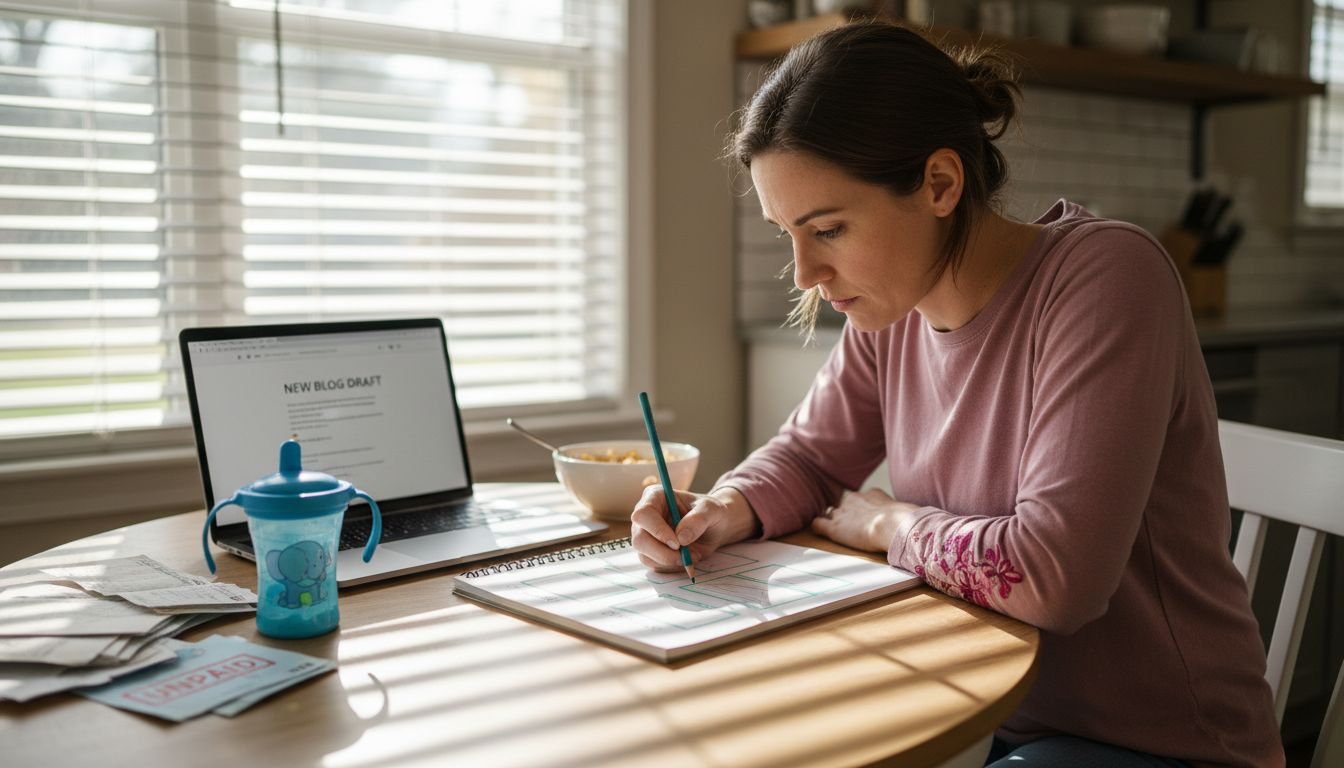
Consider creating a simple content map that outlines your blog’s core themes, potential article categories, and primary audience interests. This strategic approach ensures your layout supports your content priorities and creates a clear, intuitive navigation experience for readers. Map out your main sections, potential subcategories, and the overall user journey you want to create.
Pro tip: Create a visual mood board or inspiration folder with blog designs that resonate with your goals and aesthetic preferences before starting your own design process.
Step 2: Select Cost-Effective Design Tools
Choosing the right design tools can make or break your blog’s aesthetic without breaking the bank. WordPress offers incredible flexibility for bloggers with options ranging from free platforms to more advanced self-hosted solutions that accommodate various skill levels and budget constraints.
Explore design tools that provide professional results without expensive subscriptions. UI and UX design tools like Figma, Sketch, and Balsamiq can help you prototype and wireframe your blog layout efficiently. Consider free or low-cost options that allow you to experiment and create stunning designs without significant financial investment. Look for tools with user friendly interfaces, responsive design capabilities, and template options that match your vision.
When selecting your design platform, prioritize tools that offer scalability. Start with free versions and upgrade gradually as your blog grows. Many platforms provide basic templates and design elements that can be customized to reflect your unique style and content goals.
Pro tip: Always test design tools during their free trial period to ensure they match your technical skills and creative requirements before committing to a paid subscription.
Here’s a quick comparison of popular blog design tools and their key attributes:
| Tool | Cost Structure | Best For | Notable Features |
|---|---|---|---|
| WordPress | Free & paid tiers | Beginners & advanced users | Flexible themes, plugins |
| Figma | Free & paid plans | Collaborative design projects | Cloud-based prototyping |
| Sketch | Paid, one-time fee | Mac users, UX/UI designers | Vector editing, easy exports |
| Balsamiq | Paid, free trial | Wireframing, mockups | Simple, fast wireframe tools |
Step 3: Customize Layout for Organization
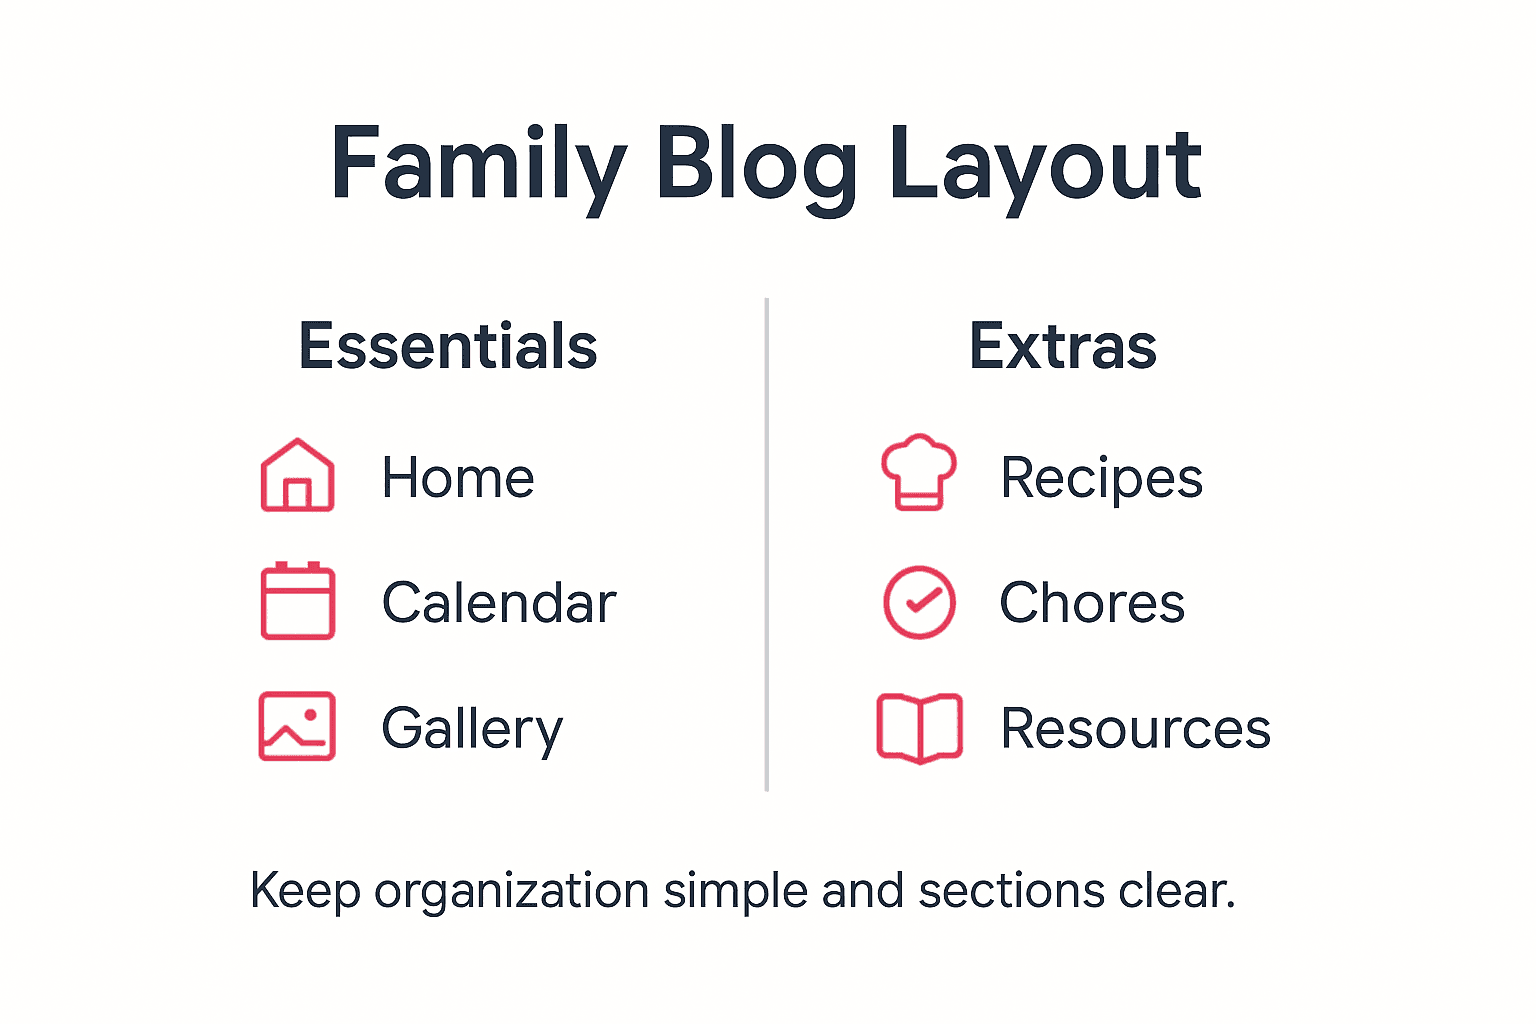
Transforming your blog into an organization powerhouse requires strategic layout design that makes information accessible and visually appealing. WordPress plugins like Blog Post Layouts offer incredible customization options that allow you to create tailored displays without needing advanced coding skills.
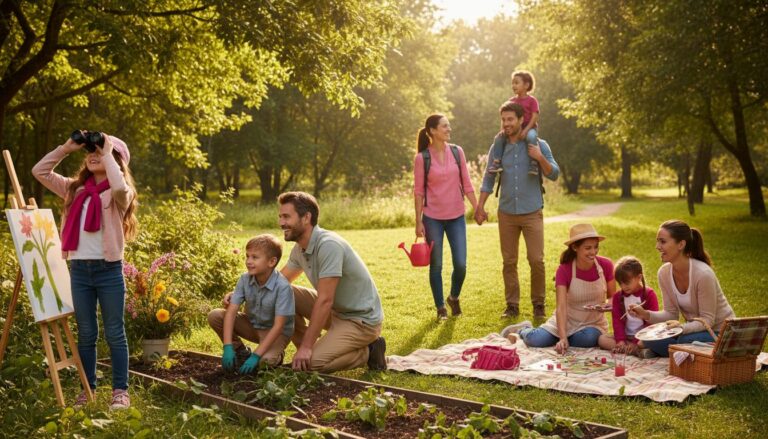
Focus on creating clear, intuitive sections that help people navigate content easily. Utilize grid layout builders to design visual structures that represent different organizational categories like meal planning, schedule management, budget tracking, and personal notes. Consider using color coding, clear typography, and strategic content placement to make your blog both functional and inviting. Each section should feel intentional and support your specific organizational needs. Here’s an example of a family centric blog:
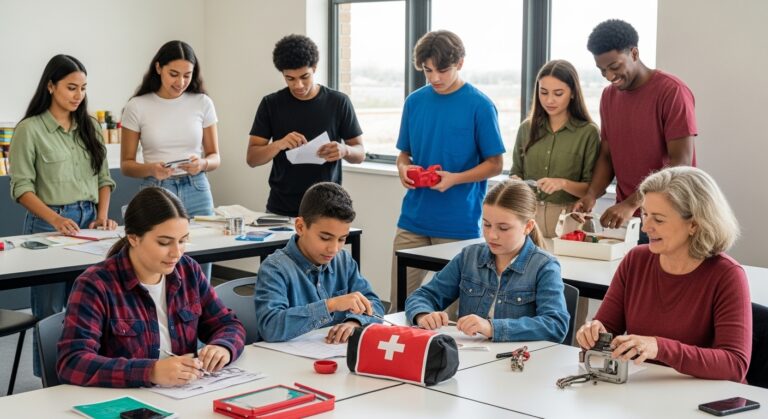
Think about the unique ways your family consumes information. Some members might prefer visual charts and infographics, while others appreciate detailed written explanations. Design your layout to accommodate different learning and organizational styles, ensuring everyone can engage with the content comfortably. Experiment with various column configurations, responsive designs, and content filtering to create a truly personalized family management platform.
Pro tip: Create a master layout mockup on paper first to visualize how different content sections will flow and interact before implementing digital design changes.
To help plan your family blog layout, here is a sample structure by content type:
| Section | Purpose | Suggested Visual Elements |
|---|---|---|
| Meal Planning | Organize recipes/meals | Charts, photos, icons |
| Schedule Management | Track events/activities | Calendar, color codes |
| Budget Tracking | Manage family finances | Tables, graphs, infographics |
| Personal Notes | Share updates/memories | Highlights, journal style |
Step 4: Enhance Visual Appeal with Free Assets
Visual design can transform your blog from basic to beautiful without spending a fortune. Images are powerful communication tools that attract attention and make your content more engaging for family readers. Understanding how to select and incorporate high-quality visuals can dramatically improve your blog’s overall aesthetic.
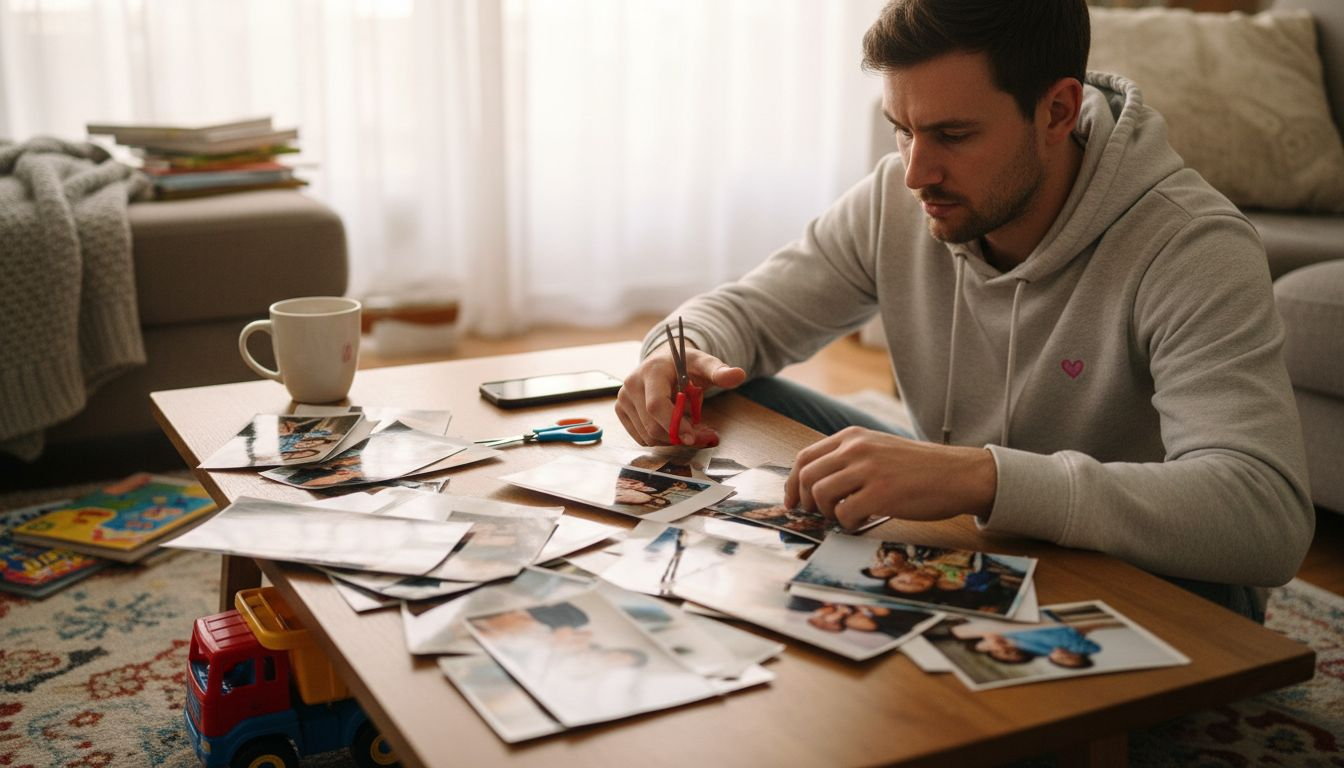
Explore the vast world of free stock image resources that offer professional quality graphics without breaking the bank. Public domain websites provide an incredible range of textures, images, and design elements that can elevate your blog’s visual storytelling. Look for authentic images that genuinely represent your family’s style and organizational goals. Consider using consistent color palettes, matching image styles, and graphics that reflect your blog’s unique personality.
When selecting images, prioritize authenticity and relevance over generic stock photos. Choose visuals that tell a story, illustrate your points clearly, and create an emotional connection with your readers. Pay attention to image resolution, ensure proper licensing, and select graphics that complement your content without overwhelming the design. Mix different types of visuals like infographics, photographs, illustrations, and icons to keep your layout dynamic and interesting.
Pro tip: Create a personal image style guide that defines the types of visuals, color schemes, and design elements that best represent your family’s blog aesthetic.
Step 5: Test Usability and Mobile Responsiveness
Responsive testing is crucial for ensuring your family blog works seamlessly across all devices and provides a consistent user experience. Your blog needs to look great whether someone is reading on a smartphone during a busy morning or on a tablet during family downtime.
Web design techniques like fluid grid systems and flexible images help create layouts that adapt smoothly to different screen sizes. Start by testing your blog on multiple devices such as smartphones, tablets, laptops, and desktop computers. Pay attention to how text readability, image scaling, and navigation menus perform across these different platforms. Check that your content remains clear and easily navigable regardless of screen size, ensuring family members can access information quickly and effortlessly.
Use free online tools and browser developer modes to simulate various device screen sizes and resolutions. Verify that interactive elements like buttons, links, and form fields are easily tappable on smaller screens. Focus on creating a user friendly experience that feels intuitive and comfortable for all family members, regardless of their technical expertise or the device they are using.
Pro tip: Recruit family members to test your blog on their personal devices and provide honest feedback about usability and readability.
Design a Blog Layout That Truly Supports Your Family’s Needs
Struggling to design a beautiful blog layout that also functions as a powerful family organization tool? This article highlights key challenges like creating intuitive sections, selecting cost-effective design tools, and ensuring mobile responsiveness. If you want your blog to be more than just pretty graphics but a real solution for meal planning, scheduling, and budget tracking, you need a strategic approach that balances aesthetics with practicality.
Explore our tips on time management and productivity strategies designed for busy families like yours. Start creating a blog layout and family routine that truly work together today.
Frequently Asked Questions
How can I define my blog’s goals and content needs?
Start by identifying the topics you want to cover and your target audience. Create a simple content map that outlines your blog’s core themes and article categories to clarify your blog’s objectives and improve layout decisions.
What are the best budget-friendly design tools for my blog?
Consider using free or low-cost design tools like WordPress for flexibility and scalability. Explore user-friendly options like Figma or Balsamiq for wireframing, ensuring you can create stunning designs without significant financial investment.
How can I customize my blog layout to best organize family-related content?
Design clear, intuitive sections for your blog that help your family navigate information easily. Use grid layout builders or visual structures for meal planning, schedules, and budget tracking, ensuring each section supports your family’s specific organizational needs.
What types of visuals should I include to enhance my blog’s appeal?
Select high-quality images that reflect your unique family style and organizational goals. Consider using a mix of infographics, photographs, and icons for visual variety, and create a personal image style guide to maintain consistency in your blog’s aesthetic.
How do I ensure my blog is mobile responsive and user-friendly?
Test your blog on multiple devices to ensure it looks good and is easy to navigate on all screens. Verify that text readability and interactive elements are accessible, allowing family members to engage with your content comfortably, regardless of their device.
What steps can I take to improve my blog’s overall usability?
Recruit family members to provide honest feedback after testing your blog on their devices. Focus on refining navigation and content layout based on their input to create an intuitive experience that caters to all users’ needs.
Recommended
- how to start a blog
- how to become a blogger
- blogging for beginners
- 7 Types of Web Design You Need to Know – Marzipan
Want a little more help with this? My SEO Content Pro Strategist GPT takes what we talked about here and walks you through it, step by step.