Patio Container Gardening for Beginners: Easy First Steps
A bare patio can turn into a little garden oasis faster than most beginners expect. That’s the fun of patio container gardening — you get to control the soil, the space, and just how big you want your project to be.
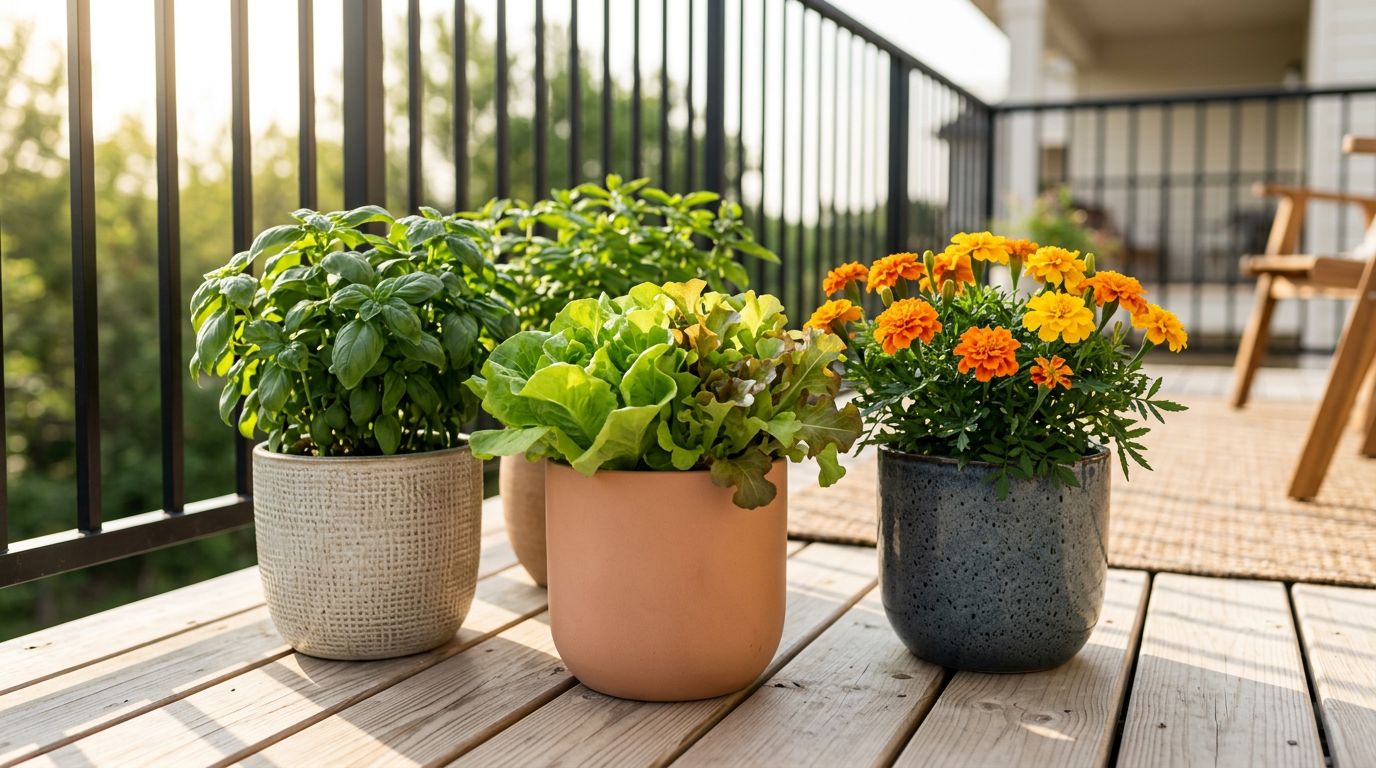
The best part? You don’t need raised beds, fancy tools, or a huge budget to get started. With a few good pots and a simple routine, you can turn an empty corner into a thriving mix of fresh basil, crisp greens, and cheerful blooms.
Key Takeaways
- Watch your sunlight before you buy anything. Most vegetables and herbs need 6 to 8 hours of sun.
- Make drainage a priority. Pots need holes in the bottom, and potting mix works much better than garden soil.
- Start small. Three to five containers is plenty when you’re learning.
- Skip the strict watering schedule. Just check the soil with your finger and water when the top inch feels dry.
Check your patio before you buy a single plant
Before you shop for plants, spend a full day paying attention to your patio. Notice where the sun hits in the morning, afternoon, and evening. That matters a lot, because most herbs and vegetables do best in full sun, while leafy greens and some flowers can handle a little less.
Heat matters too. A brick wall, concrete floor, or dark railing can make your patio feel much hotter than you’d expect. That’s great for tomatoes and peppers, but it can be rough on more delicate plants later in the season.
You should also think about water access. If you have to carry a watering can through the house every day, gardening will start to feel like a chore pretty quickly. Keep your first containers close to a hose, spigot, or somewhere easy to reach.
And don’t forget about space and weight. Wet pots can get heavy fast, especially on a balcony. Make sure you’re not blocking walkways or crowding doorways.
Keep your first setup simple
When you’re starting out, less really is more. Three to five containers is enough to learn without feeling overwhelmed.
If your patio is small, try one long planter for herbs or greens, plus a couple of medium pots for flowers. That gives you a full, polished look without taking over the whole space.
Choose the right pots and soil
Your containers don’t have to match, and they definitely don’t need to be expensive. What they do need is drainage holes. Without them, water sits at the bottom of the pot and roots can rot fast.
Plastic pots are a great beginner option because they’re lightweight and hold moisture well. Terracotta looks beautiful, but it dries out faster. Grow bags are another budget-friendly choice, especially if you want something easy to move around.
Size matters more than style. Small pots dry out quickly, while larger pots give roots more room and make watering mistakes less serious. Herbs usually do well in 8- to 12-inch pots, lettuce likes wider shallow containers, and tomatoes need a much bigger space — usually a 5-gallon pot or larger.
If you fall in love with a decorative pot that doesn’t have a drainage hole, use it as a cover pot. Just keep the plant in a simple nursery pot inside it so excess water can still escape.
And whatever you do, don’t use garden soil from your yard. It’s too heavy for containers and can bring in weeds, pests, or disease. A high-quality potting mix made for containers is the way to go.
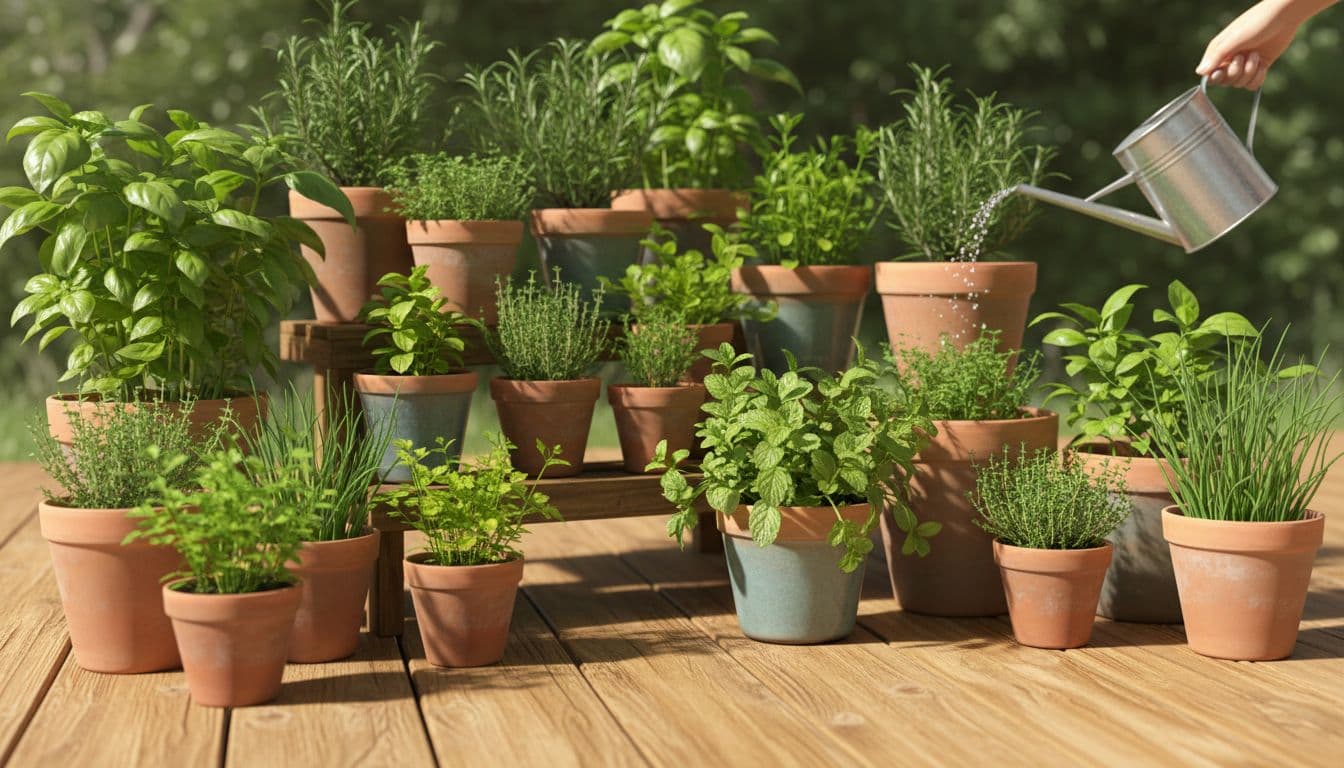
Easy herbs and vegetables that do well in containers
These beginner picks are affordable, forgiving, and useful.
| Plant | Pot size | Sun | Why it’s a good starter |
|---|---|---|---|
| Basil | 10 to 12 inches wide | 6+ hours | Fast growth and easy harvests |
| Parsley | 8 to 10 inches wide | 4 to 6 hours | Tolerates some shade and stays compact |
| Leaf lettuce | Wide planter, 6 to 8 inches deep | 4 to 6 hours | Quick harvest and great for cooler weather |
| Cherry tomatoes | 5-gallon container with a cage | 6+ hours | High yield from one container |
| Marigold | 8 to 10 inches wide | 6+ hours | Tough, colorful, and heat-friendly |
| Petunia | 10 to 12 inches wide | 5+ hours | Blooms for a long season |
A nice beginner combo is one herb pot, one lettuce planter, one tomato container, and one flower pot. That gives you something useful, something pretty, and something you can enjoy all season long.
For more detail on sunlight, feeding, and plant care, the EarthBox beginner guide is a helpful follow-up.
Planting and watering without guesswork
When you are ready to start your project, begin with damp potting mix. Dry soil can repel water at first, so When you’re ready to plant, start with slightly damp potting mix. Dry mix can be hard to wet evenly, so a little moisture first helps. Fill the pot, leave about an inch at the top, and place each plant at the same depth it was in its nursery container.
Press the soil in gently, then water deeply until it runs out the bottom. That first watering helps settle the roots and gives the plant a strong start.
Most container plants need regular feeding because watering washes nutrients out of the soil over time. A basic liquid fertilizer every couple of weeks works well, or you can mix in a slow-release fertilizer when you plant.
Watering is usually where beginners overthink things. There’s no perfect schedule, because a small pot in summer may need water every day while a bigger pot in cooler weather might be fine for a few days.
The easiest method is the finger test. Stick your finger about an inch into the soil. If it feels dry, water deeply. If it still feels damp, wait a bit longer.
Morning is usually the best time to water. Try to water the soil instead of the leaves, and give it a good soak instead of a quick splash.
If you like learning from real beginner mistakes and money-saving tips, this beginner container gardening thread is full of practical ideas from home gardeners.
A simple starter checklist and quick fixes
Starter checklist for your first setup
- A sunny patio spot.
- Three to five containers with drainage holes.
- Potting mix made for containers.
- Easy plants like basil, parsley, lettuce, or cherry tomatoes.
- A watering can or hose with a gentle spray.
- Saucers to protect your patio.
- A small cage or stake for tomatoes.
- Basic fertilizer.
If you want to save money, buy smaller plants when you can. They usually cost less and catch up quickly once they’re planted.
Common problems and what they usually mean
Yellow leaves and soggy soil usually mean overwatering. Make sure your pots drain well, and let the top inch of soil dry out before watering again.
Tall, weak growth usually means the plant needs more sun. If you can move it to a brighter spot, do that. If your patio stays shady, choose plants that handle lower light better.
If the soil pulls away from the sides of the pot, it probably got too dry. Water slowly so the mix can soak up moisture instead of letting it run straight through.
Slow growth or pale leaves can point to a nutrient issue or cramped roots. Try fertilizer first, and if the plant looks crowded, move it to a larger pot.
Wrap-up
Container gardening works best when you keep it simple and build from there. Once you get the hang of sunlight, watering, and the right soil, everything becomes a lot easier.
The real payoff is how quickly a few pots can change the feel of your patio. With a little care, that empty outdoor space can become a place you actually want to spend time in.
Want a little more help with this? Grab my free Kitchen Reset Kit over on the Free Resources page — and when you’re ready to go deeper, the Meal Genie will carry you the rest of the way.