Welcome to day 2 of the 12 Days of Christmas Crafts! Today I’m going to show you my Dollar Tree DIY Christmas Wreath that is a Pier 1 knock off.

(This post may contain affiliate links. What does that mean to you? Well, if you click on a product and make a purchase, I may receive some compensation at NO charge to you. If you want to read the boring stuff, my full disclosure can be found here.)
Wreaths are a must-have when it comes to Christmas decorating. Whether you hang them on your door or decorate indoors with them, wreaths seem to be a Christmas staple.
If you missed day 1 of the 12 Days of Christmas Crafts, you can find that post HERE.
I found this wreath on the Pier 1 site and just couldn’t part with $80 for it. So I decided to make a Pier 1 wreath dupe and headed to my local Dollar Tree to pick up my supplies.

My finished product total was $6! Wow!
Supplies Needed For Dollar Tree DIY Christmas Wreath
**I purchased my supplies from my local Dollar Tree. I found similar items on Amazon and although I looked for the lowest price they didn’t compare to $1 per item.**
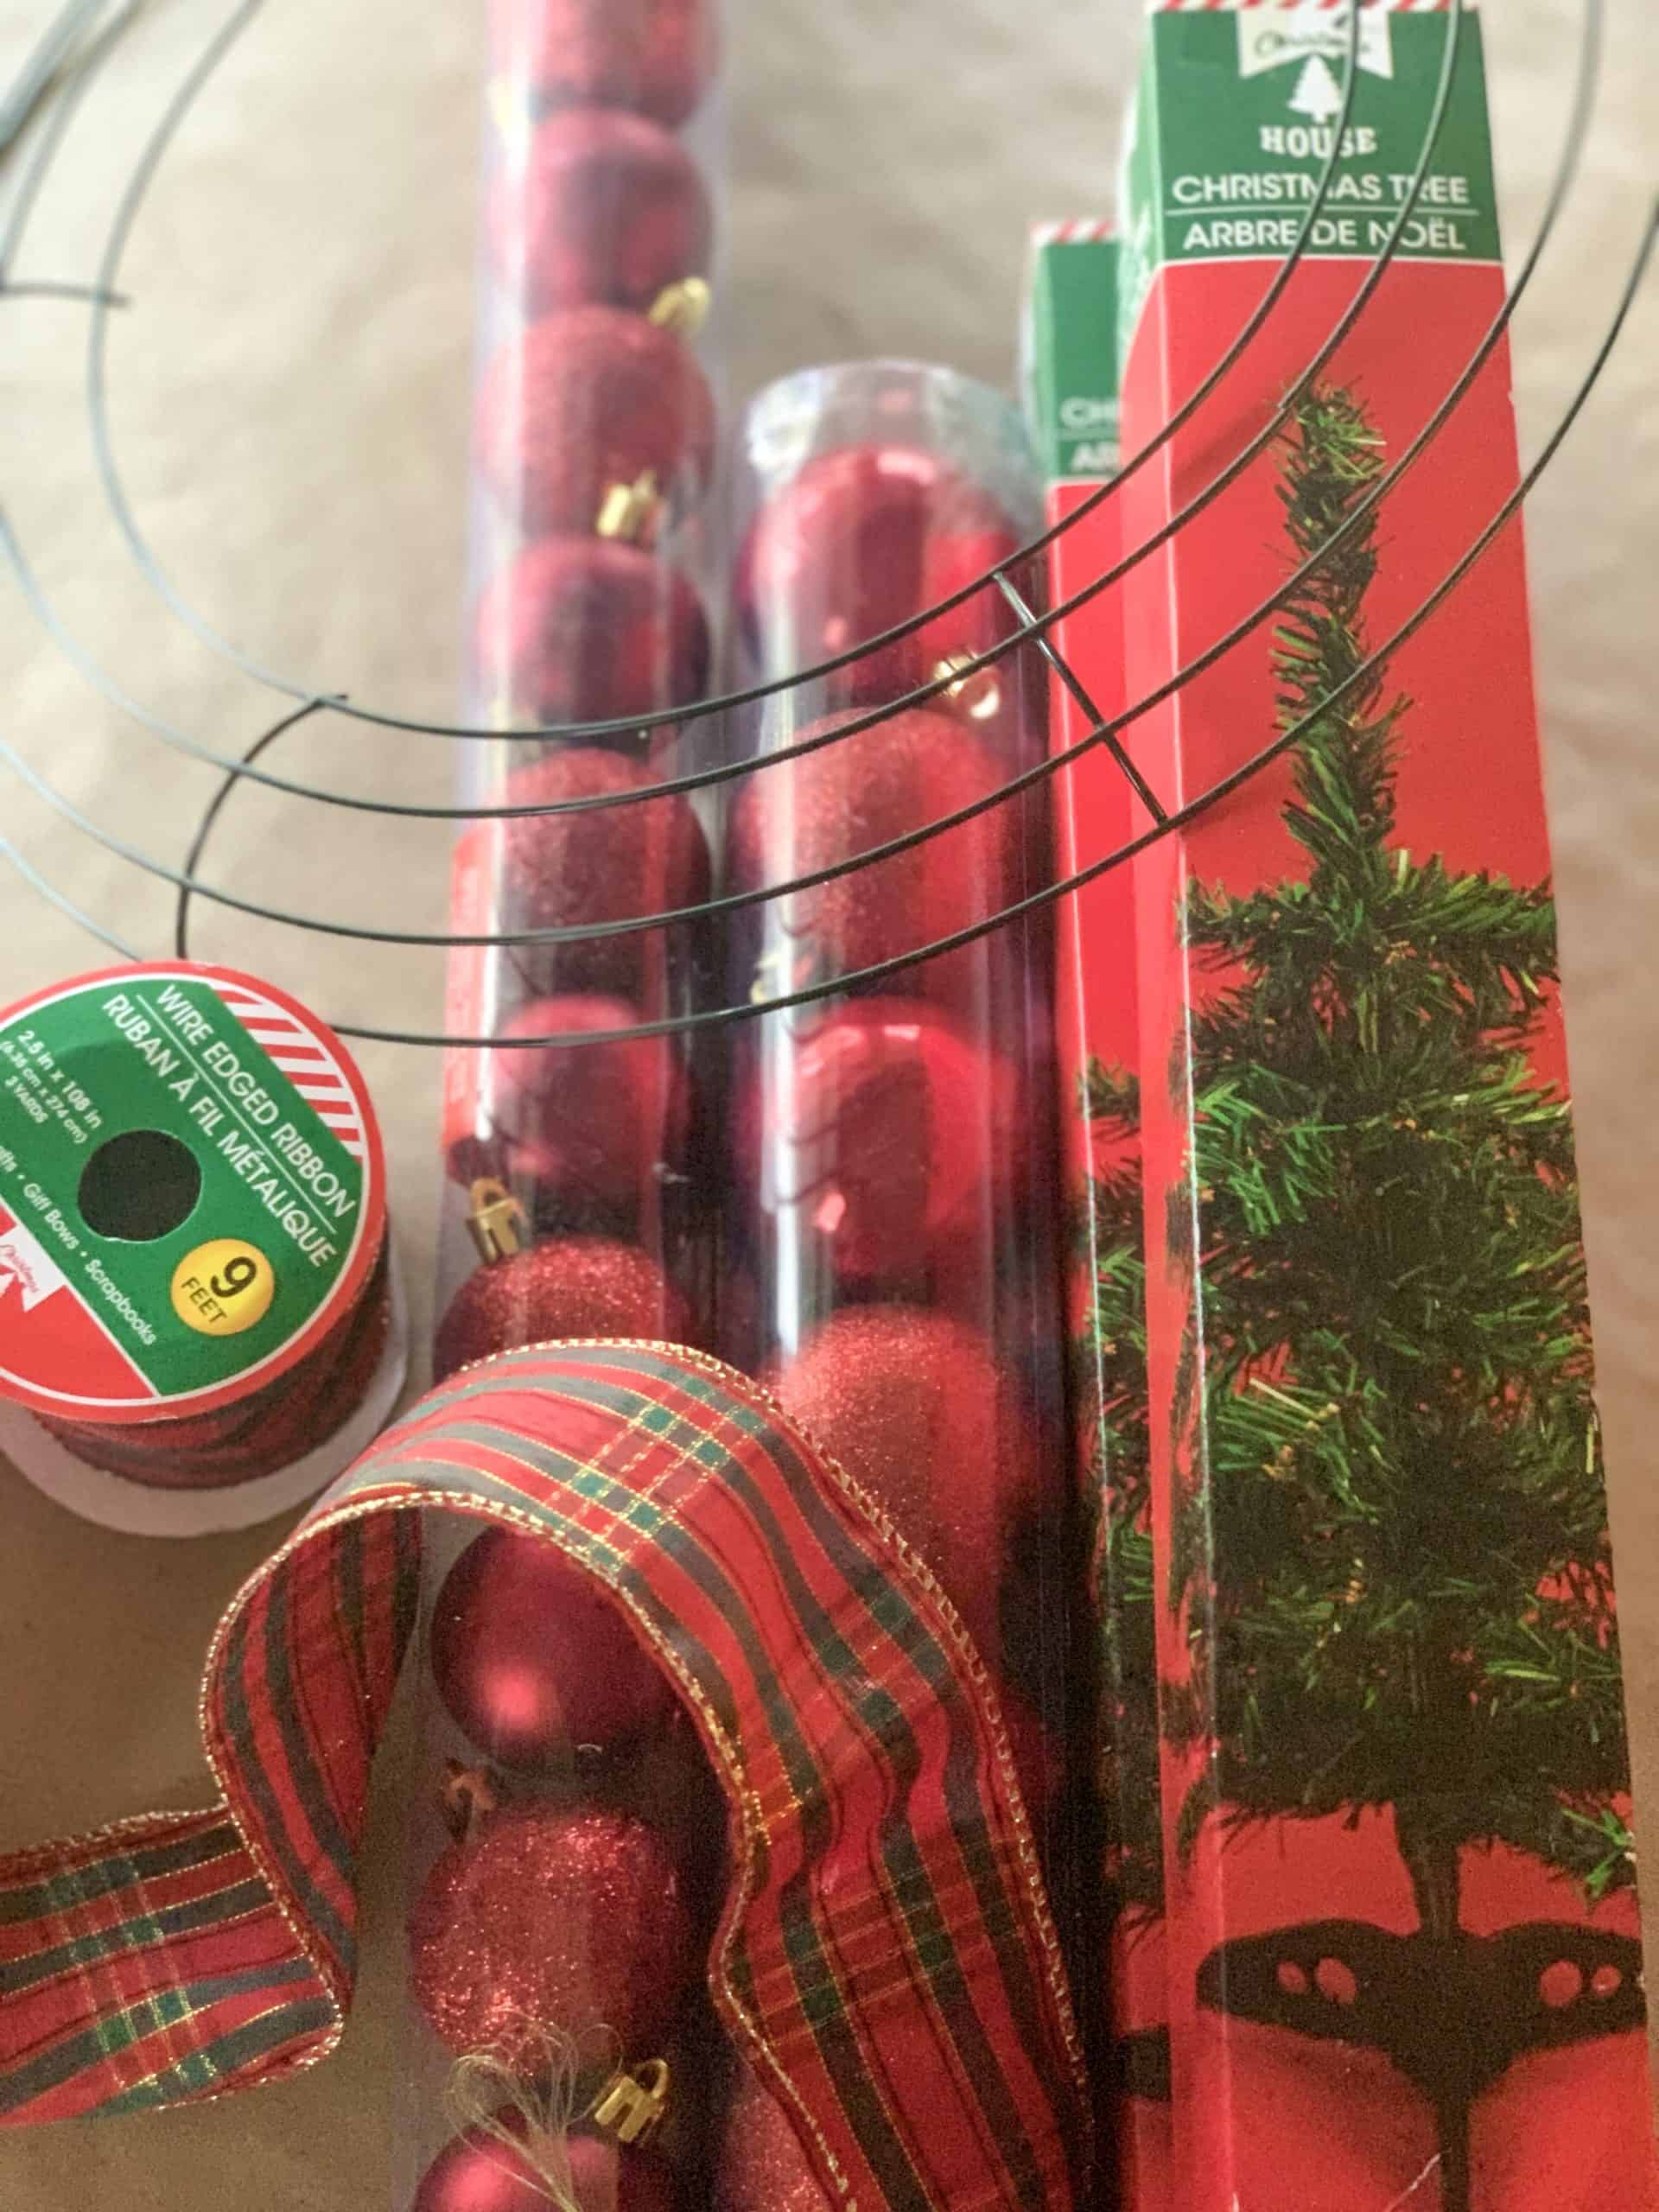
- 14″ Wire Wreath Form
- Shatterproof red ornaments in 2 sizes – I used 2 large sets (14 ornaments) and 1 medium set (12 ornaments)
- 18″ Artificial Tree
– 2 are needed for this craft. I love these $1 trees and use them in many different crafts. I pick up 10 as soon as they are on the shelves.
- Wired Green Pine Garland – Dollar Tree sells the wired garland and the 12″ garland ties. I prefer the garland because it is a little more and I can cut pieces to my desired length.
- Christmas Plaid Wired Ribbon
- Glue Gun
- Glue Sticks
- Pipe Cleaners
How To Make A Dollar Tree Christmas Wreath
STEP 1 – Open the packaging of artificial trees and remove plastic pieces.
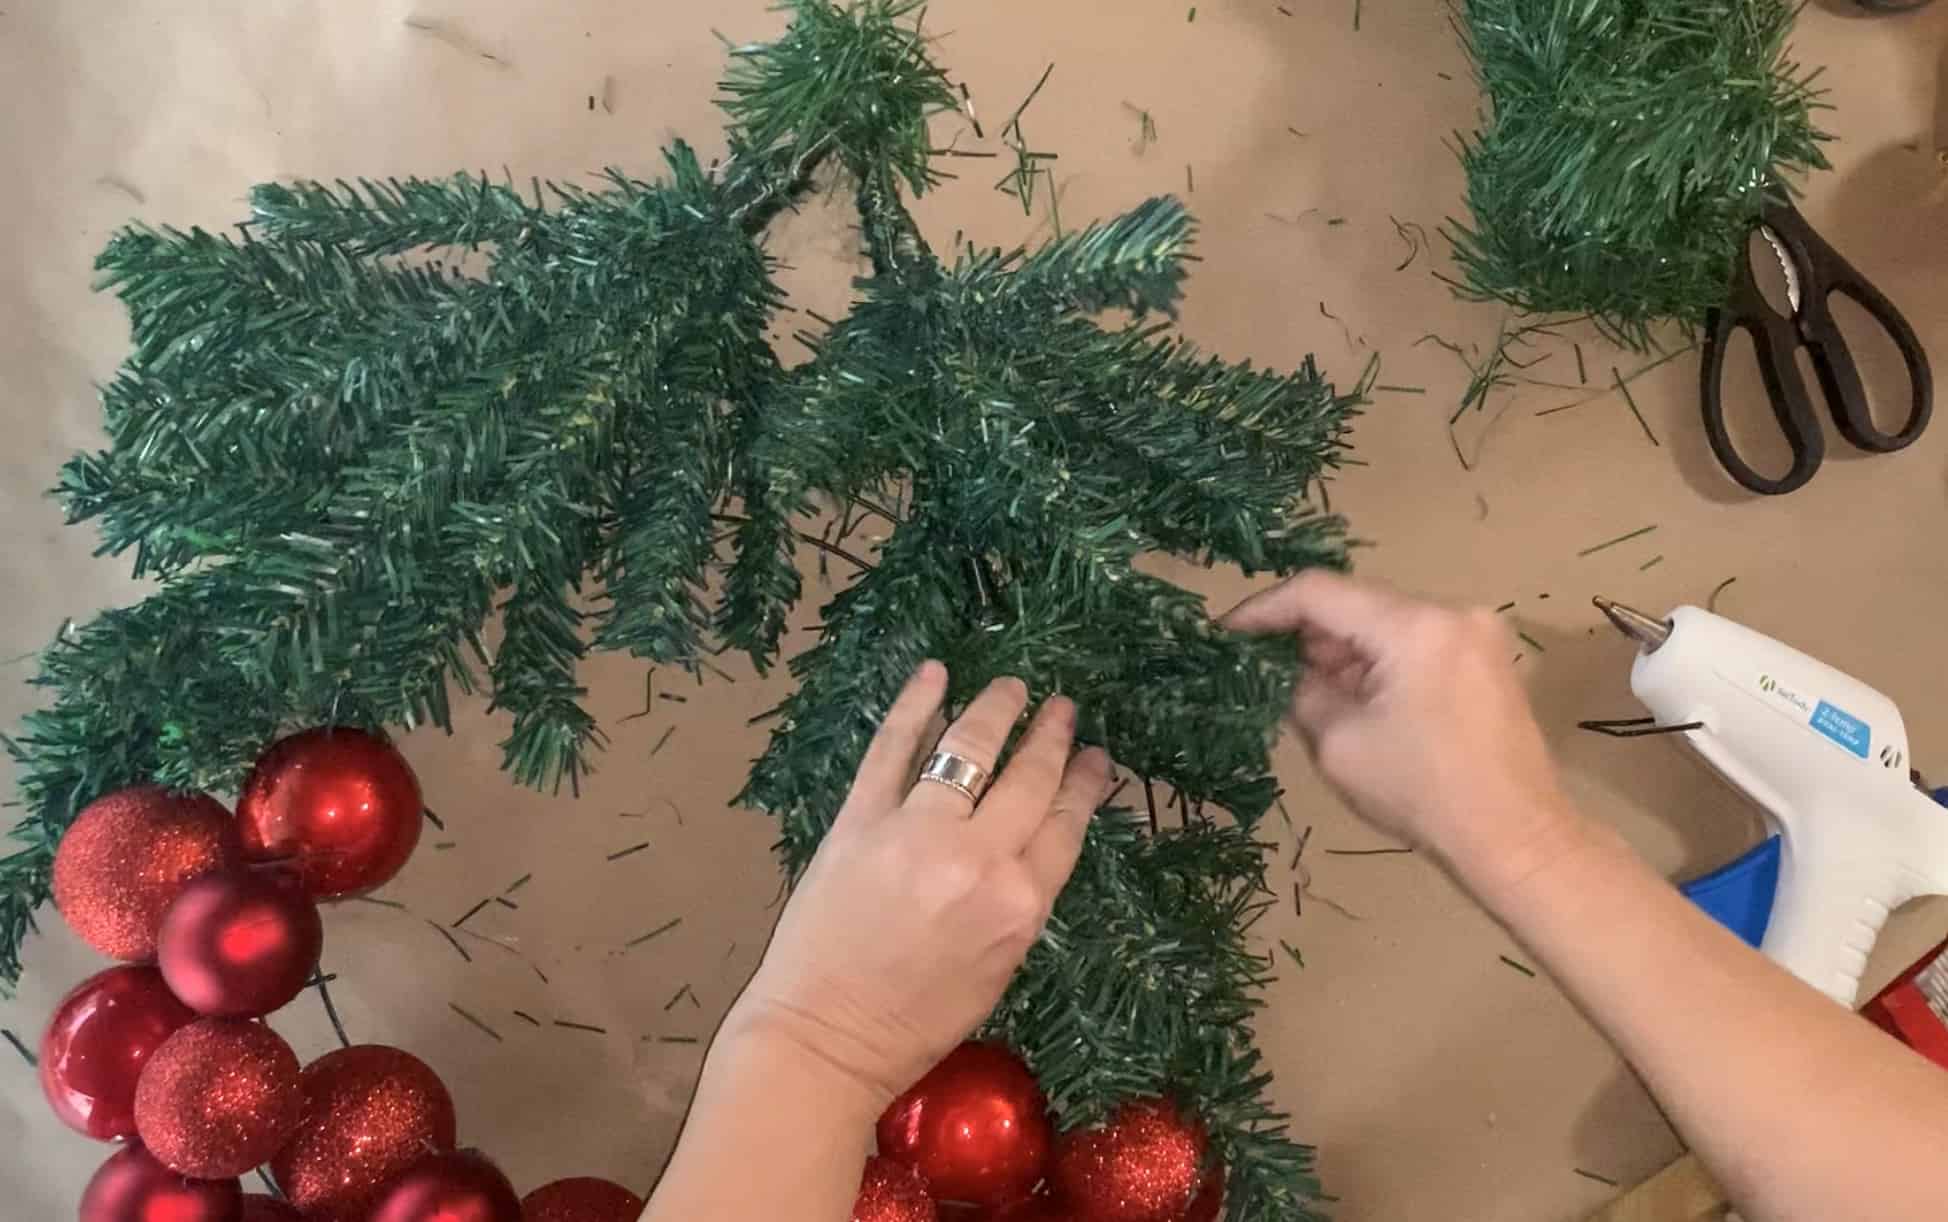
STEP 2 – Fluff the artificial trees and place them on the wreath form. I did not secure the trees into place at this point. I just wanted an idea of the placement so I could start adding the baubles.

STEP 3 – Hot glue the ornaments in place. I started with the larger ornaments and randomly placed them on the wreath form.

STEP 4 – Fill in the spaces between the larger ornaments with the smaller ornaments. I kept a few ornaments on the side to fill in any gaps later.
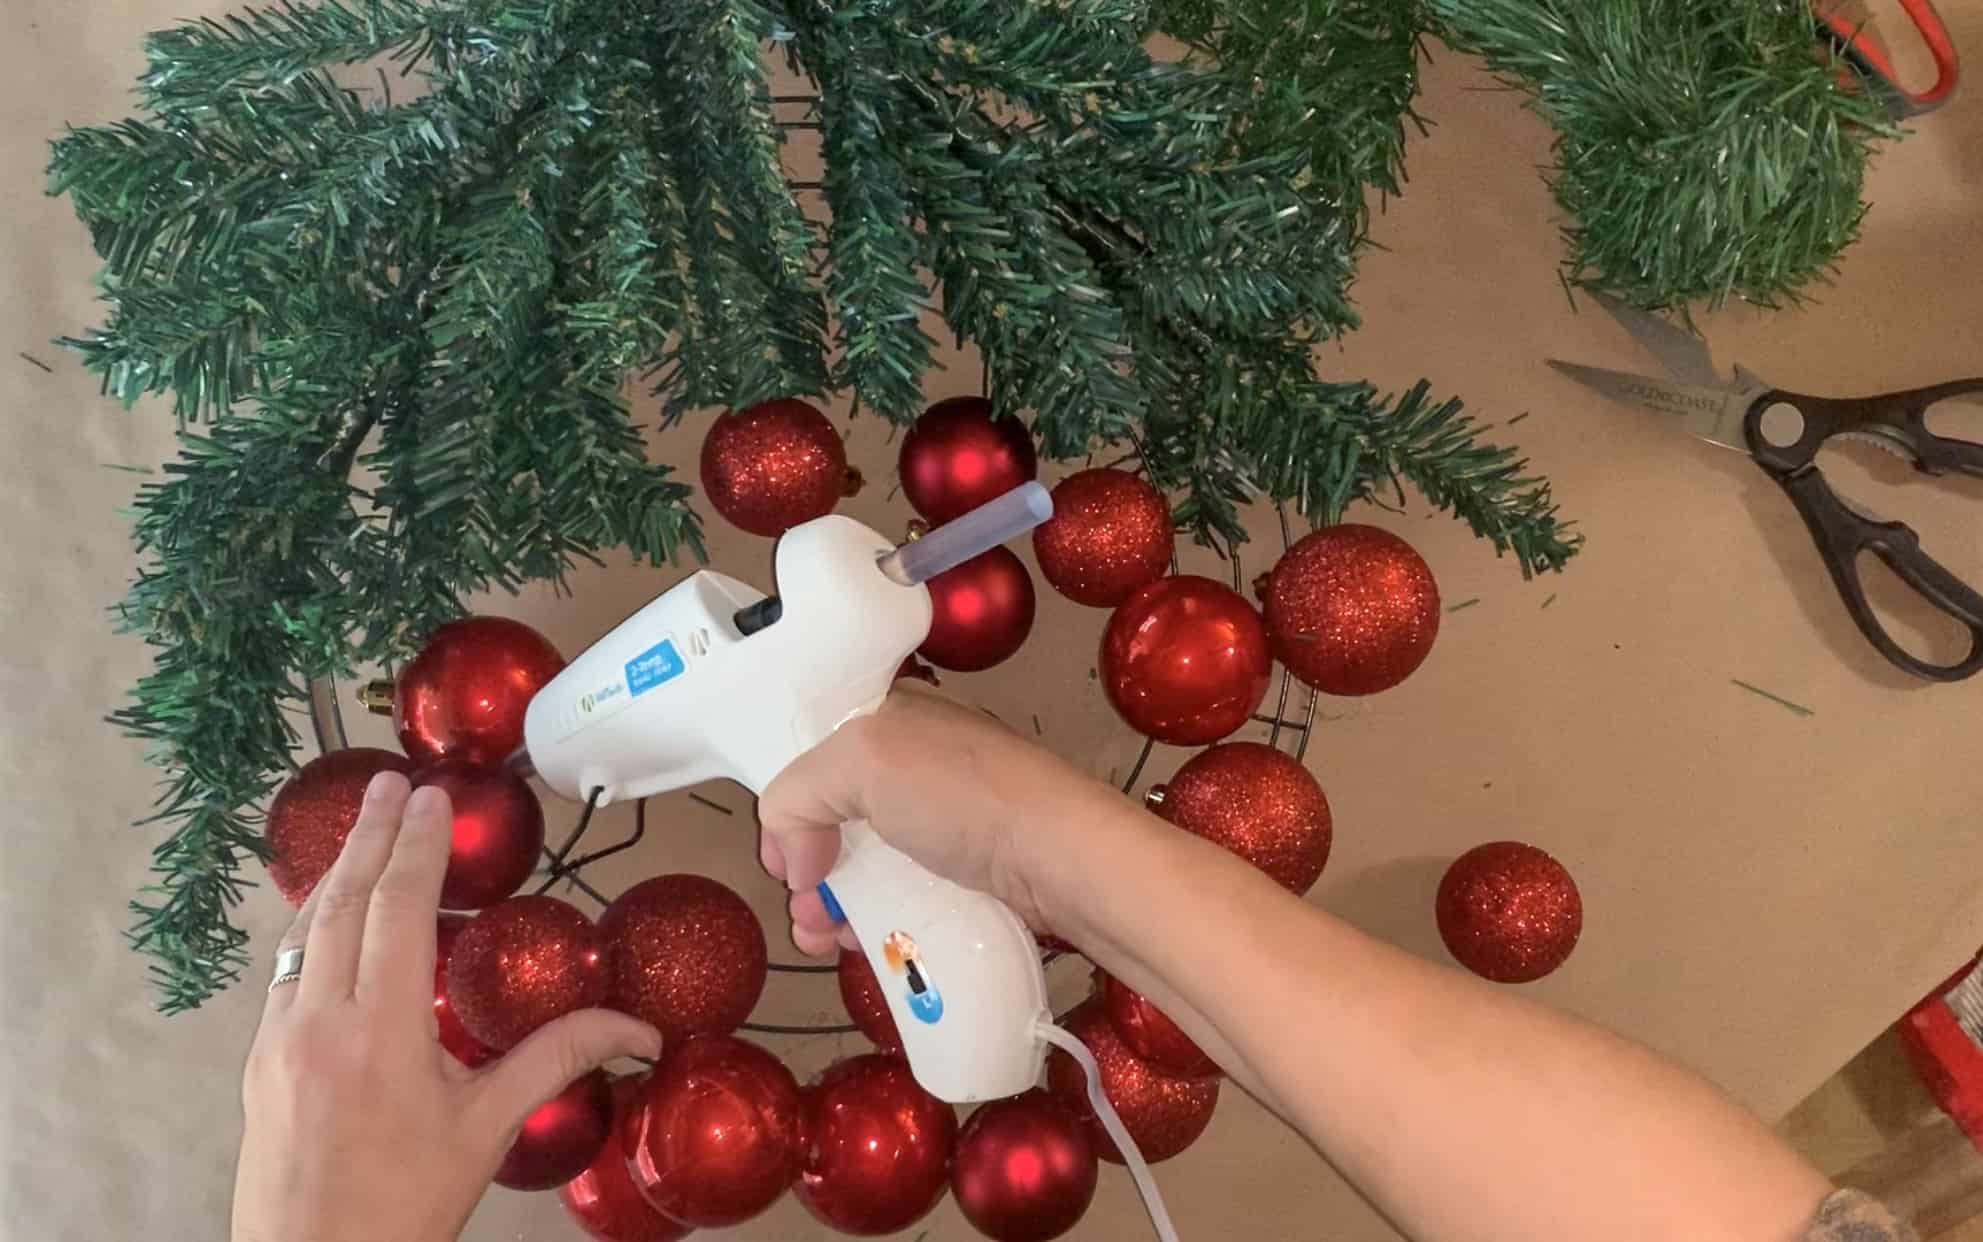
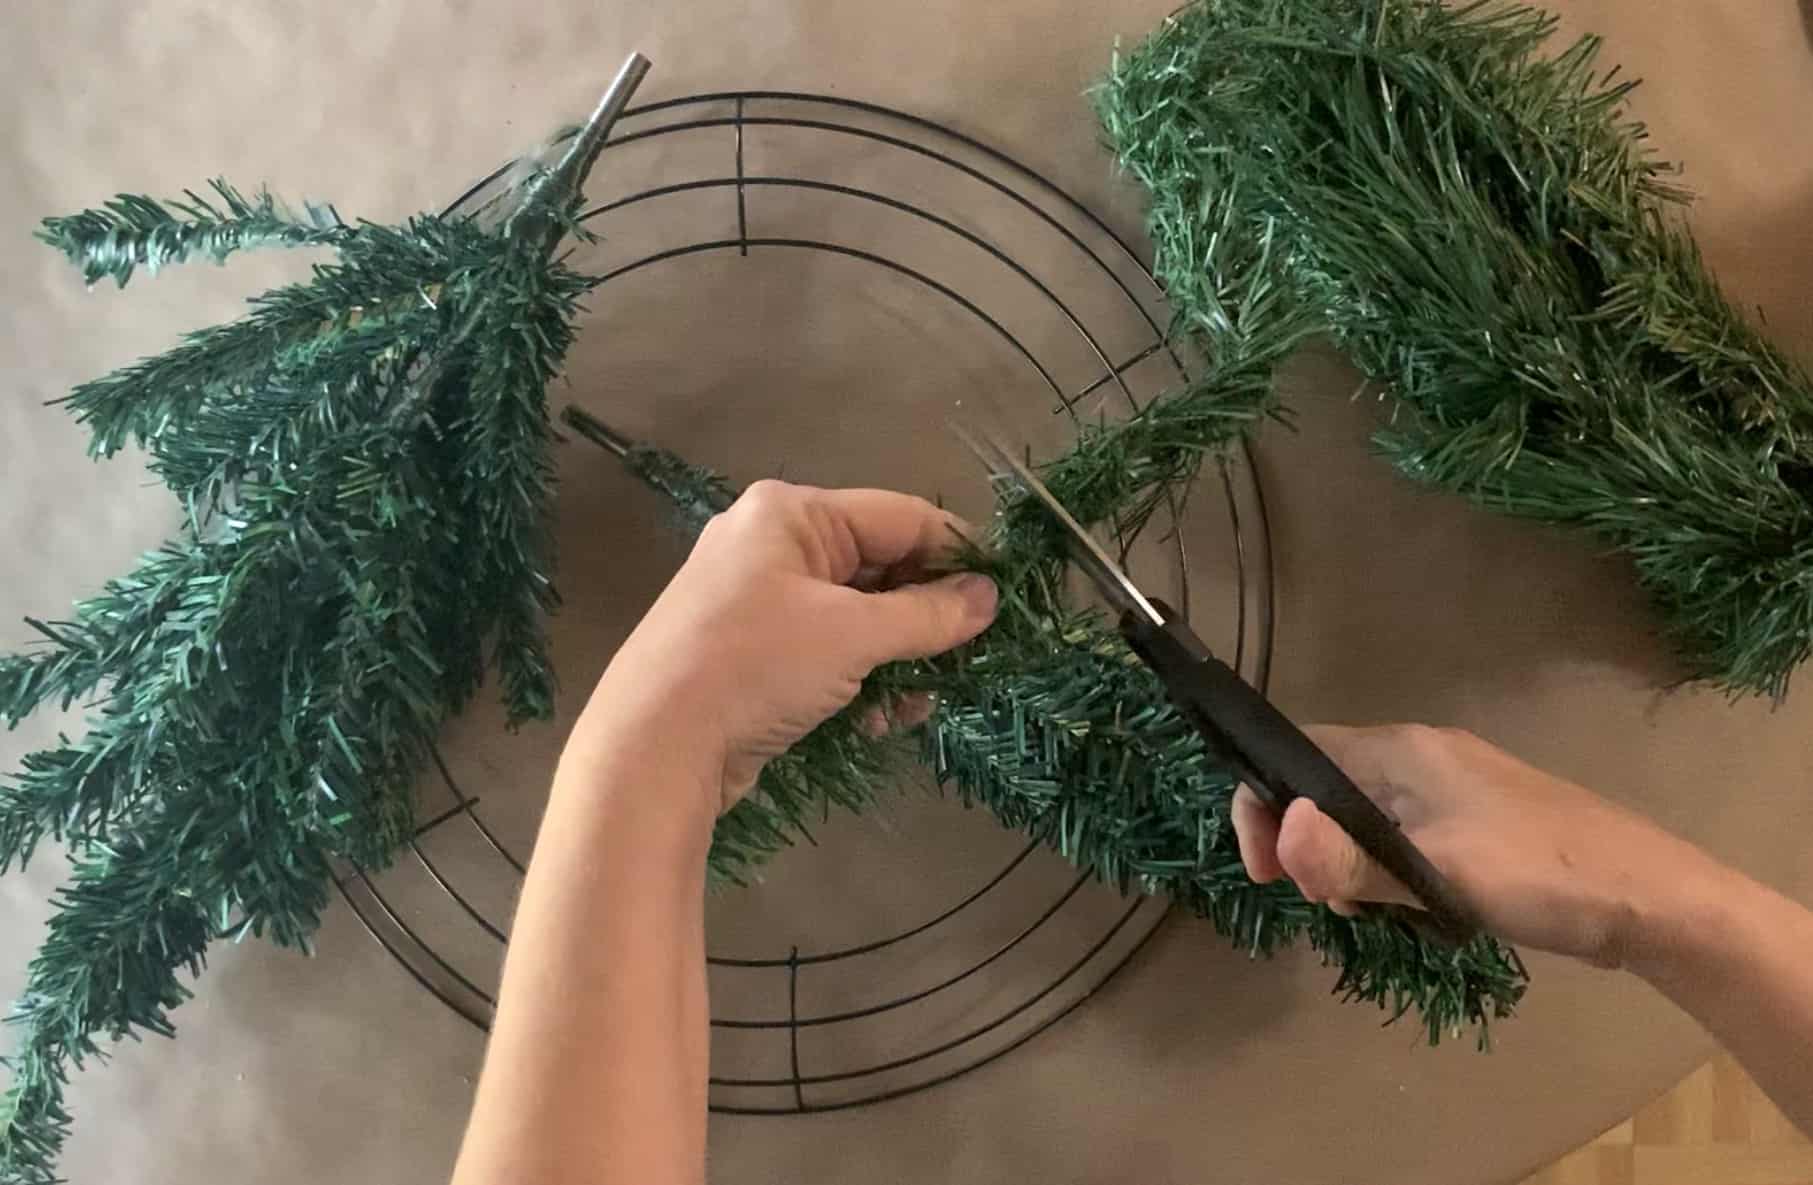
STEP 5 – Cut pieces of wired garland to secure trees in place. I cut extra pieces and covered gaps and the center of the tree.
STEP 6 – Secure the trees in place. I used extra garland to wrap the metal exposed pieces at the top of the wreath.
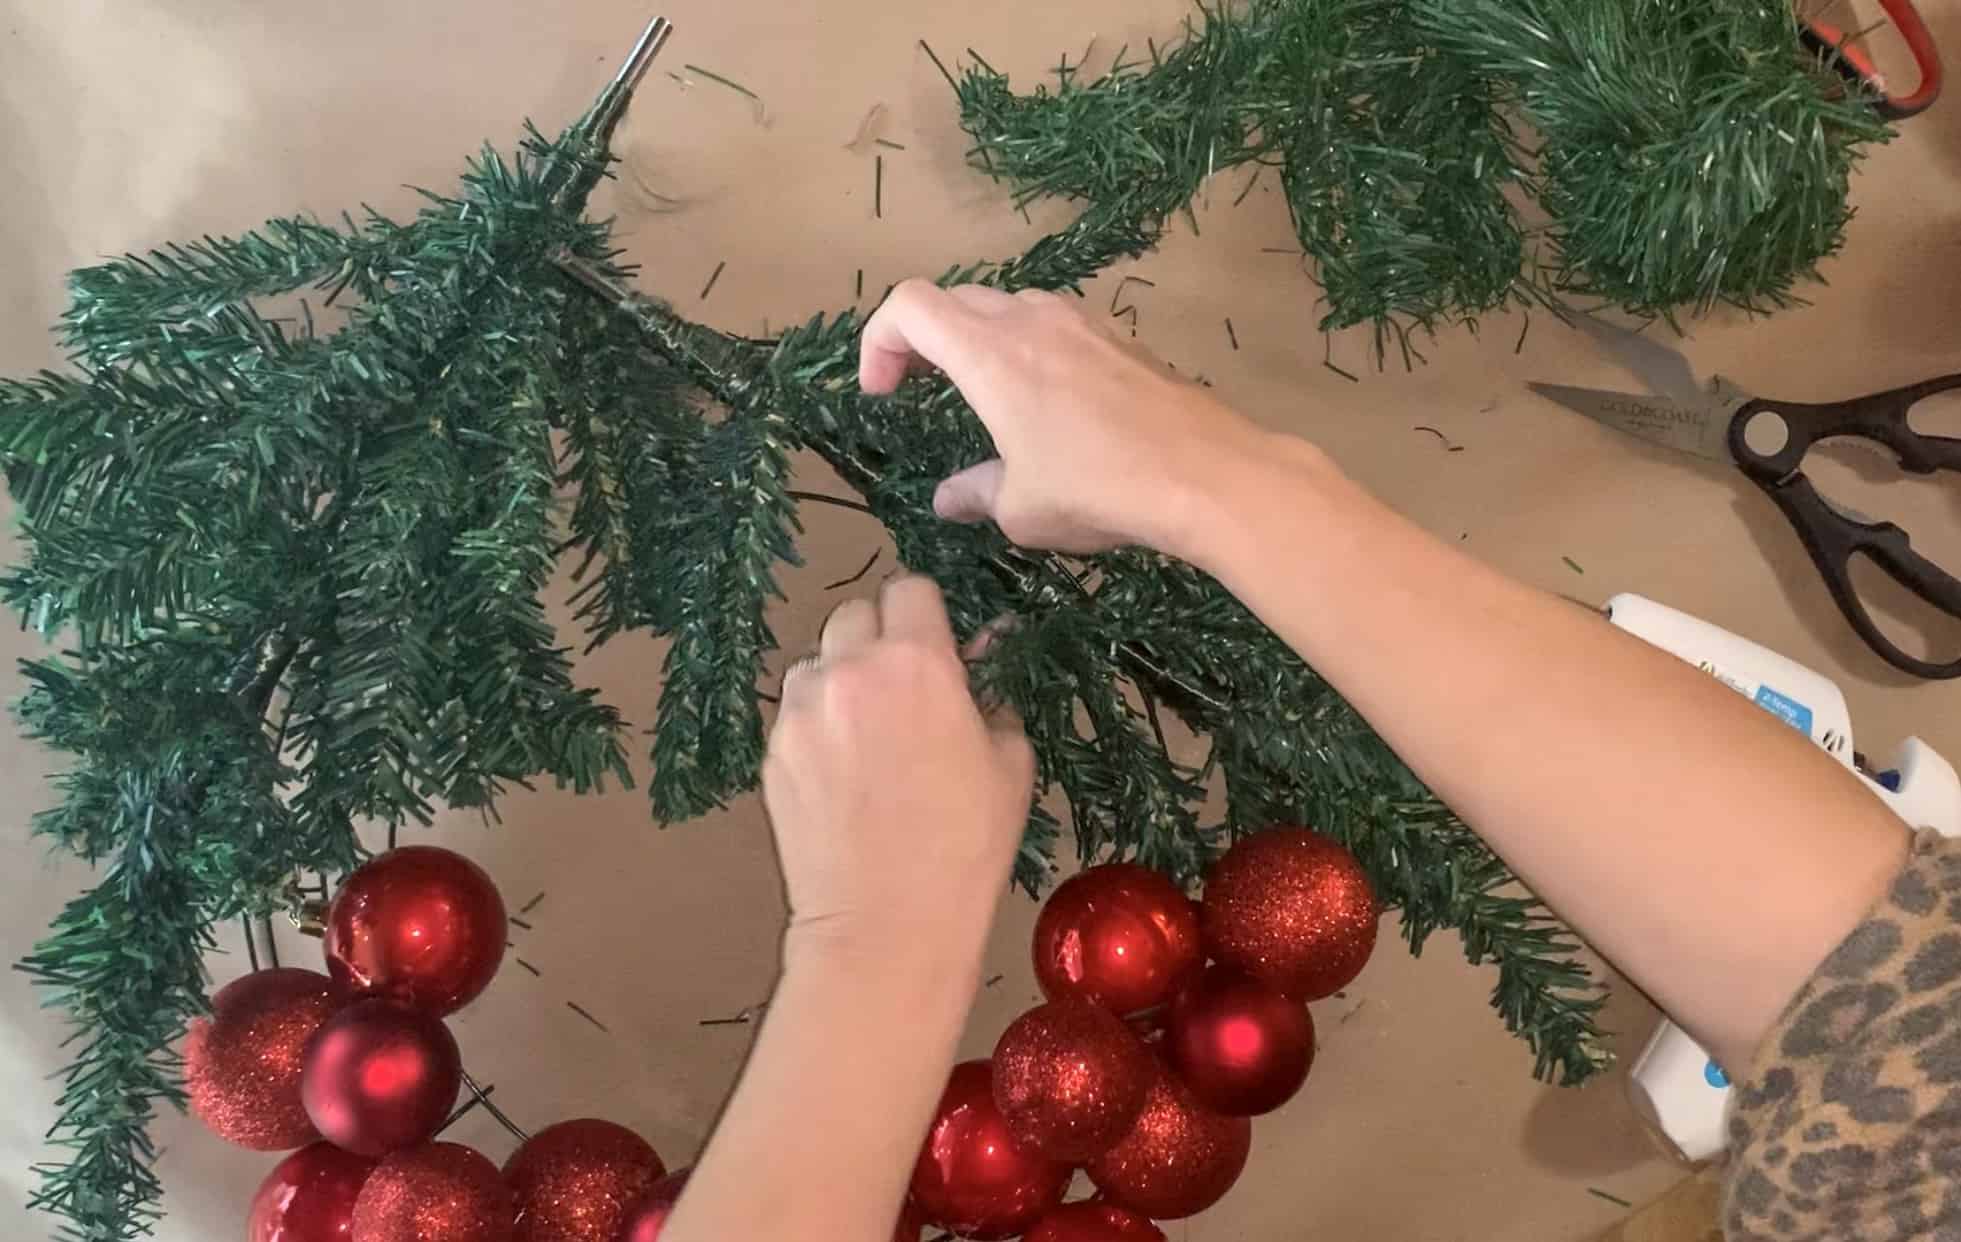
STEP 7 – Fluff trees to hide the metal form. Use additional garland to hide metal and give the greenery a fuller look.
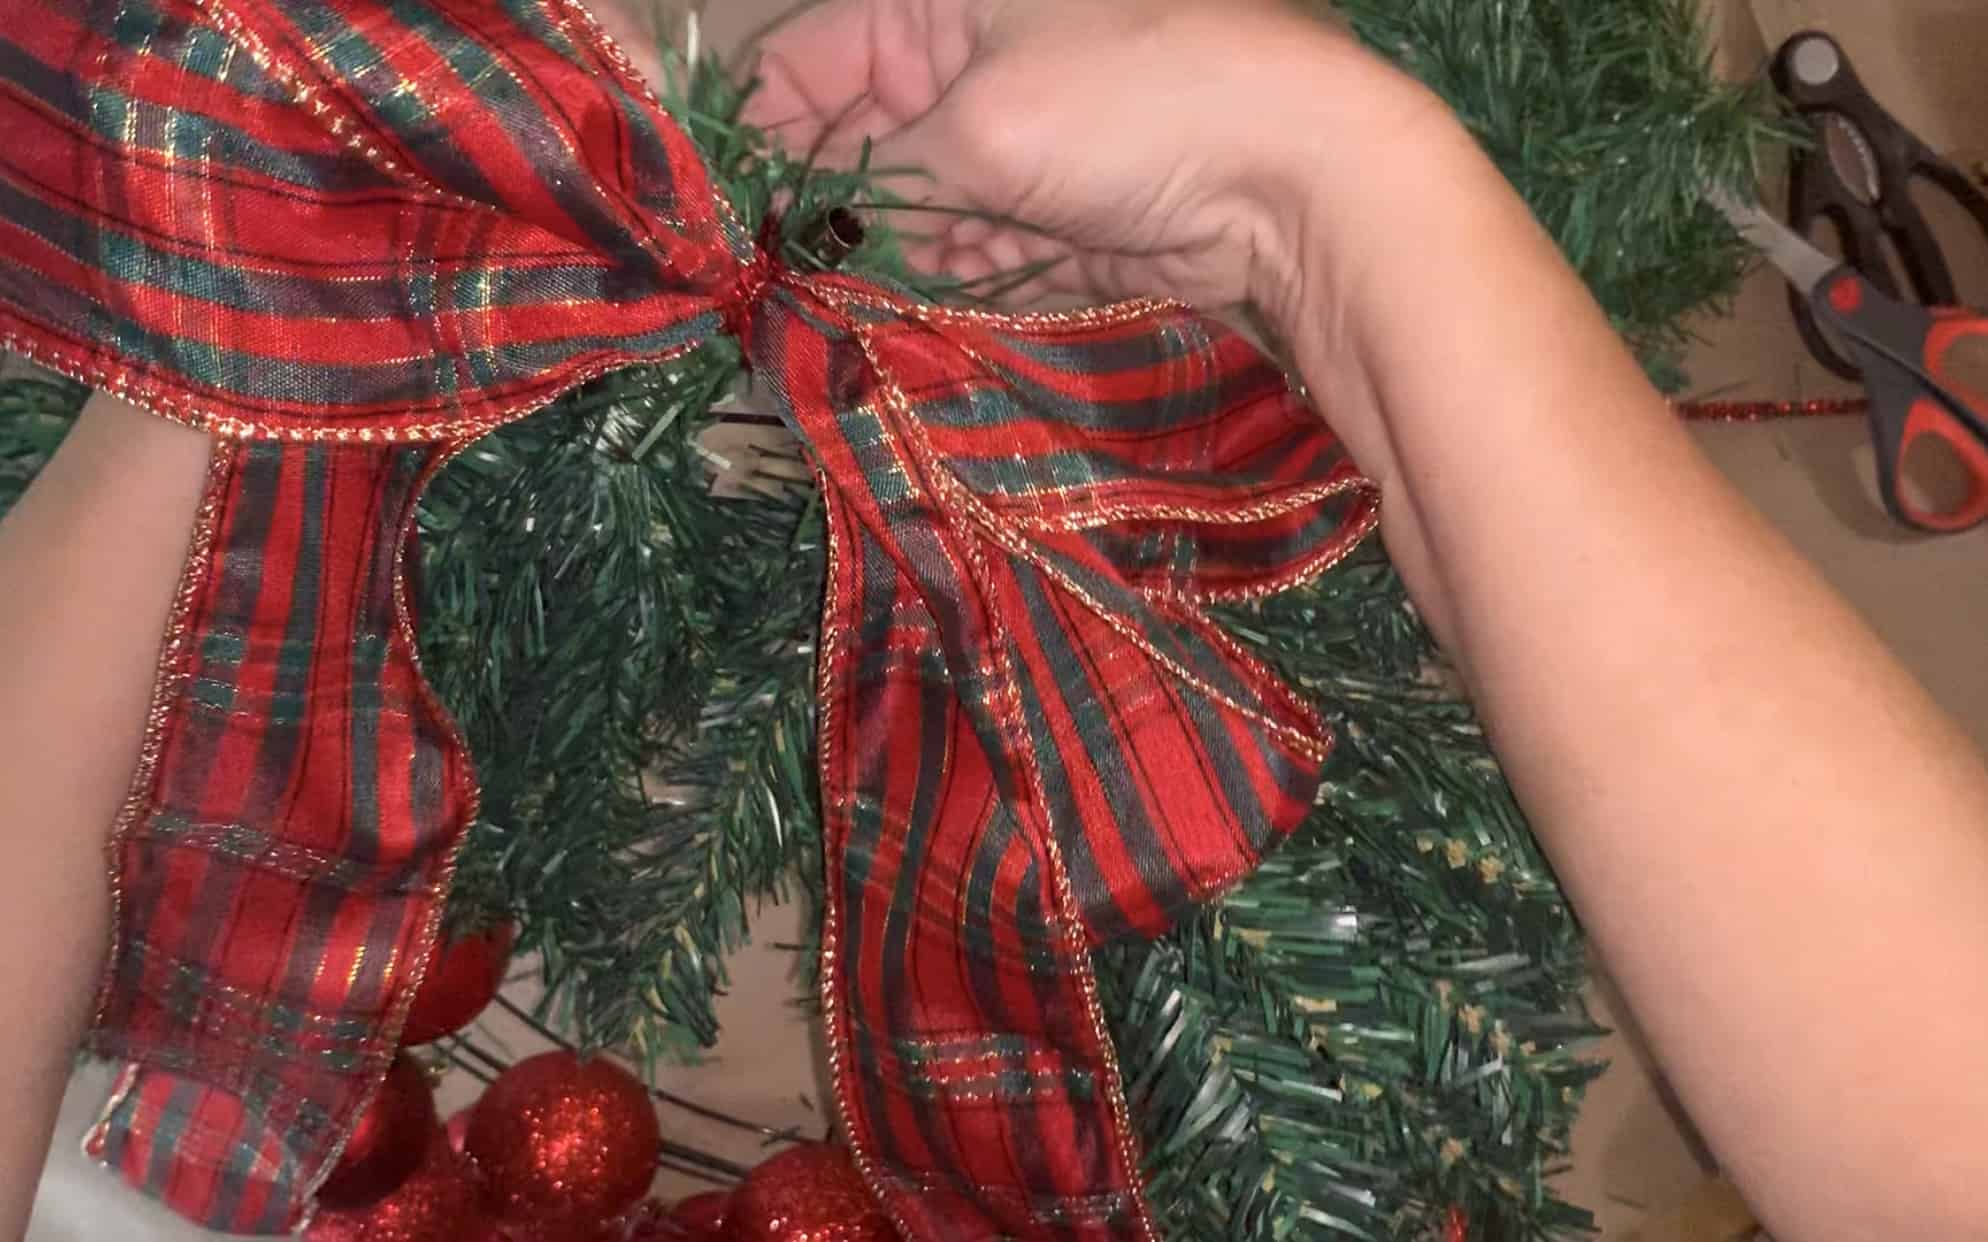
STEP 8 – Make a double loop freeform bow with your plaid wired ribbon. Secure the center of the bow with a pipe cleaner.

STEP 9 – Attach the bow to the top of the wreath using a pipe cleaner and hot glue. Cut dovetails at the end of the ribbon and place the tails in the desired shape.
STEP 10 – Fill in holes with the remaining ornaments.
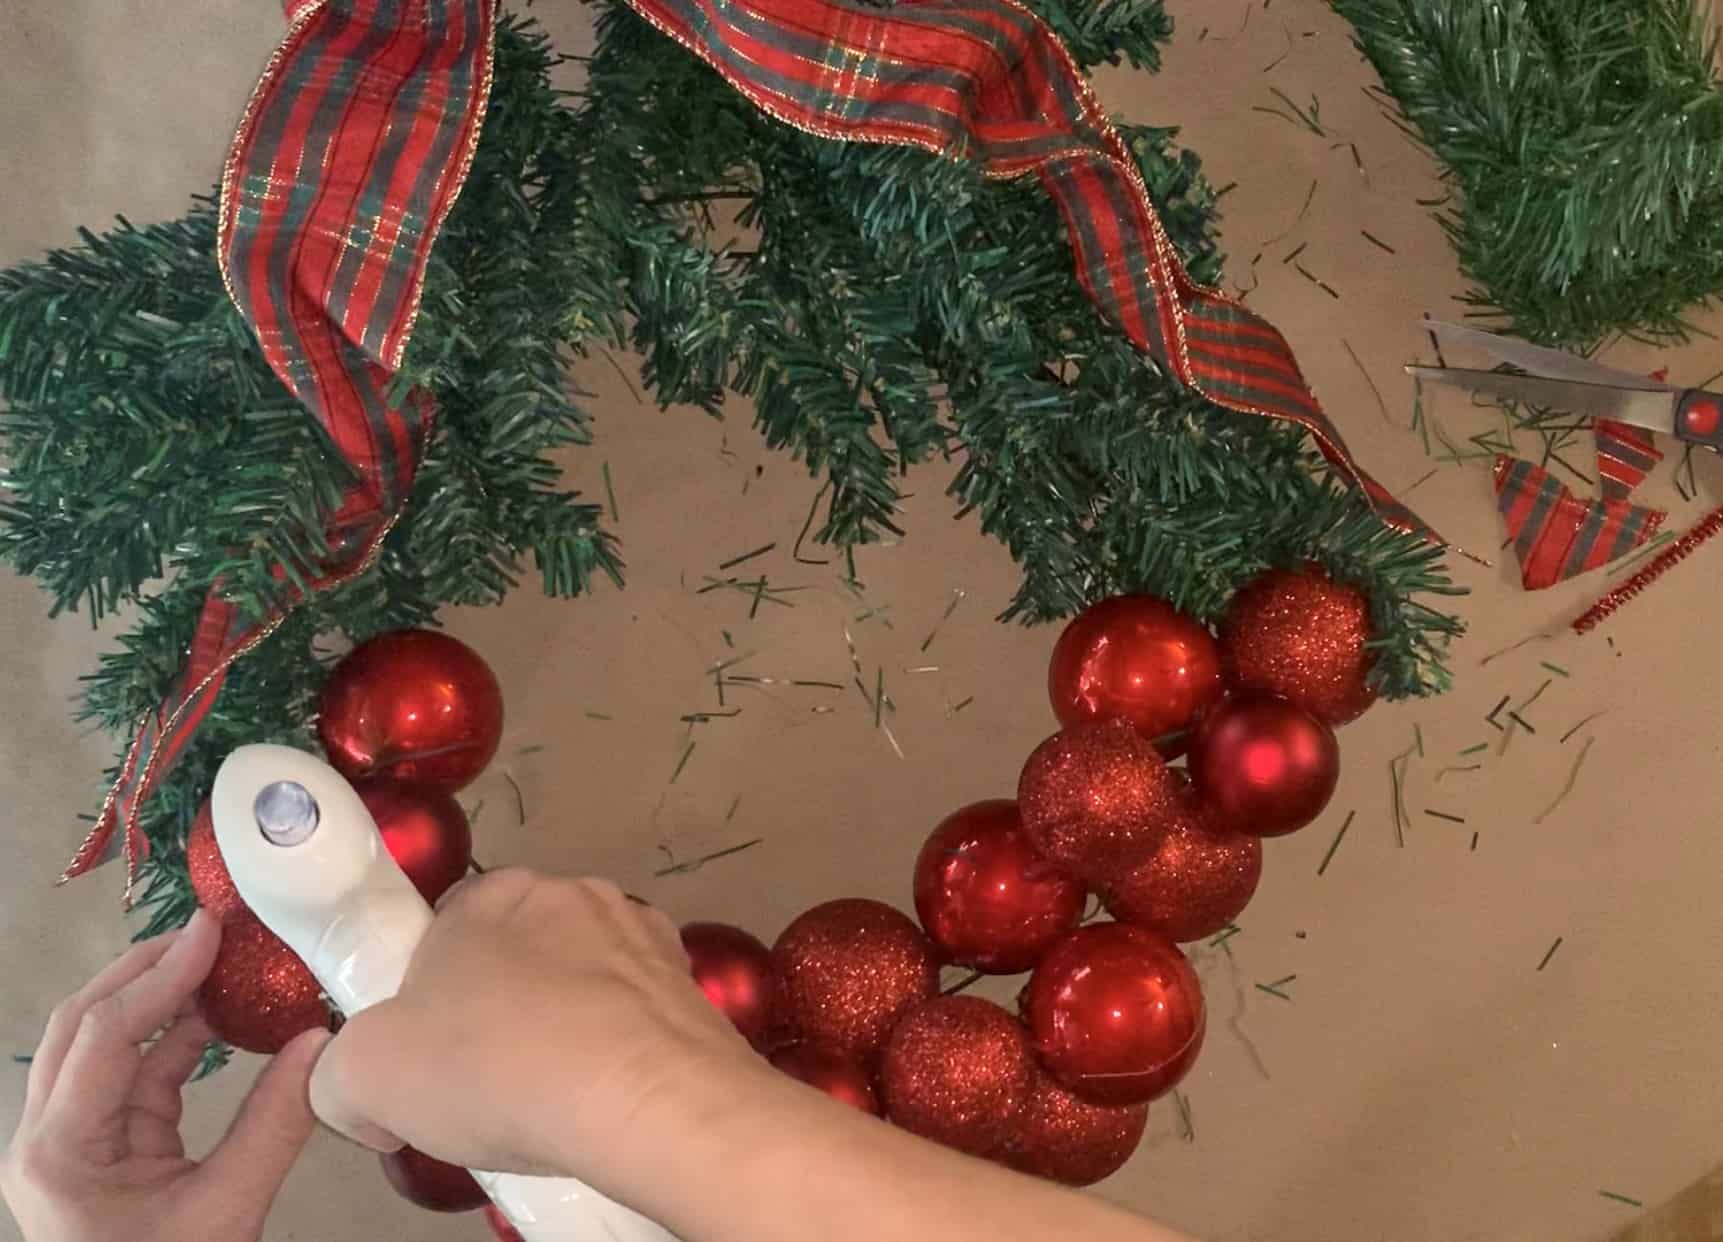
STEP 11 – Flip the wreath over and use pipe cleaners to make sure all your ornaments are securely attached to the wire form. Add additional hot glue if needed.

I’m very happy with my finished product and I’m over-the-moon with the savings. This Pier 1 wreath dupe made with Dollar Tree finds is a hit with my friends and my wallet.


Leave a Reply