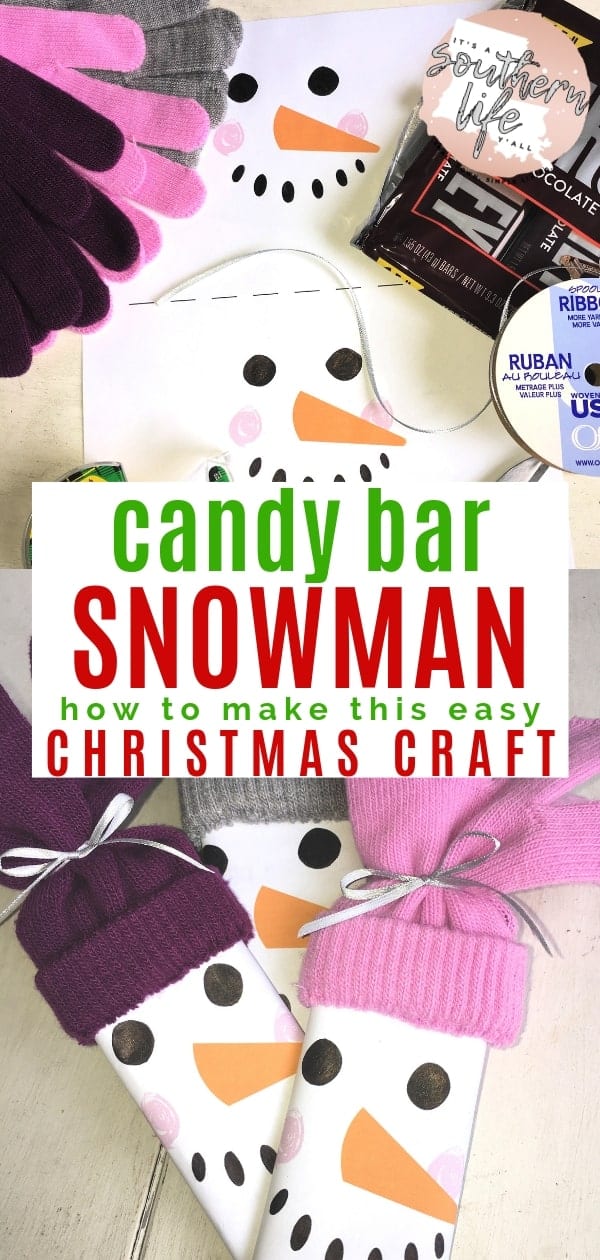
Mini Winter Hat Ornament
We are on a roll as we hit day 3 of our 12 Days of Christmas Crafts. This Mini Winter Hat Ornament is so simple yet so crazy cute used as an ornament, on gifts, or as a garland.
Free printable
One number for the whole season
The Holiday Budget Worksheet gives you one number for Thanksgiving through New Year’s, and the weekly amount that gets you there, before the sales get loud.
No spam, ever. Unsubscribe anytime.
(This post may contain affiliate links. What does that mean to you? Well, if you click on a product and make a purchase, I may receive some compensation at NO charge to you. If you want to read the boring stuff, my full disclosure can be found here.)
These yarn hat ornaments are an adorable craft project to make. Using just a few household items and a bit of yarn, you can whip up these really cute ornaments in no time with very minimal cost involved.
You can use your creativity with different color combinations to match your tree or wrappings.
This is definitely a budget-friendly craft for the entire family.
Here is the short of it: Cut a half-inch ring off a cardboard tube, then loop about 40 pieces of yarn (9–10 inches each) around the ring until it is covered. Push the ends through the middle, cinch the top with a scrap of yarn or twine, trim the ends into a pom-pom, and tuck a cotton ball inside to hold the shape. It takes a few minutes and costs next to nothing — and there is a knitted version further down if you would rather use needles.
Supplies Needed for the Mini Winter Hat Ornaments
- Yarn
– I used a super saver yarn I found at Walmart.
- Scissors
- Poly-Fil
or cotton balls – I was out of poly-fil when I made this craft so I opted to use a cotton ball instead. My option worked fine as it is just a filler to keep the hat shape. You could also stuff the mini hat with tissue paper.
- Ruler
- Toilet Paper or Paper Towel Cardboard Roll
 – I used a super saver yarn I found at Walmart.
 or cotton balls – I was out of poly-fil when I made this craft so I opted to use a cotton ball instead. My option worked fine as it is just a filler to keep the hat shape. You could also stuff the mini hat with tissue paper.
Instructions for Mini Winter Hat Ornaments
STEP 1 – Cut about a half-inch from your cardboard roll.
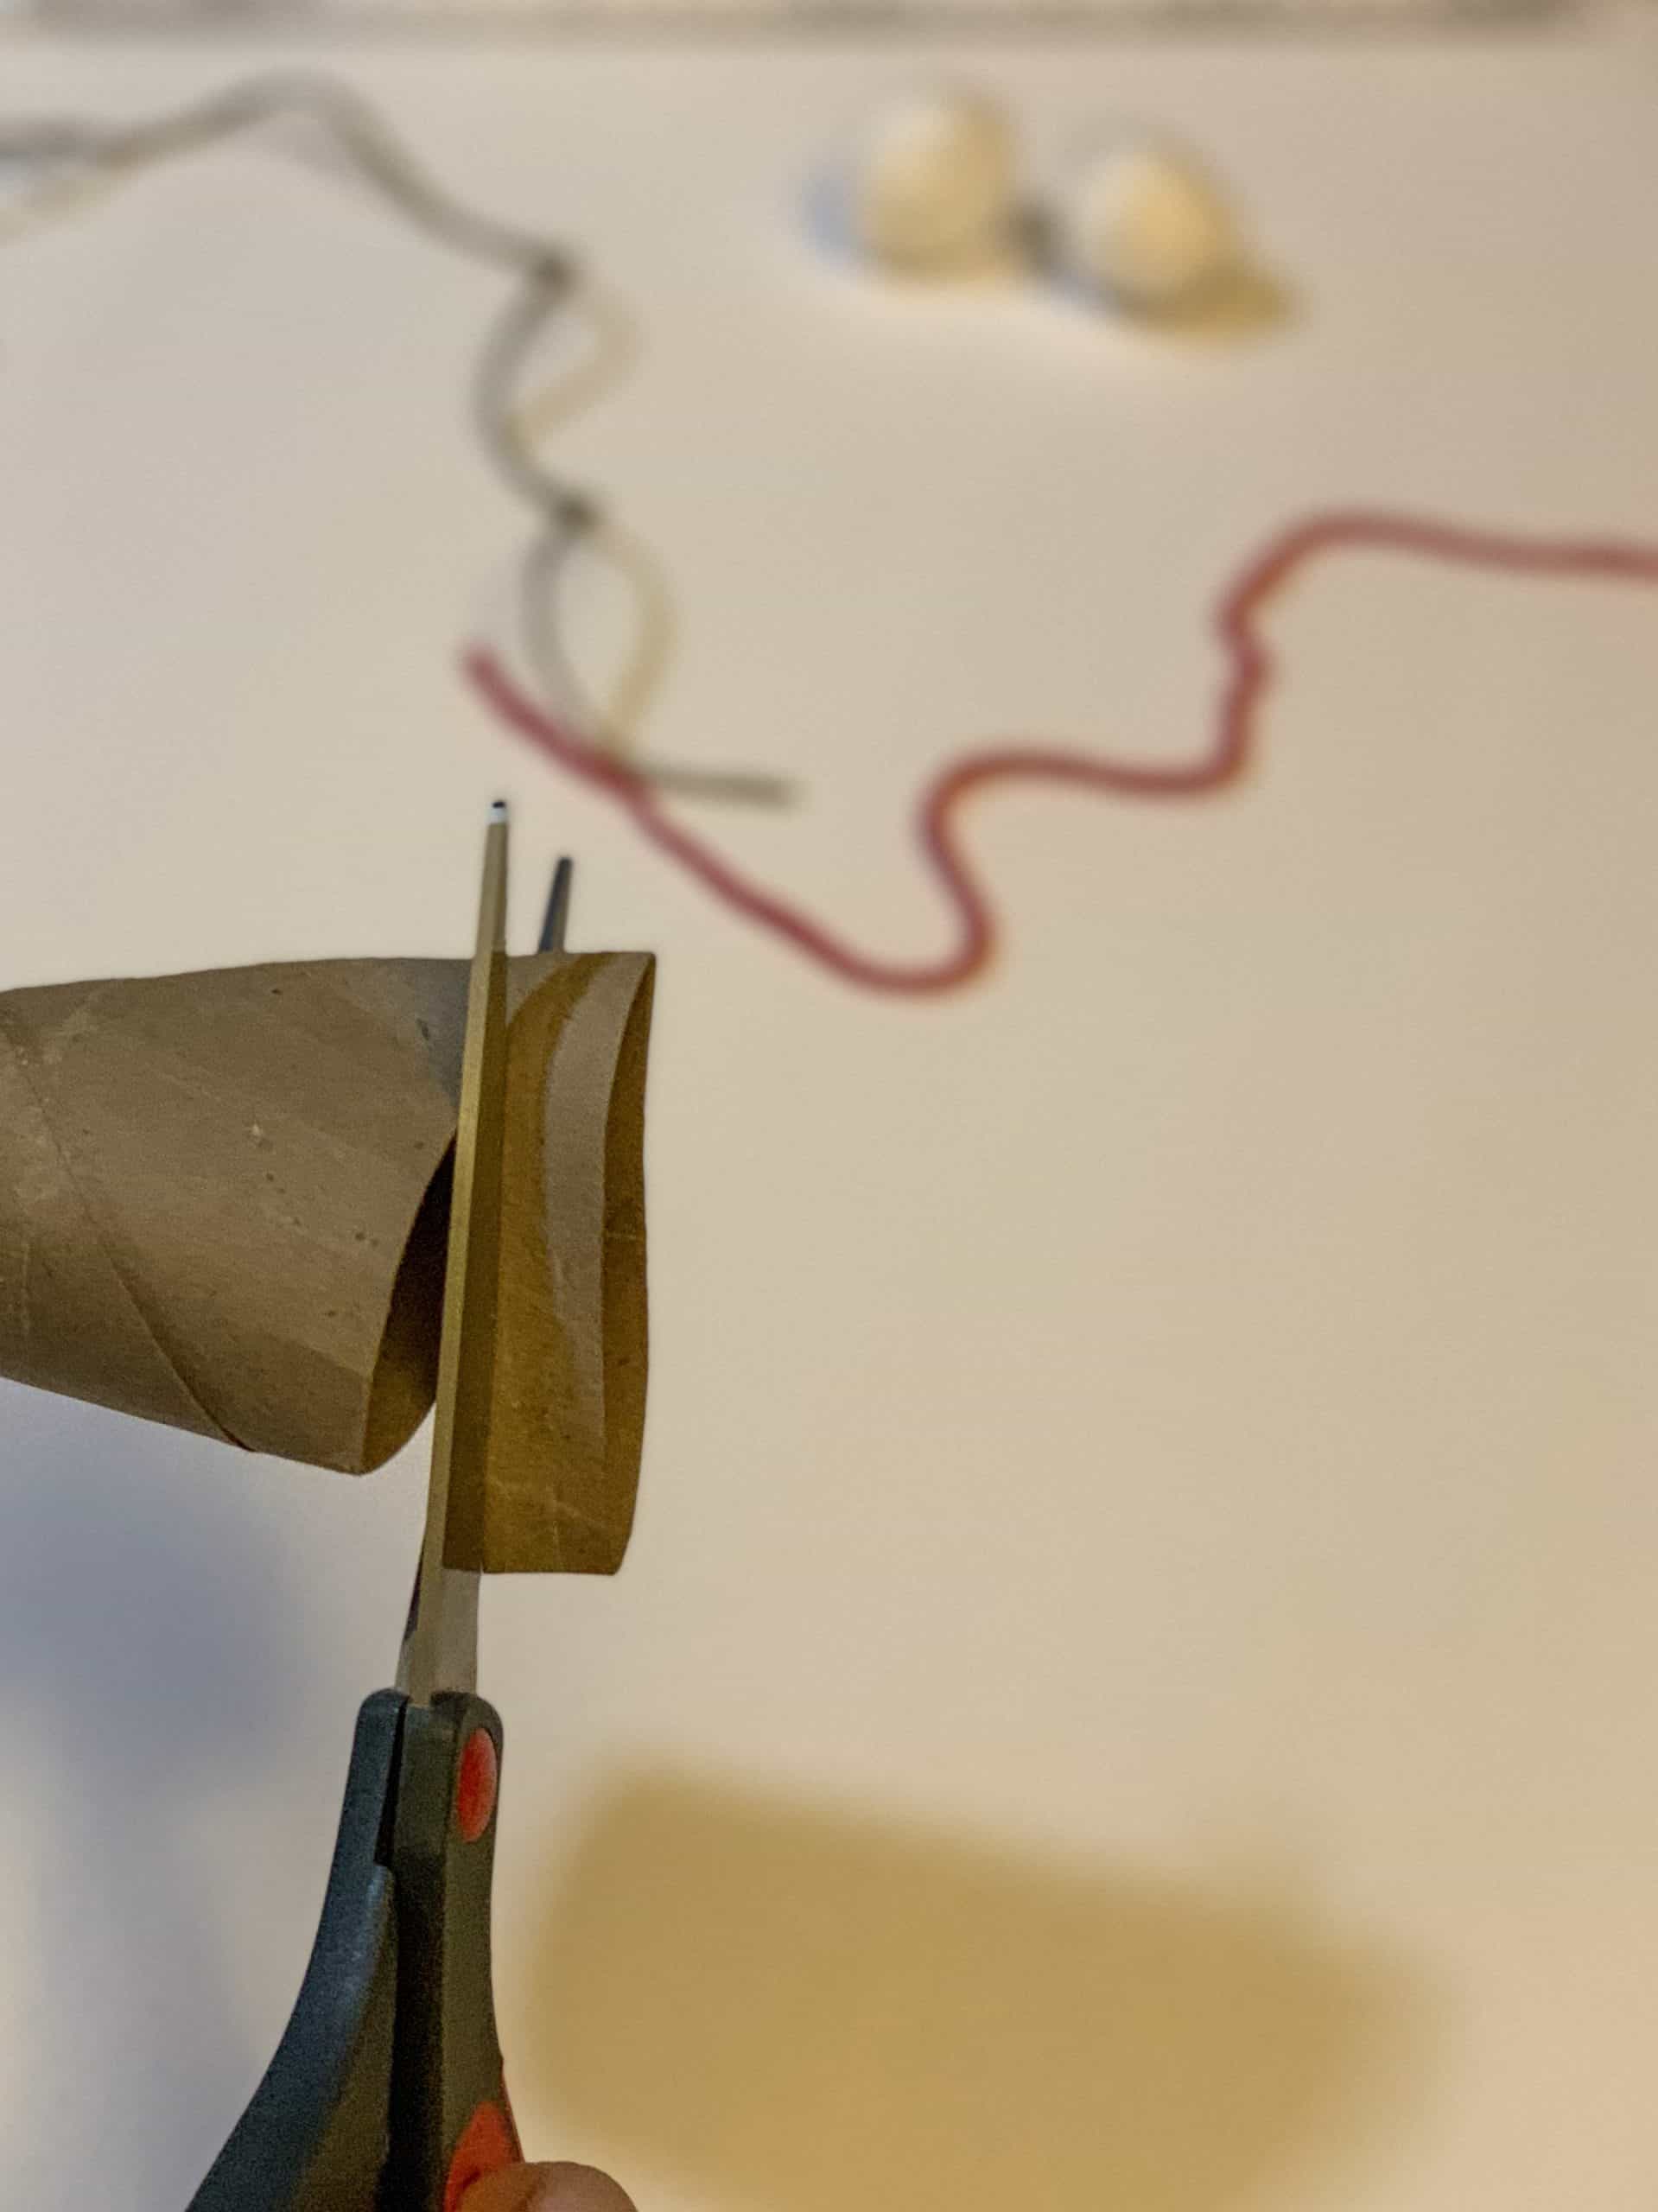
STEP 2 – Cut approximately 9-10″ pieces of yarn. I typically use 40 pieces of yarn for a completed mini hat ornament. This design used 42 pieces to keep the pattern flowing properly. Think about your design pattern and cut your yarn accordingly.
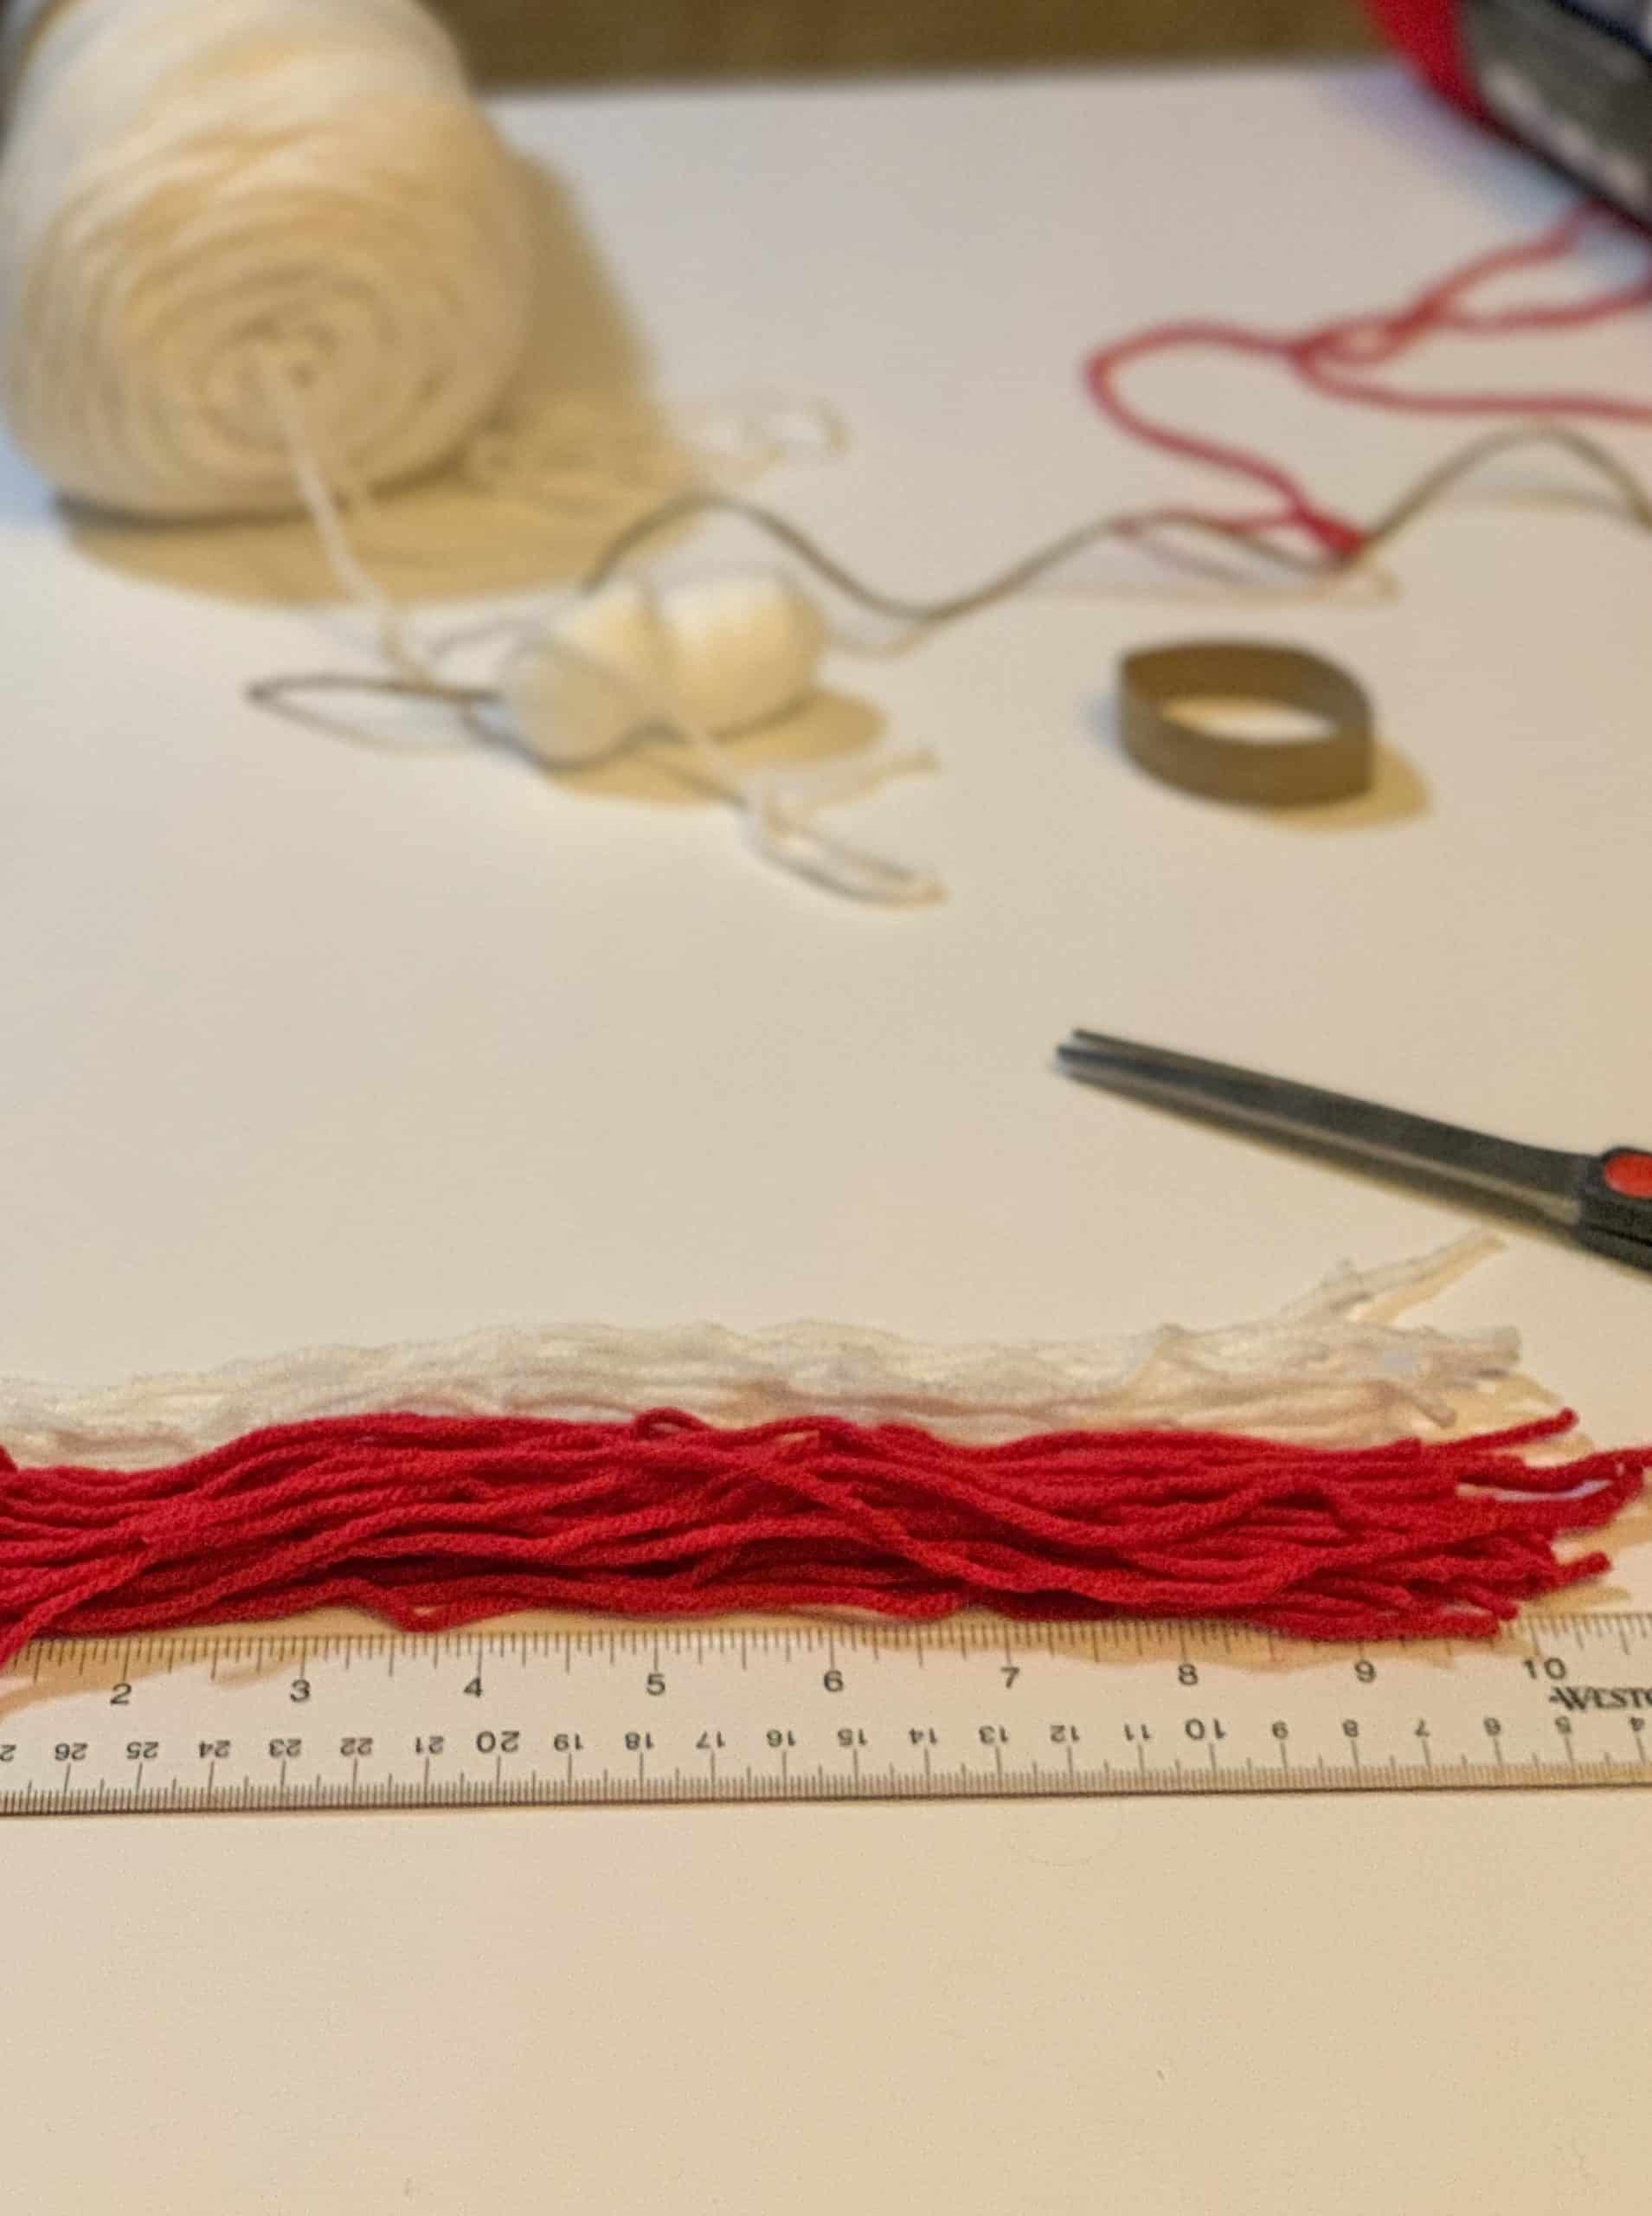
STEP 3 – Fold one piece of yarn in half. Take the loop side of the yarn and insert into the cardboard circle. Fold the cut edges toward the looped end over the circle then slide into the loop and tighten. Repeat this step in the pattern of your choice until the cardboard circle is covered. For my ornament in the video, I used 5 white pieces of yarn then 2 red pieces of yarn and flipped that combination for the photos.
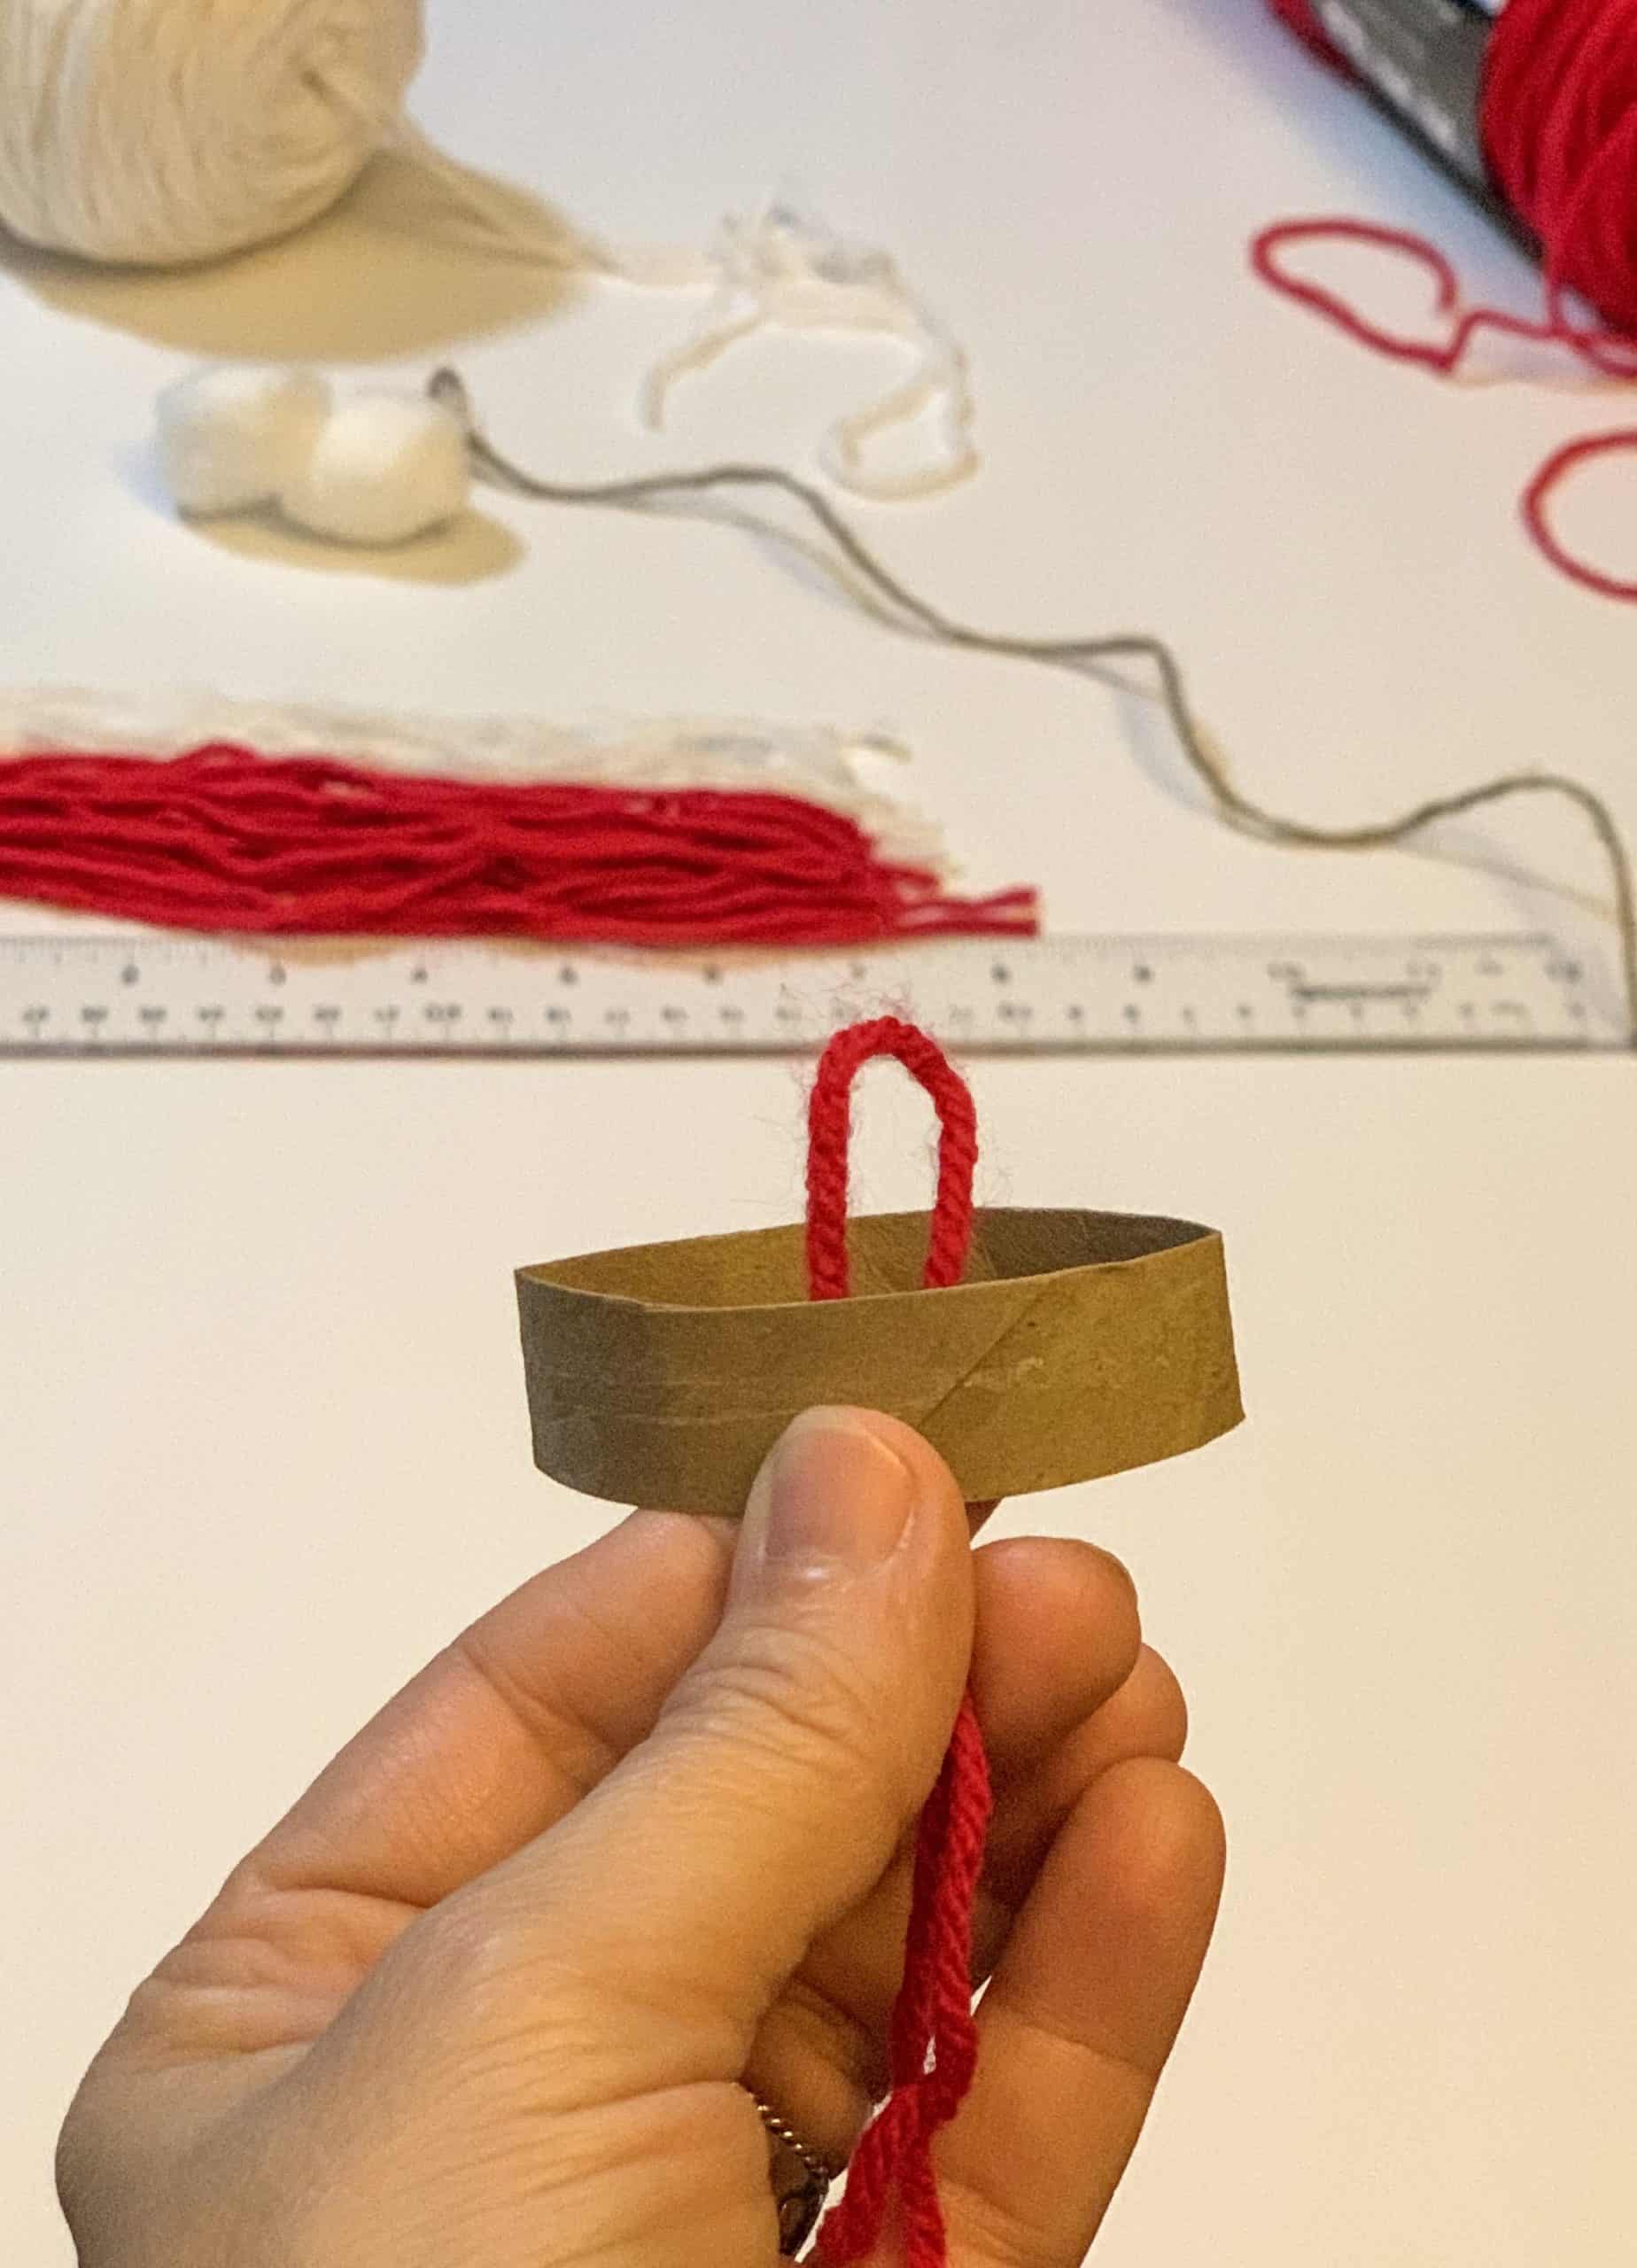
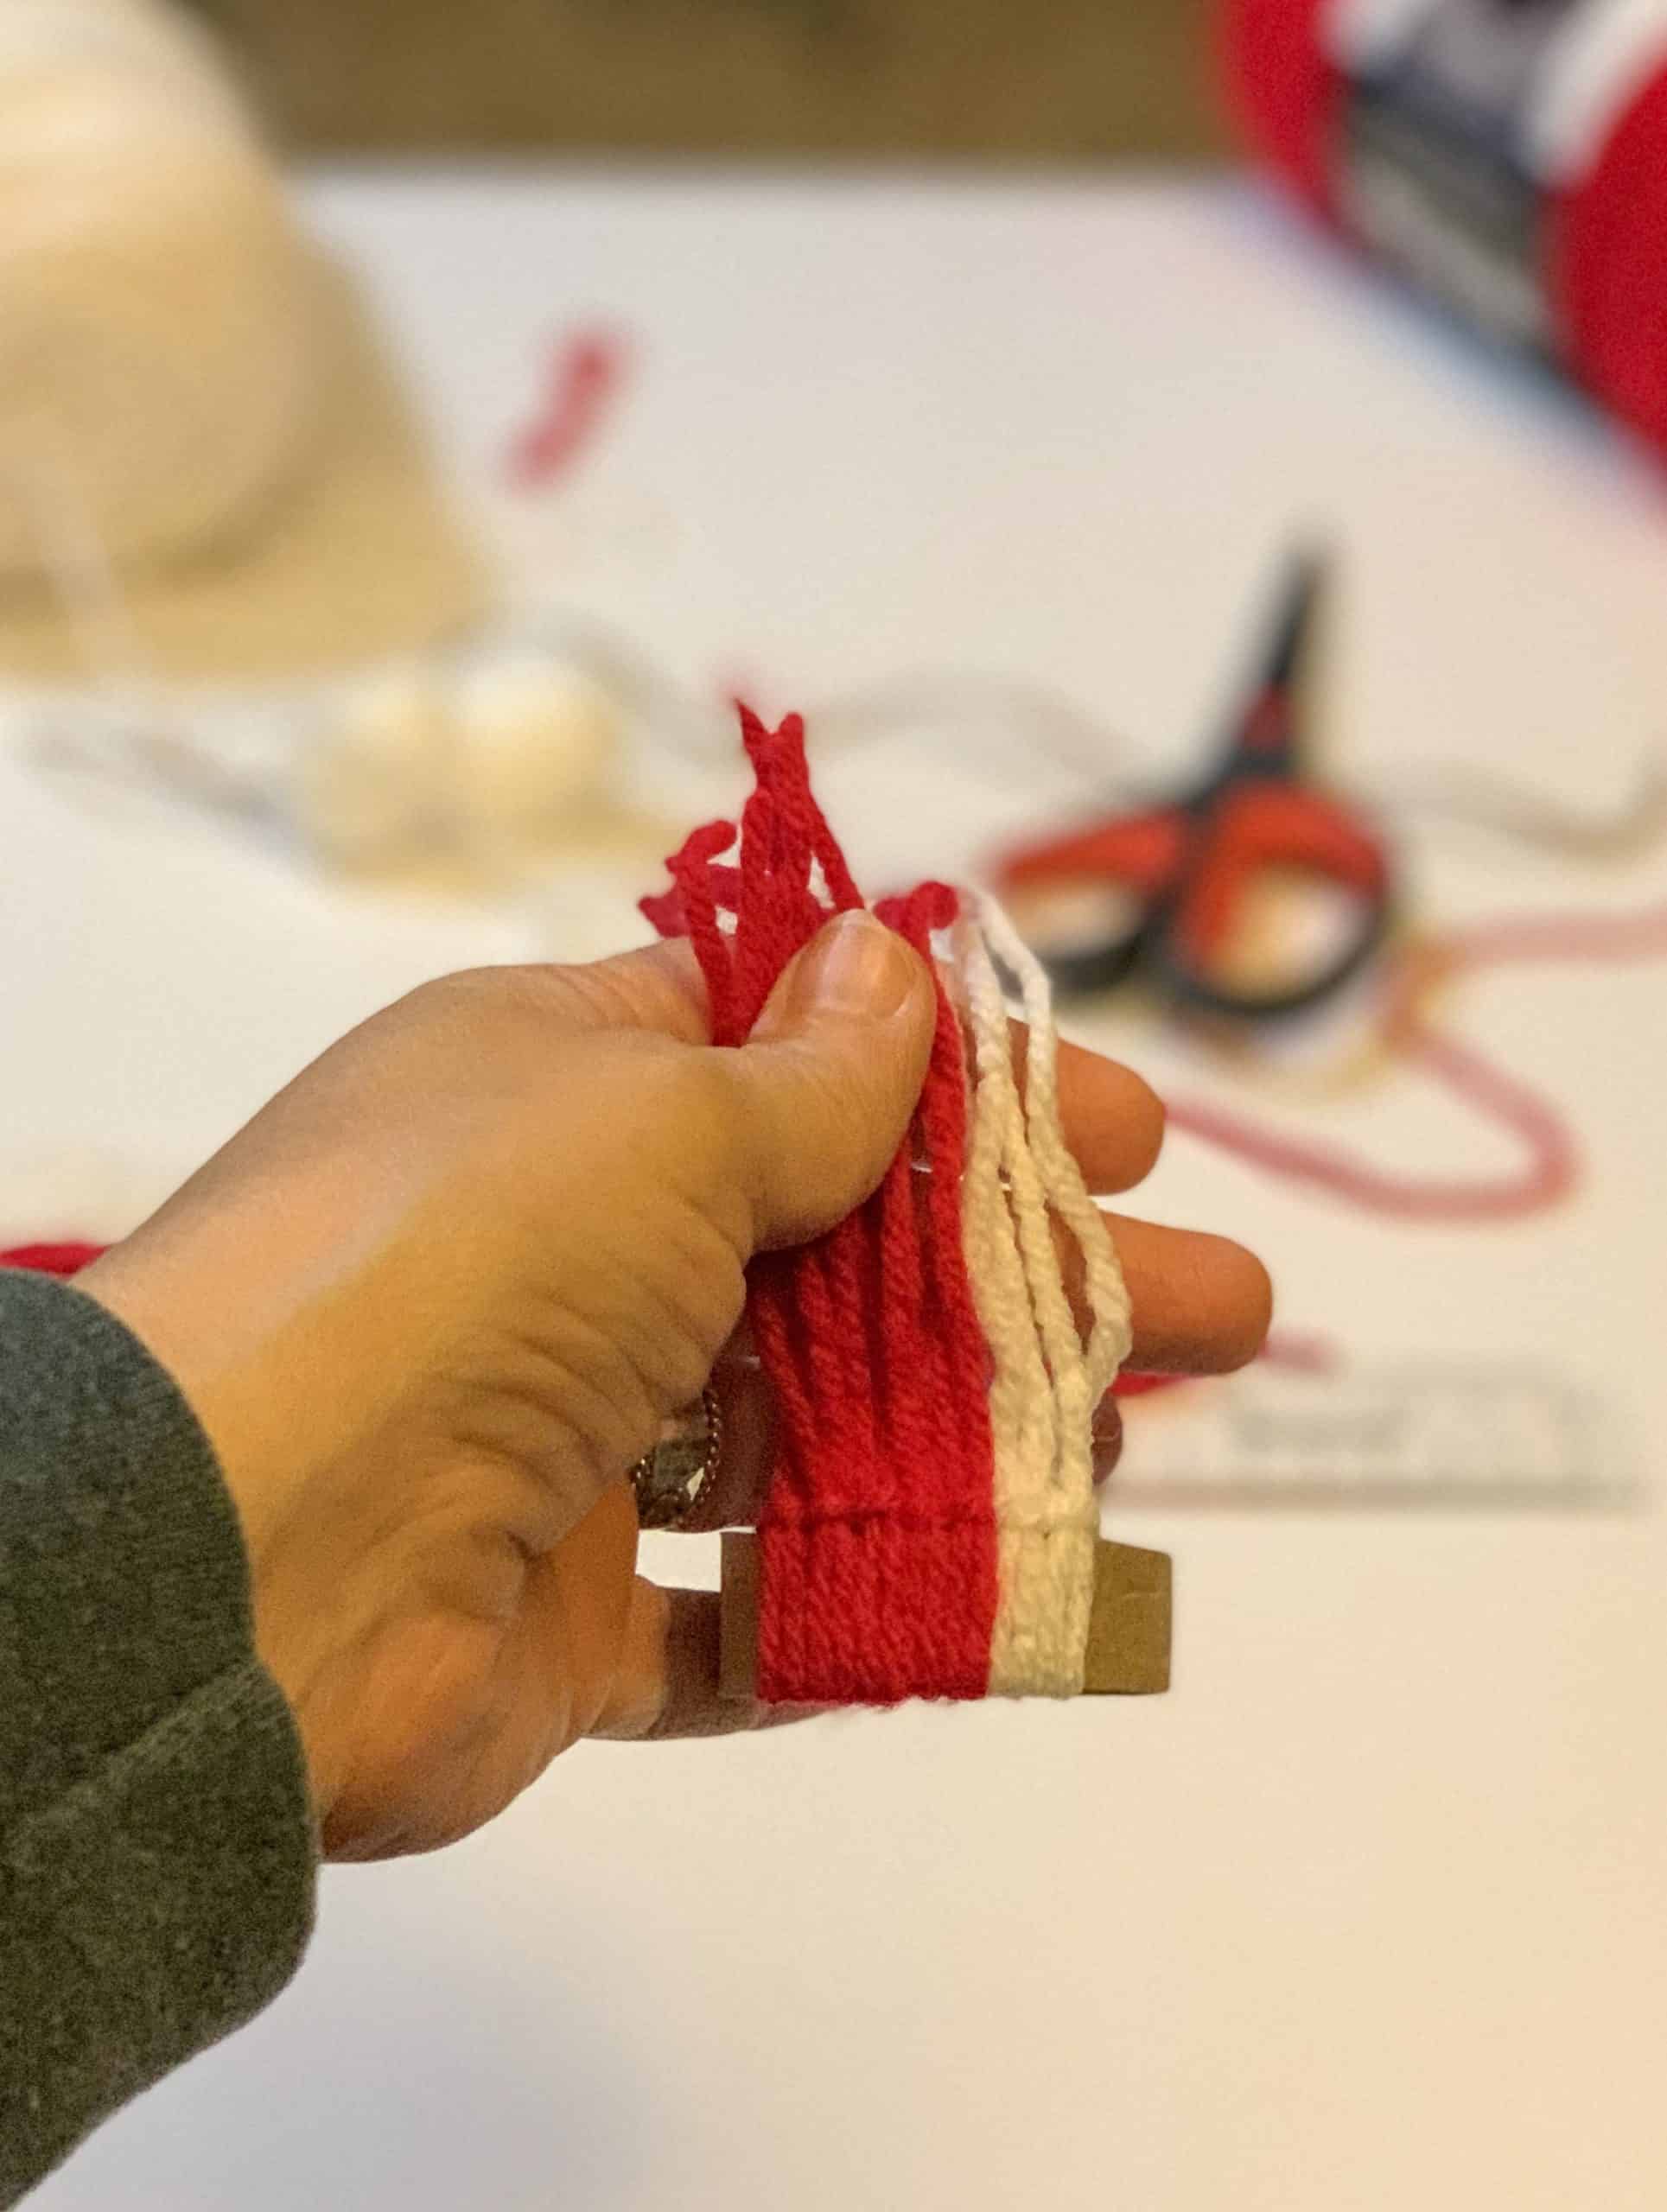
STEP 4 – Gather your yarn ends and push them through the center of the circle.
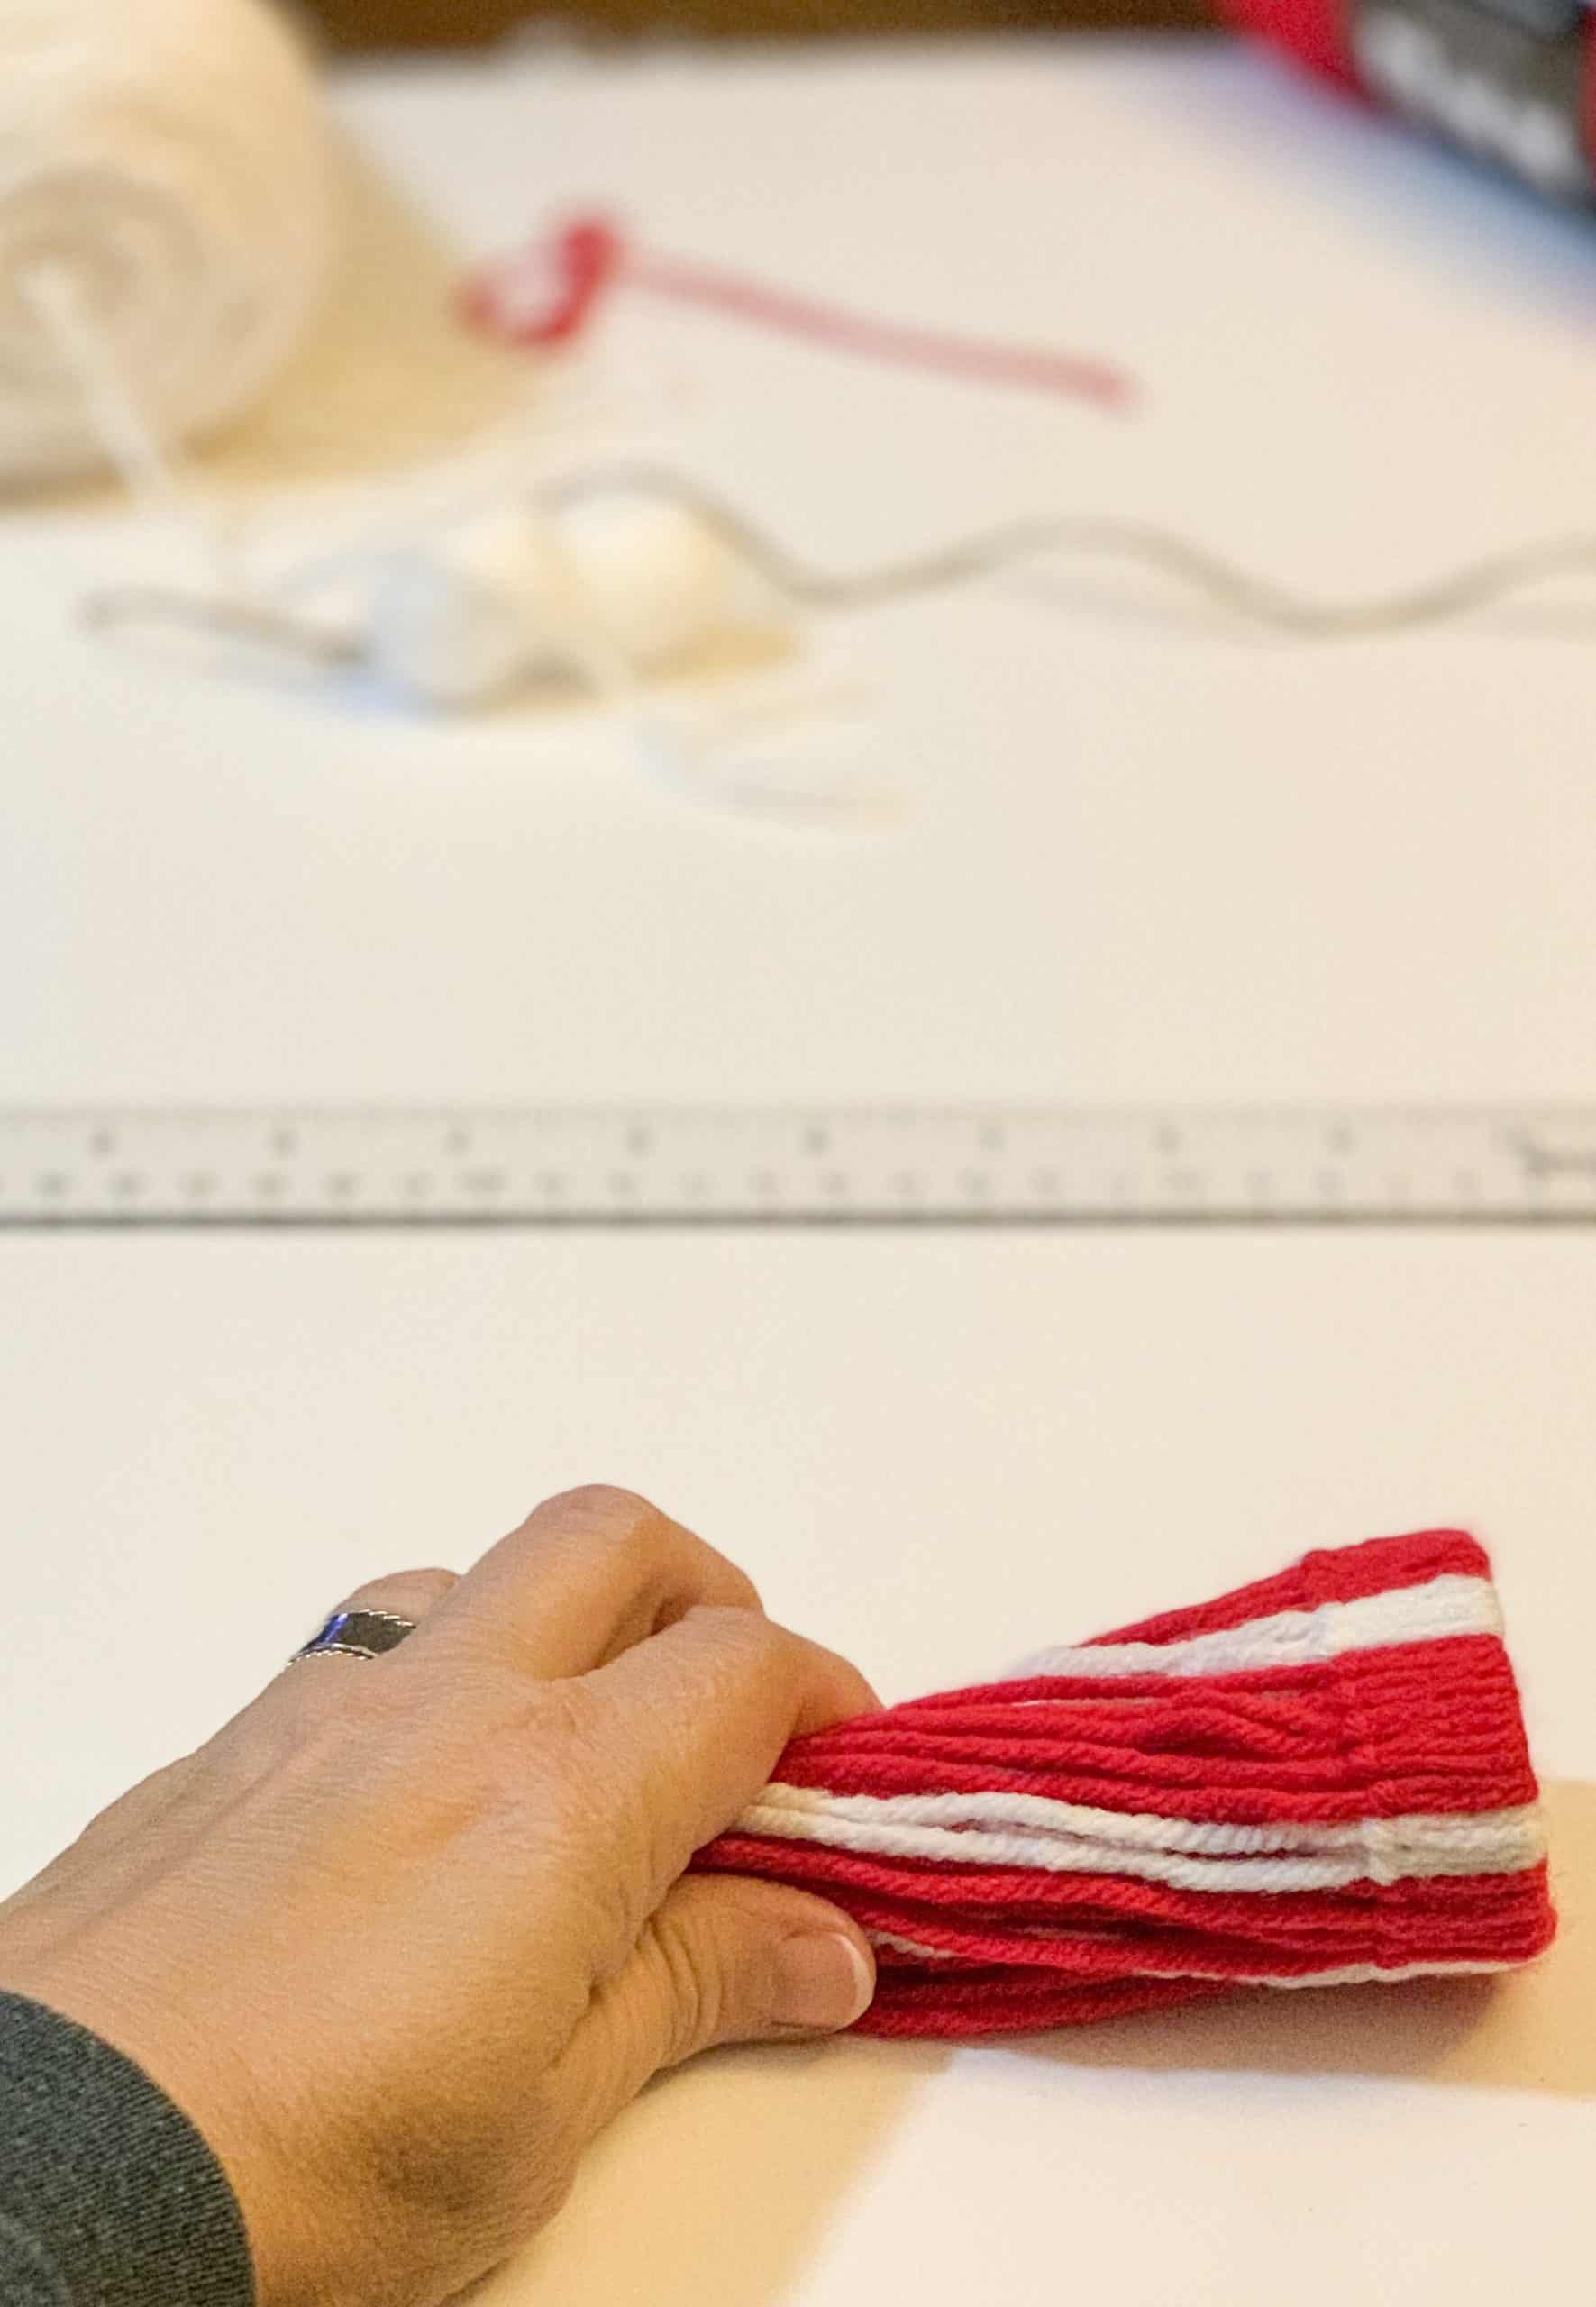
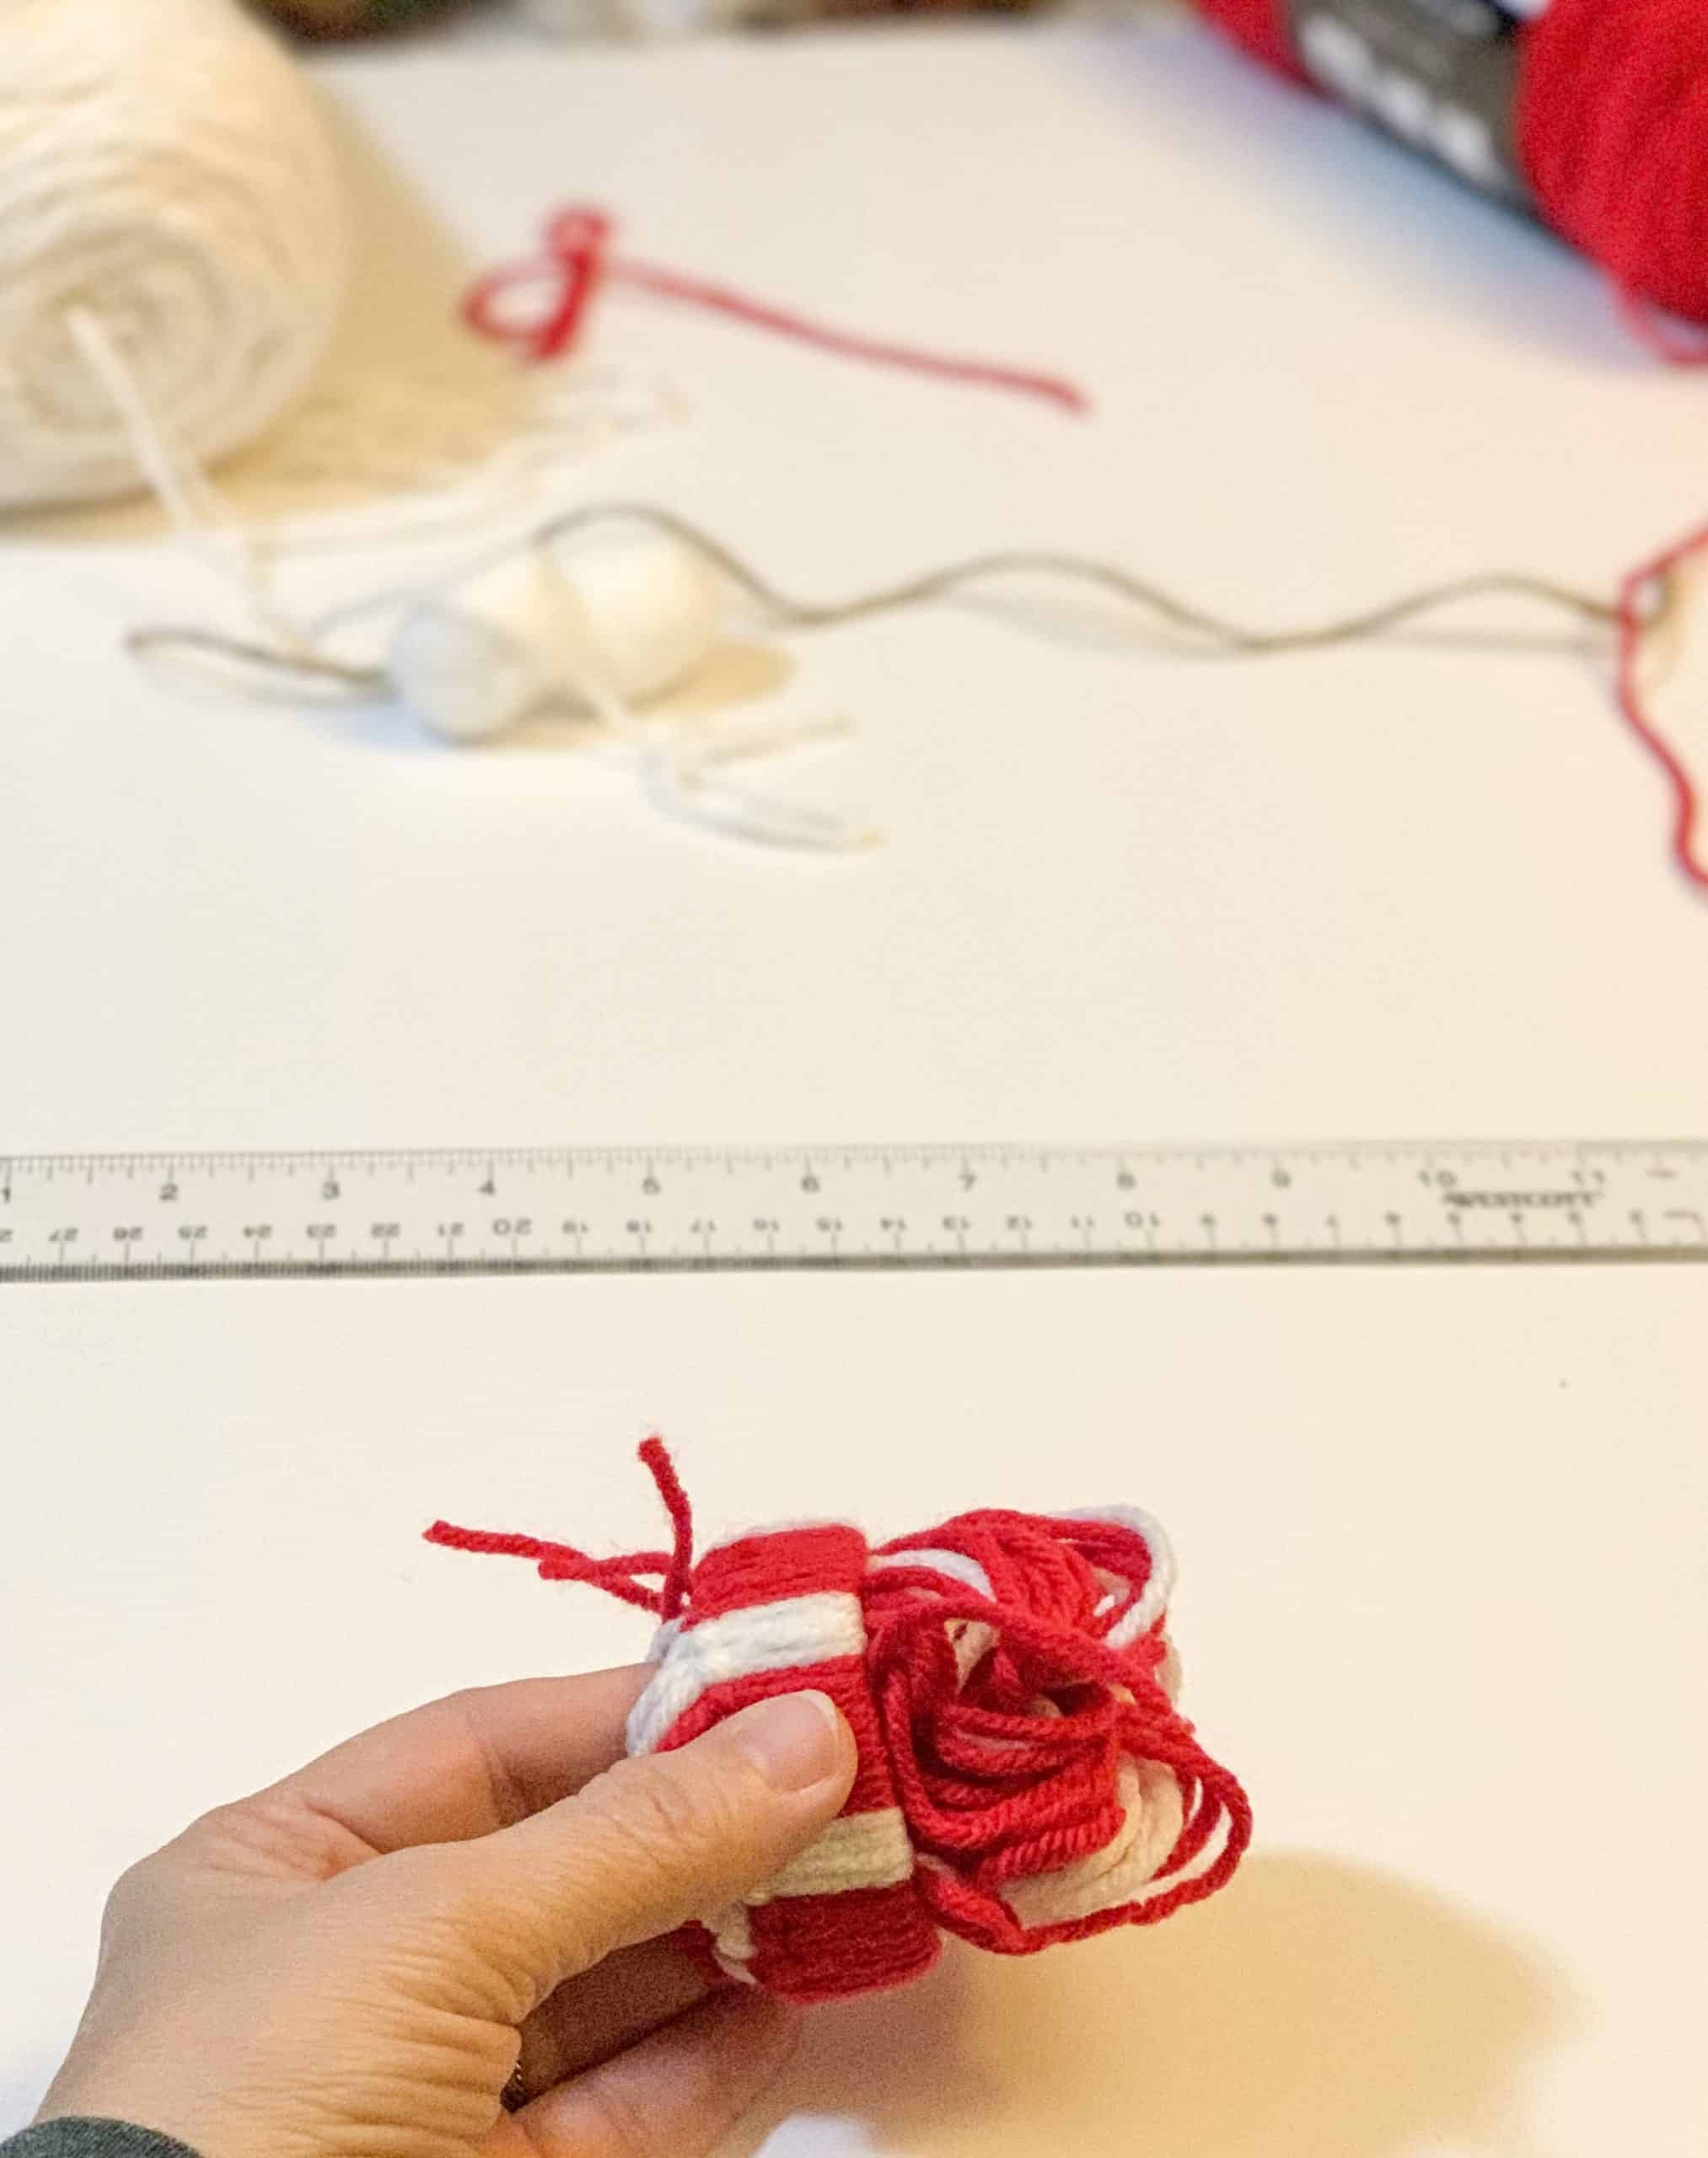
STEP 5 – Straighten the yarn so your pattern is correct.
STEP 6 – Cinch the top of your mini hat and secure using another piece of yarn or jute twine (as I did). Tie the knot securely in place.
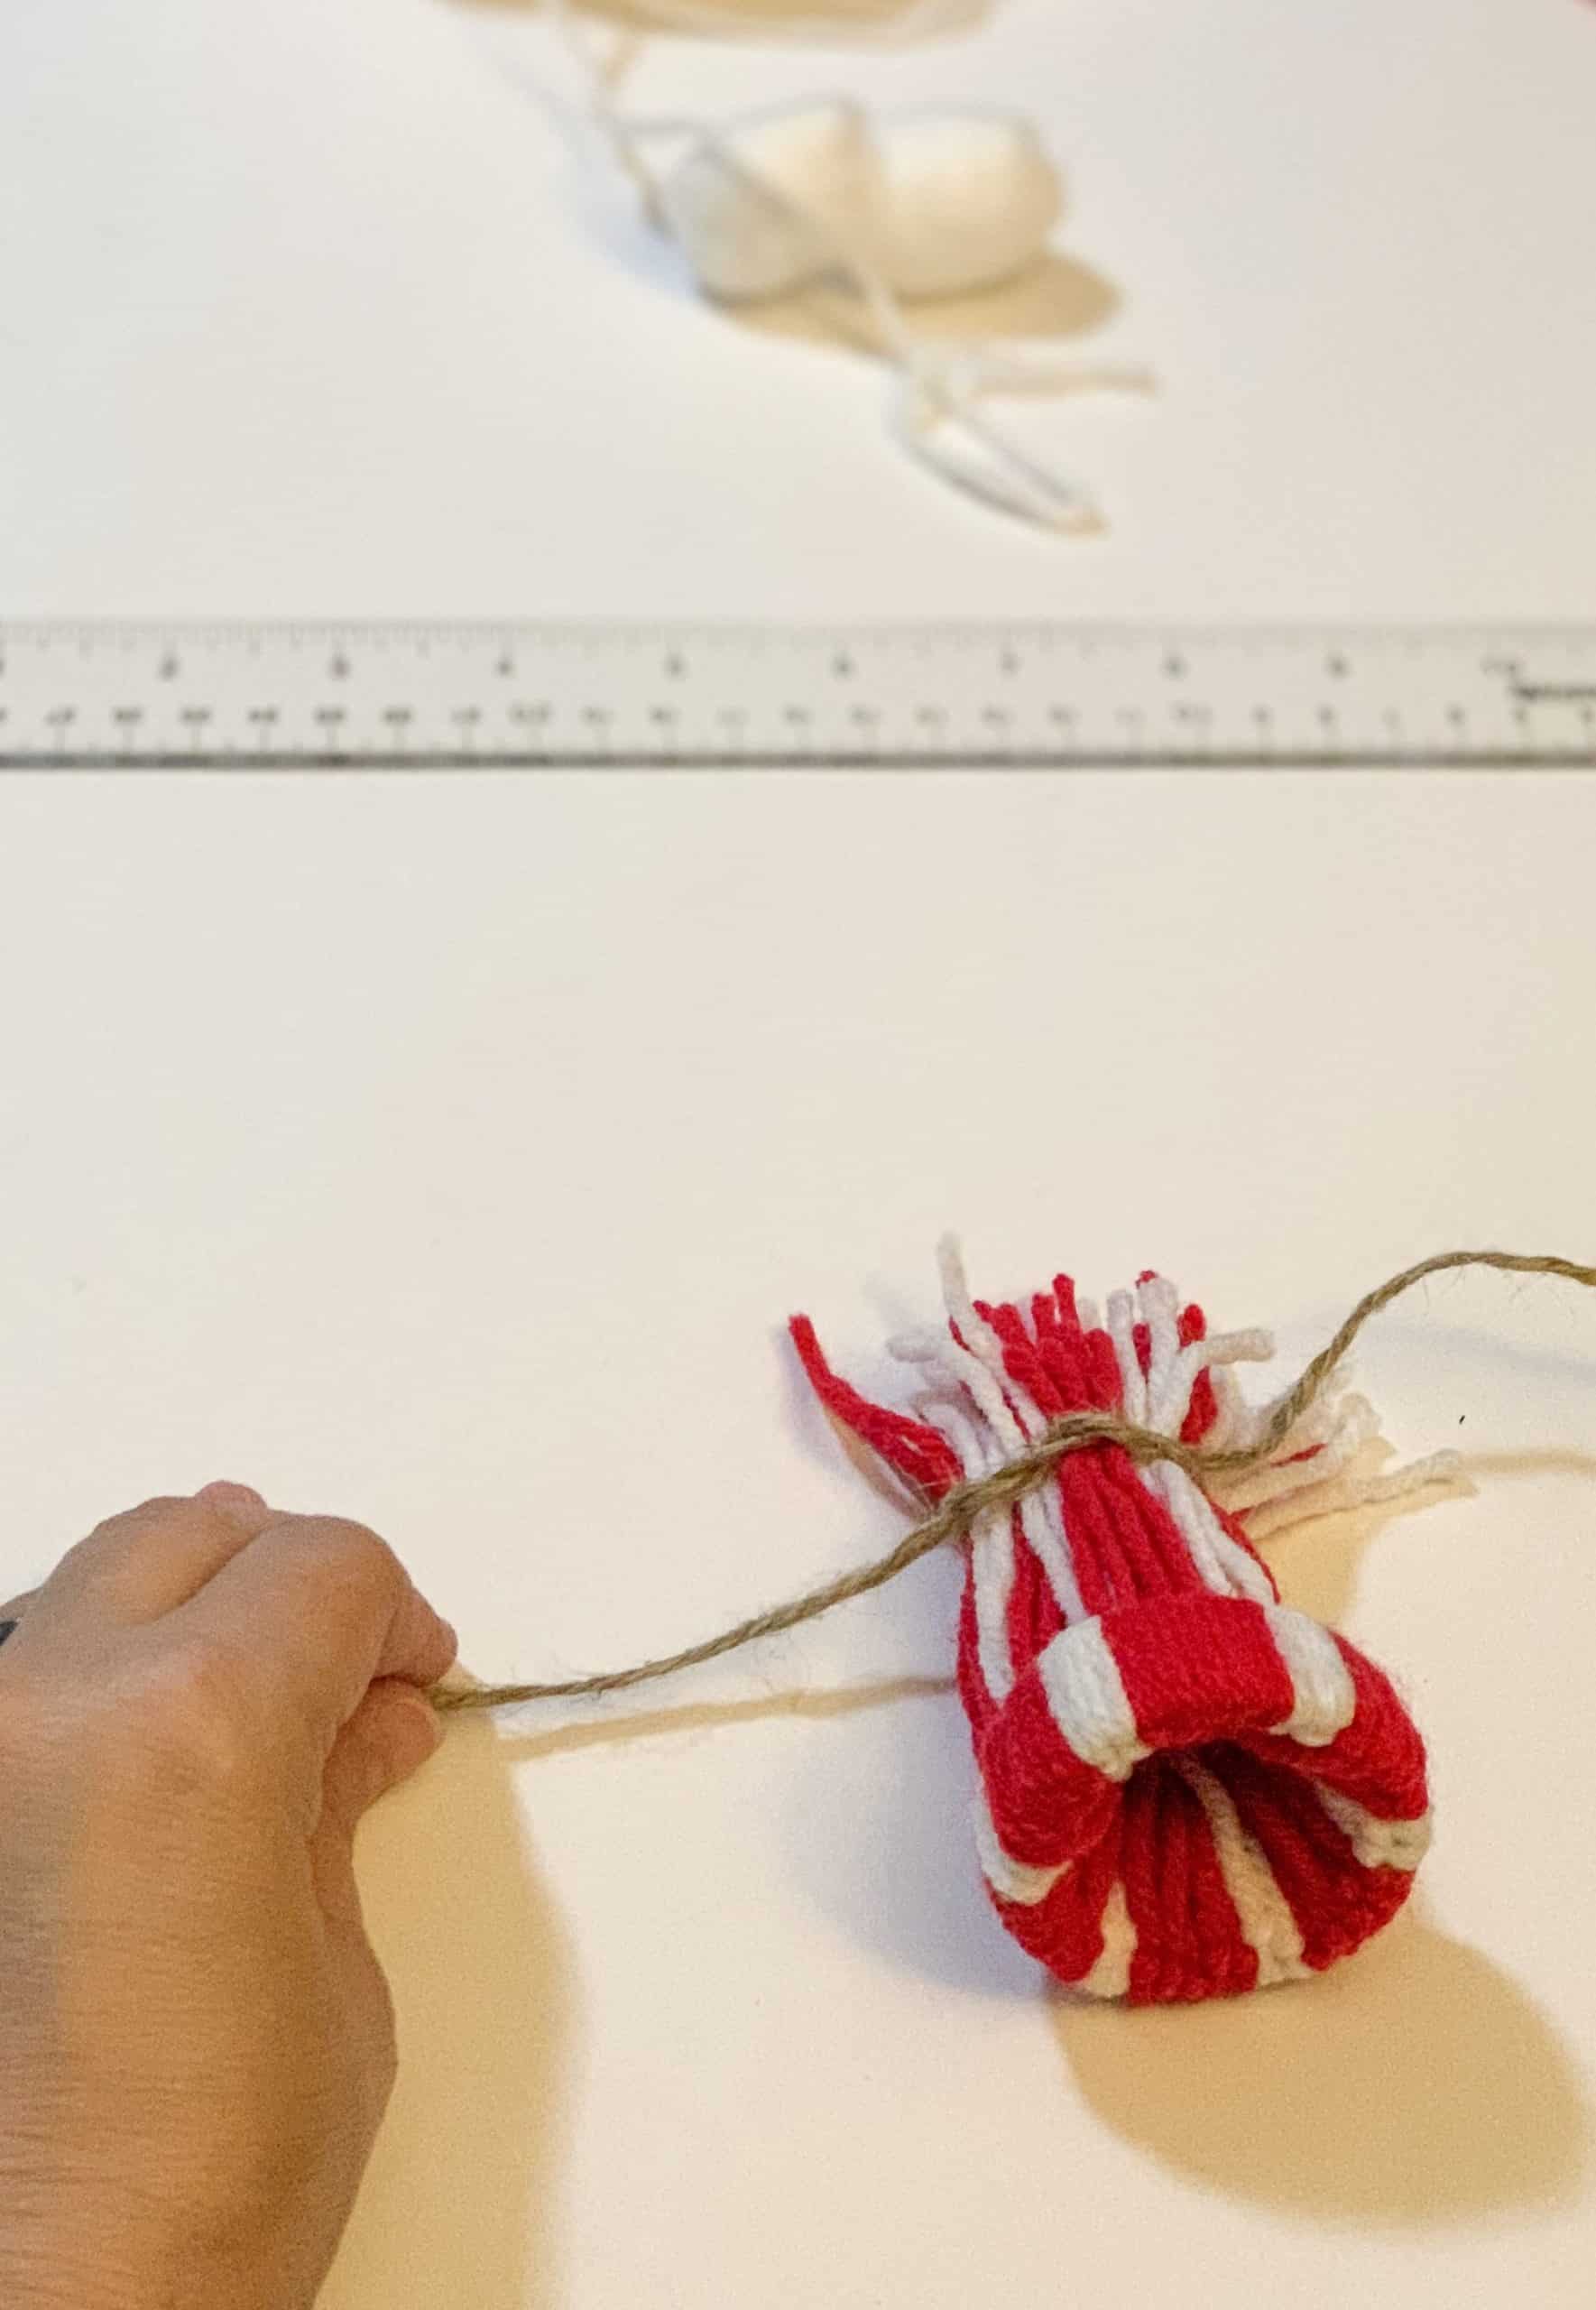
STEP 7 – Cut the yarn ends to form a pom-pom.
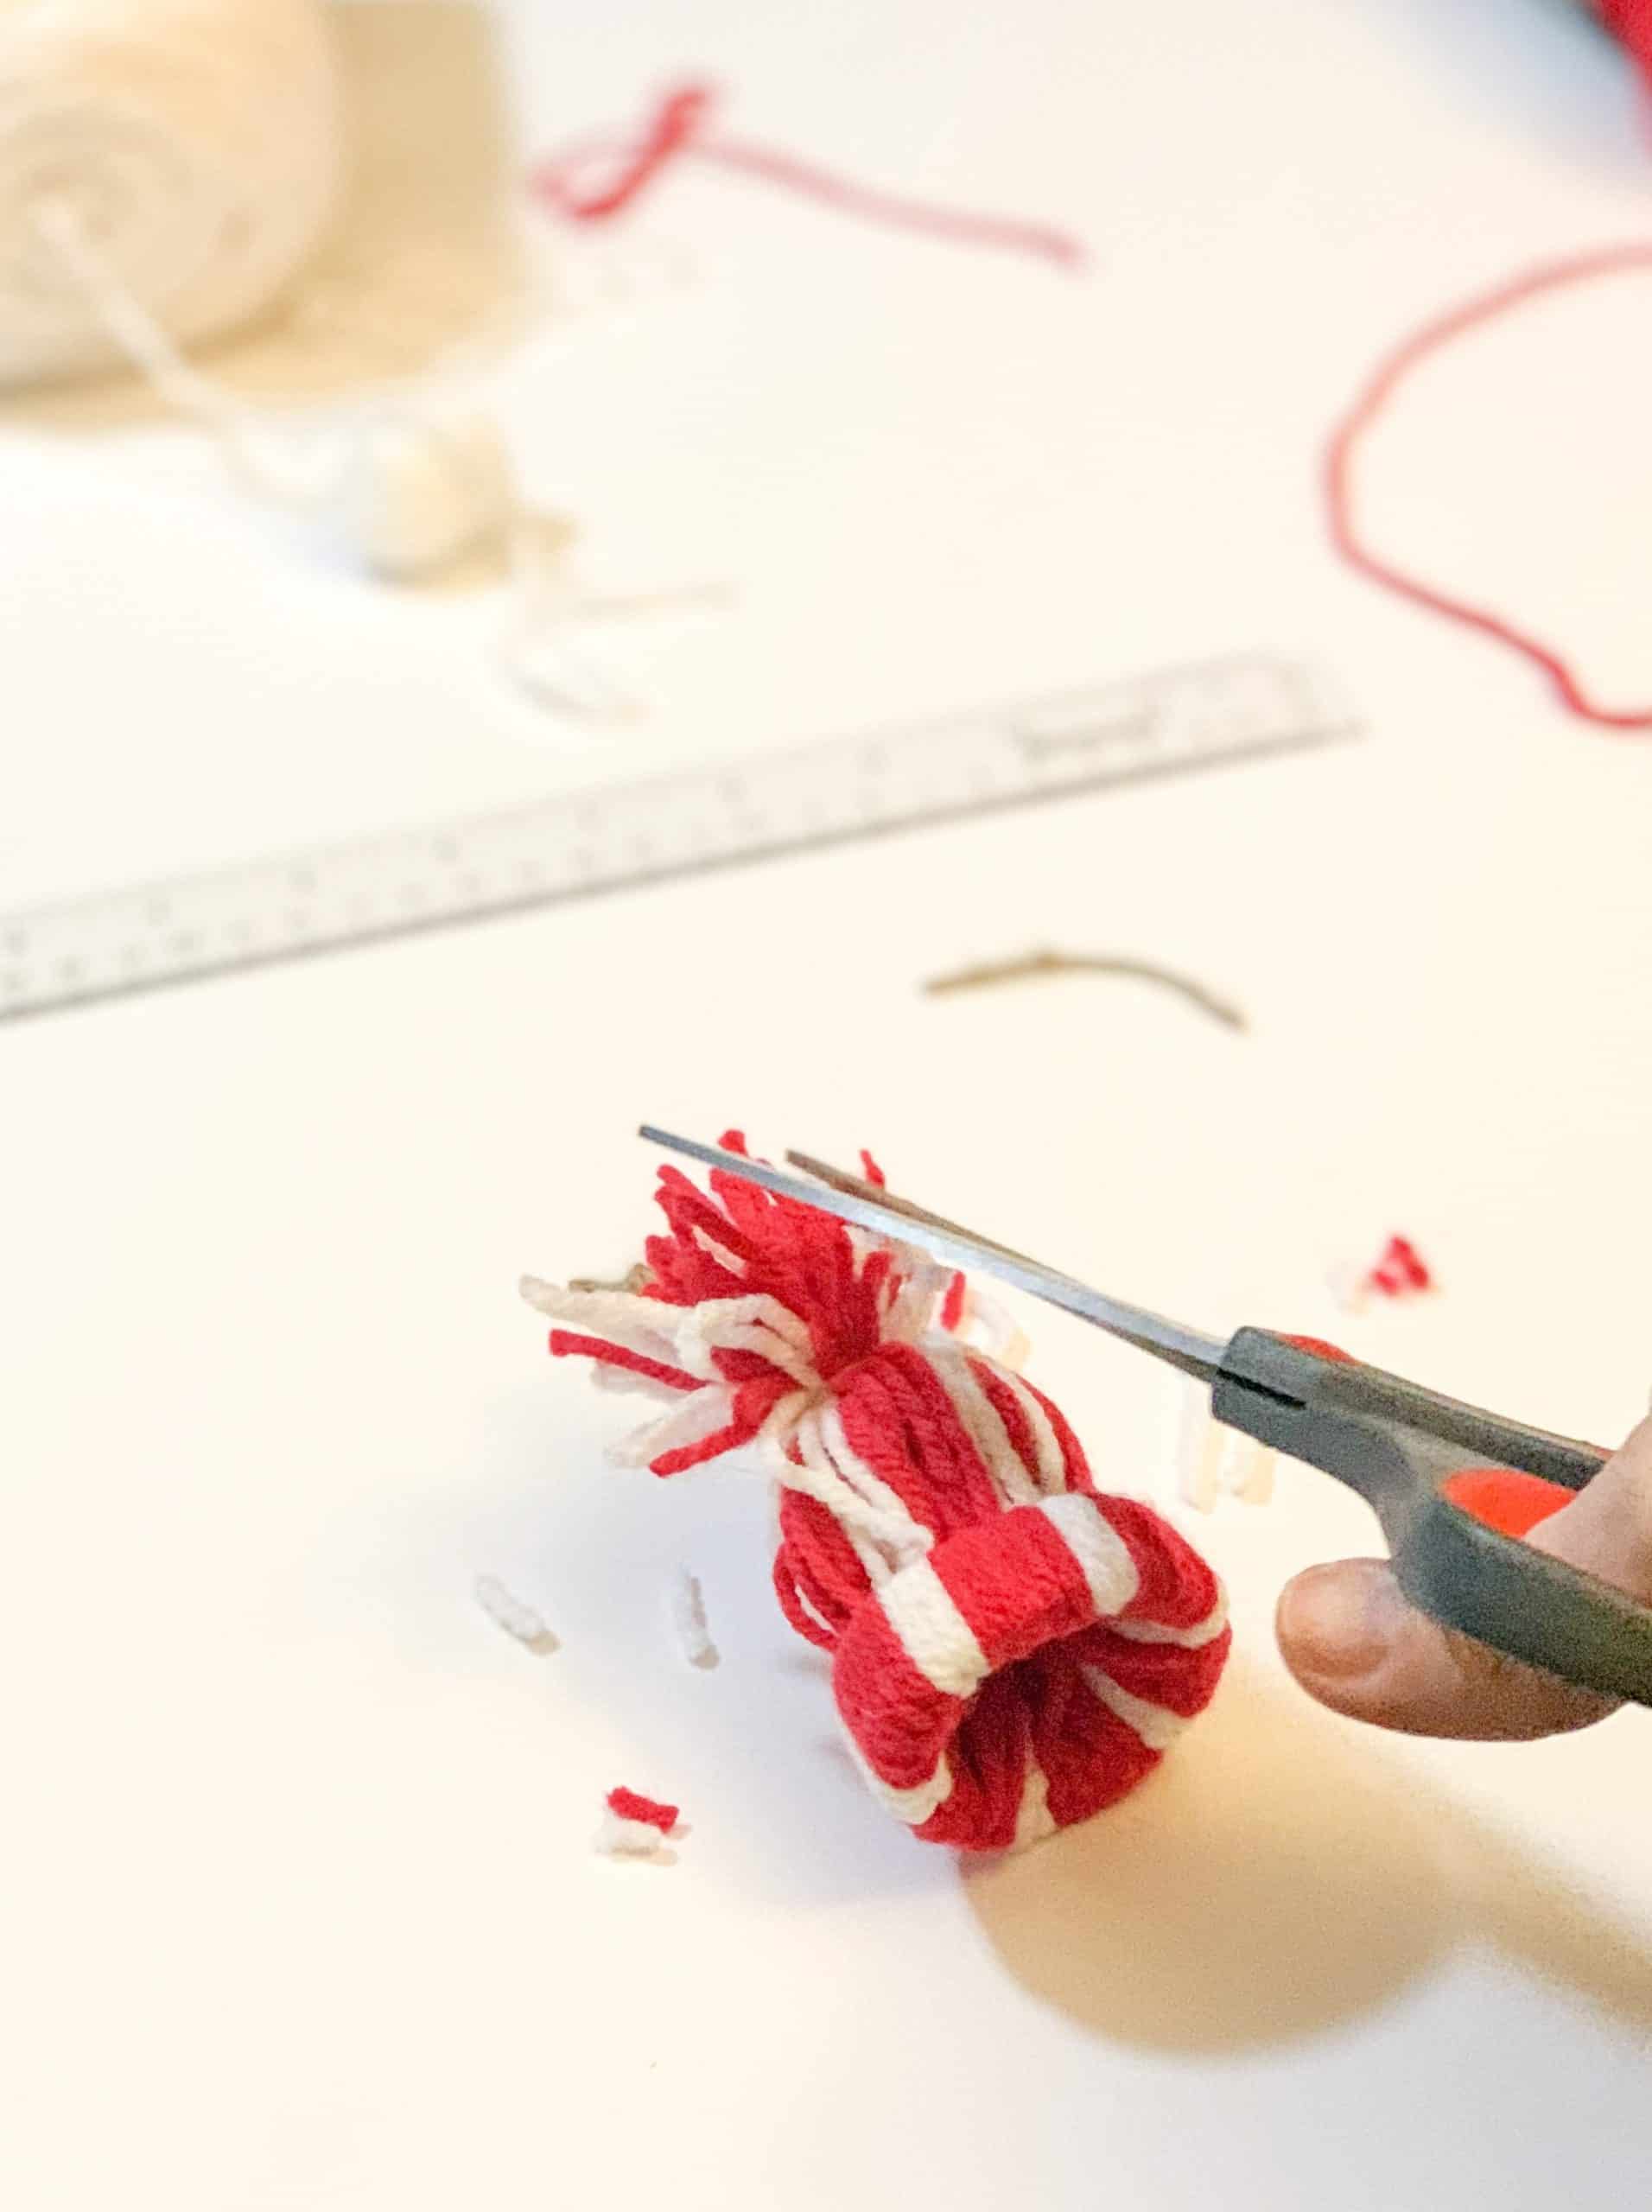
STEP 8 – Pinch of a small amount of poly-fil or grab a cotton ball and place inside of winter hat ornament for shaping.
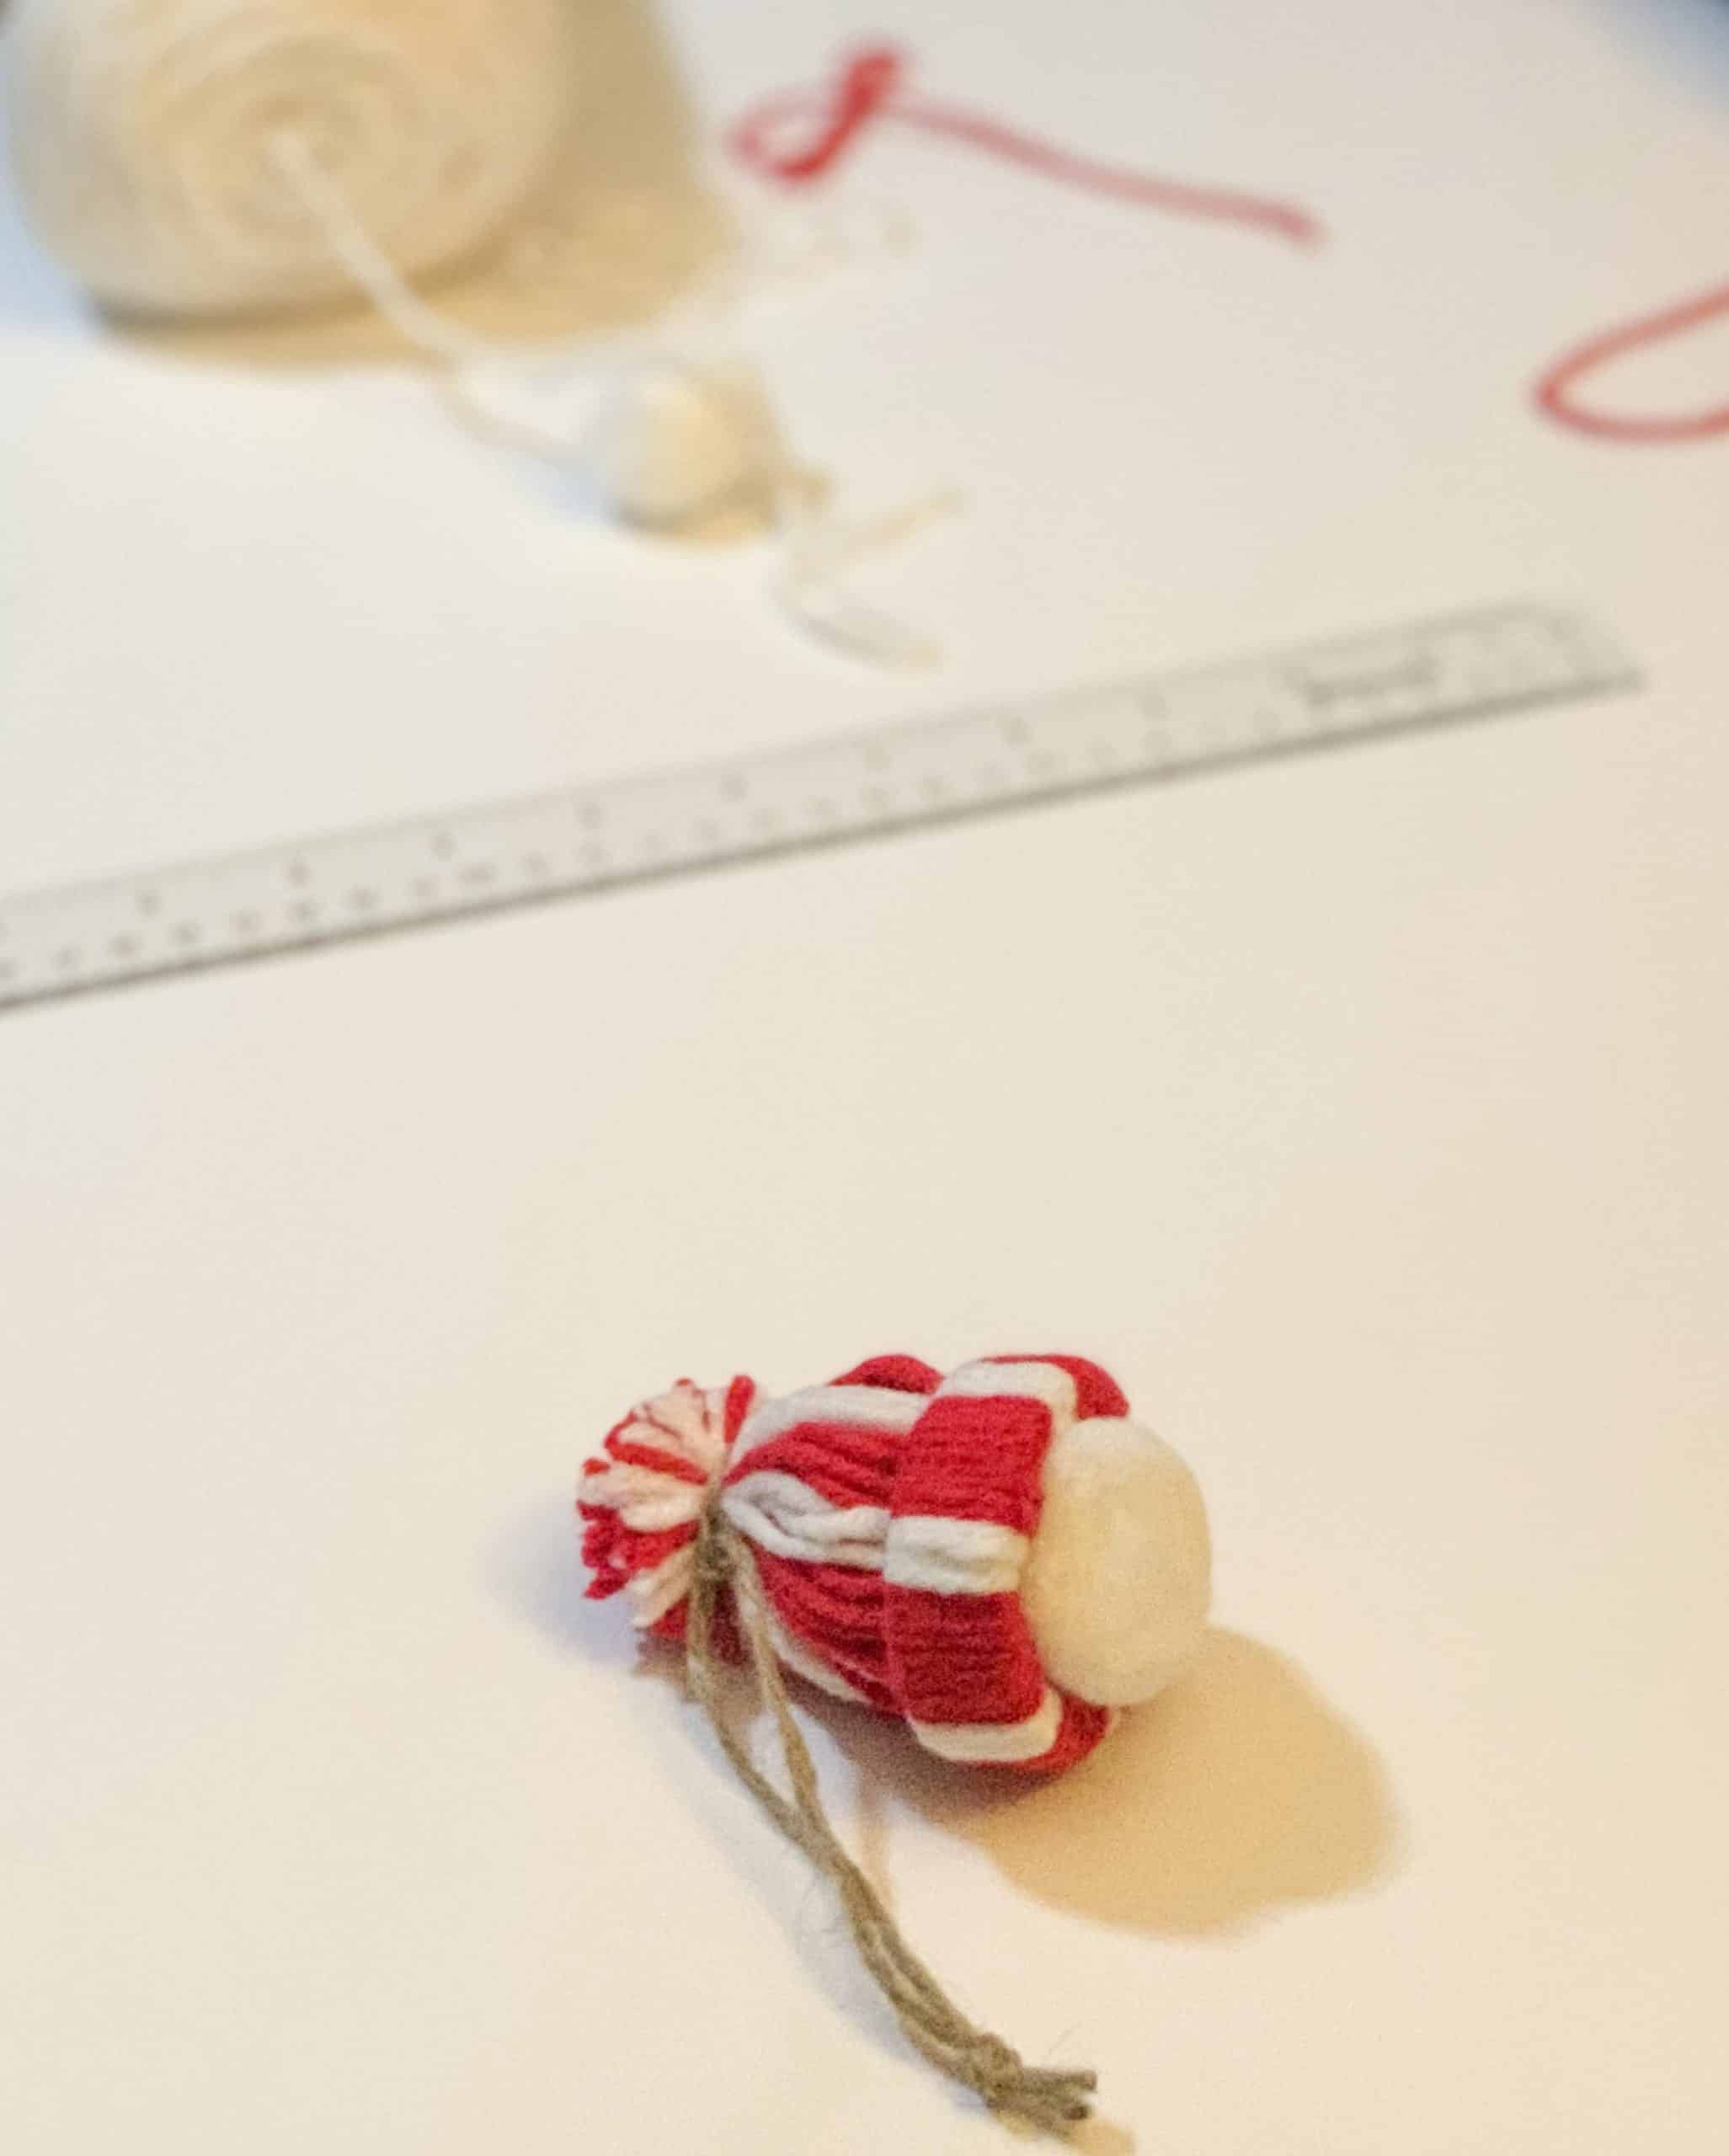
That’s it! Your adorable mini winter hat ornament is complete!
Here is a knitted version:

Mini Knitted Hat Ornament
Finished size: approximately 3–4 inches wide.
Materials
- Red worsted-weight yarn held double
- US 10 (6 mm) double-pointed needles or a long circular needle
- Yarn needle
- Small amount of stuffing
- 1½–2-inch faux-fur pom-pom
- Jute twine for hanging
- ¾-inch-wide burlap ribbon
- Small wooden button
- Tiny artificial greenery or berries
- Optional: felt for the bottom
- Fabric glue or low-temperature hot glue
Abbreviations
- K: knit
- P: purl
- Kfb: knit into the front and back of one stitch
- BO: bind off
Knit the hat
Using red yarn held double, cast on 6 stitches. Join for knitting in the round, taking care not to twist.
- Round 1: Kfb in every stitch — 12 stitches.
- Round 2: Kfb in every stitch — 24 stitches.
- Round 3: Knit.
- Round 4: *K3, Kfb; repeat around — 30 stitches.
- Rounds 5–10: Knit every stitch.
- Round 11: *K1, Kfb; repeat around — 45 stitches. This begins the brim.
- Round 12: Purl.
- Round 13: Knit.
- Round 14: Purl.
- Round 15: Knit.
- Bind off loosely.
The alternating knit and purl rounds form the ridged brim. Gently shape it upward while the yarn is slightly damp.
Finish the ornament
- Thread a loop of jute twine through the crown for hanging.
- Lightly stuff the crown, keeping the brim flat.
- Cut a small felt circle and sew or glue it beneath the crown to hold the stuffing inside.
- Sew or glue the faux-fur pom-pom over the hanging cord at the top.
- Wrap burlap ribbon around the base of the crown. Overlap the ends at the front and secure them.
- Add a wooden button over the ribbon overlap.
- Tuck miniature greenery, frosted leaves, or berries behind the button and secure them.
For a larger ornament, add another increase round—K4, Kfb around—before knitting the straight section. For a smaller one, use a single strand of worsted yarn and US 6–7 needles.
Free printable
One number for the whole season
The Holiday Budget Worksheet gives you one number for Thanksgiving through New Year’s, and the weekly amount that gets you there, before the sales get loud.
No spam, ever. Unsubscribe anytime.
Want a little more help with this? My Debt Free Christmas Planner takes what we talked about here and walks you through it, step by step.