
Farmhouse Felt Leaf Ornaments
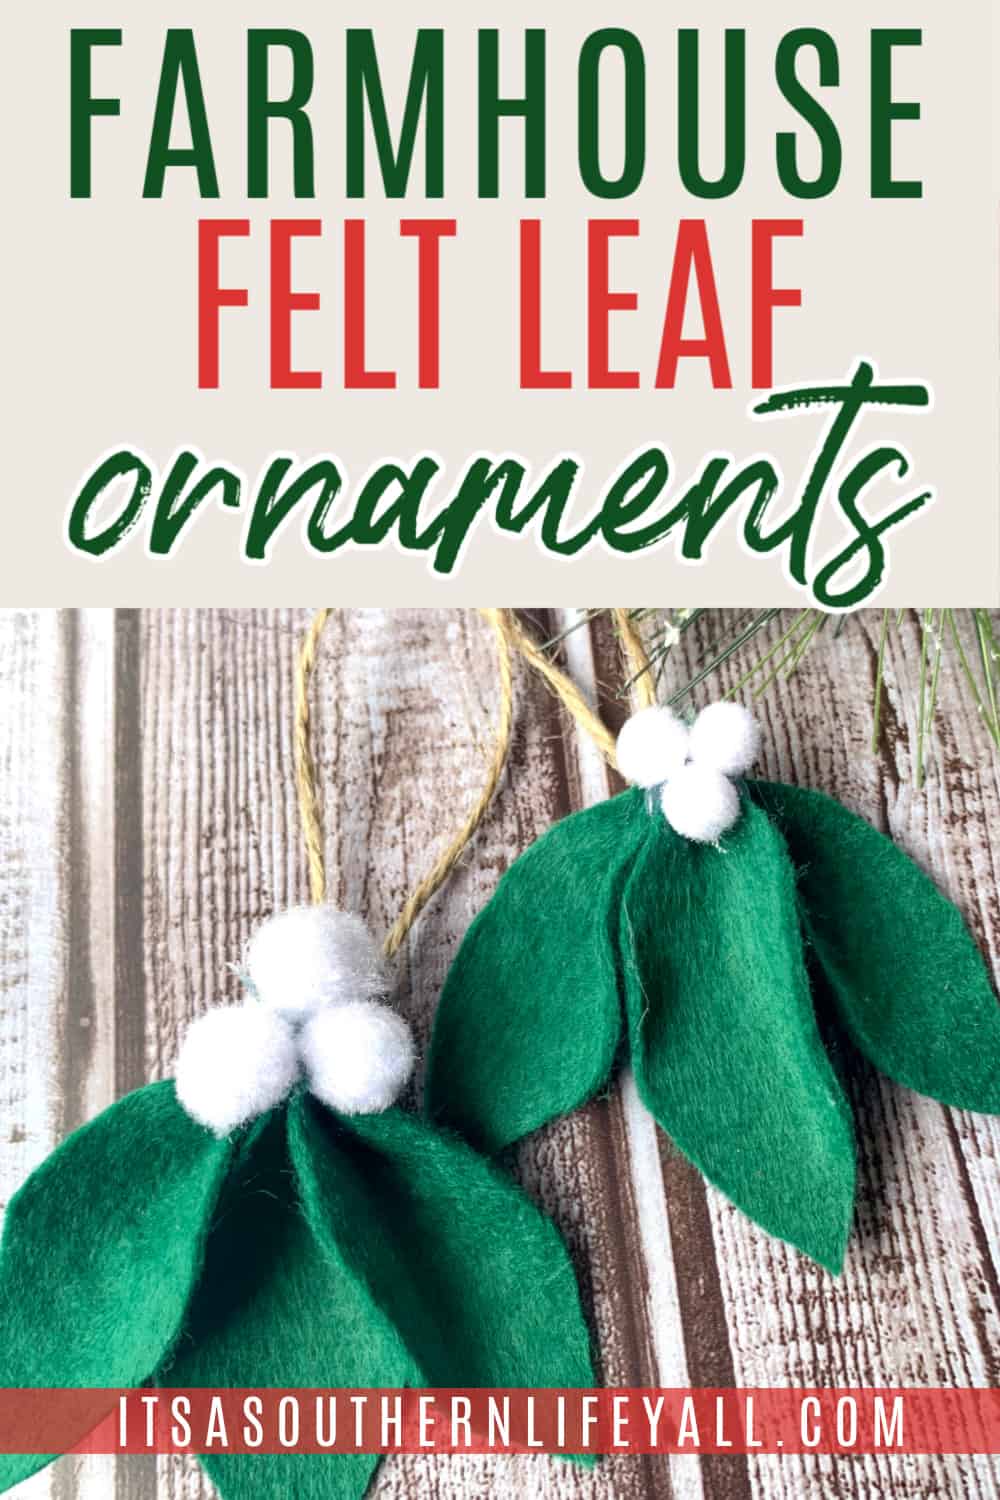
I love-love-love Christmastime! It’s my favorite time of the year. I dream of having an old fashioned Christmas with handmade ornaments that remind me of years long forgotten. Always the crafty, artistic type, my heart nearly bursts at the thought of creating rustic ornaments to adorn my tree. Even if you aren’t the give me a glue gun and I will create you a masterpiece person you can easily whip up these adorable Farmhouse Felt Leaf Ornaments to help your rustic Christmas come to life.
There is an additional leaf pattern at the bottom of this article:
Free printable
One number for the whole season
The Holiday Budget Worksheet gives you one number for Thanksgiving through New Year’s, and the weekly amount that gets you there, before the sales get loud.
No spam, ever. Unsubscribe anytime.
(This post may contain affiliate links. What does that mean to you? Well, if you click on a product and make a purchase, I may receive some compensation at NO charge to you. If you want to read the boring stuff, my full disclosure can be found here.)
**Be sure to check out the end of this post where I put a little spin on these ornaments and create a garland.**
Typically, I write on saving money and saving time but have recently decided to expand my approach to saving money. Even when you’re watching your budget, I want you to know you can still achieve a magical holiday look.
No matter where I stand financially, I love having a crafty Christmas. Creating ornaments and other Christmas decor while saving money makes me do a happy dance!
If you are looking to make extra money to help with the Christmas cost, this post on Easy Ways to Make Extra Cash for Christmas can help. It truly is easy to make an extra $1000 before Christmas when you put some thought into it.
Now, I know some of you might be thinking it’s too early for Christmas. But when creating handmade ornaments, I have to start early. Even the easiest farmhouse treasures take time.
So grab your glue gun and the supply list below…and let’s get this party started!

The short answer: Each ornament is three felt leaves, a jute loop and three pom poms – no pattern to buy and no sewing. Draw a leaf template by hand, fold your felt in half and cut three leaves per ornament, then put a dot of hot glue in one point of each leaf and pinch it closed so it cups. Glue the leaves together in groups of three, tie an 8 inch length of jute into a loop and glue the knot to the back, then add three white pom poms at the top like berries. Keep the glue gun on its low setting for felt, and if you skip the jute loops and glue the leaf groups along two lengths of twine instead, the very same steps give you a garland.
Farmhouse Felt Leaf Ornaments Supply List
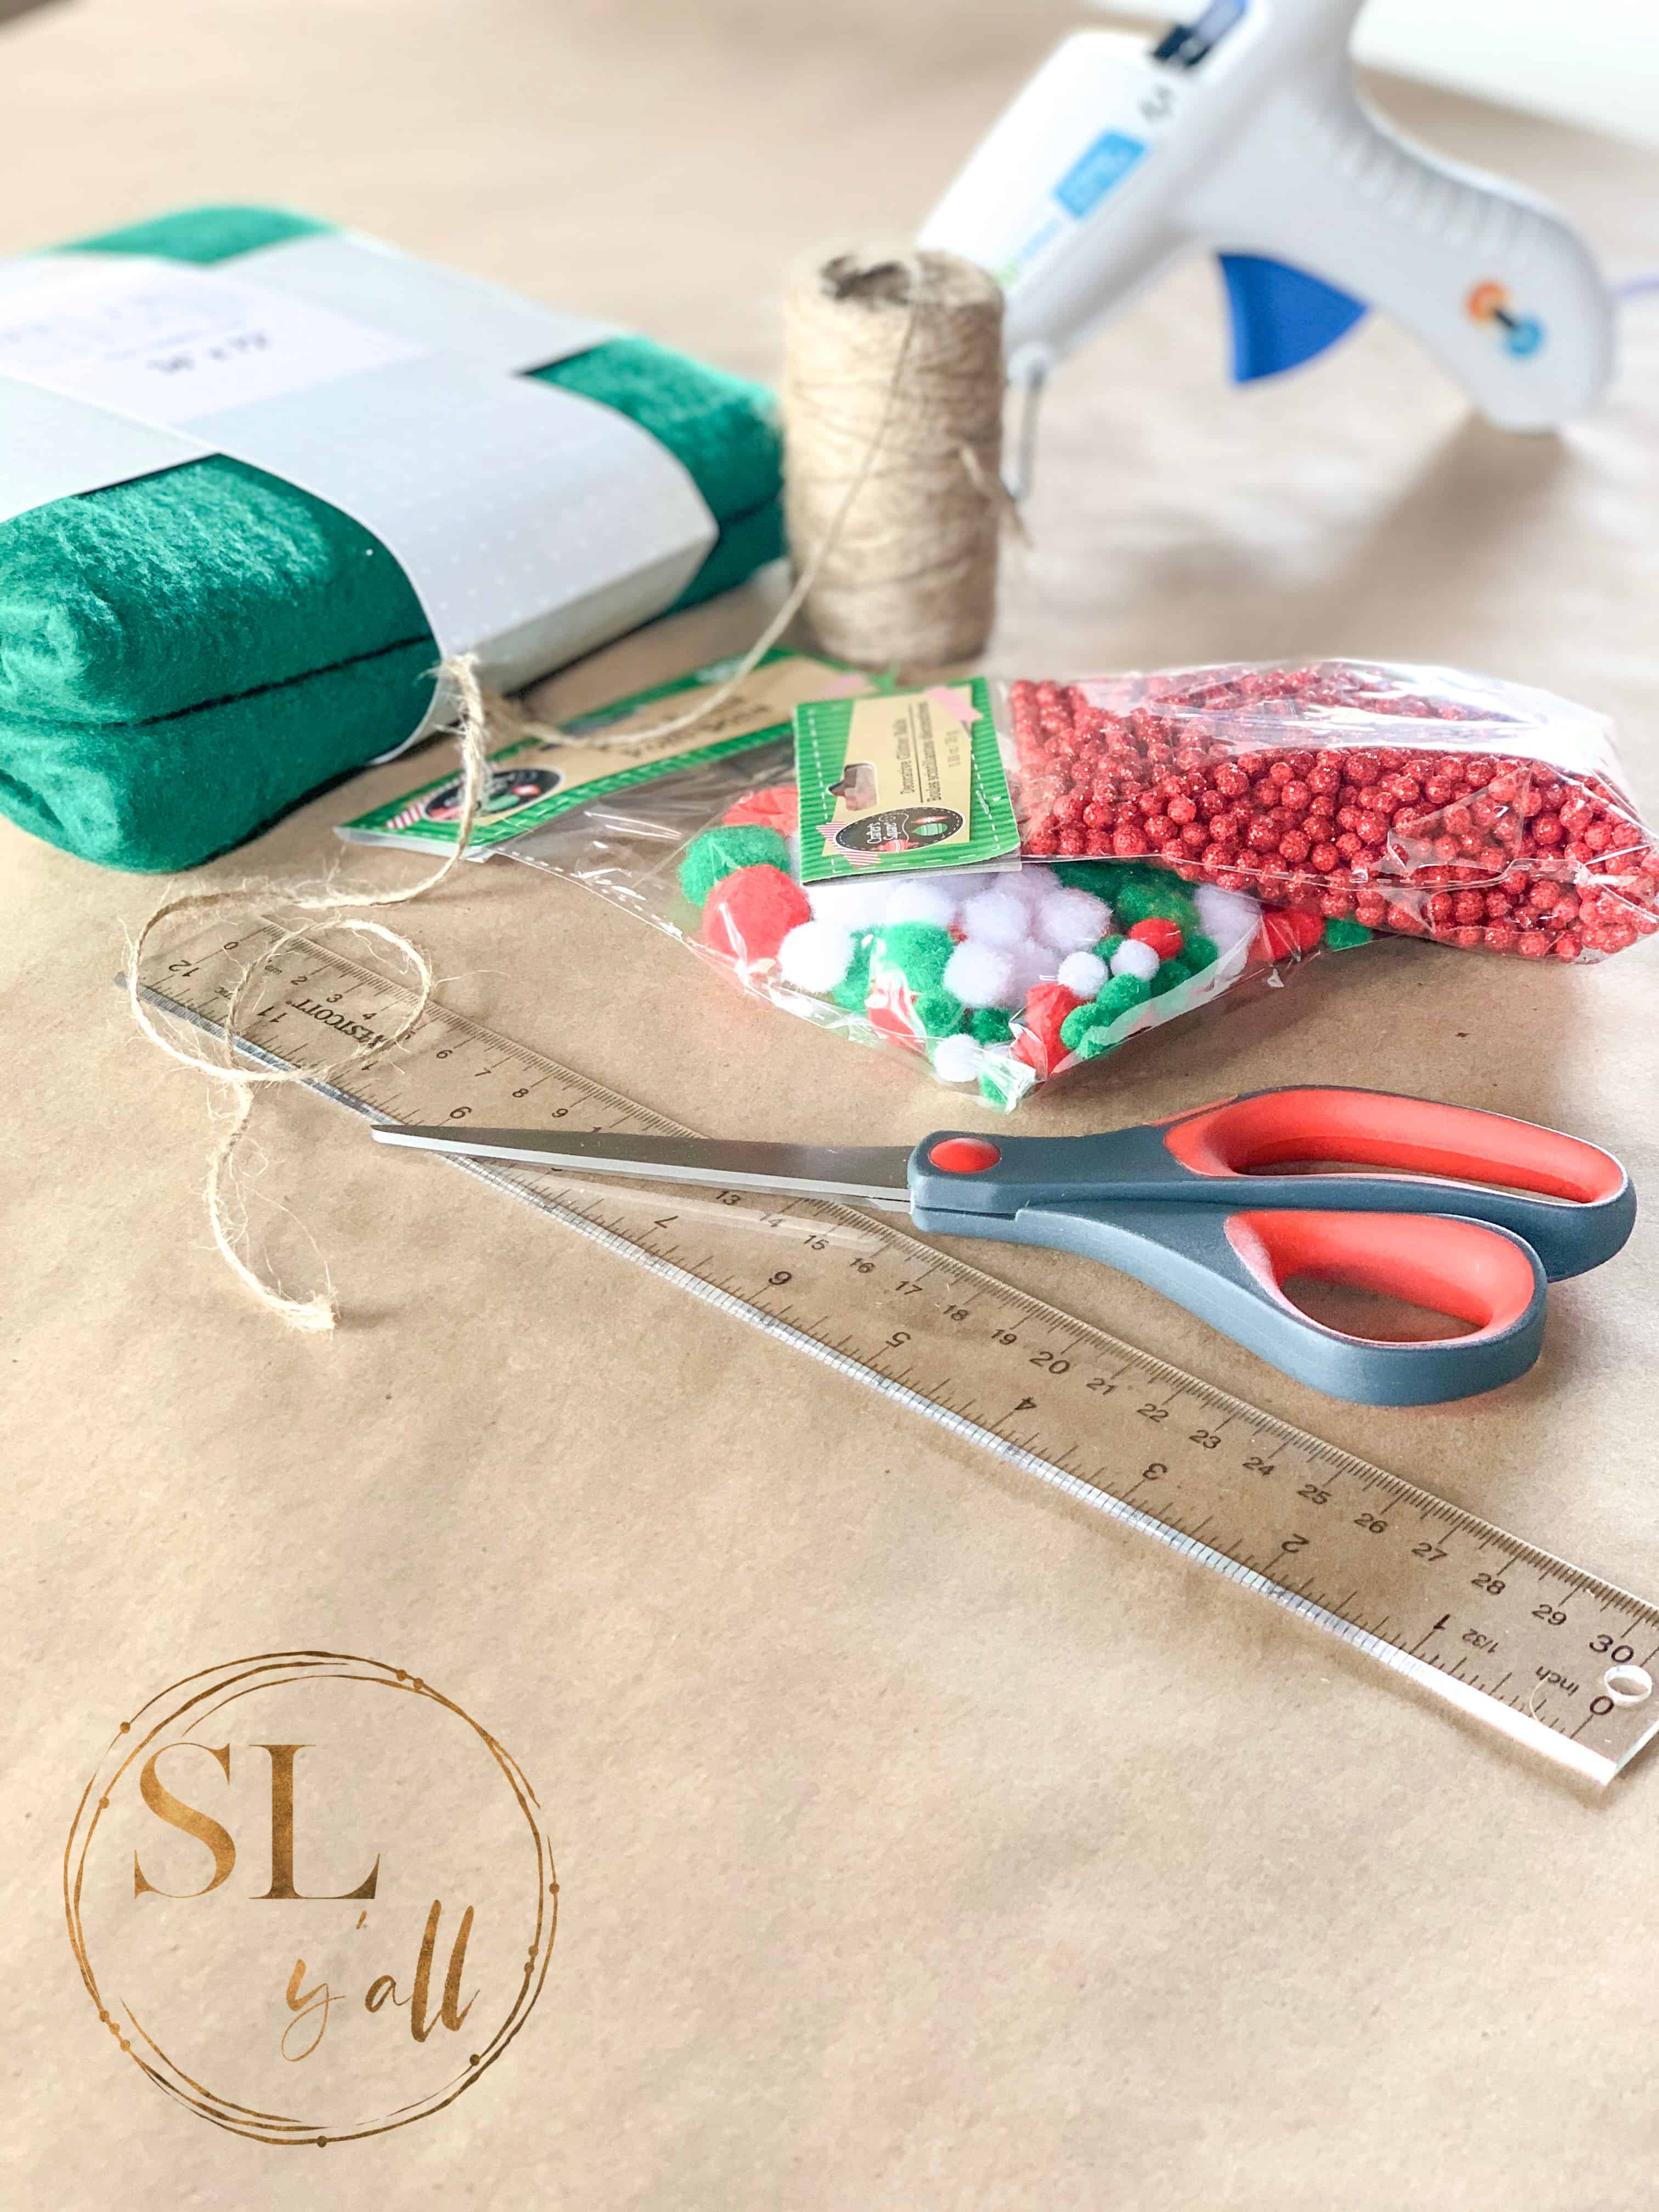
**In the image, I show a package of red beads. I was going to make some of these using the red but loved the white so much, I changed my mind. I do think these would be lovely with the red accents.
- Green Felt
– for this project I used the Mila and Emma dark green felt that I picked up from Walmart. I had kelly green in my craft supplies but wanted a richer color for my tree but I think sage green would also work nicely.
- Small White Pom Poms
– for this project I picked up a multi-colored pack from my local Dollar Tree.
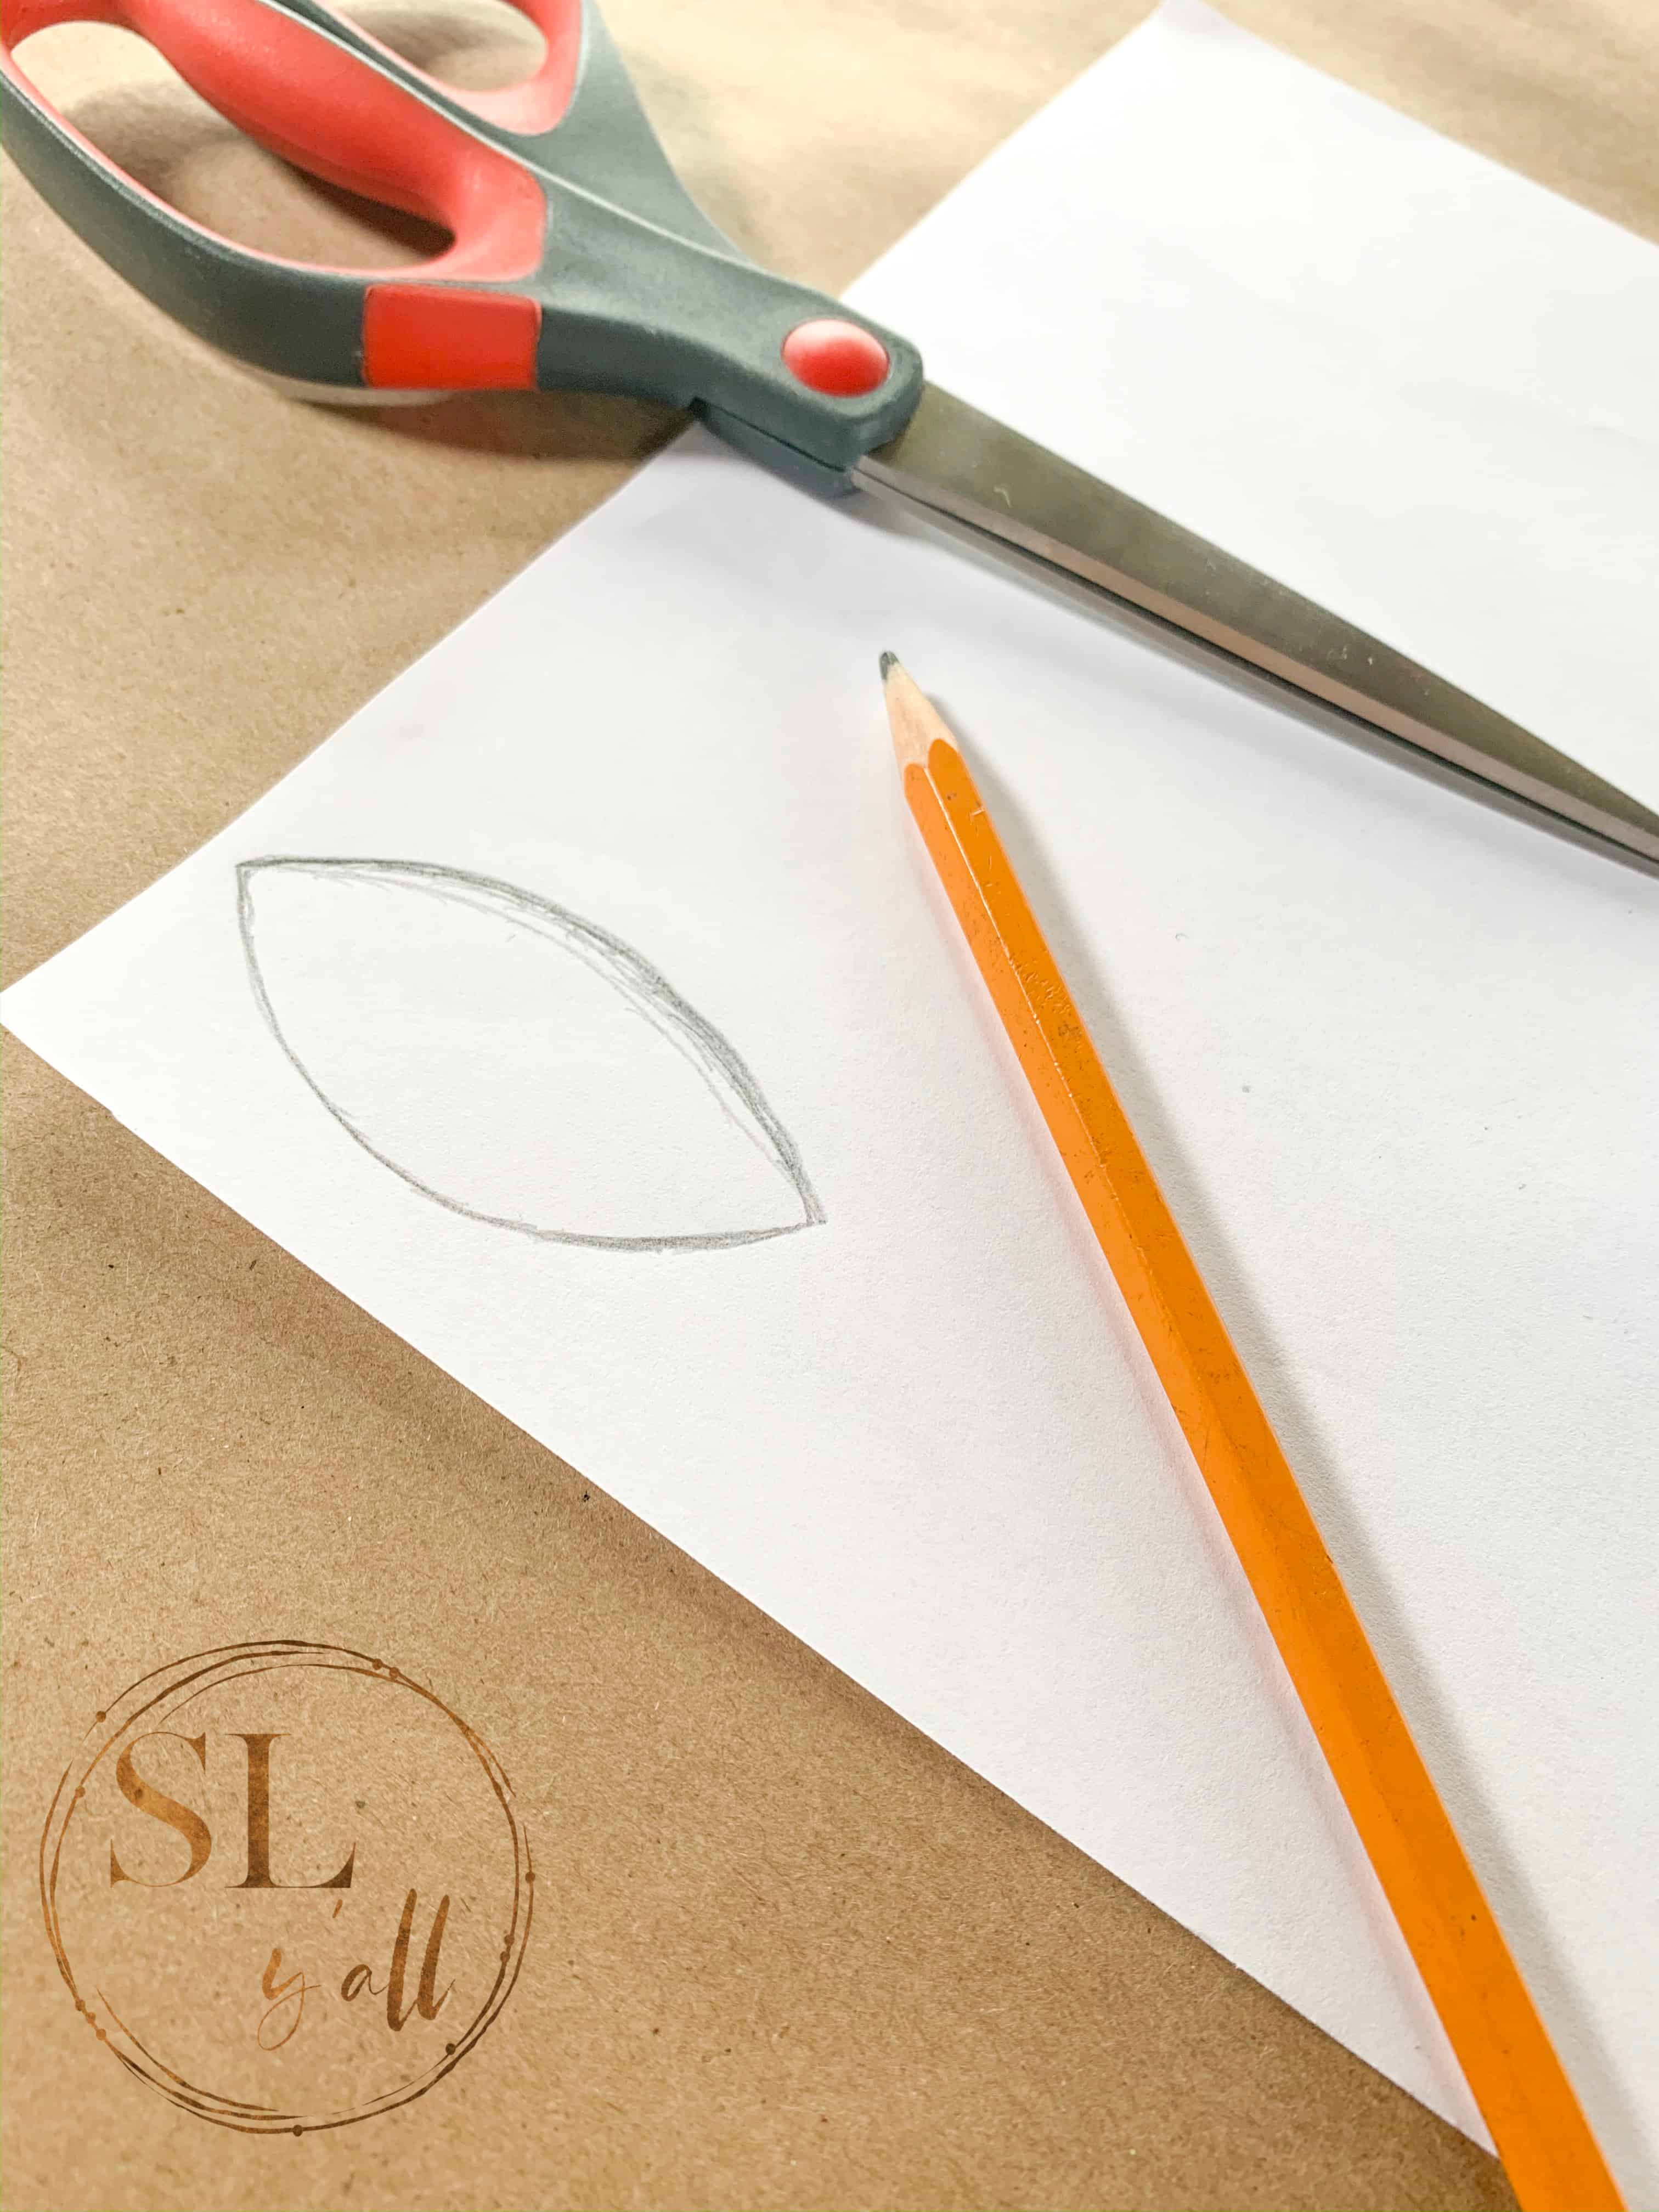
- Leaf Template – As you can see, I drew this template by hand and cut several.
- Jute twine
– I love the rustic look of this twine.
- Glue gun
(I use a dual temp full-sized)
- Glue sticks
- Scissors
- Pins
- Ruler – this is really optional
 – for this project I used the Mila and Emma dark green felt that I picked up from Walmart. I had kelly green in my craft supplies but wanted a richer color for my tree but I think sage green would also work nicely.
 – for this project I picked up a multi-colored pack from my local Dollar Tree.

Love Christmas crafting? Check out this post on creating Rustic Gnome Ornaments.
How To Make Farmhouse Felt Leaf Ornaments
STEP 1 – Draw out your leaf template and cut several to use in this project. As you can see from the image, there was no exact science to creating this template. ?
 STEP 2 – Fold your felt in half and lay out a row of your leaf templates pinning each in place. Cut your desired amount of leaves using 3 leaves for each ornament.
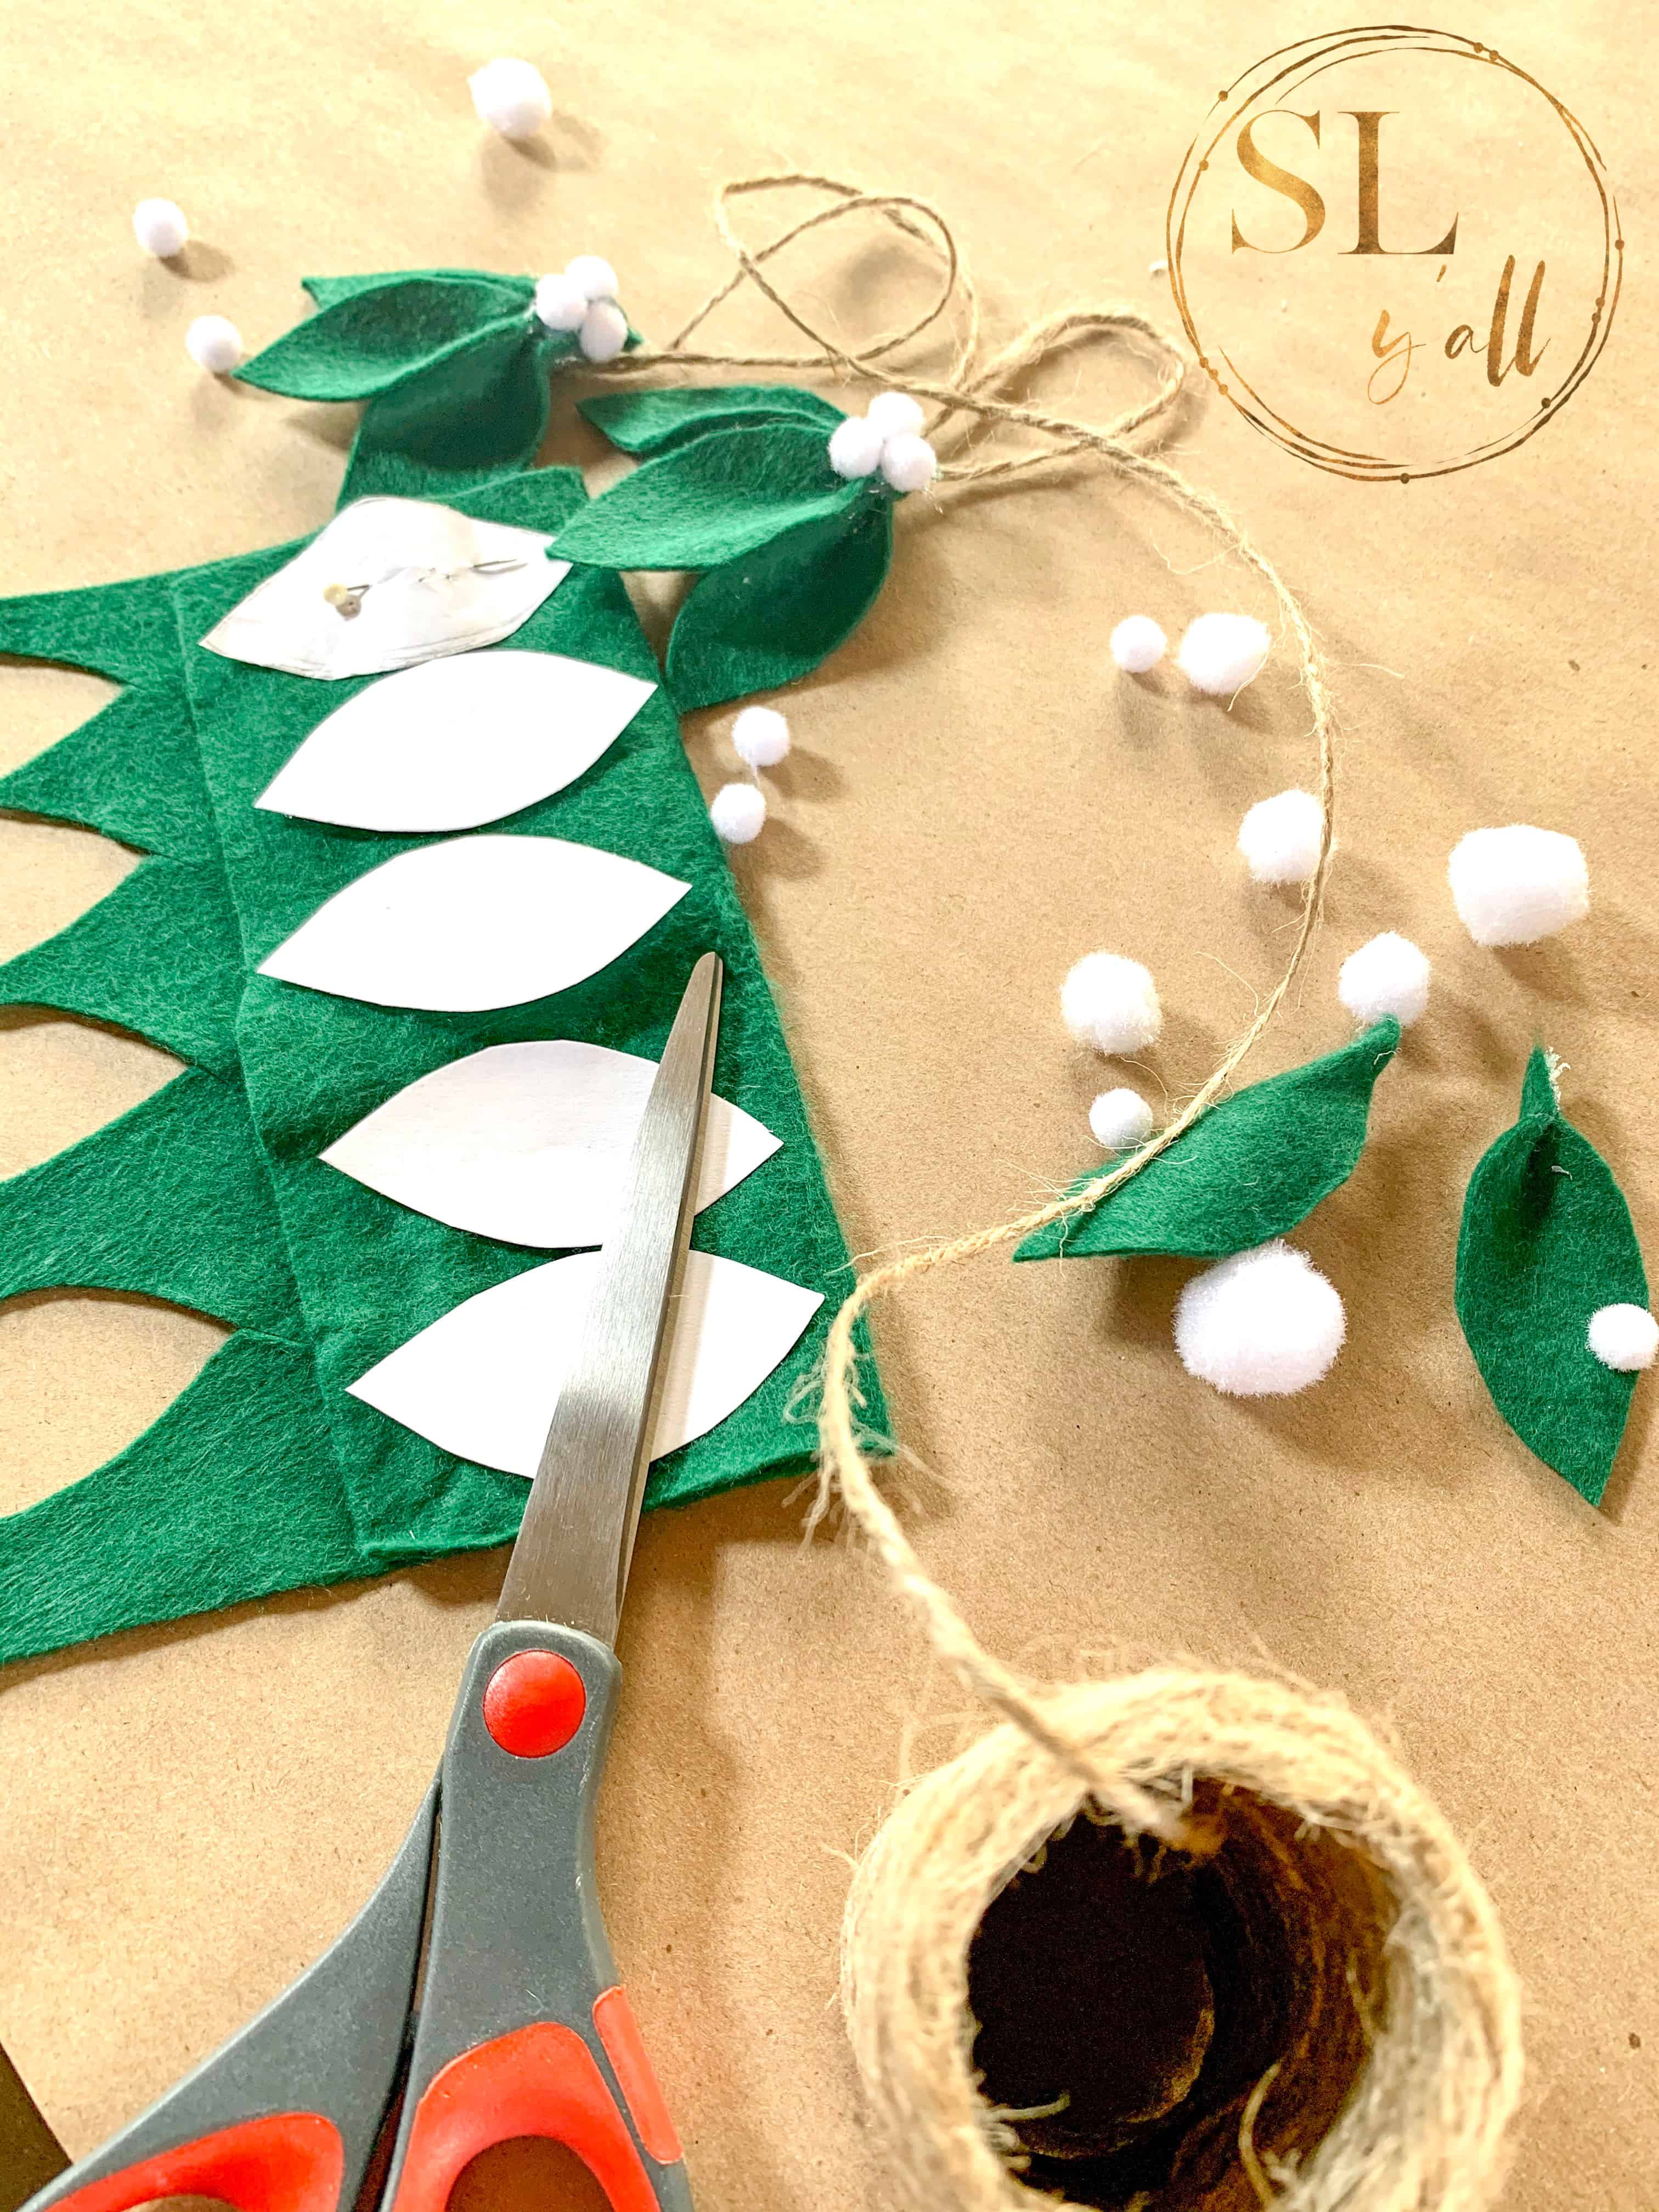
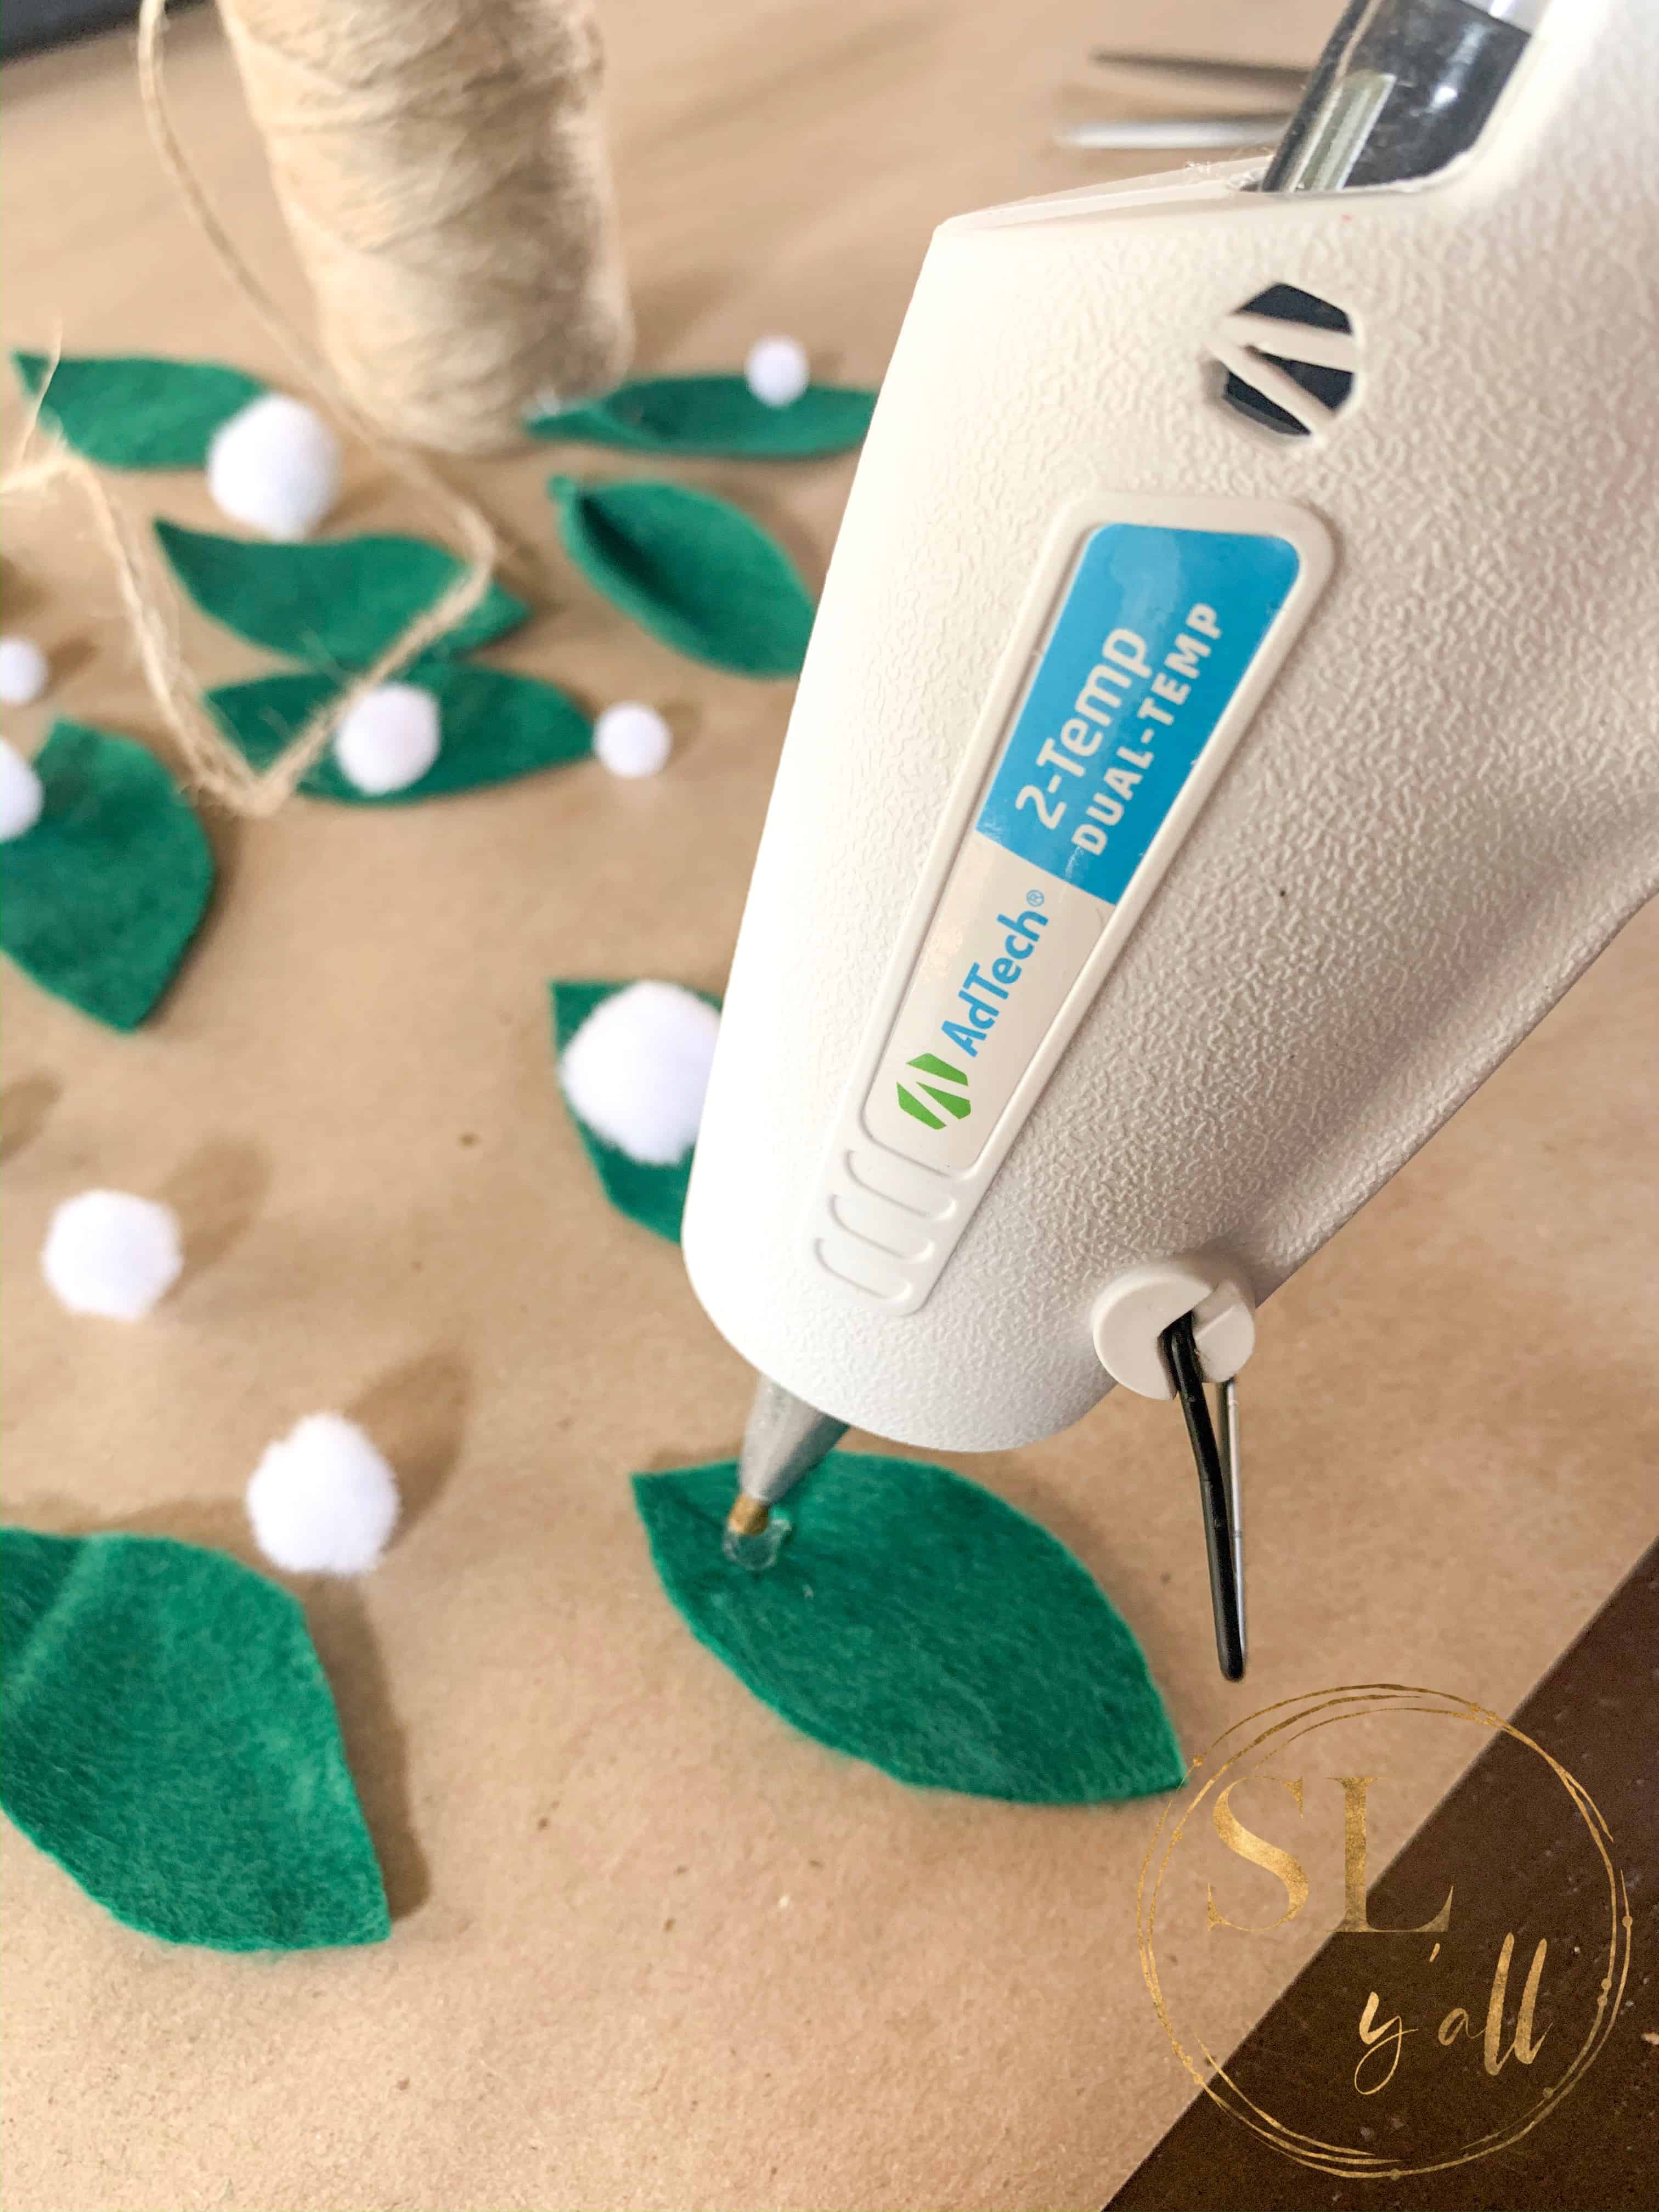
STEP 3 – Plop a small drop of glue in one of the points of the leaf and then squeeze together. Be very careful not to burn your fingers. When working with fabric, I keep my glue gun set to the low temp setting which helps lessen the chance of burned fingers. But for just in case, it is helpful to have a small glass of water near to dip your fingers if they do get a little toasty.
Repeat this step until all of your leaves are glued into shape.
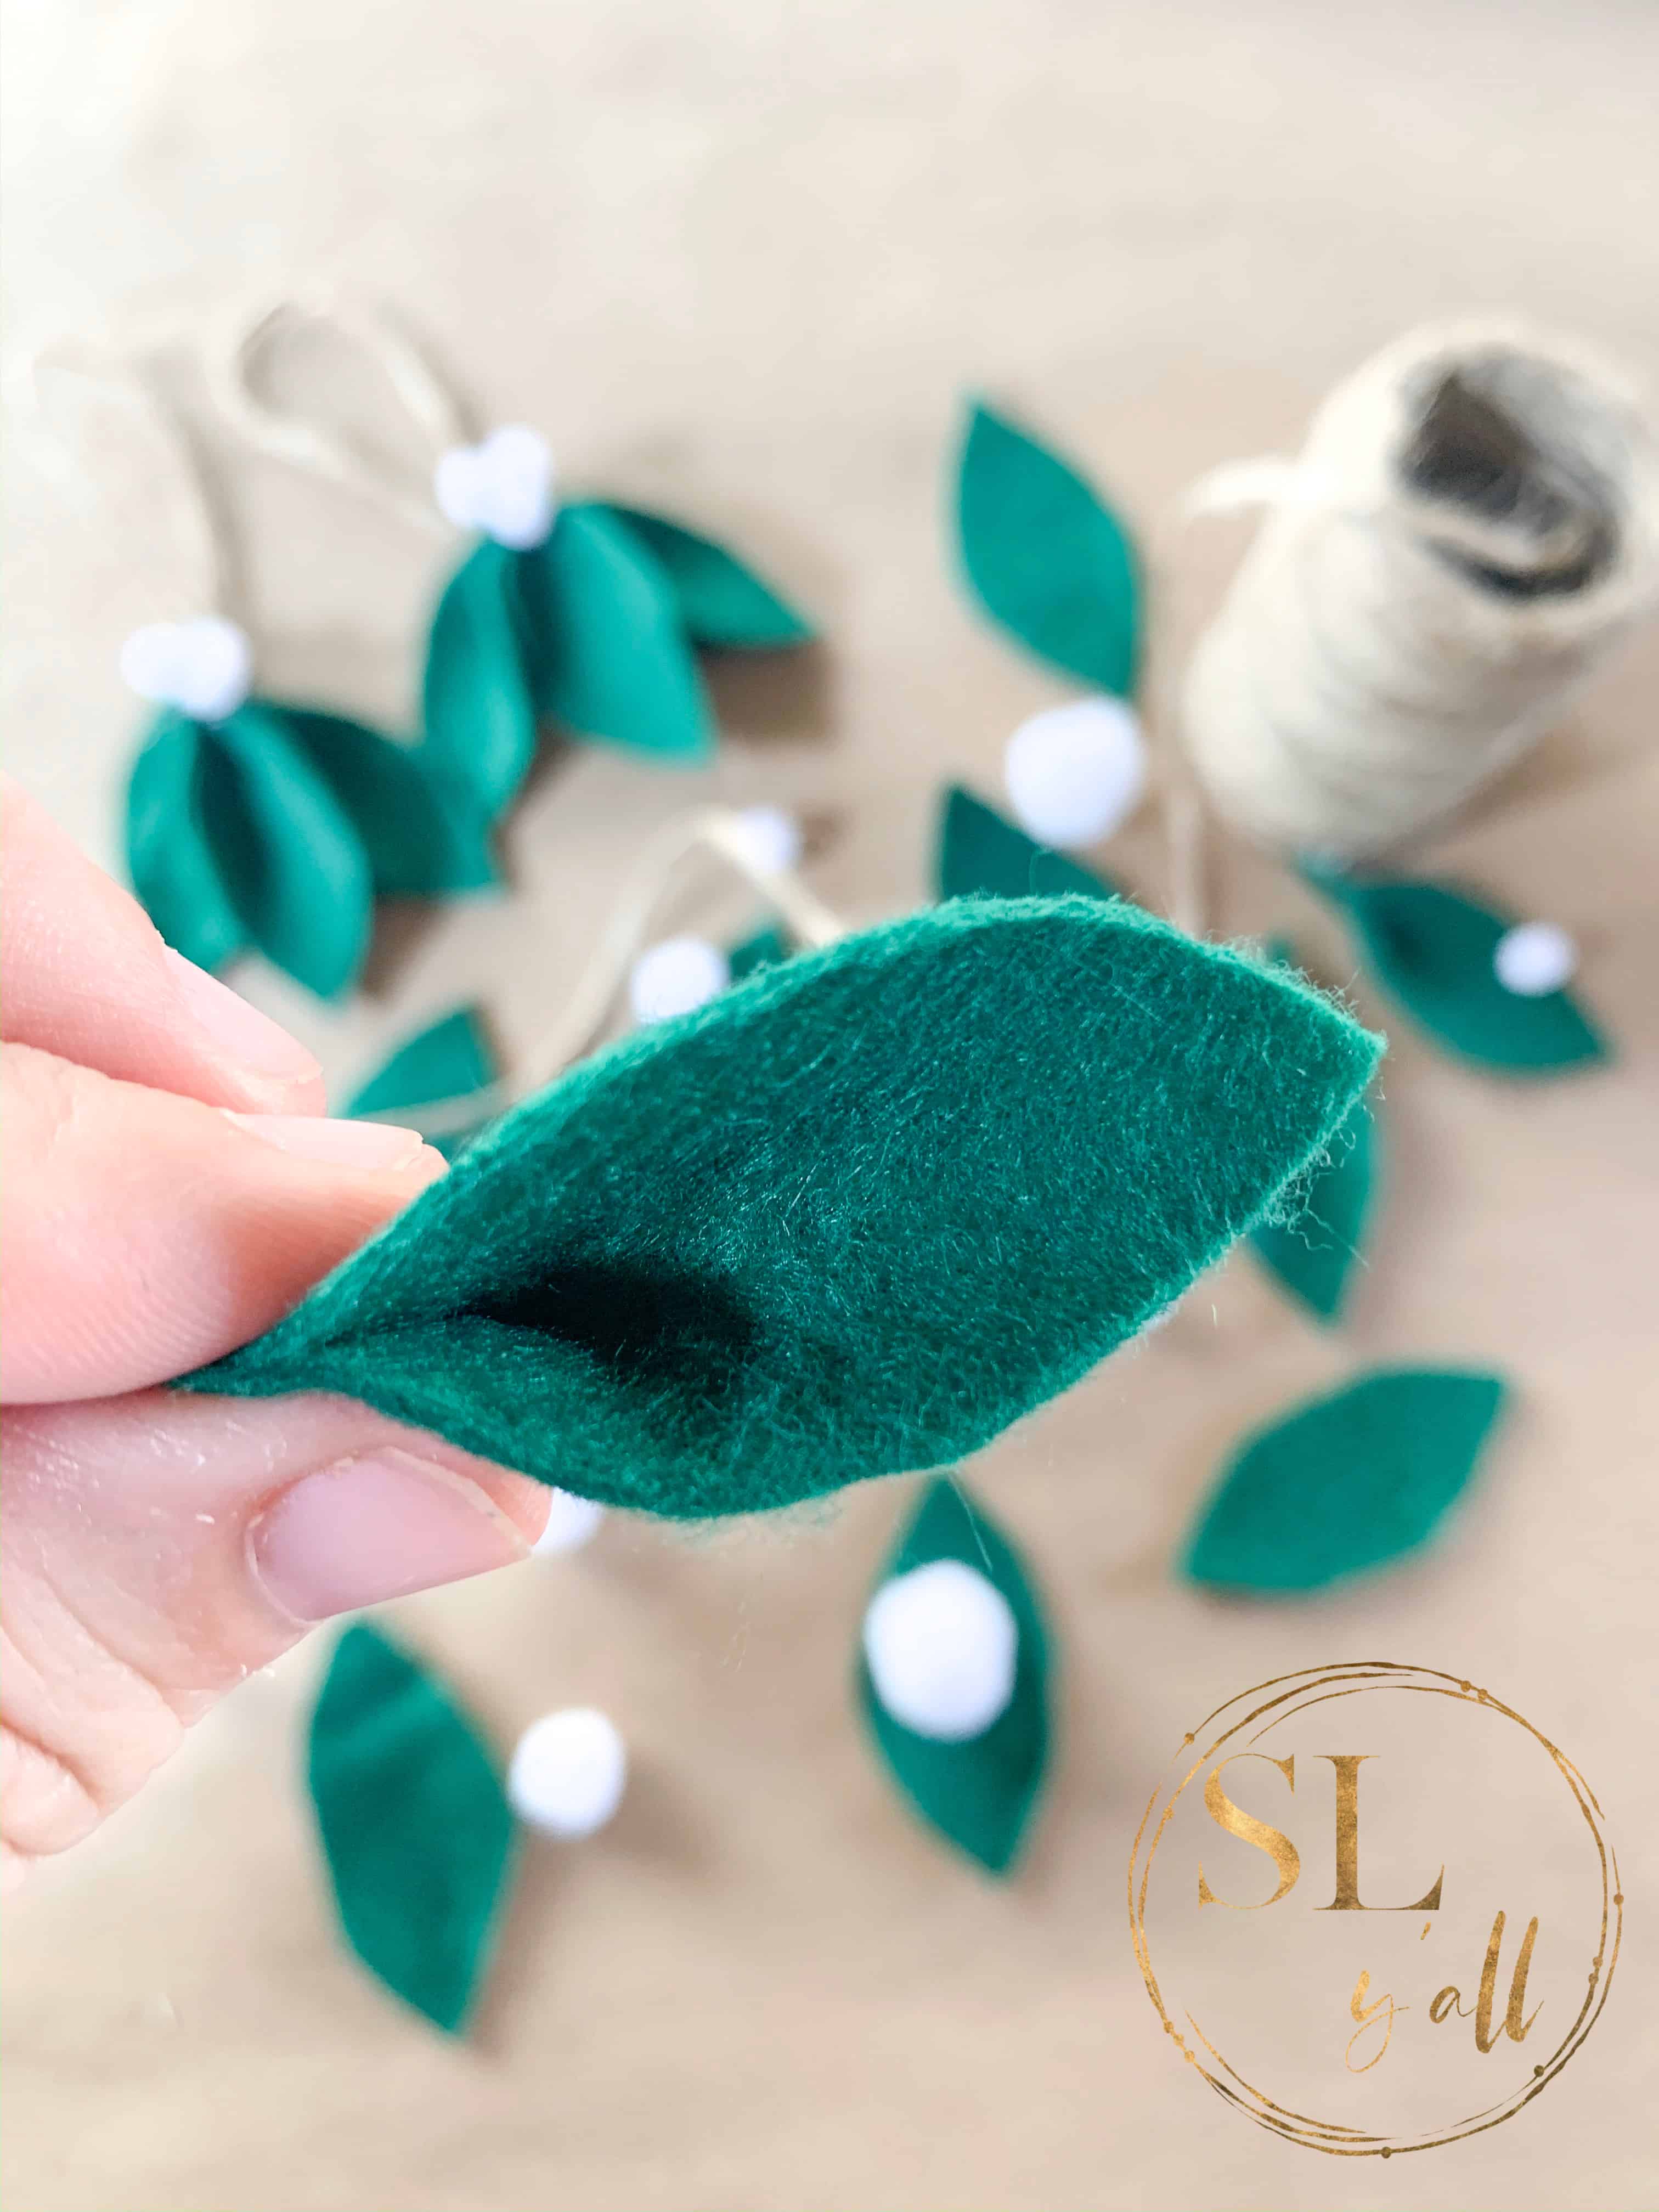
STEP 4 – Glue your leaves into groups of three. Repeat this step using all of your leaves.
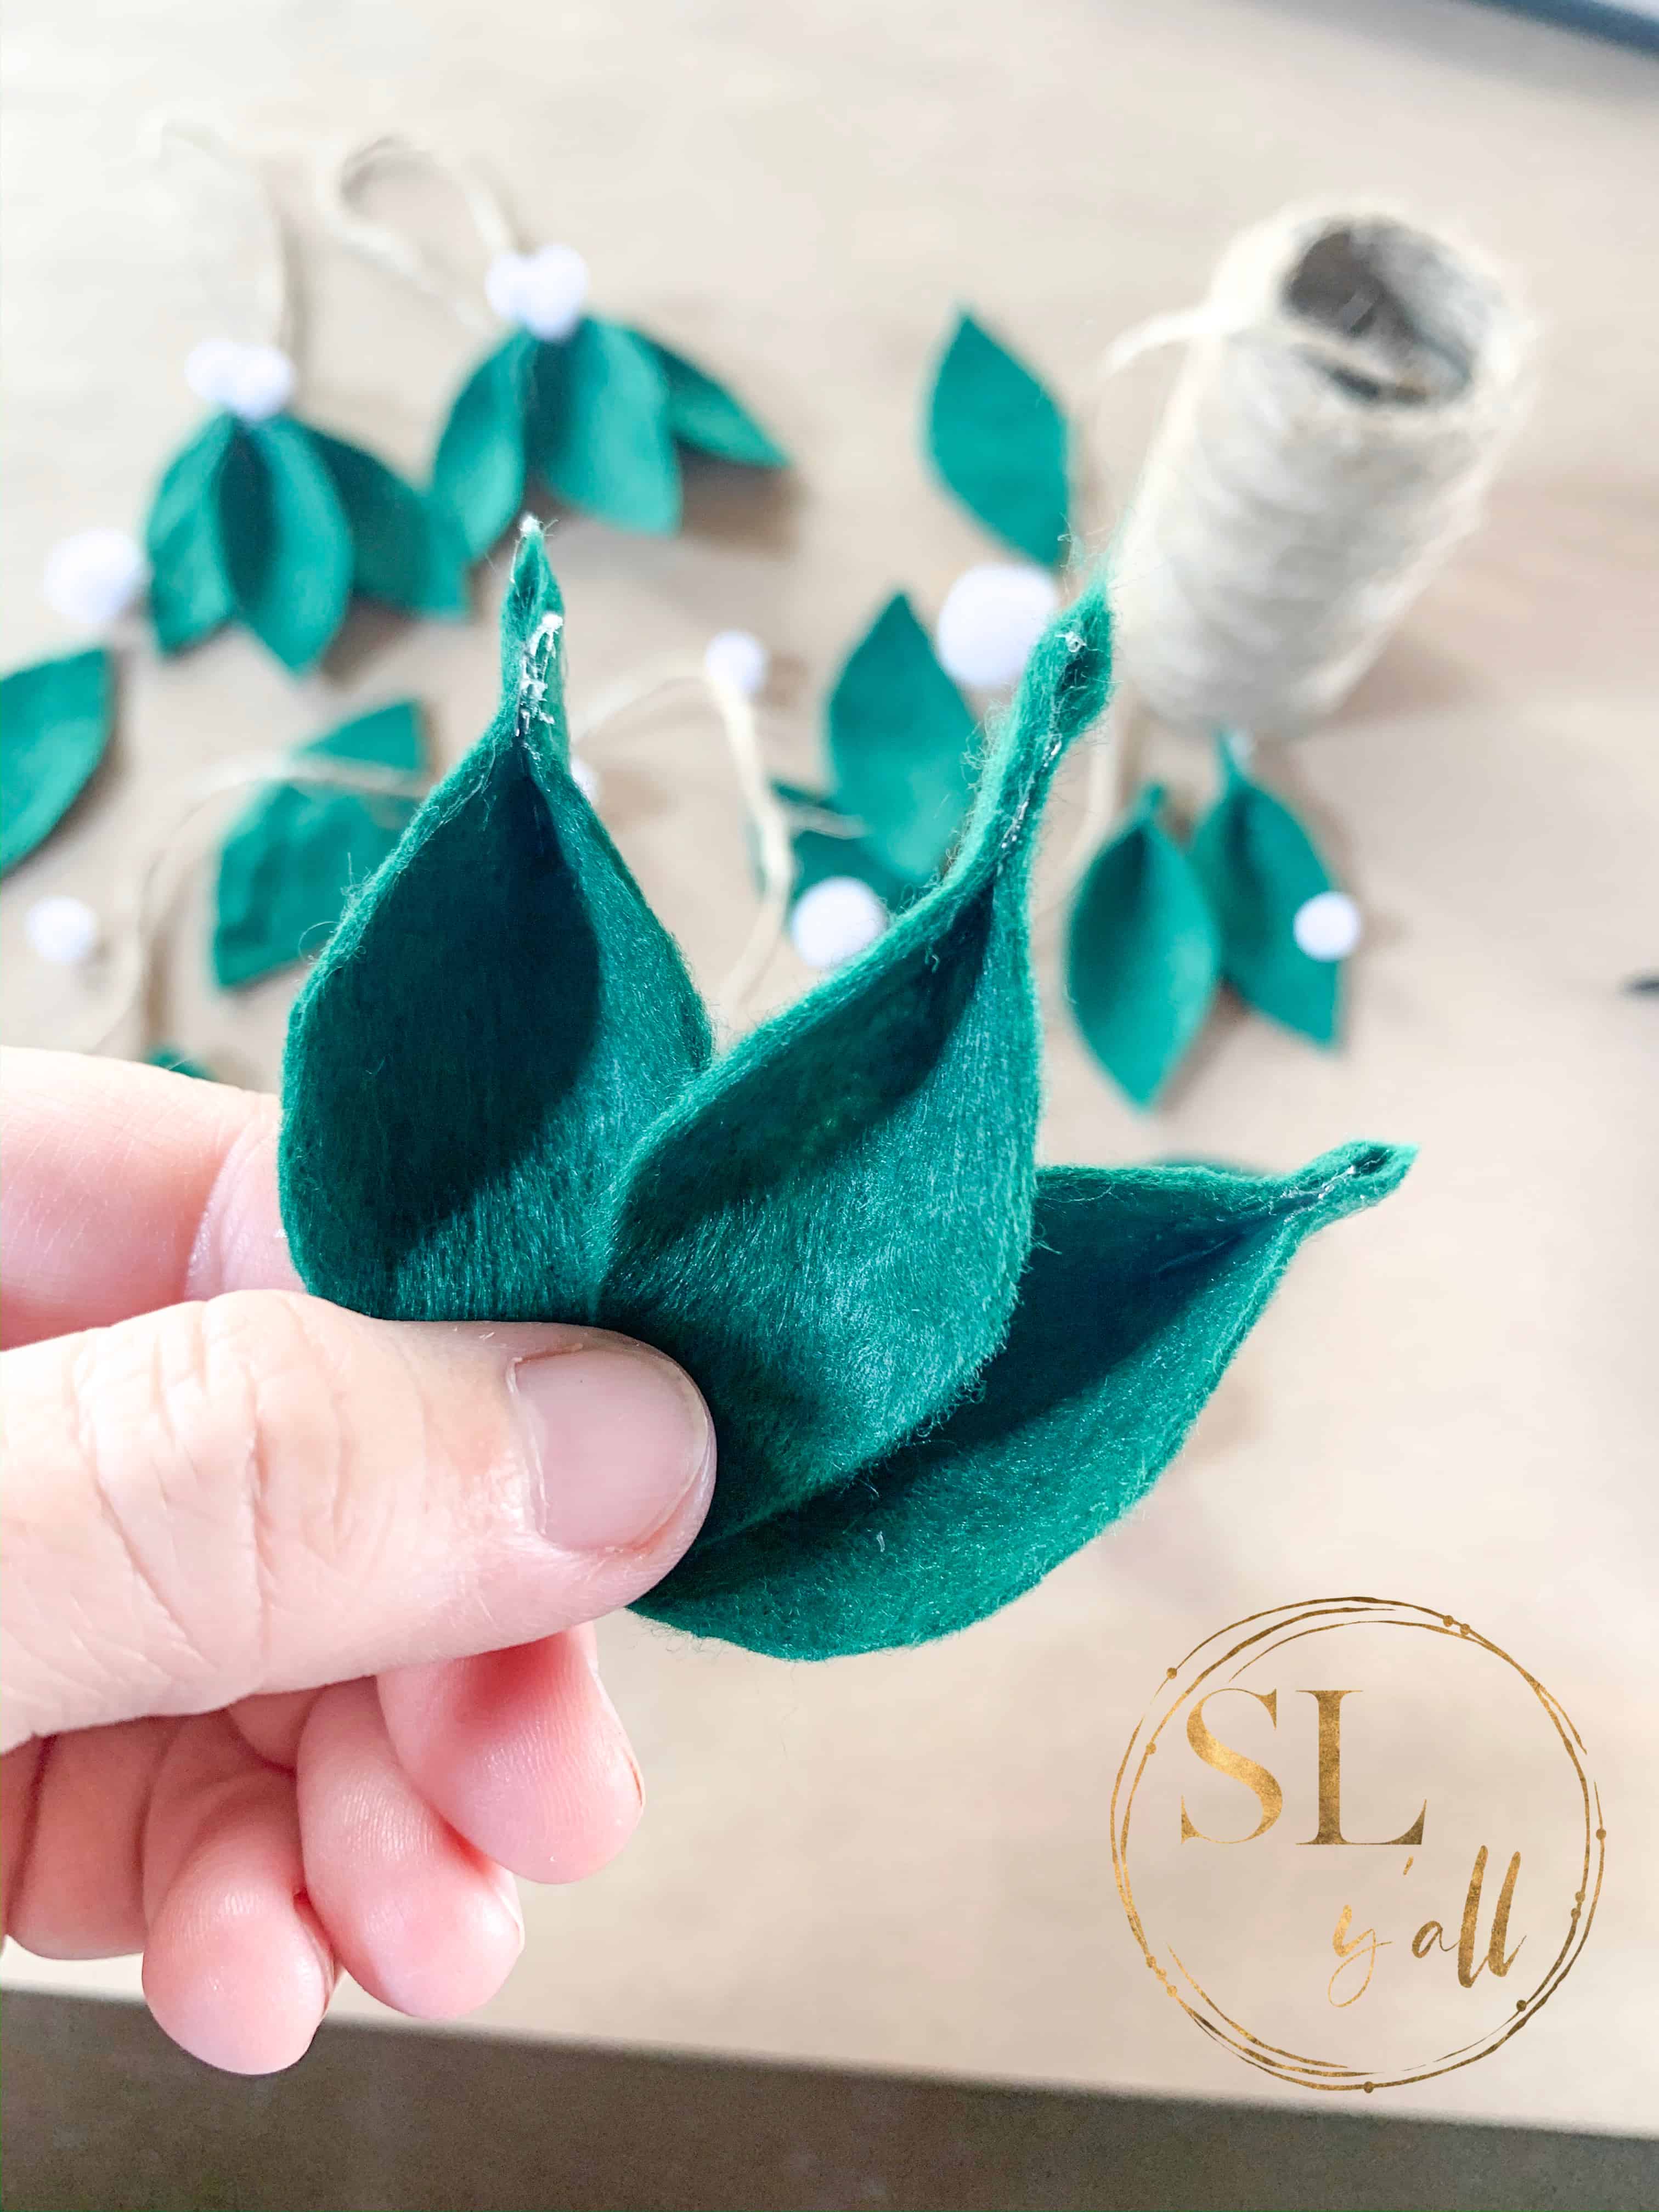
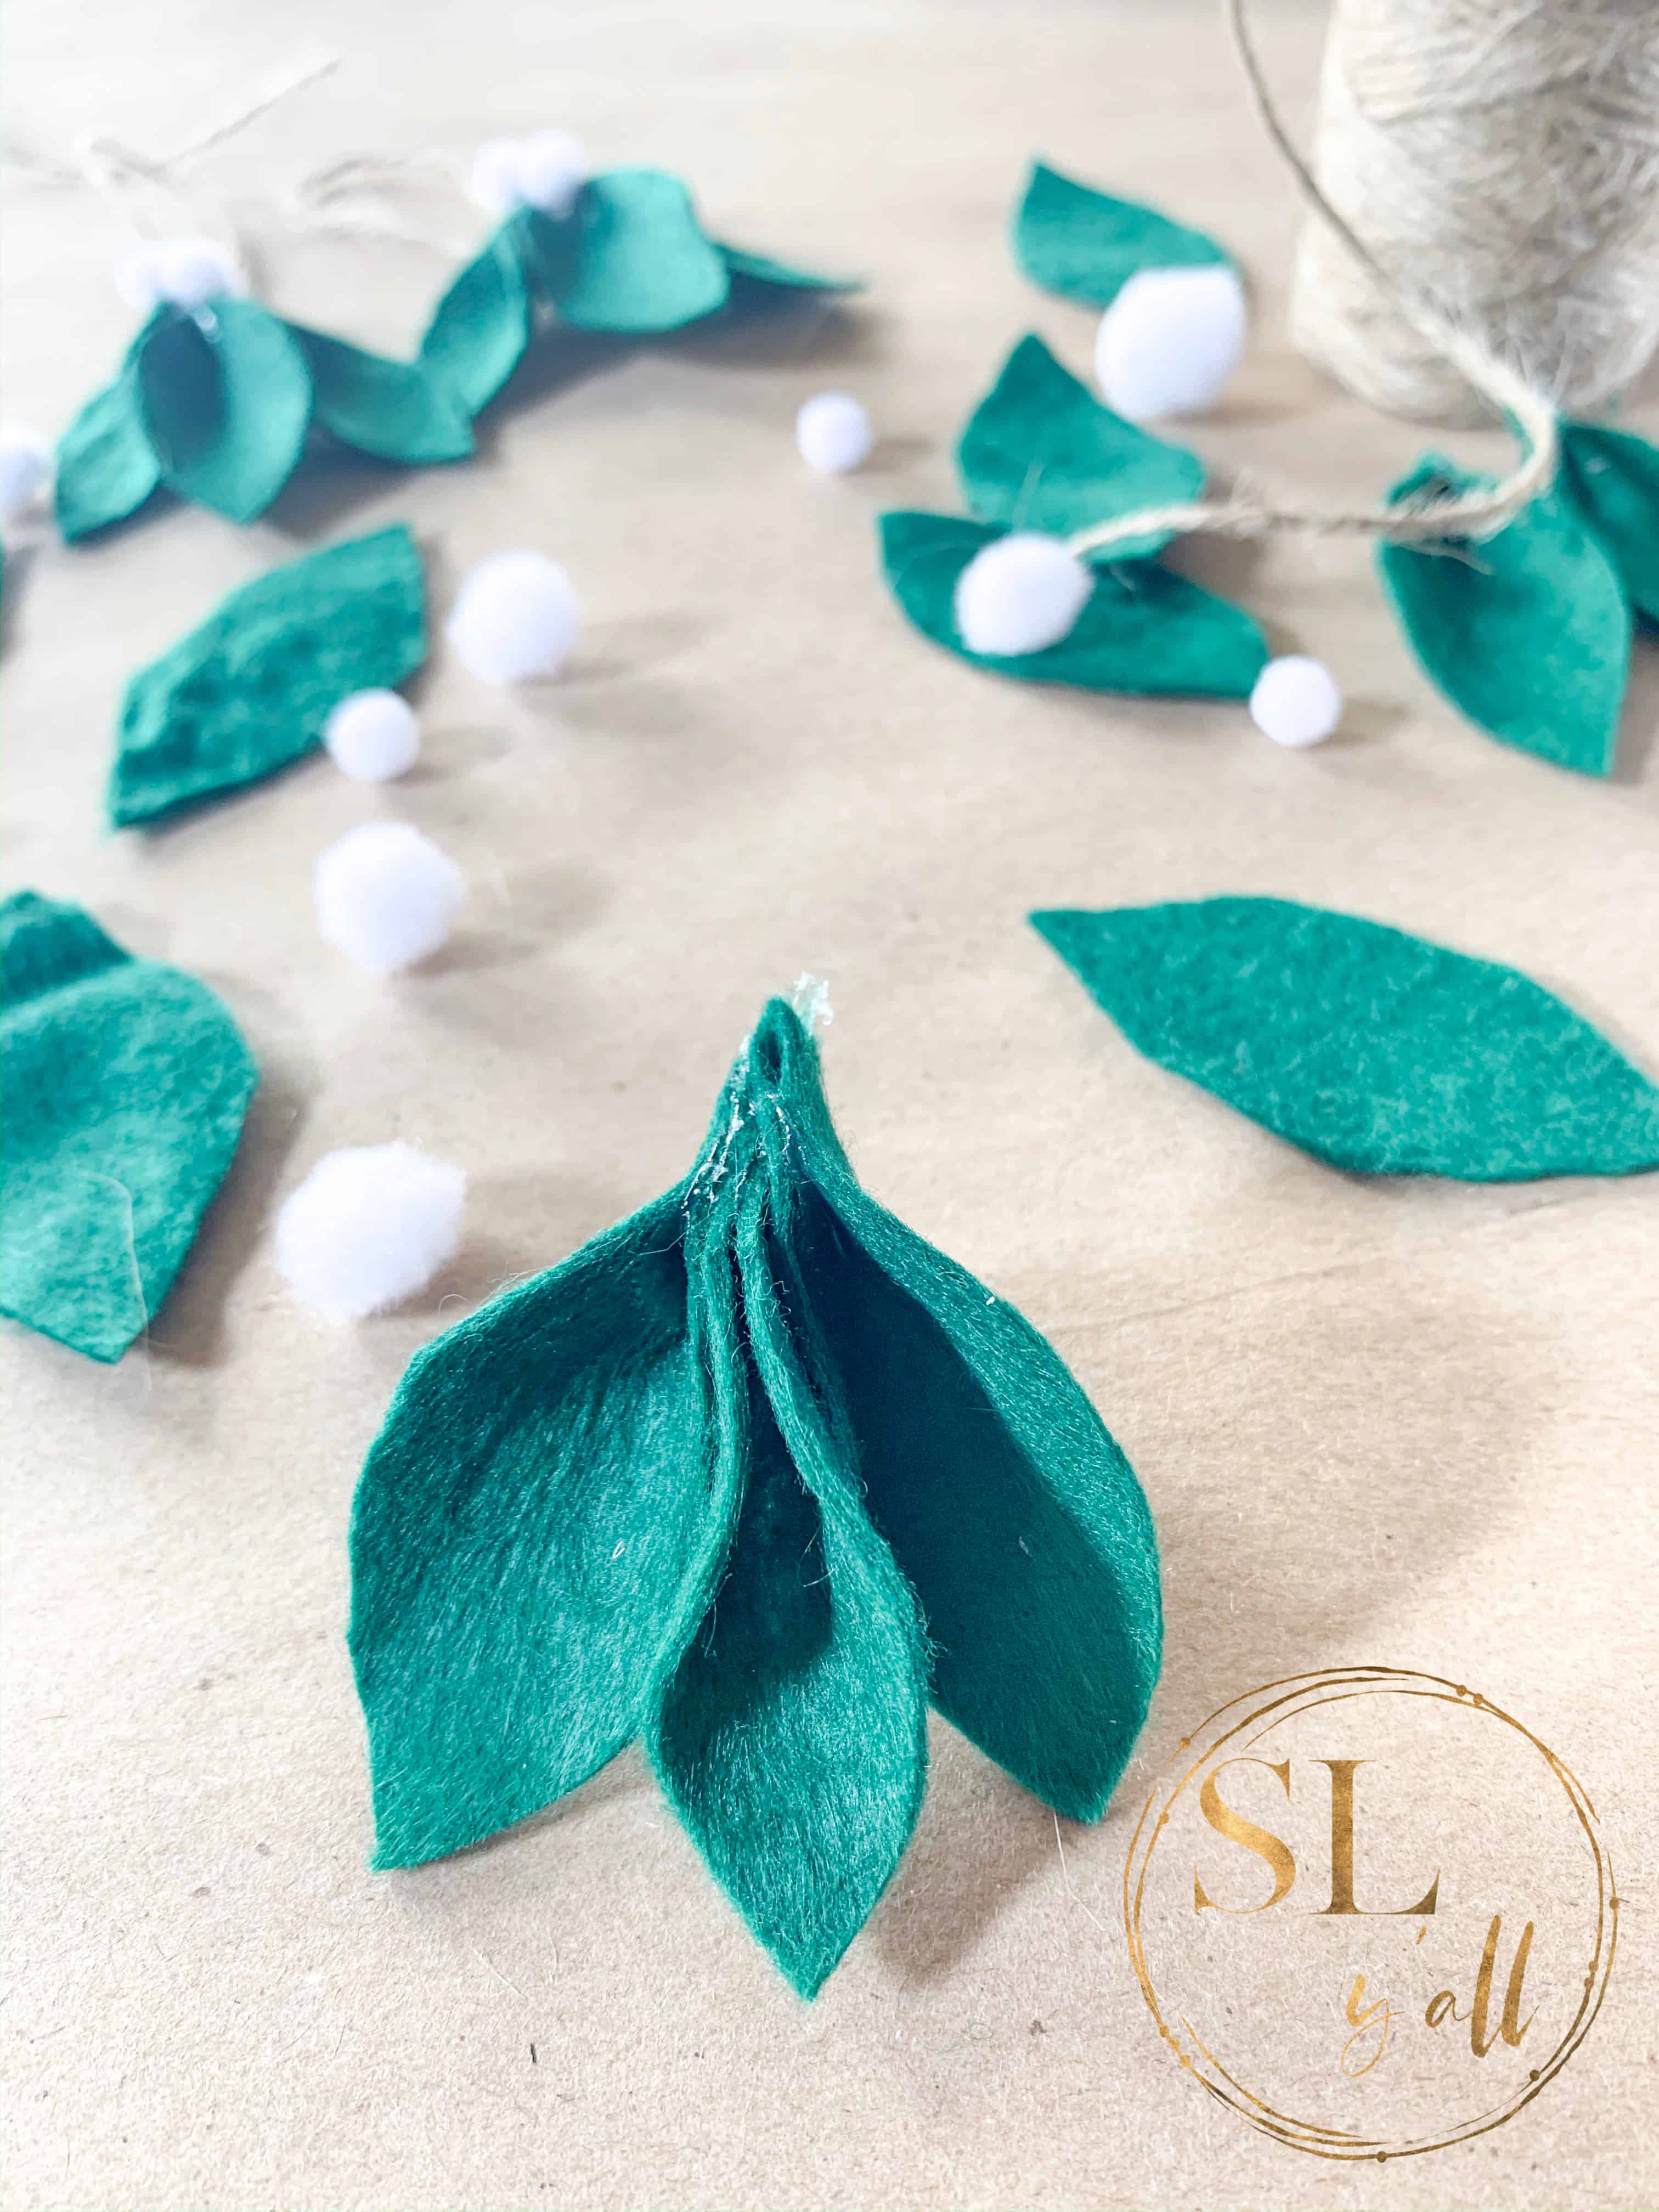
STEP 5 – Cut approximately 8″ of jute for each group of leaves and tie a knot with the cut ends forming a loop. Flip your leaf groups over and glue the knotted ends of jute to the backside. Repeat this step until all leaf groups have been used.
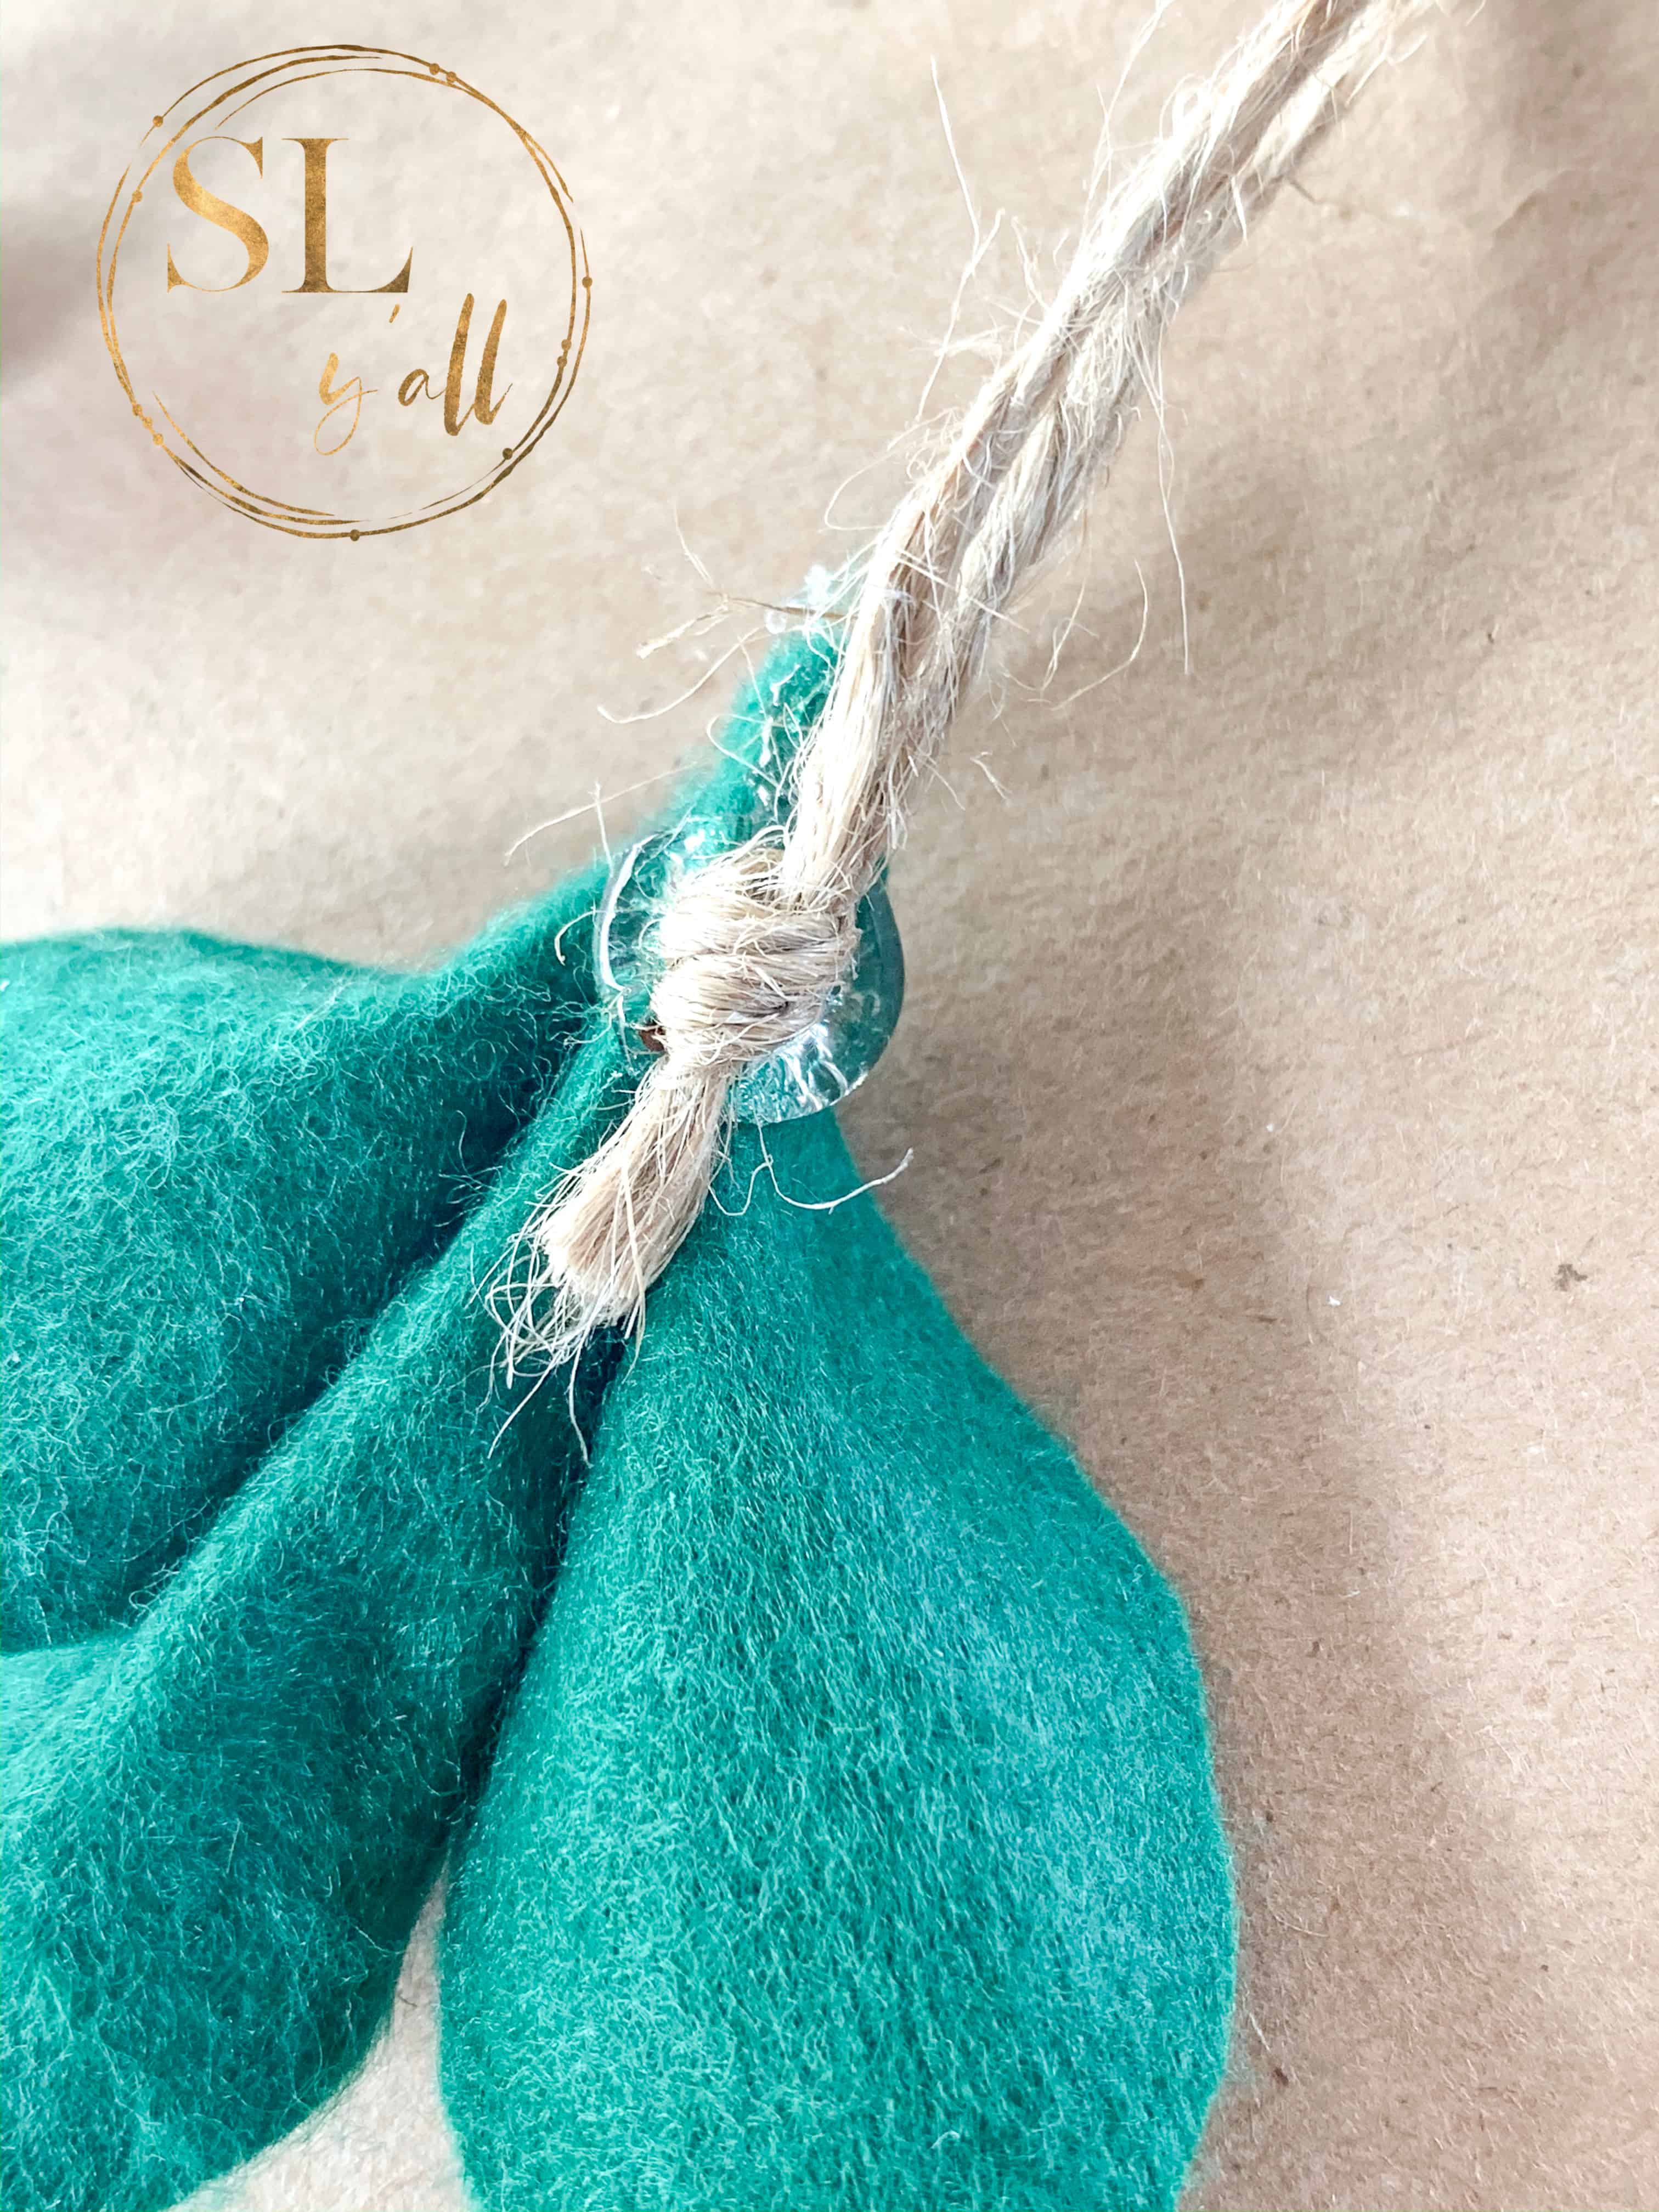
STEP 6 – Glue three of your pom poms to the top of the leaf groups. I used a triangle formation for the white berries. Repeat until all ornaments are completed.
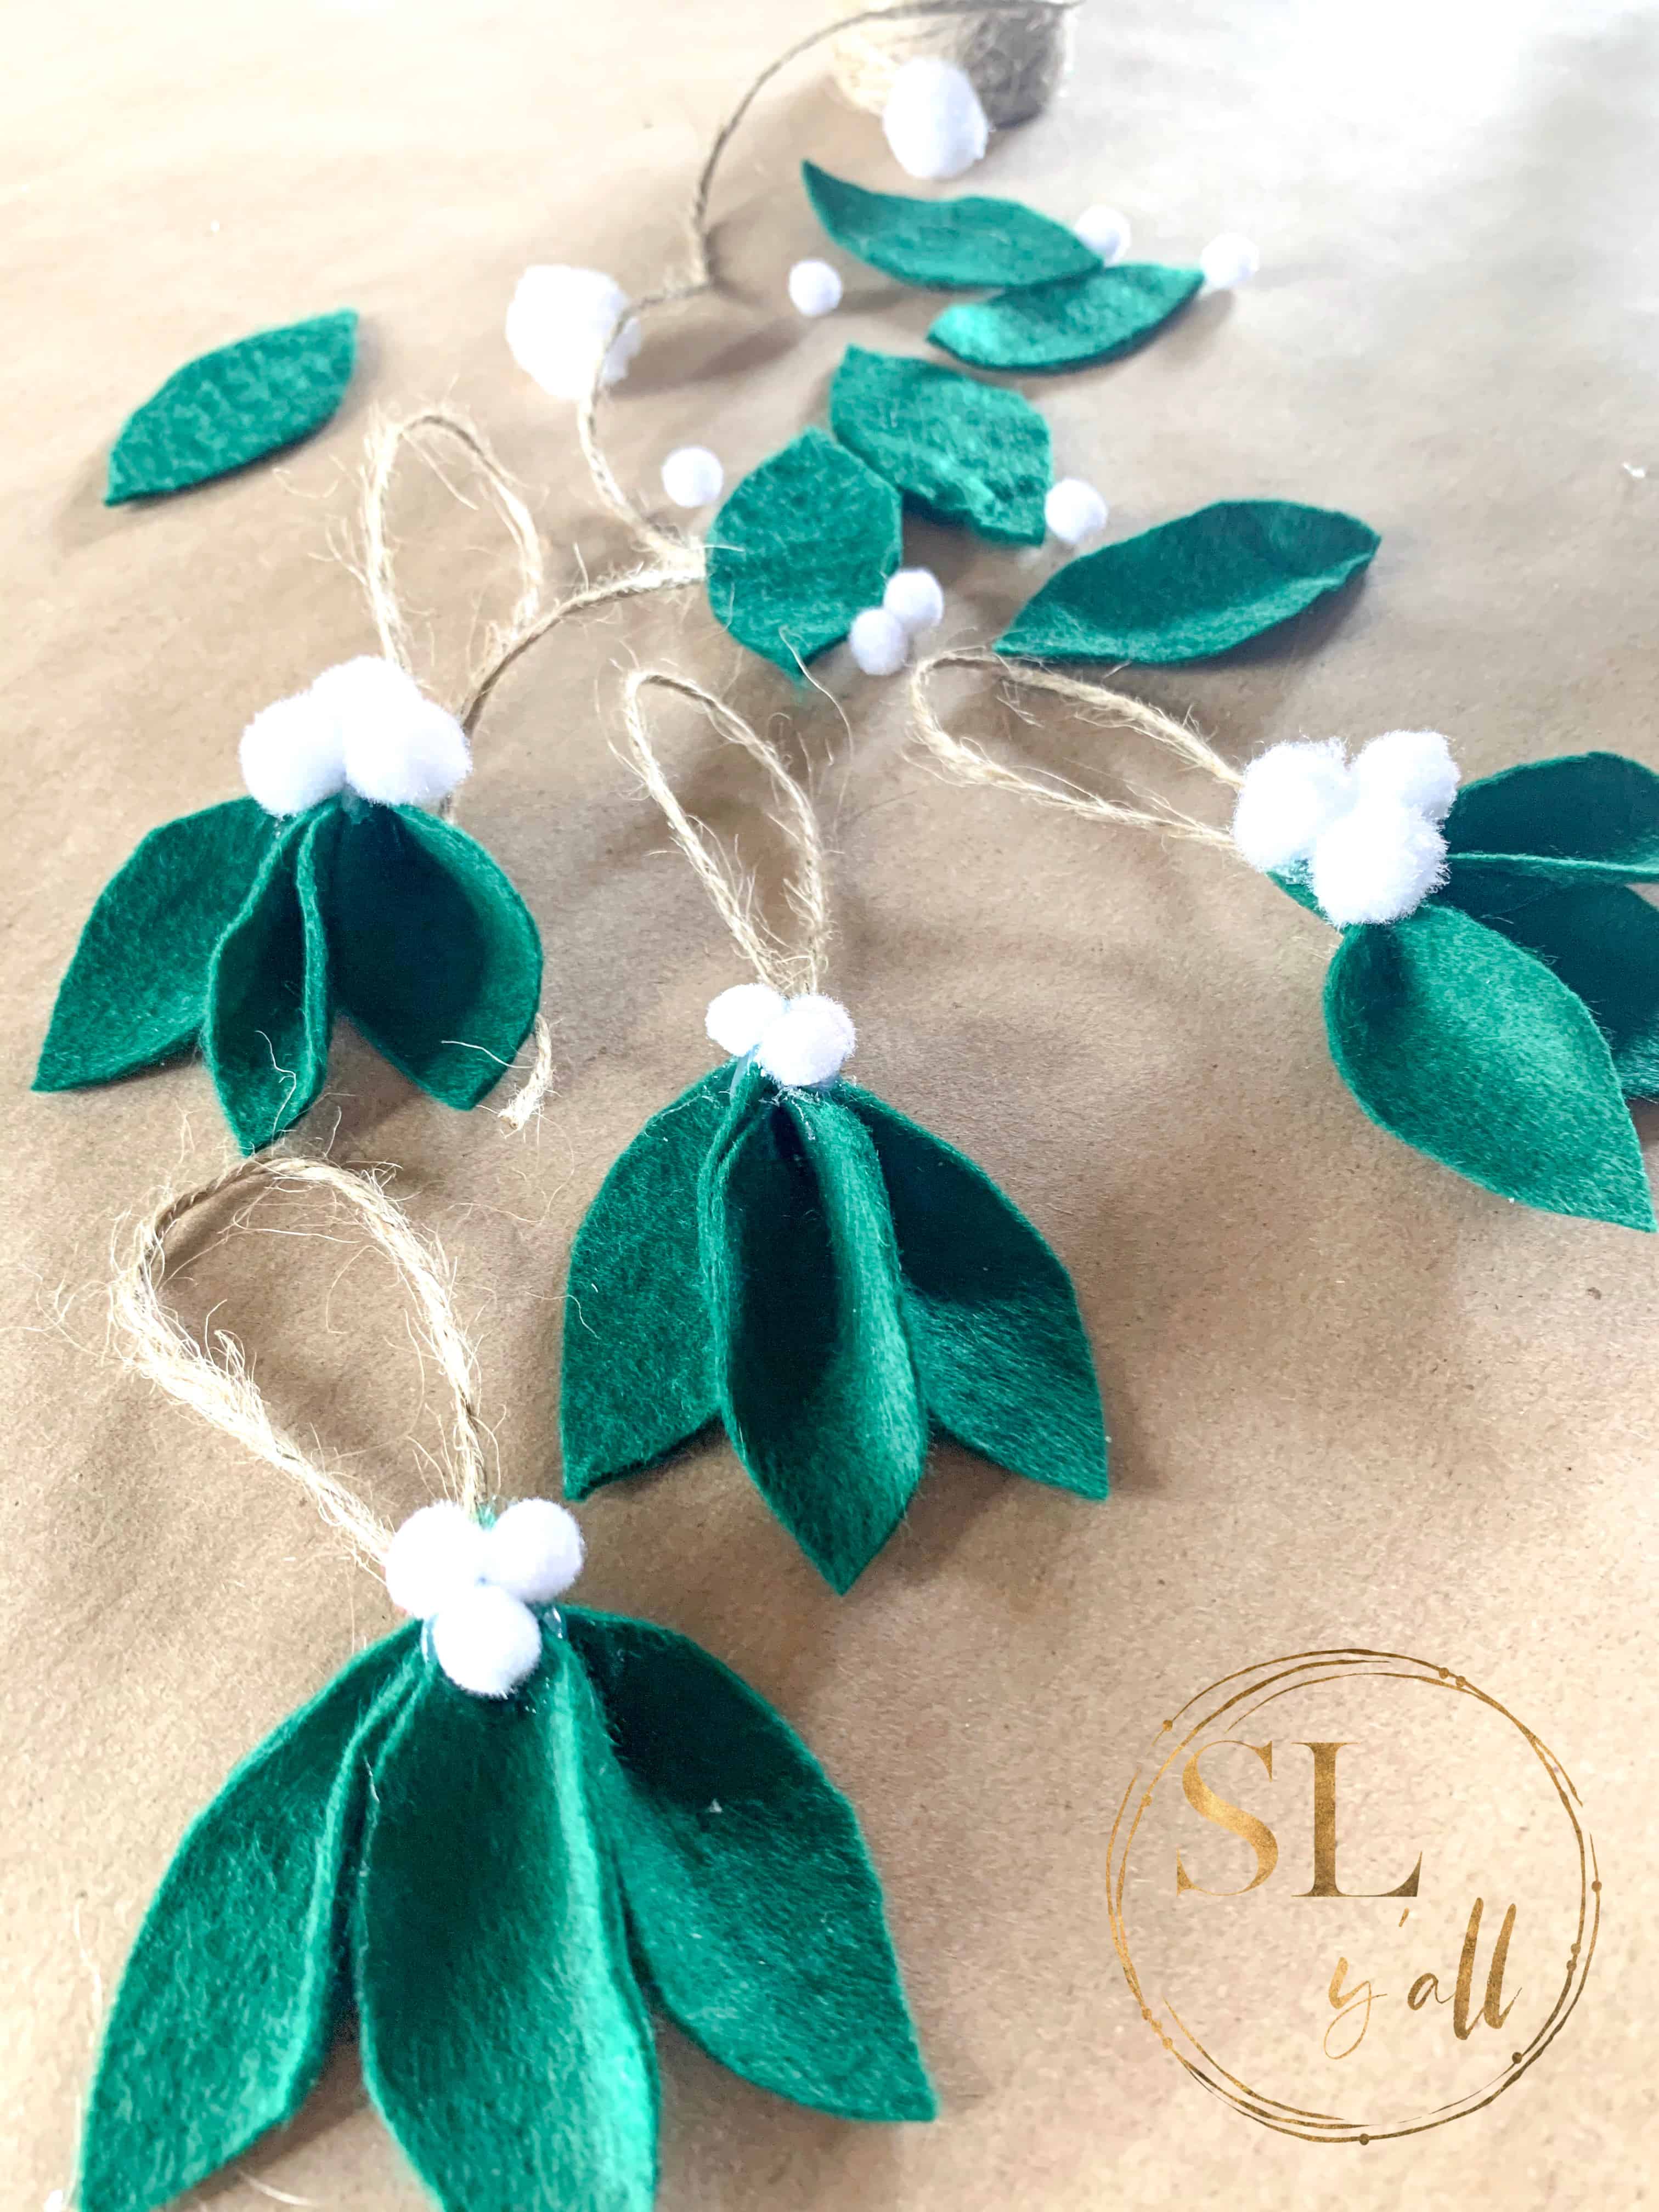
If you would like to create a garland with the felt greenery, just cut two lengths of your jute to the desired length. I usually measure the length that I need and add an additional 6″ to allow for the knotted ends and error of size. Follow the steps to create the ornaments skipping the jute loops.
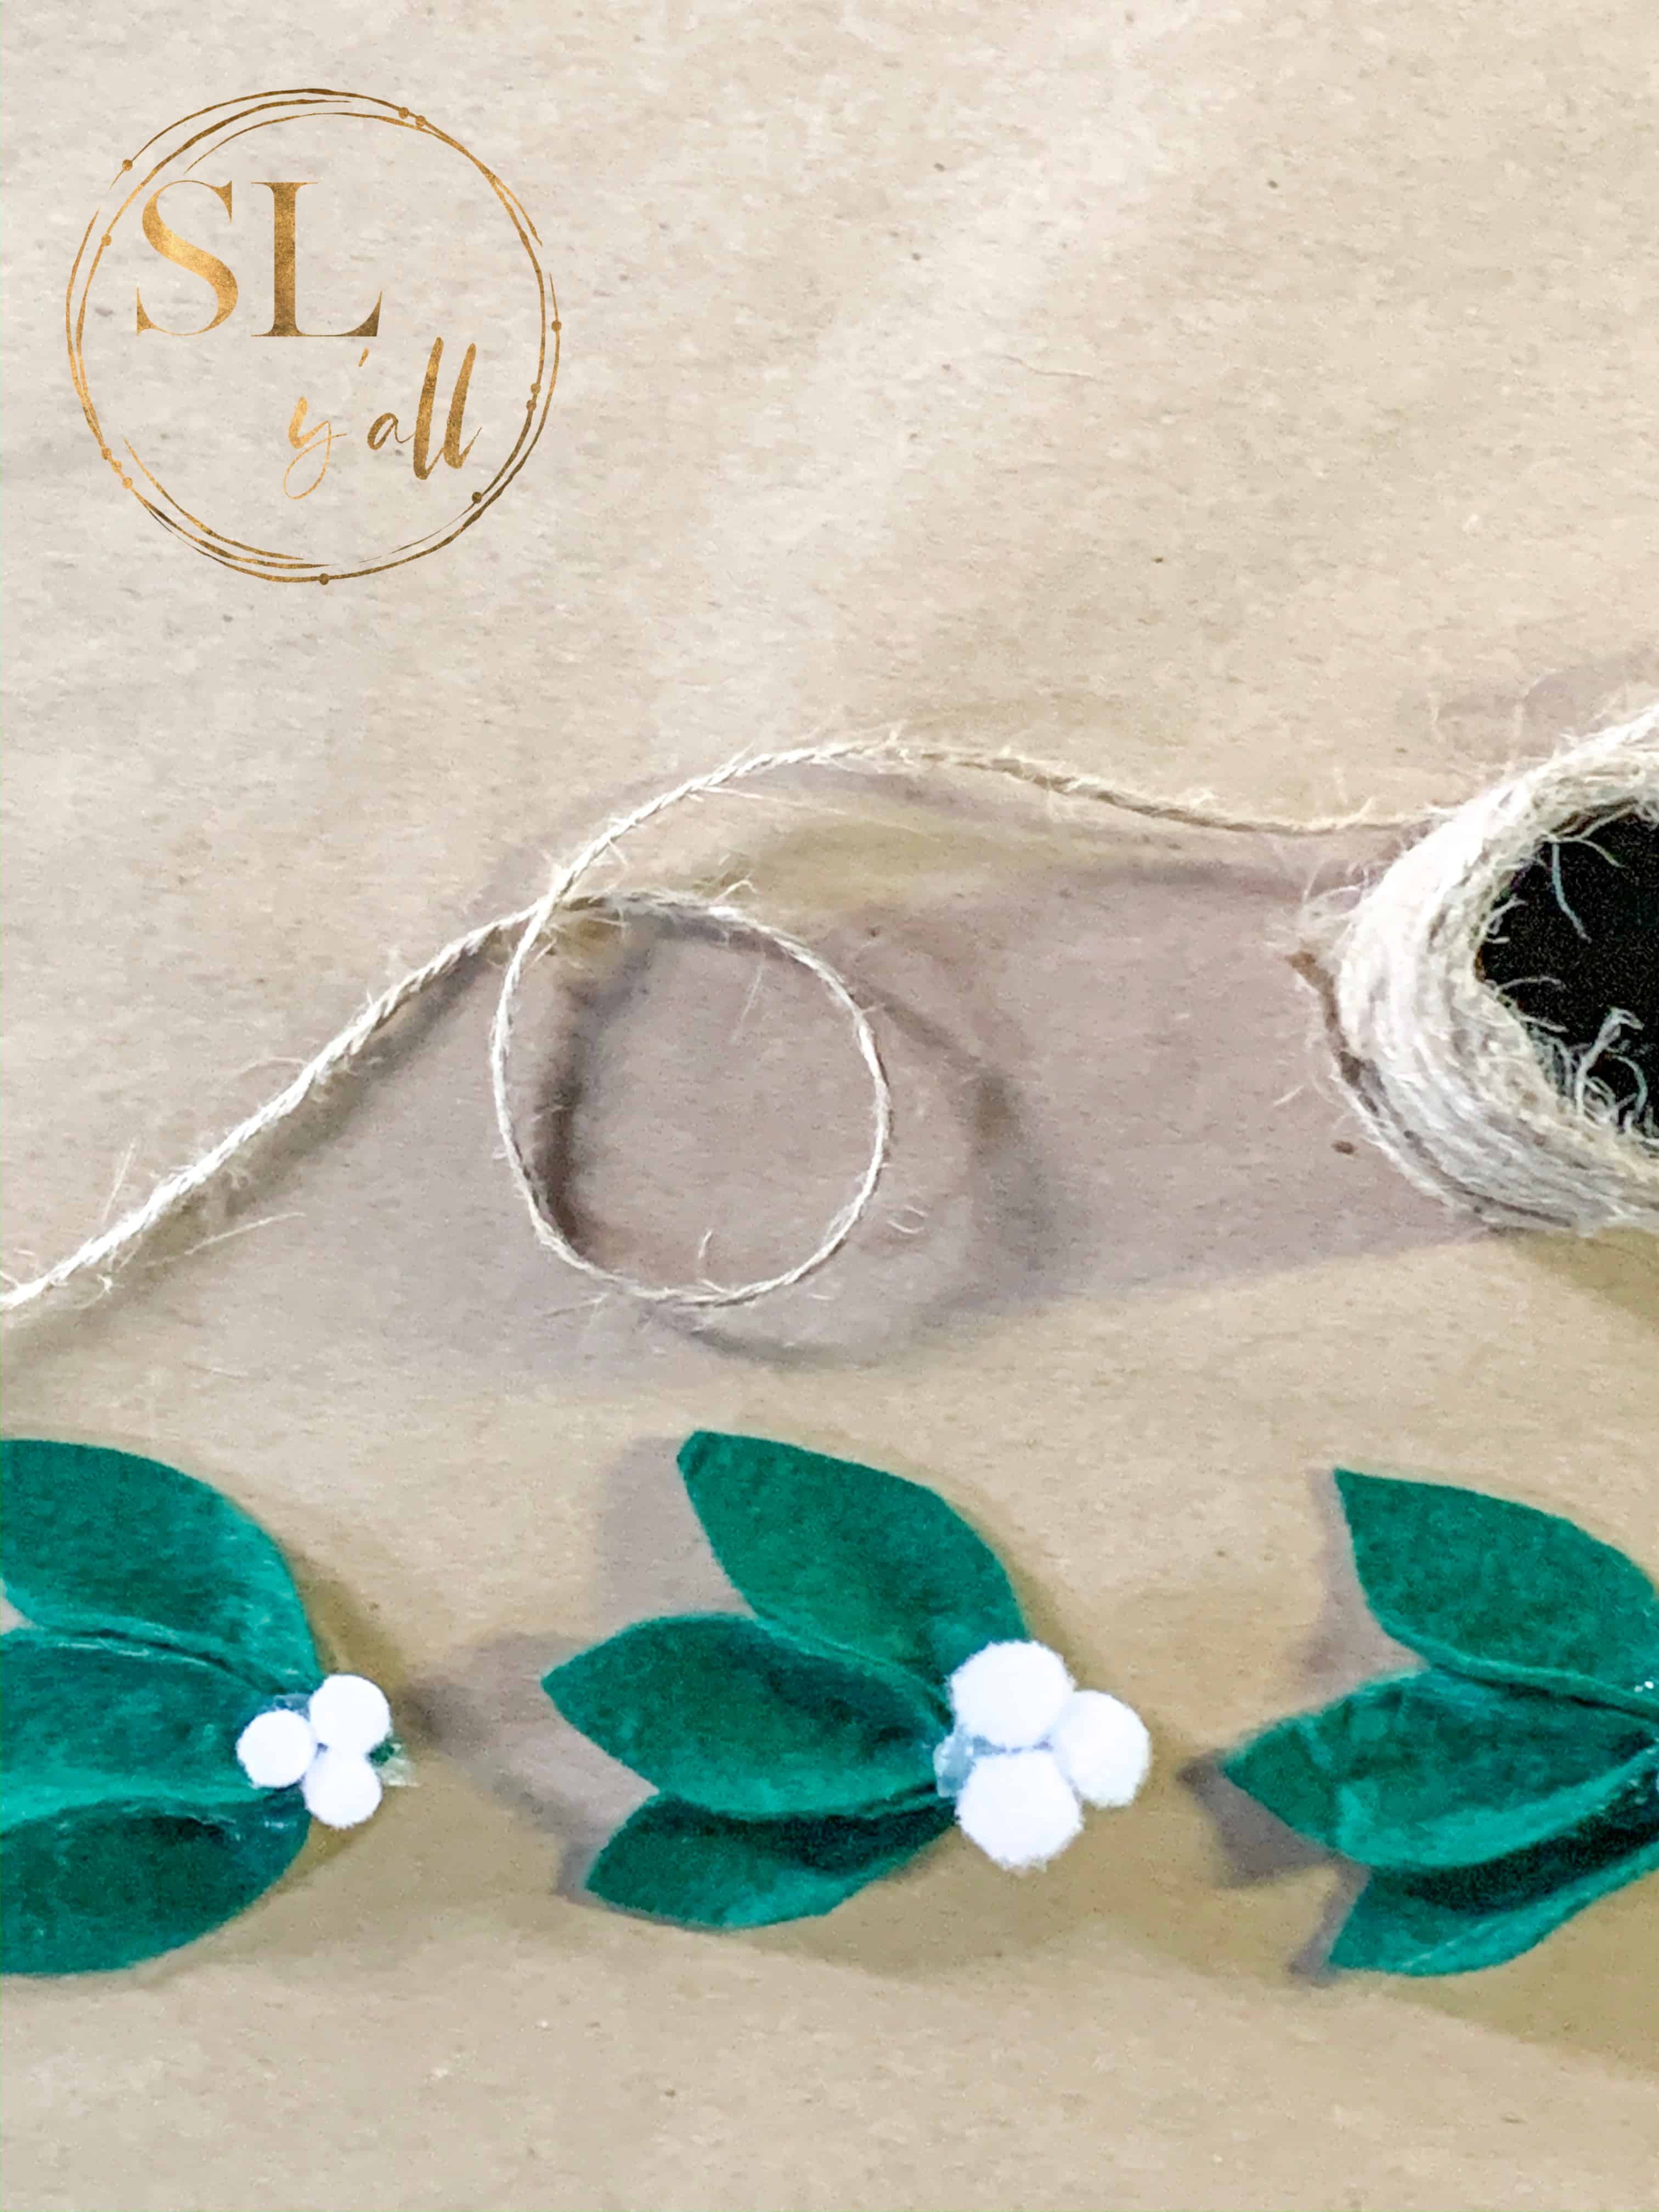
Decide on your spacing for your garland and layout your leaf groups. Glue each leaf group into place. I eyeballed this and am pleased with the results but you can measure if you would like exact spacing.
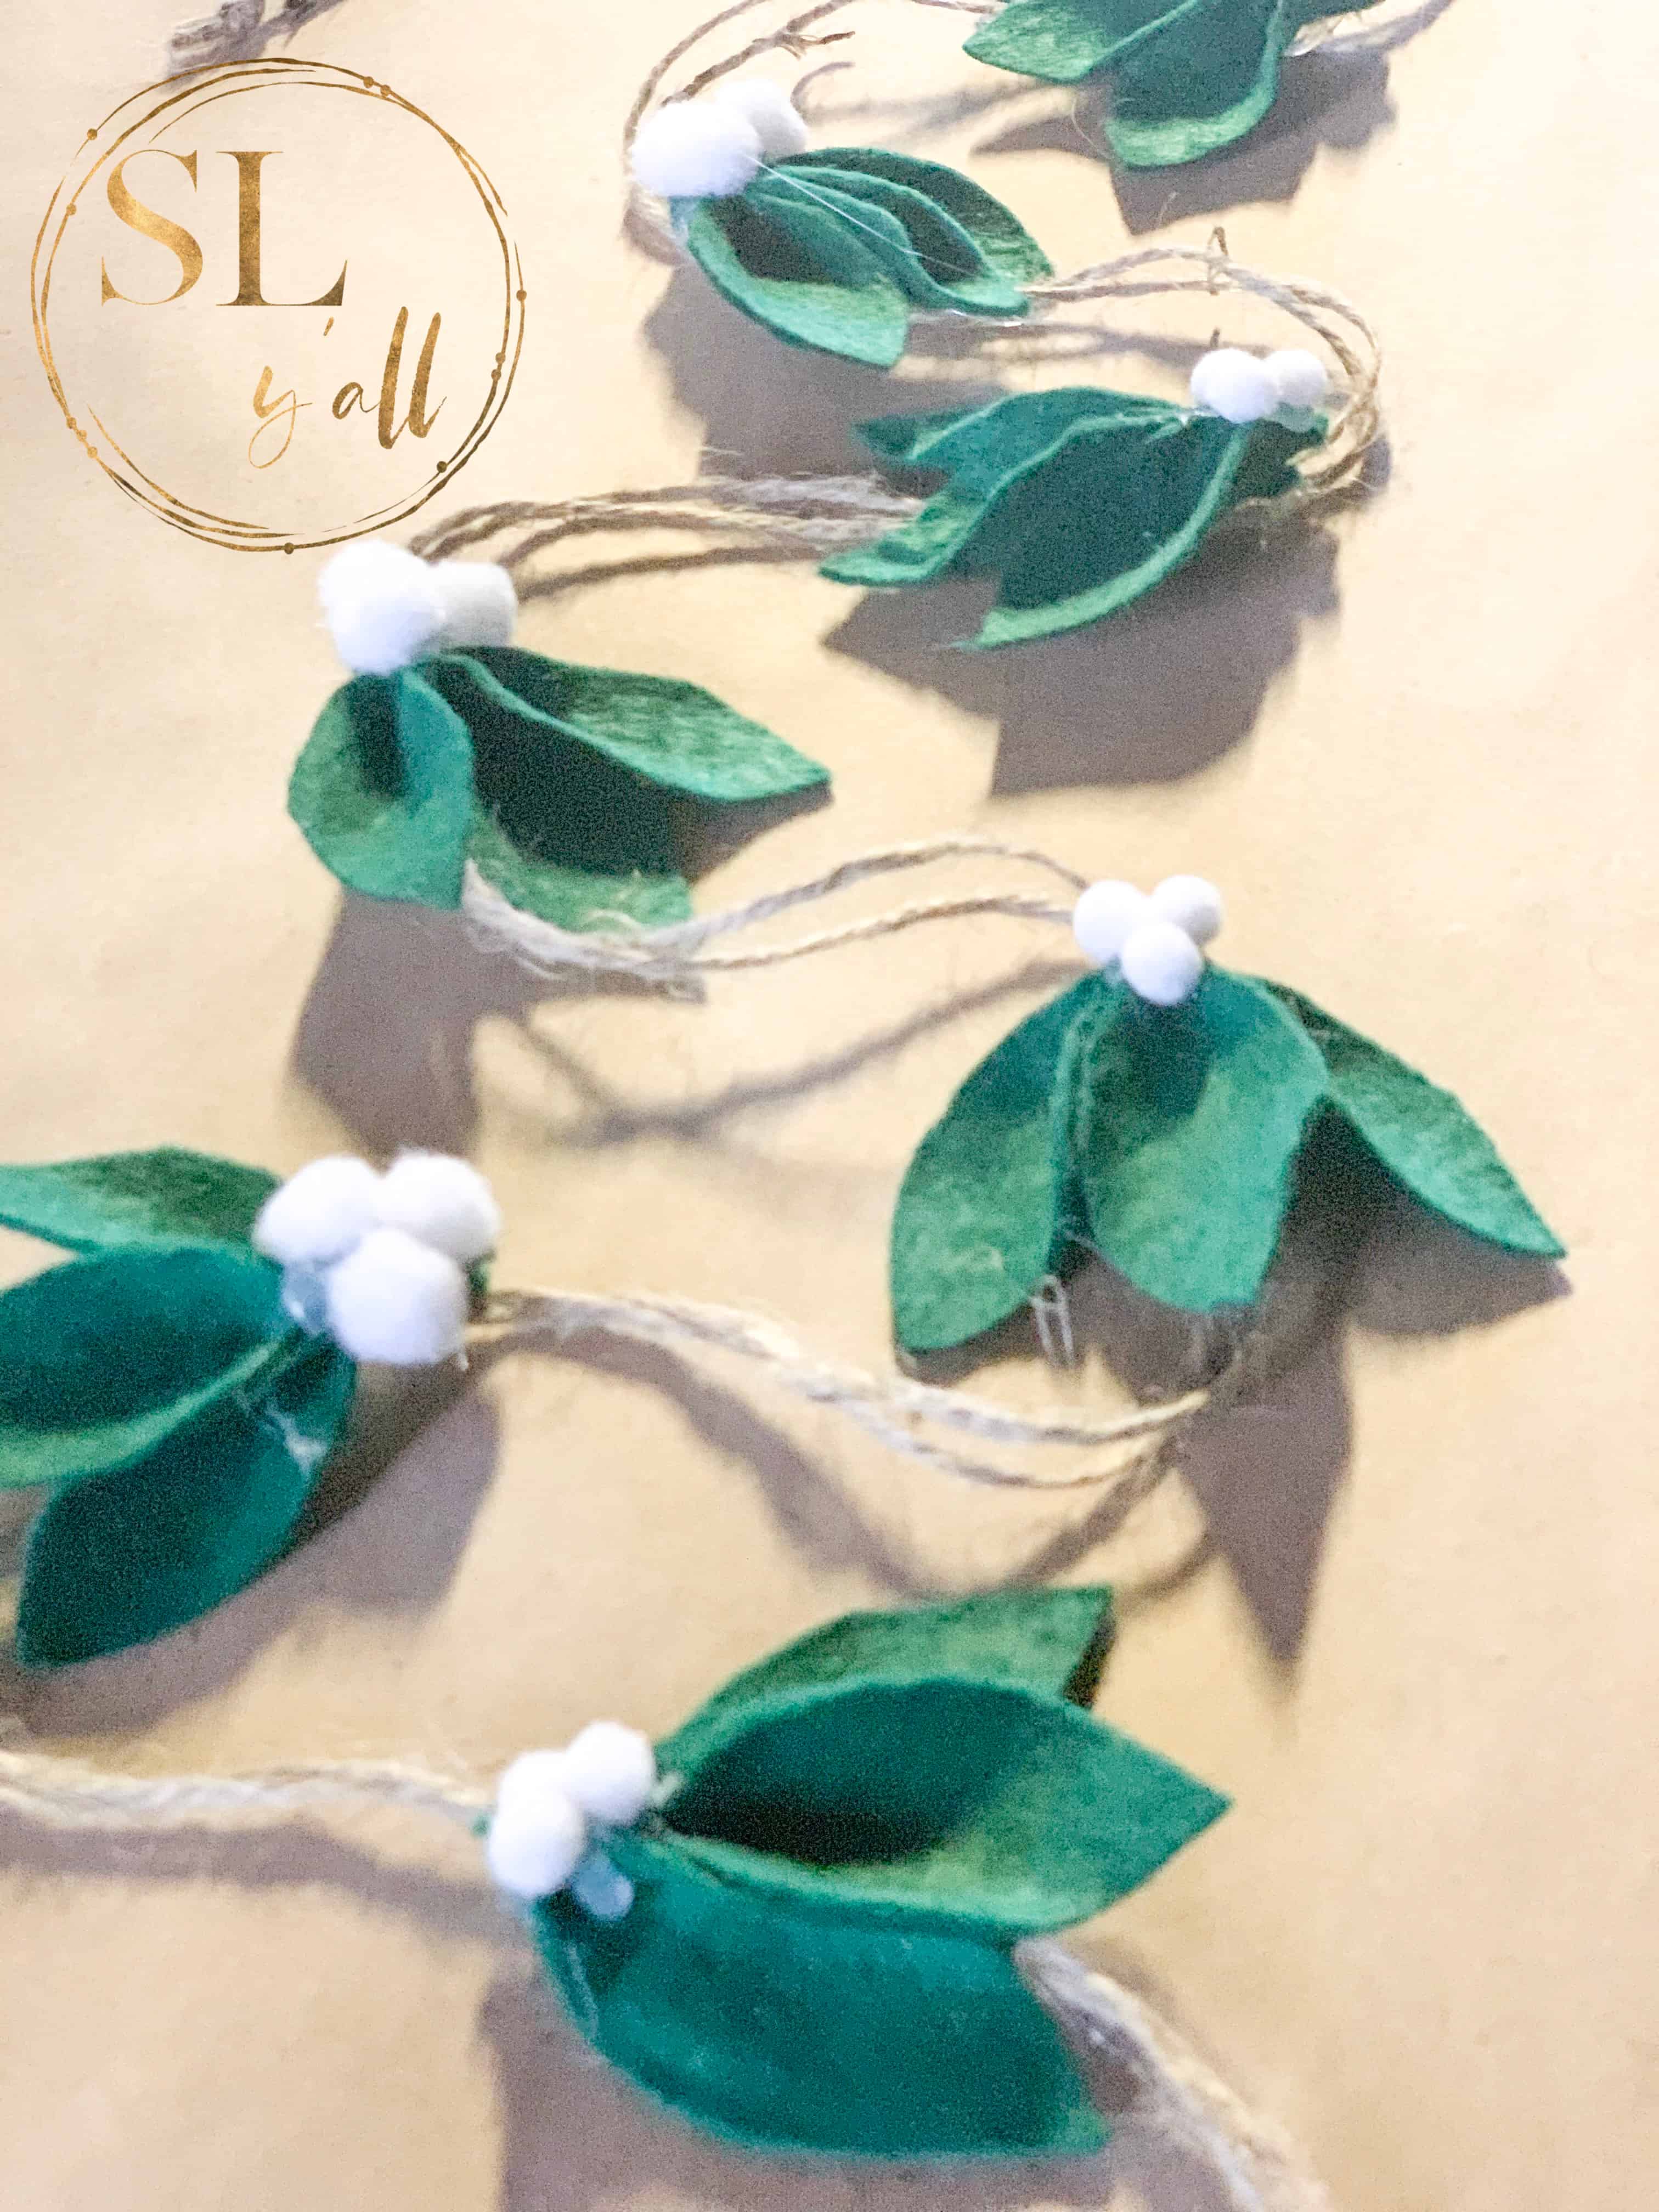
And there you have it! Quick, easy, and oh so rustic way to make Farmhouse Felt Leaf Ornaments.
These will be perfect scattered throughout your tree, used as a garland over your fireplace, or an added touch to your gift wrapping.
Let me know how you plan to decorate with your leaves.
Want to learn how to budget your money for Christmas? THIS POST will help you create the perfect plan to avoid the holiday hangover in January.

Here’s a step-by-step tutorial that matches what’s pictured — felt leaf ornaments in cream, sage green, and rustic brown, hand-stitched with visible vein detailing, strung on jute cord with wooden beads:
Felt Leaf Ornaments for a Farmhouse Tree
What you’ll need:
- Wool blend felt sheets in cream, sage green, and rust/brown
- Embroidery floss in a coordinating or contrasting thread (cream or brown works on any color)
- Embroidery needle
- Fabric scissors (or a leaf-shaped die cutter if you have one)
- A leaf template — oak, poplar, or a simple elongated teardrop shape all work
- Jute twine or thin leather cord
- Wooden beads (optional, for stringing between ornaments)
- Fabric glue or a hot glue gun (optional, for extra hold)
Steps:
- Cut your leaf shapes. Trace your template onto the felt and cut two identical leaves per ornament — you’re making a front and back so the stitching has something to anchor to and the ornament has body.
- Mark your vein lines. Lightly draw the center vein and 3-4 side veins on one leaf piece with a fabric pen or just eyeball it as you stitch — this is what gives them that hand-stitched, farmhouse look instead of a flat cutout.
- Stitch the veins. Using a simple backstitch or running stitch, sew the vein lines into the top leaf piece. This is done before you join the two halves.
- Add a hanging loop. Fold a 4-5 inch piece of jute twine in half and tuck the folded end between your two felt layers at the top of the leaf, where the stem would be.
- Sew the two leaf halves together. Place the stitched leaf on top of the plain leaf, twine loop sandwiched between them. Using a simple whip stitch or blanket stitch, sew around the entire edge of the leaf, catching both layers and securing the loop as you go.
- Trim and fluff. Snip any stray threads. If your felt has a nap, gently brush it to soften the edges.
- String them onto your tree. Thread the jute loops onto ribbon, twine, or a wooden bead garland so they hang and layer naturally among the branches, mixing your three colors for that warm, earthy gradient effect.
Tip: Make a batch of 8-10 in one sitting — the stitching goes fast once you’re in a rhythm, and you’ll want enough to cluster them along the front of the tree the way they’re layered in the photo.
Free printable
One number for the whole season
The Holiday Budget Worksheet gives you one number for Thanksgiving through New Year’s, and the weekly amount that gets you there, before the sales get loud.
No spam, ever. Unsubscribe anytime.
Want a little more help with this? My Debt Free Christmas Planner takes what we talked about here and walks you through it, step by step.