
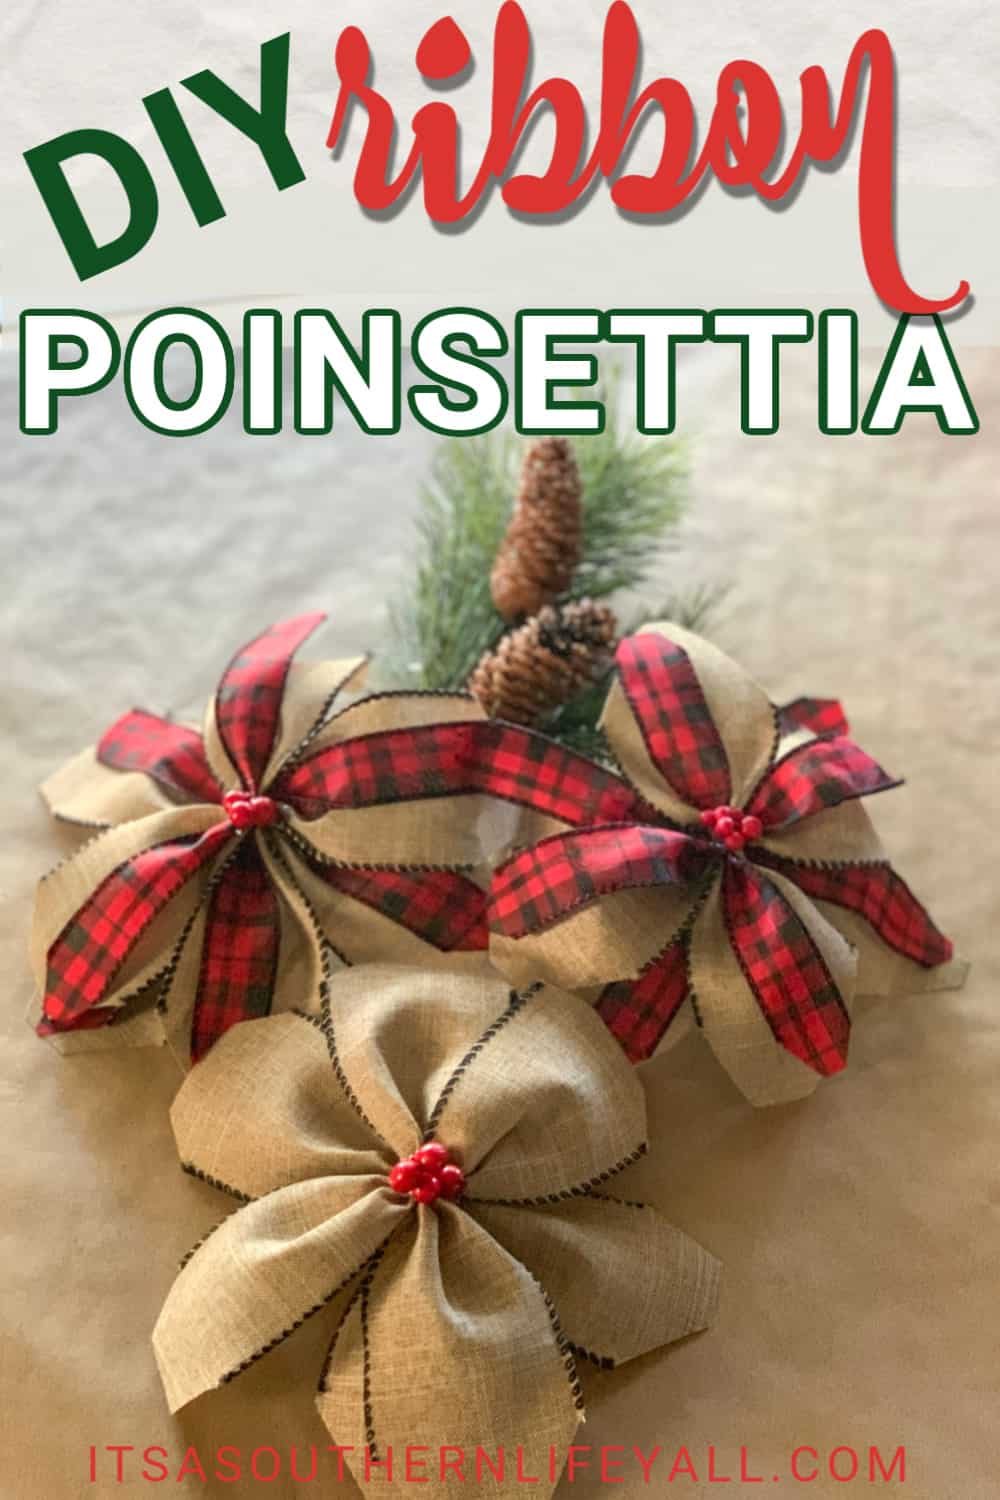
Ribbon Poinsettia
See another version at the bottom of the first one:
Welcome to Day 1 of the 12 Days of Christmas Crafts! I’m so excited to share some of my most favorite crafts with you starting with this one, the Ribbon Poinsettia.
Free printable
One number for the whole season
The Holiday Budget Worksheet gives you one number for Thanksgiving through New Year’s, and the weekly amount that gets you there, before the sales get loud.
No spam, ever. Unsubscribe anytime.
Christmas is my favorite crafting season and I’m ready to share these easy and inexpensive crafts with you.
Over the next 12 days, I will post a new budget-friendly craft here on the blog. Many of the crafts will be decorations but I do plan to throw a few gift ideas into the mix.
(This post may contain affiliate links. What does that mean to you? Well, if you click on a product and make a purchase, I may receive some compensation at NO charge to you. If you want to read the boring stuff, my full disclosure can be found here.)
Don’t you just loving crafting and creating DIY projects? I love the money I save BUT I just love creating. That’s why I’m so excited about the next 12 days. In no time at all, we will have your home jolly and completely decorated for the holiday season.
HERE is another of my favorite Christmas crafts. It’s not part of the 12 Days of Christmas Craft series but I love it.
Let’s get started…
Supplies To Make a Ribbon Poinsettia
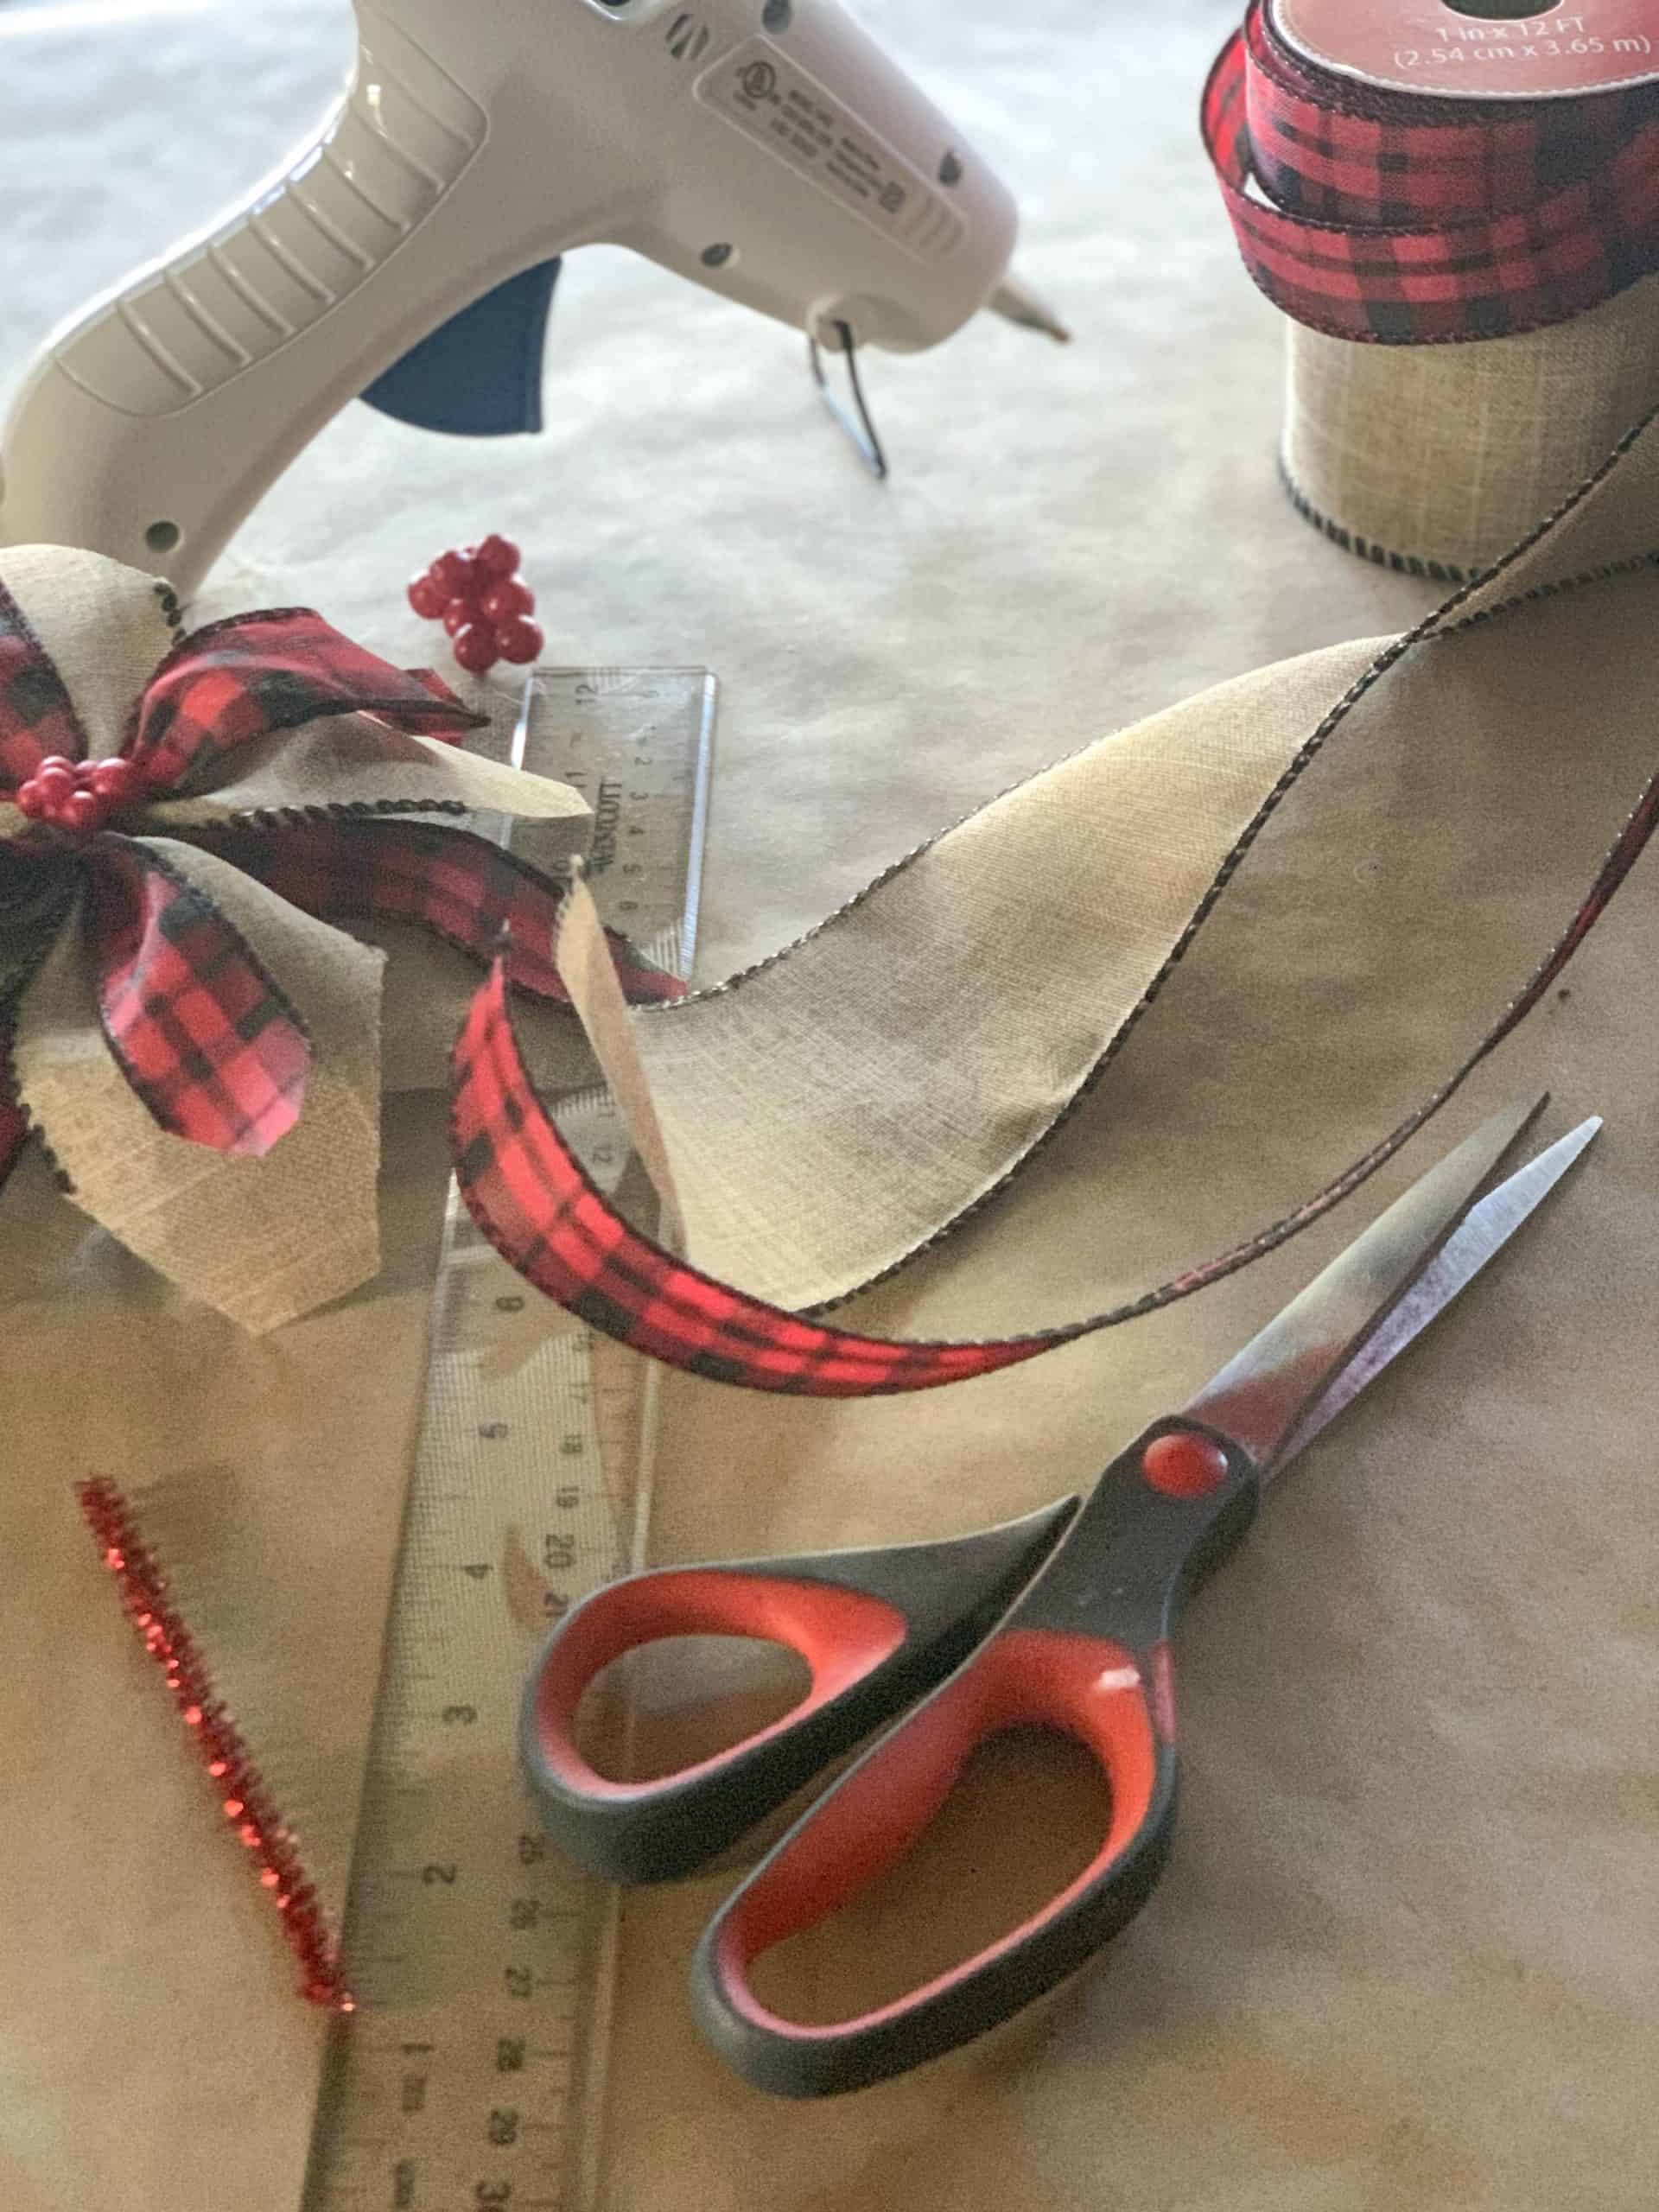
Supplies needed:
- Wired Ribbon
- 1″ Wired Ribbon
(optional)
- Scissors
- Glue Gun
- Glue Sticks
- Pipe Cleaners
- Ruler
- Small Red beads or berries for the center of the flower

 (optional)


How To Make A Ribbon Poinsettia
STEP 1 – Cut four 8″ pieces of 3″ wired ribbon. This craft is very adaptable for different size ribbons. Just alter the length of the pieces to the size you would like your flower. You can easily use a wider or more narrow ribbon for the Christmas craft. If using a narrow ribbon, cut more pieces of ribbon to fill out the area.
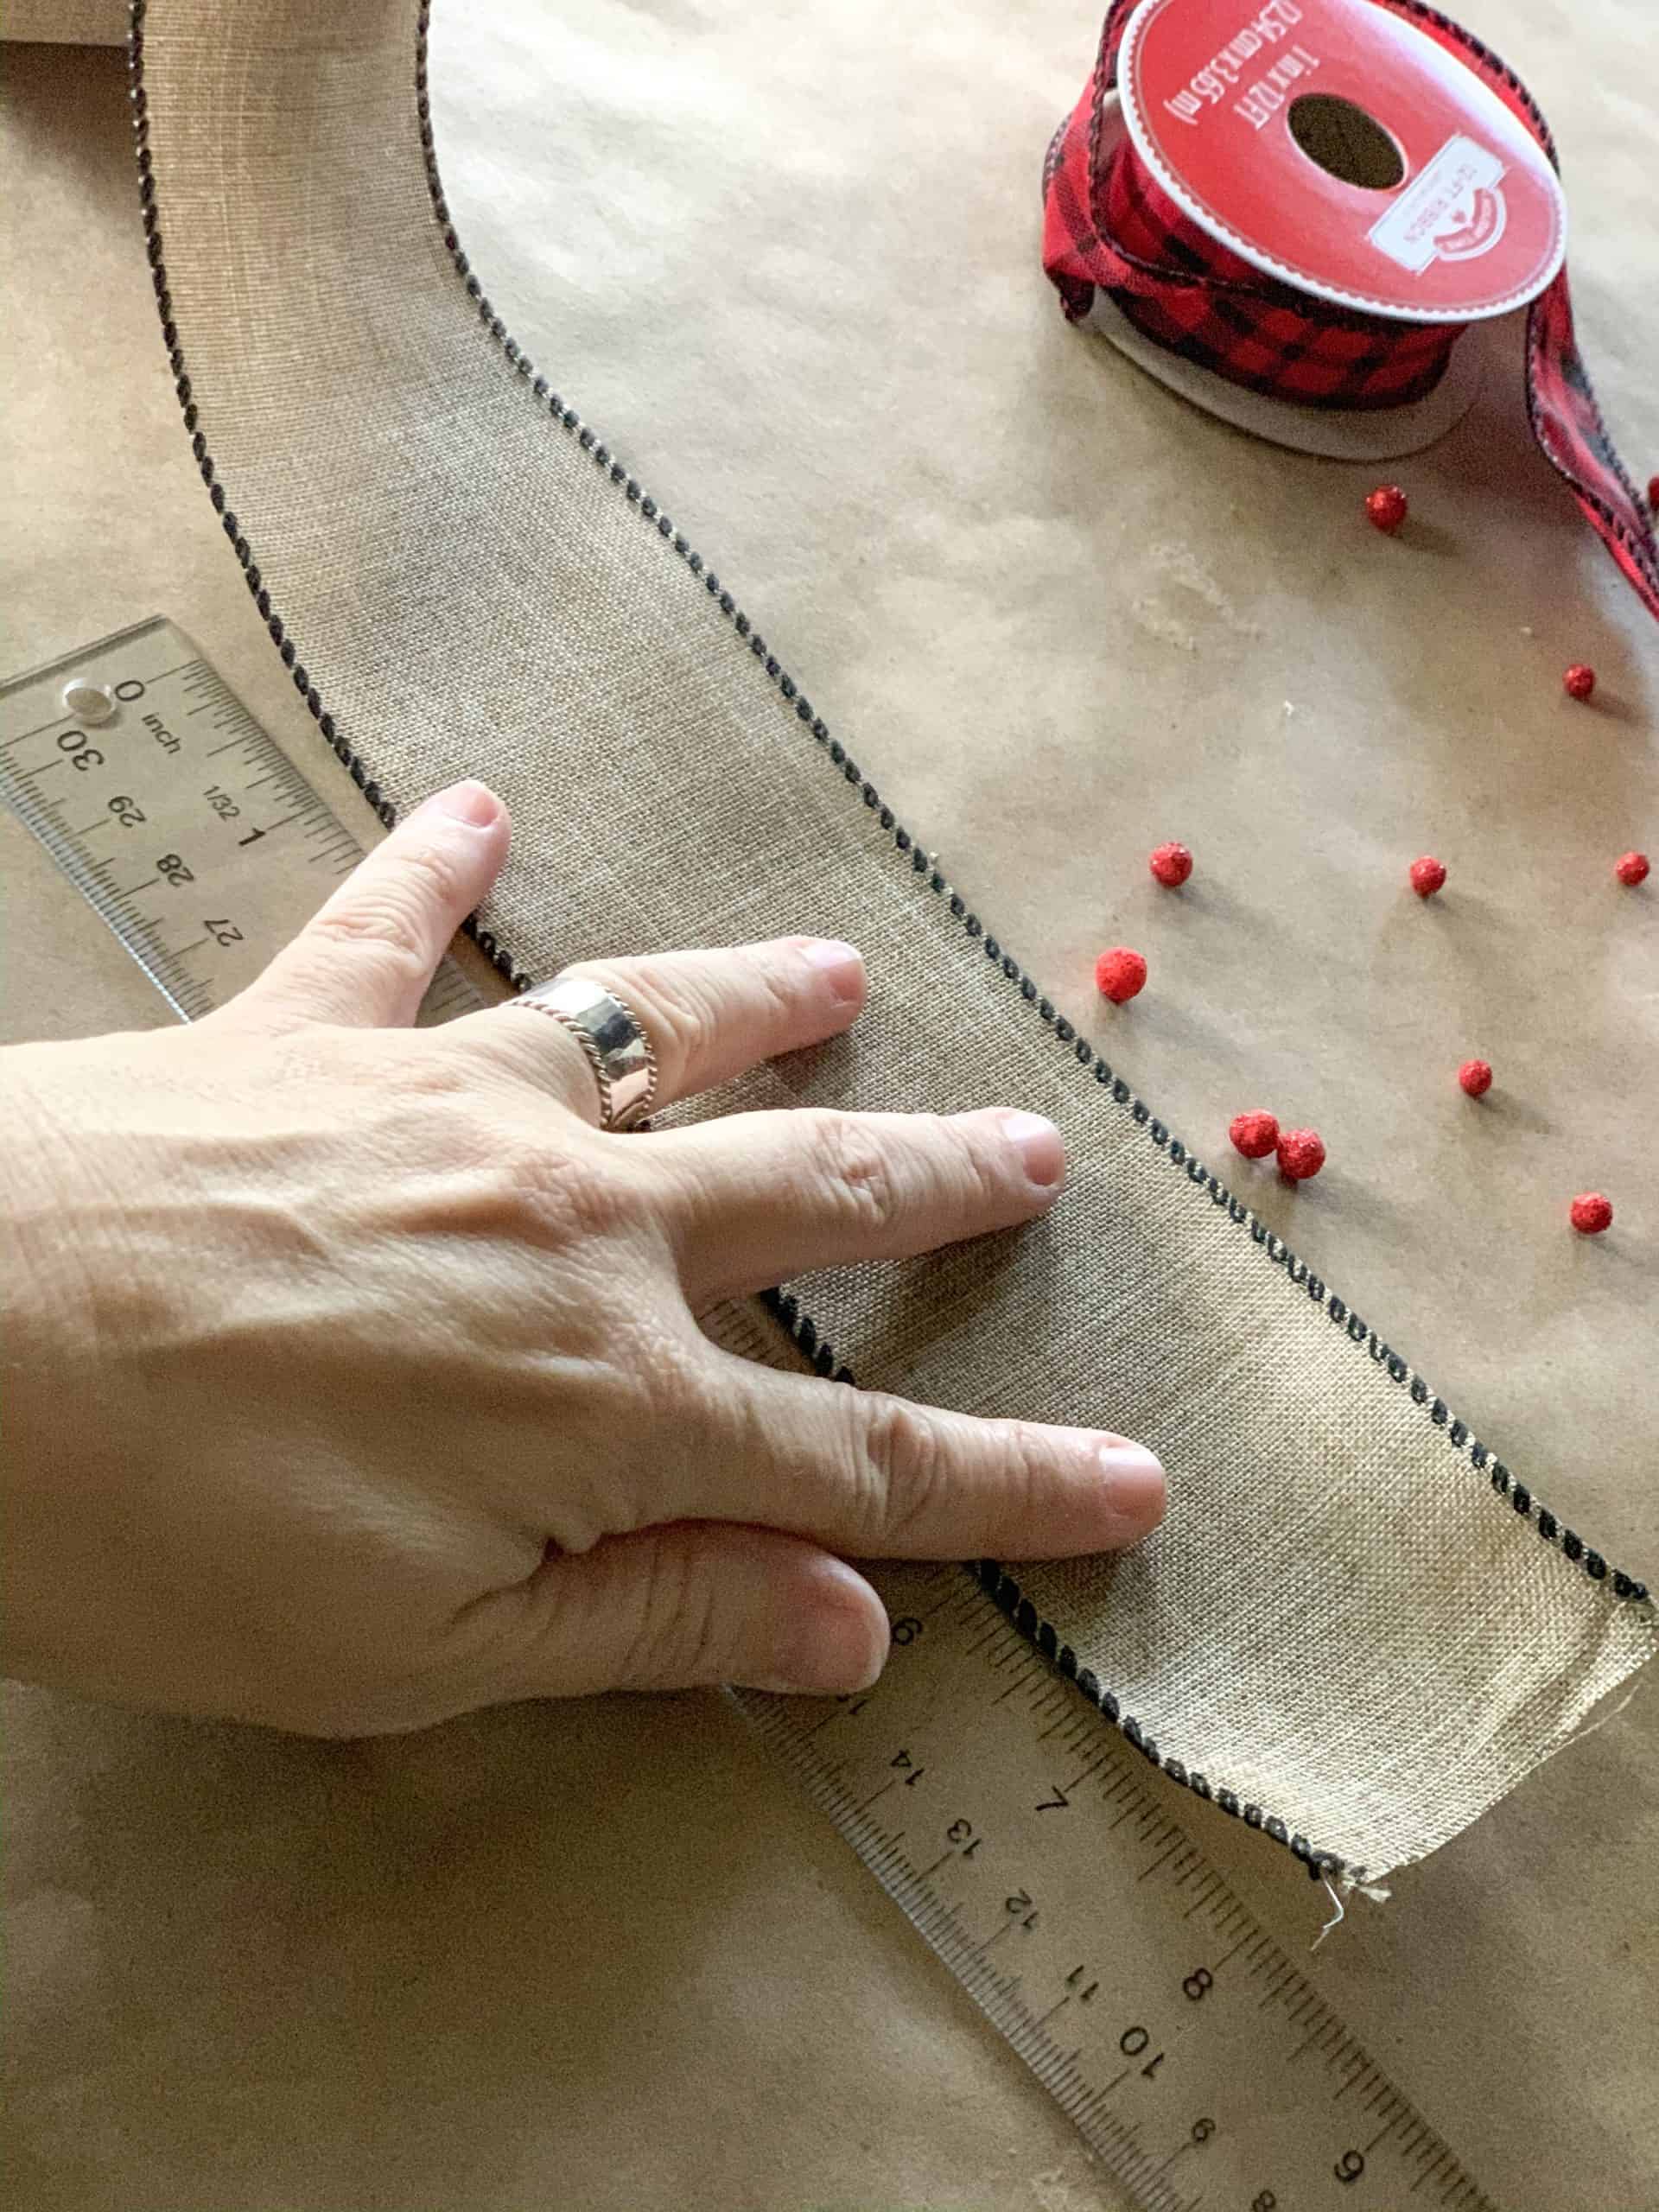
STEP 2 – **OPTIONAL** Cut four 8″ pieces of 1″ wired ribbon. I love the layered look of the ribbons but as you will see in the video, I made an additional poinsettia without the plaid ribbon and it is delightful! Use your creativity to decide how to create your flowers.
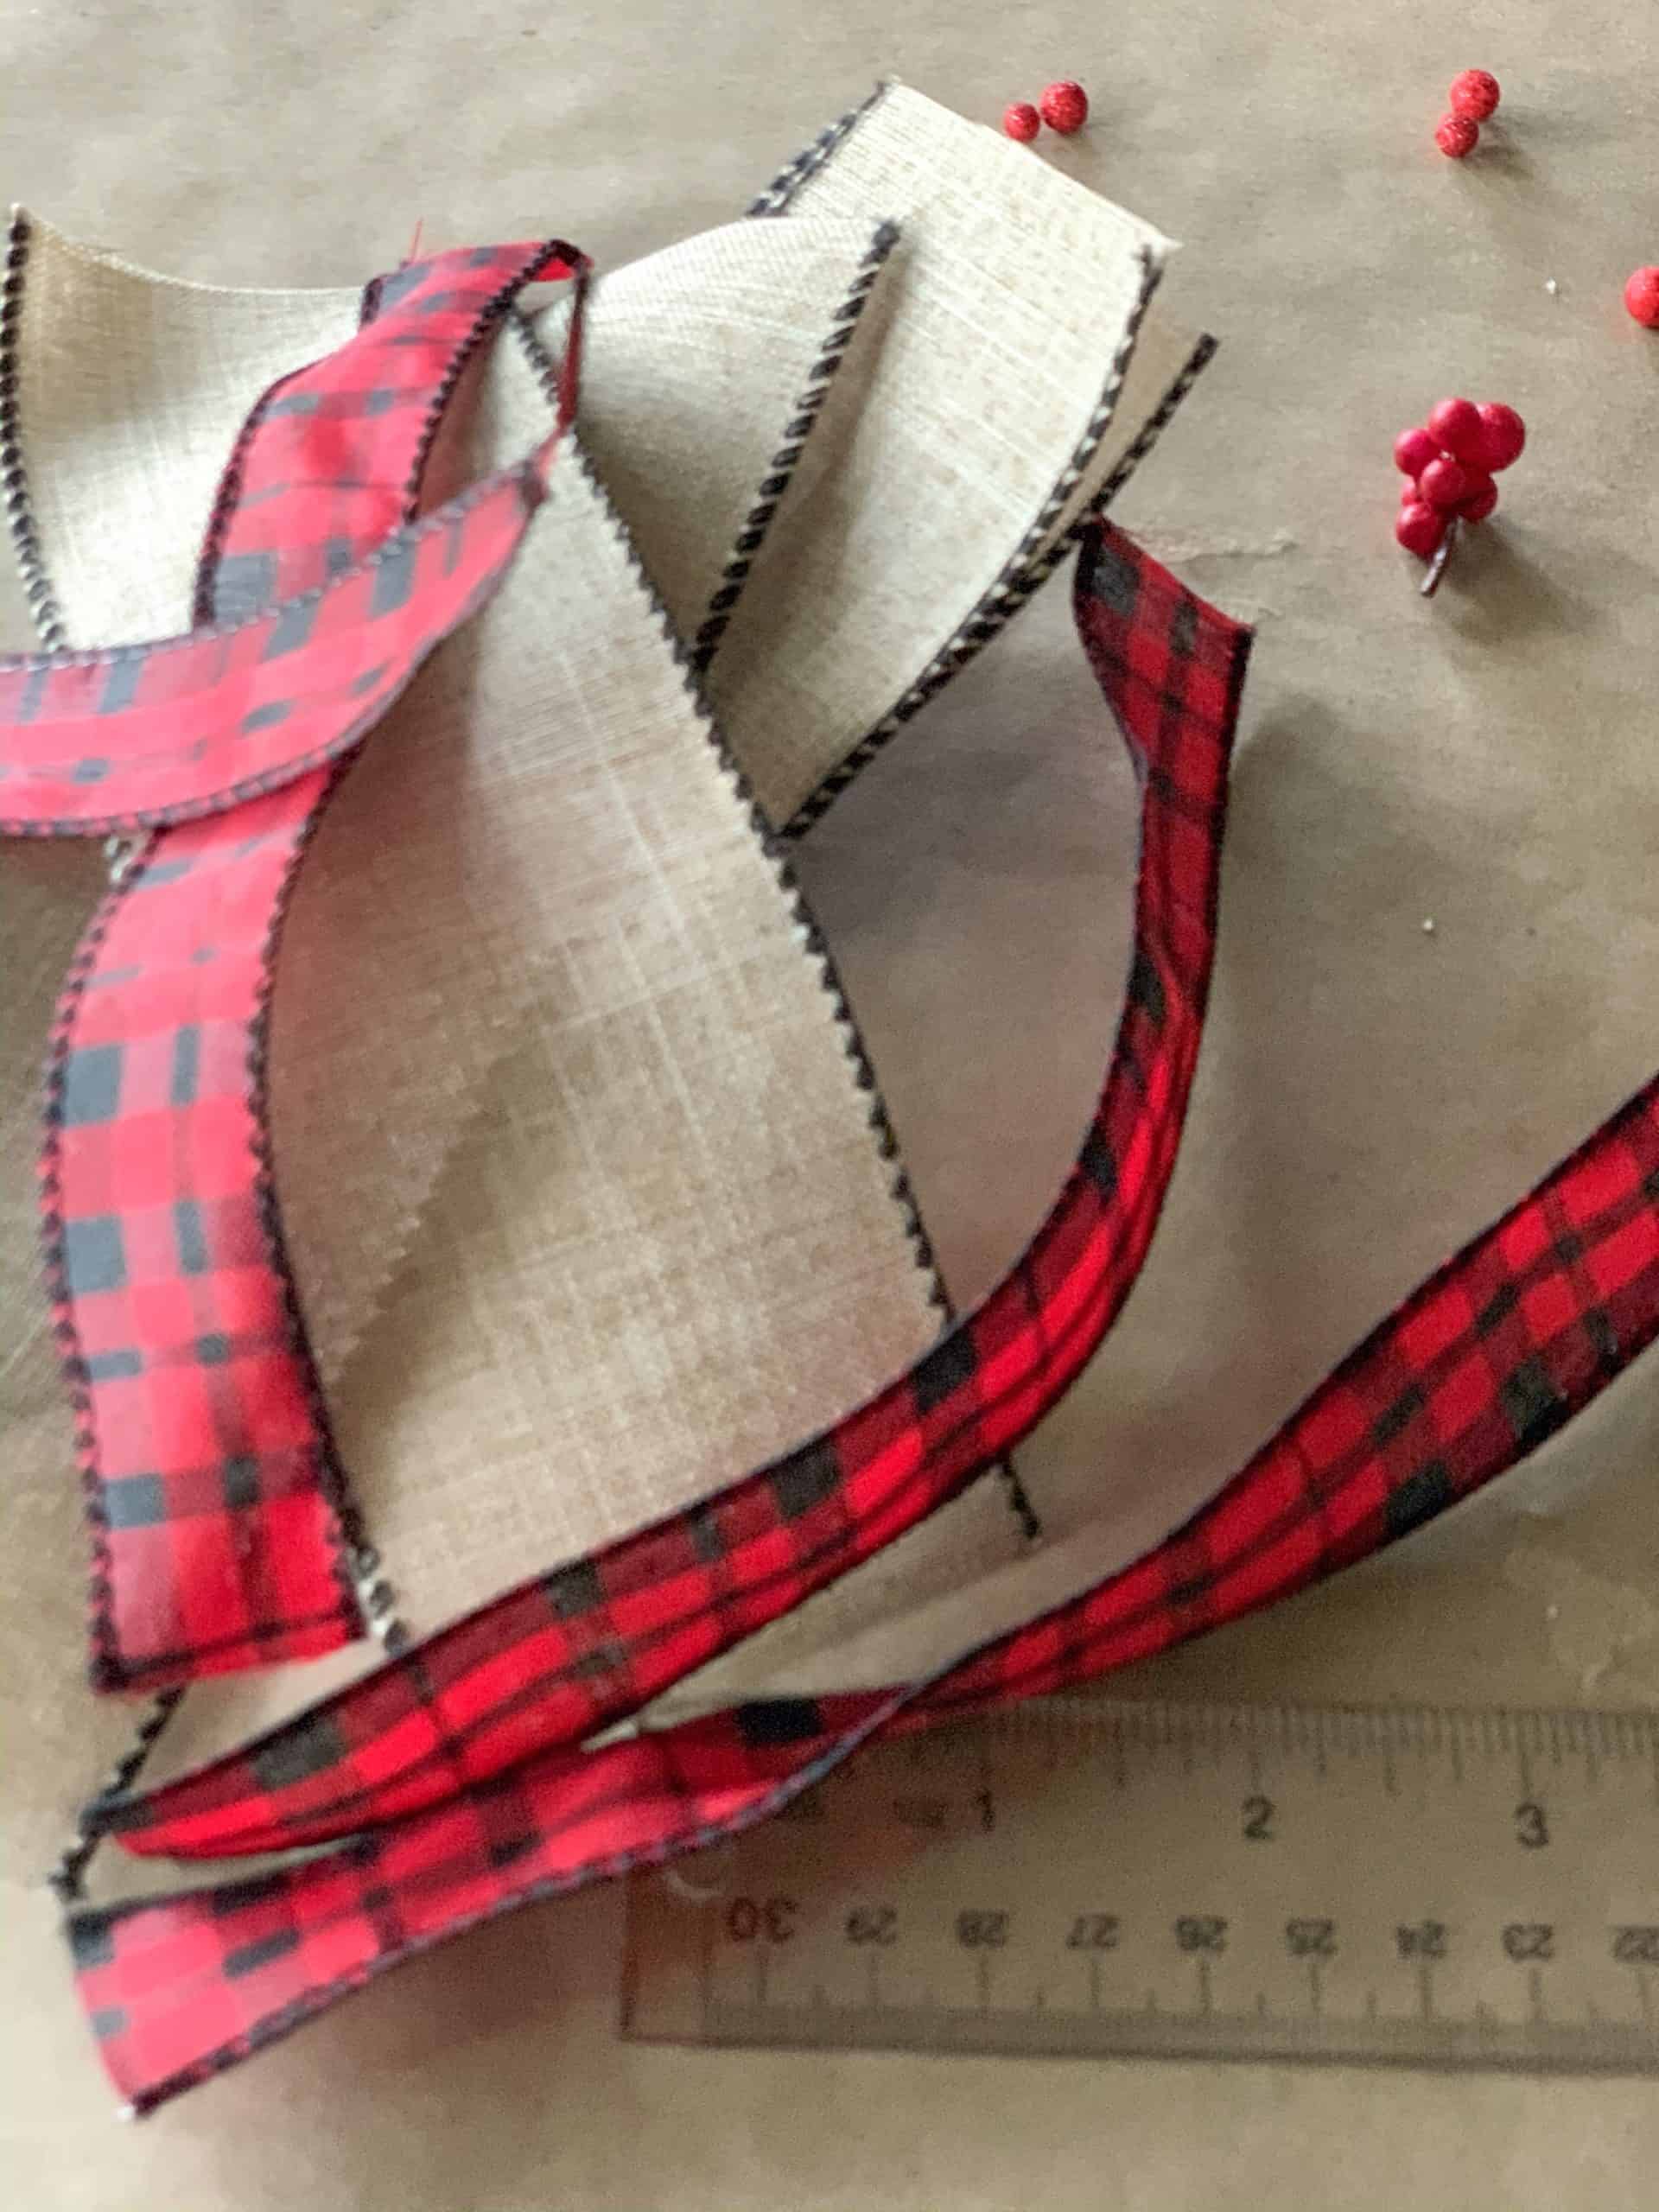
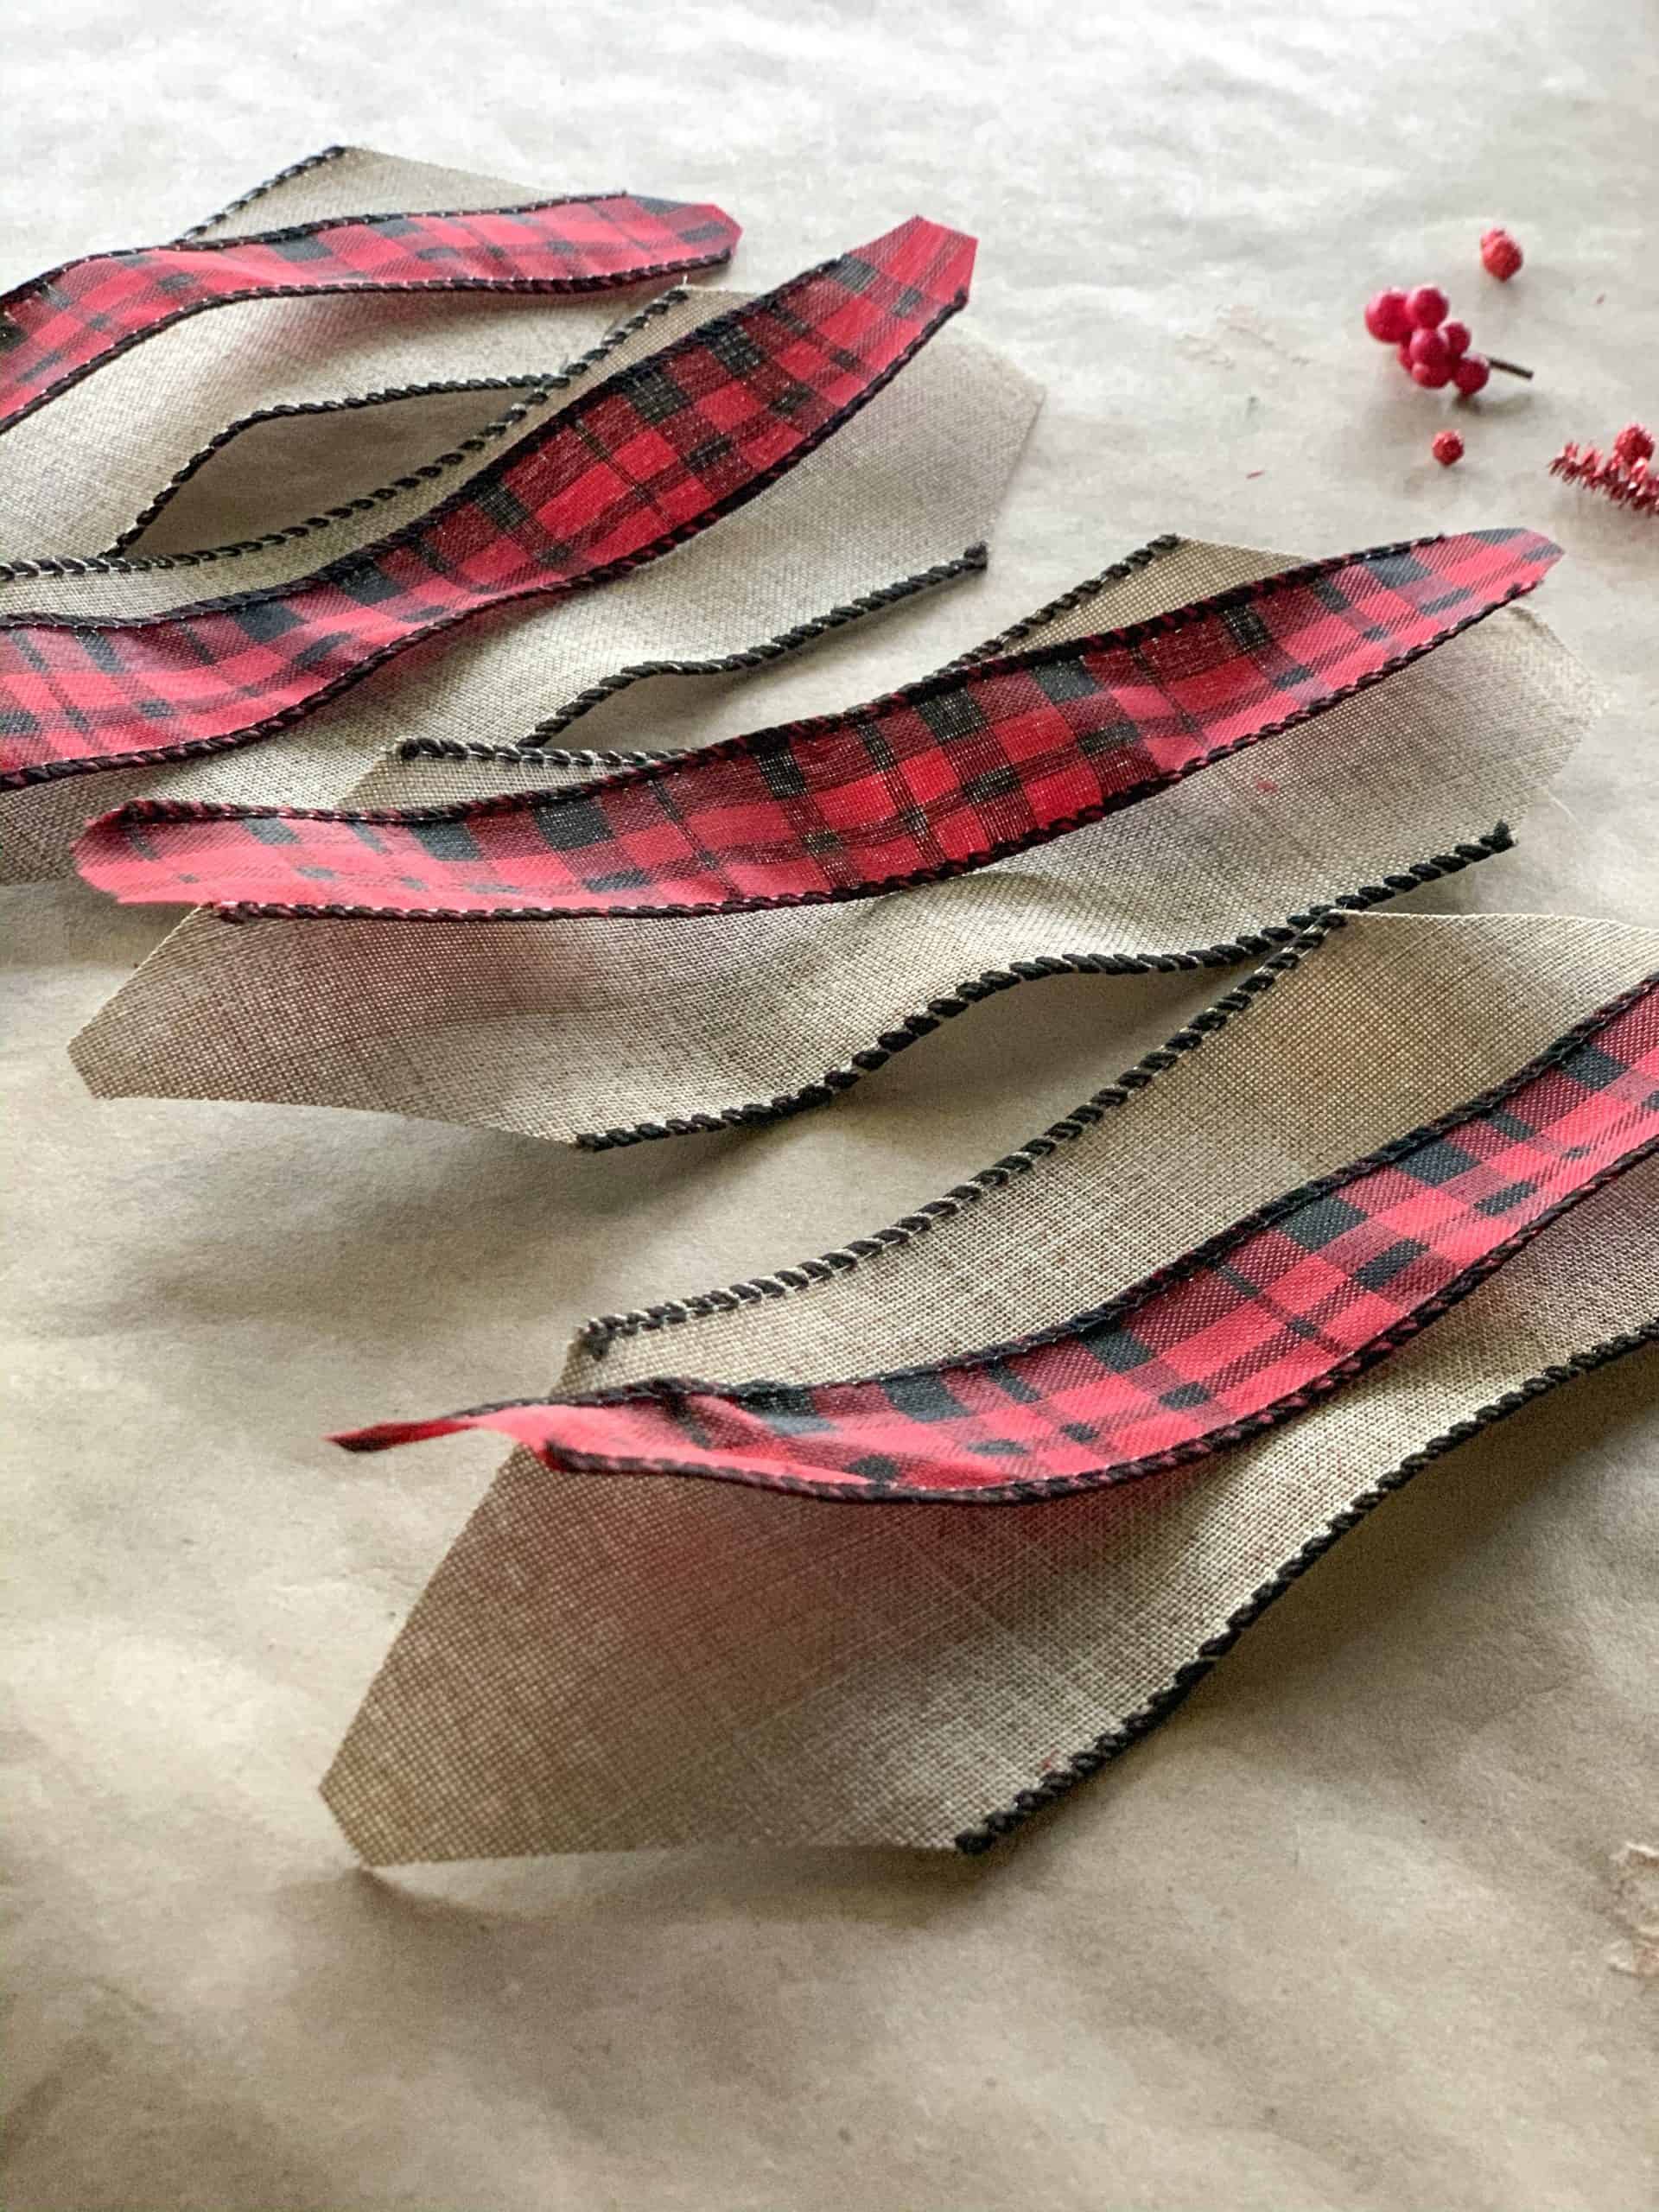
STEP 3 – Stack the four larger ribbons and cut ends to the desired shape. I cut diagonal corners with a flat center. You could do this to the smaller ribbon (if using) but you can see in the video that I opted to shape my 1″ ribbon after the flower was made. I discovered on my first flower that sometimes this layer would shift and I needed to adjust.
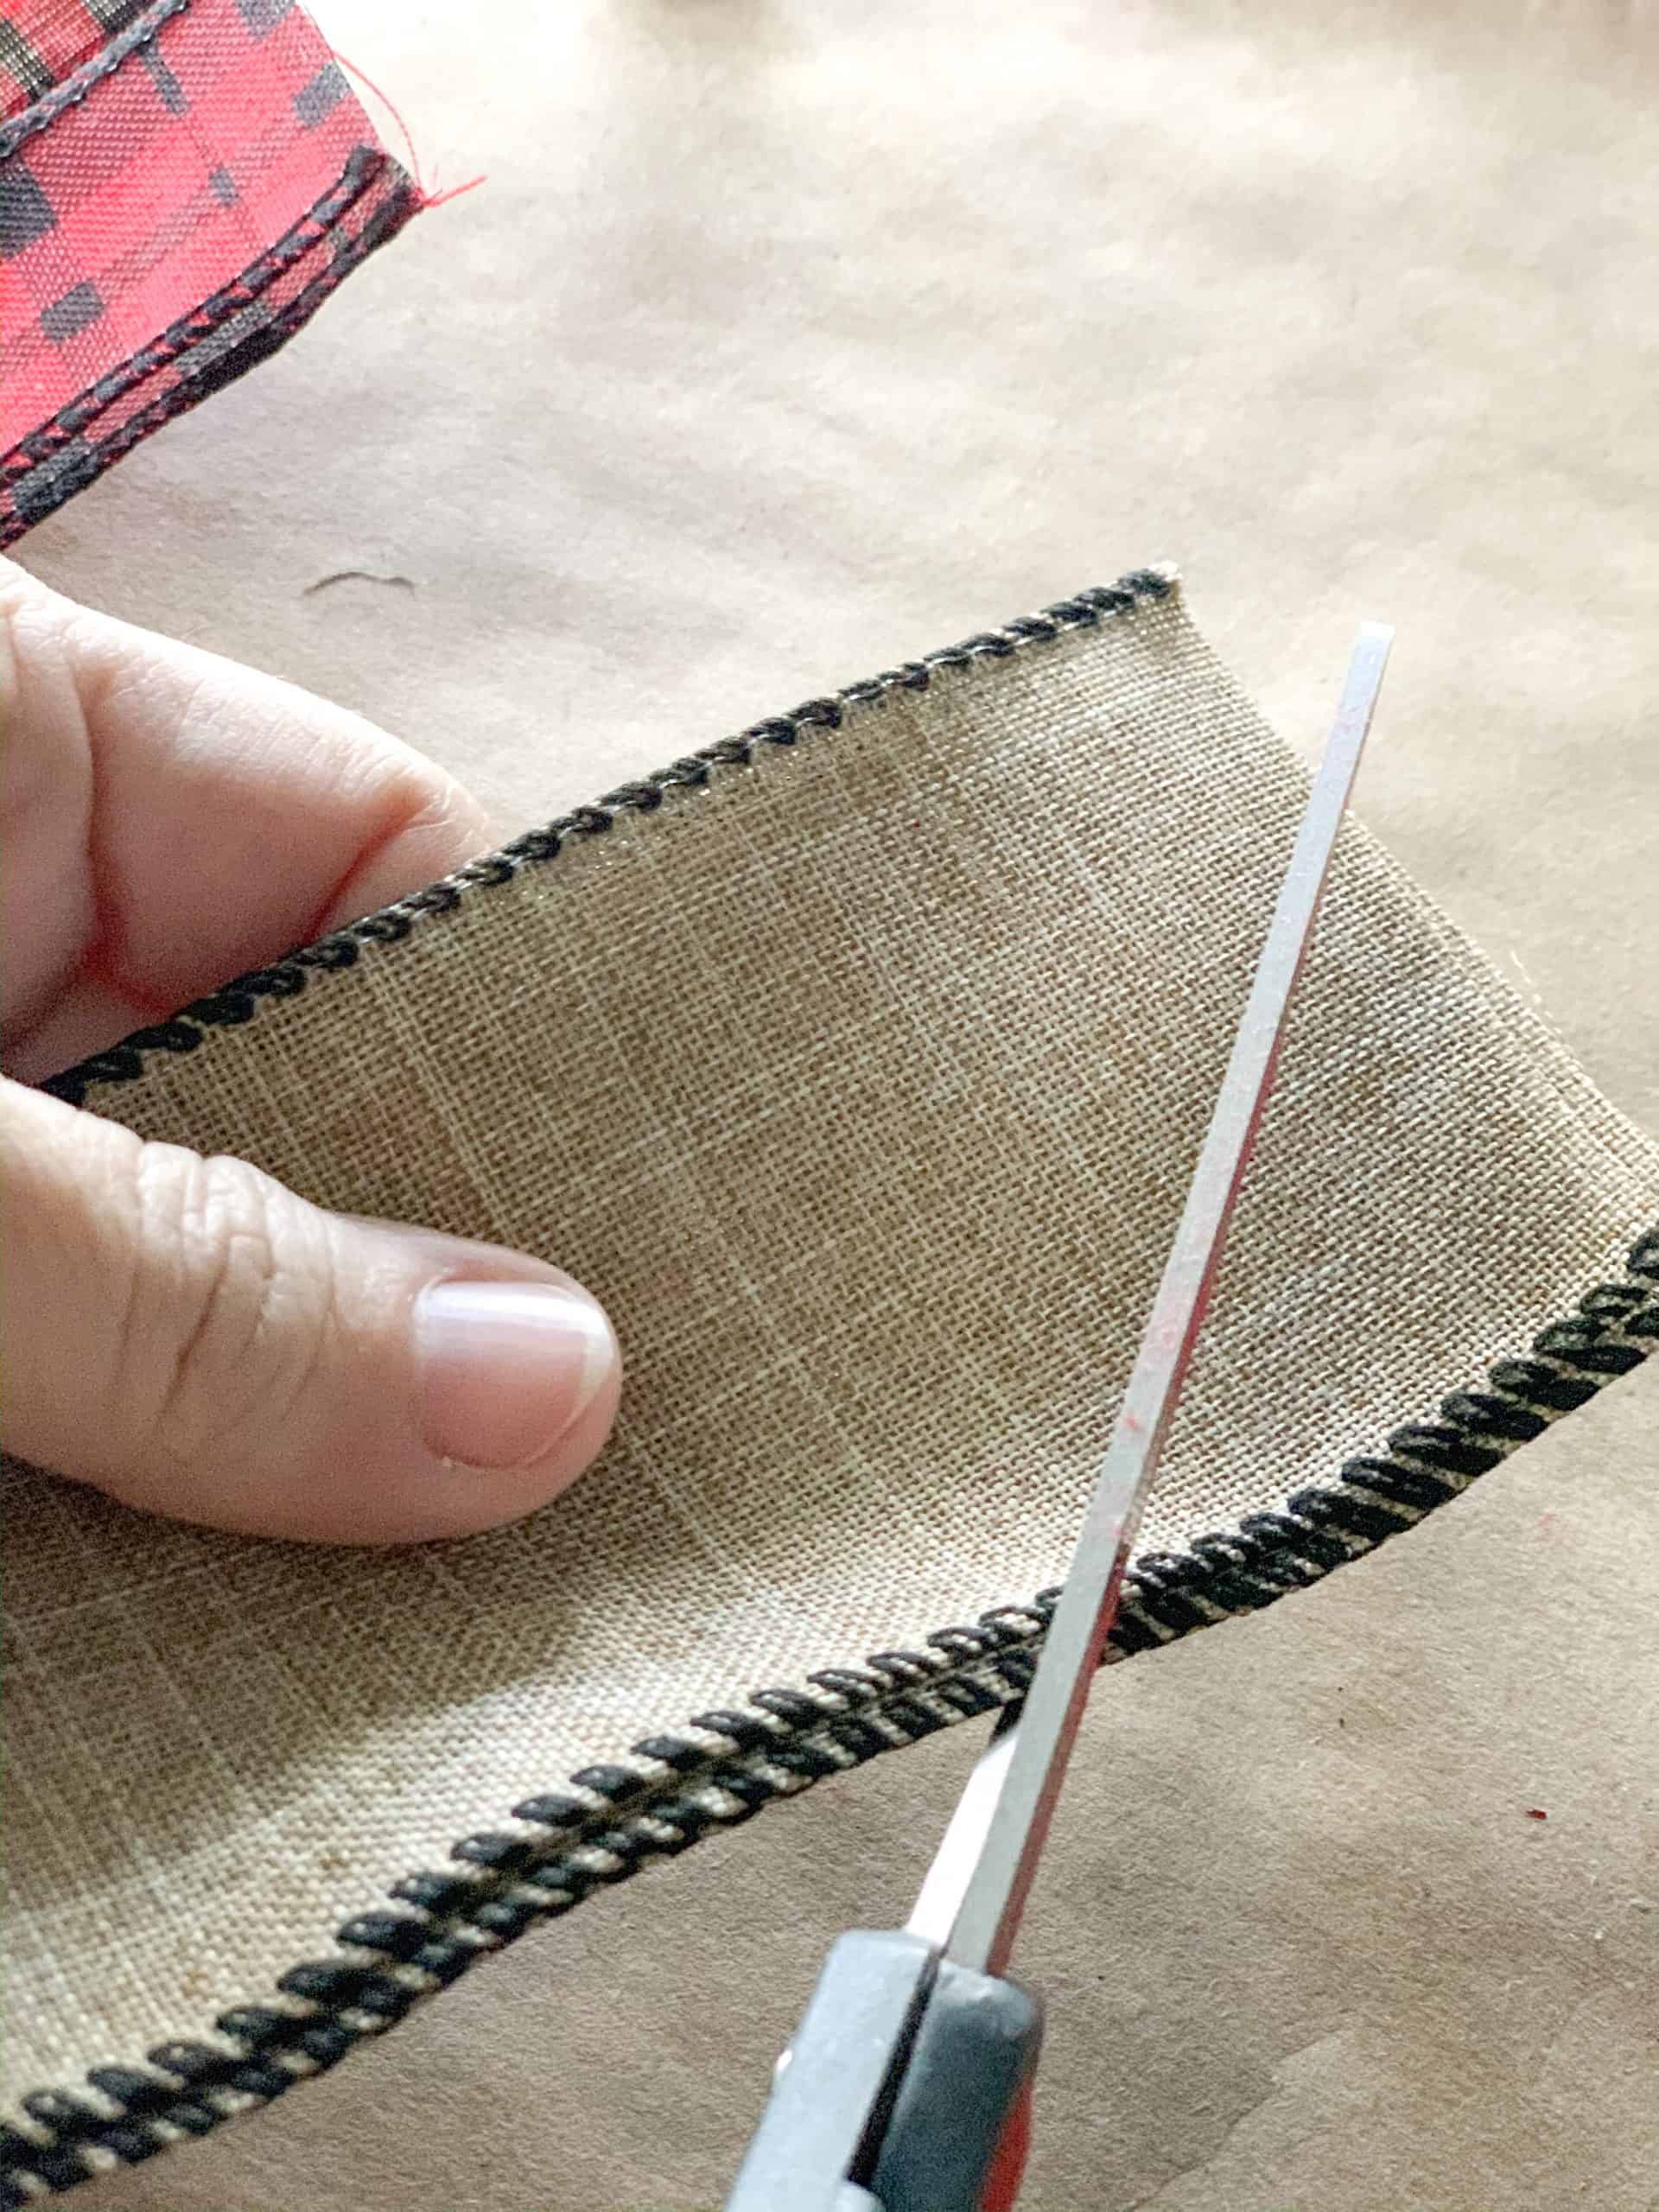
STEP 4 – Fold the ribbon in half and cut matching ends.
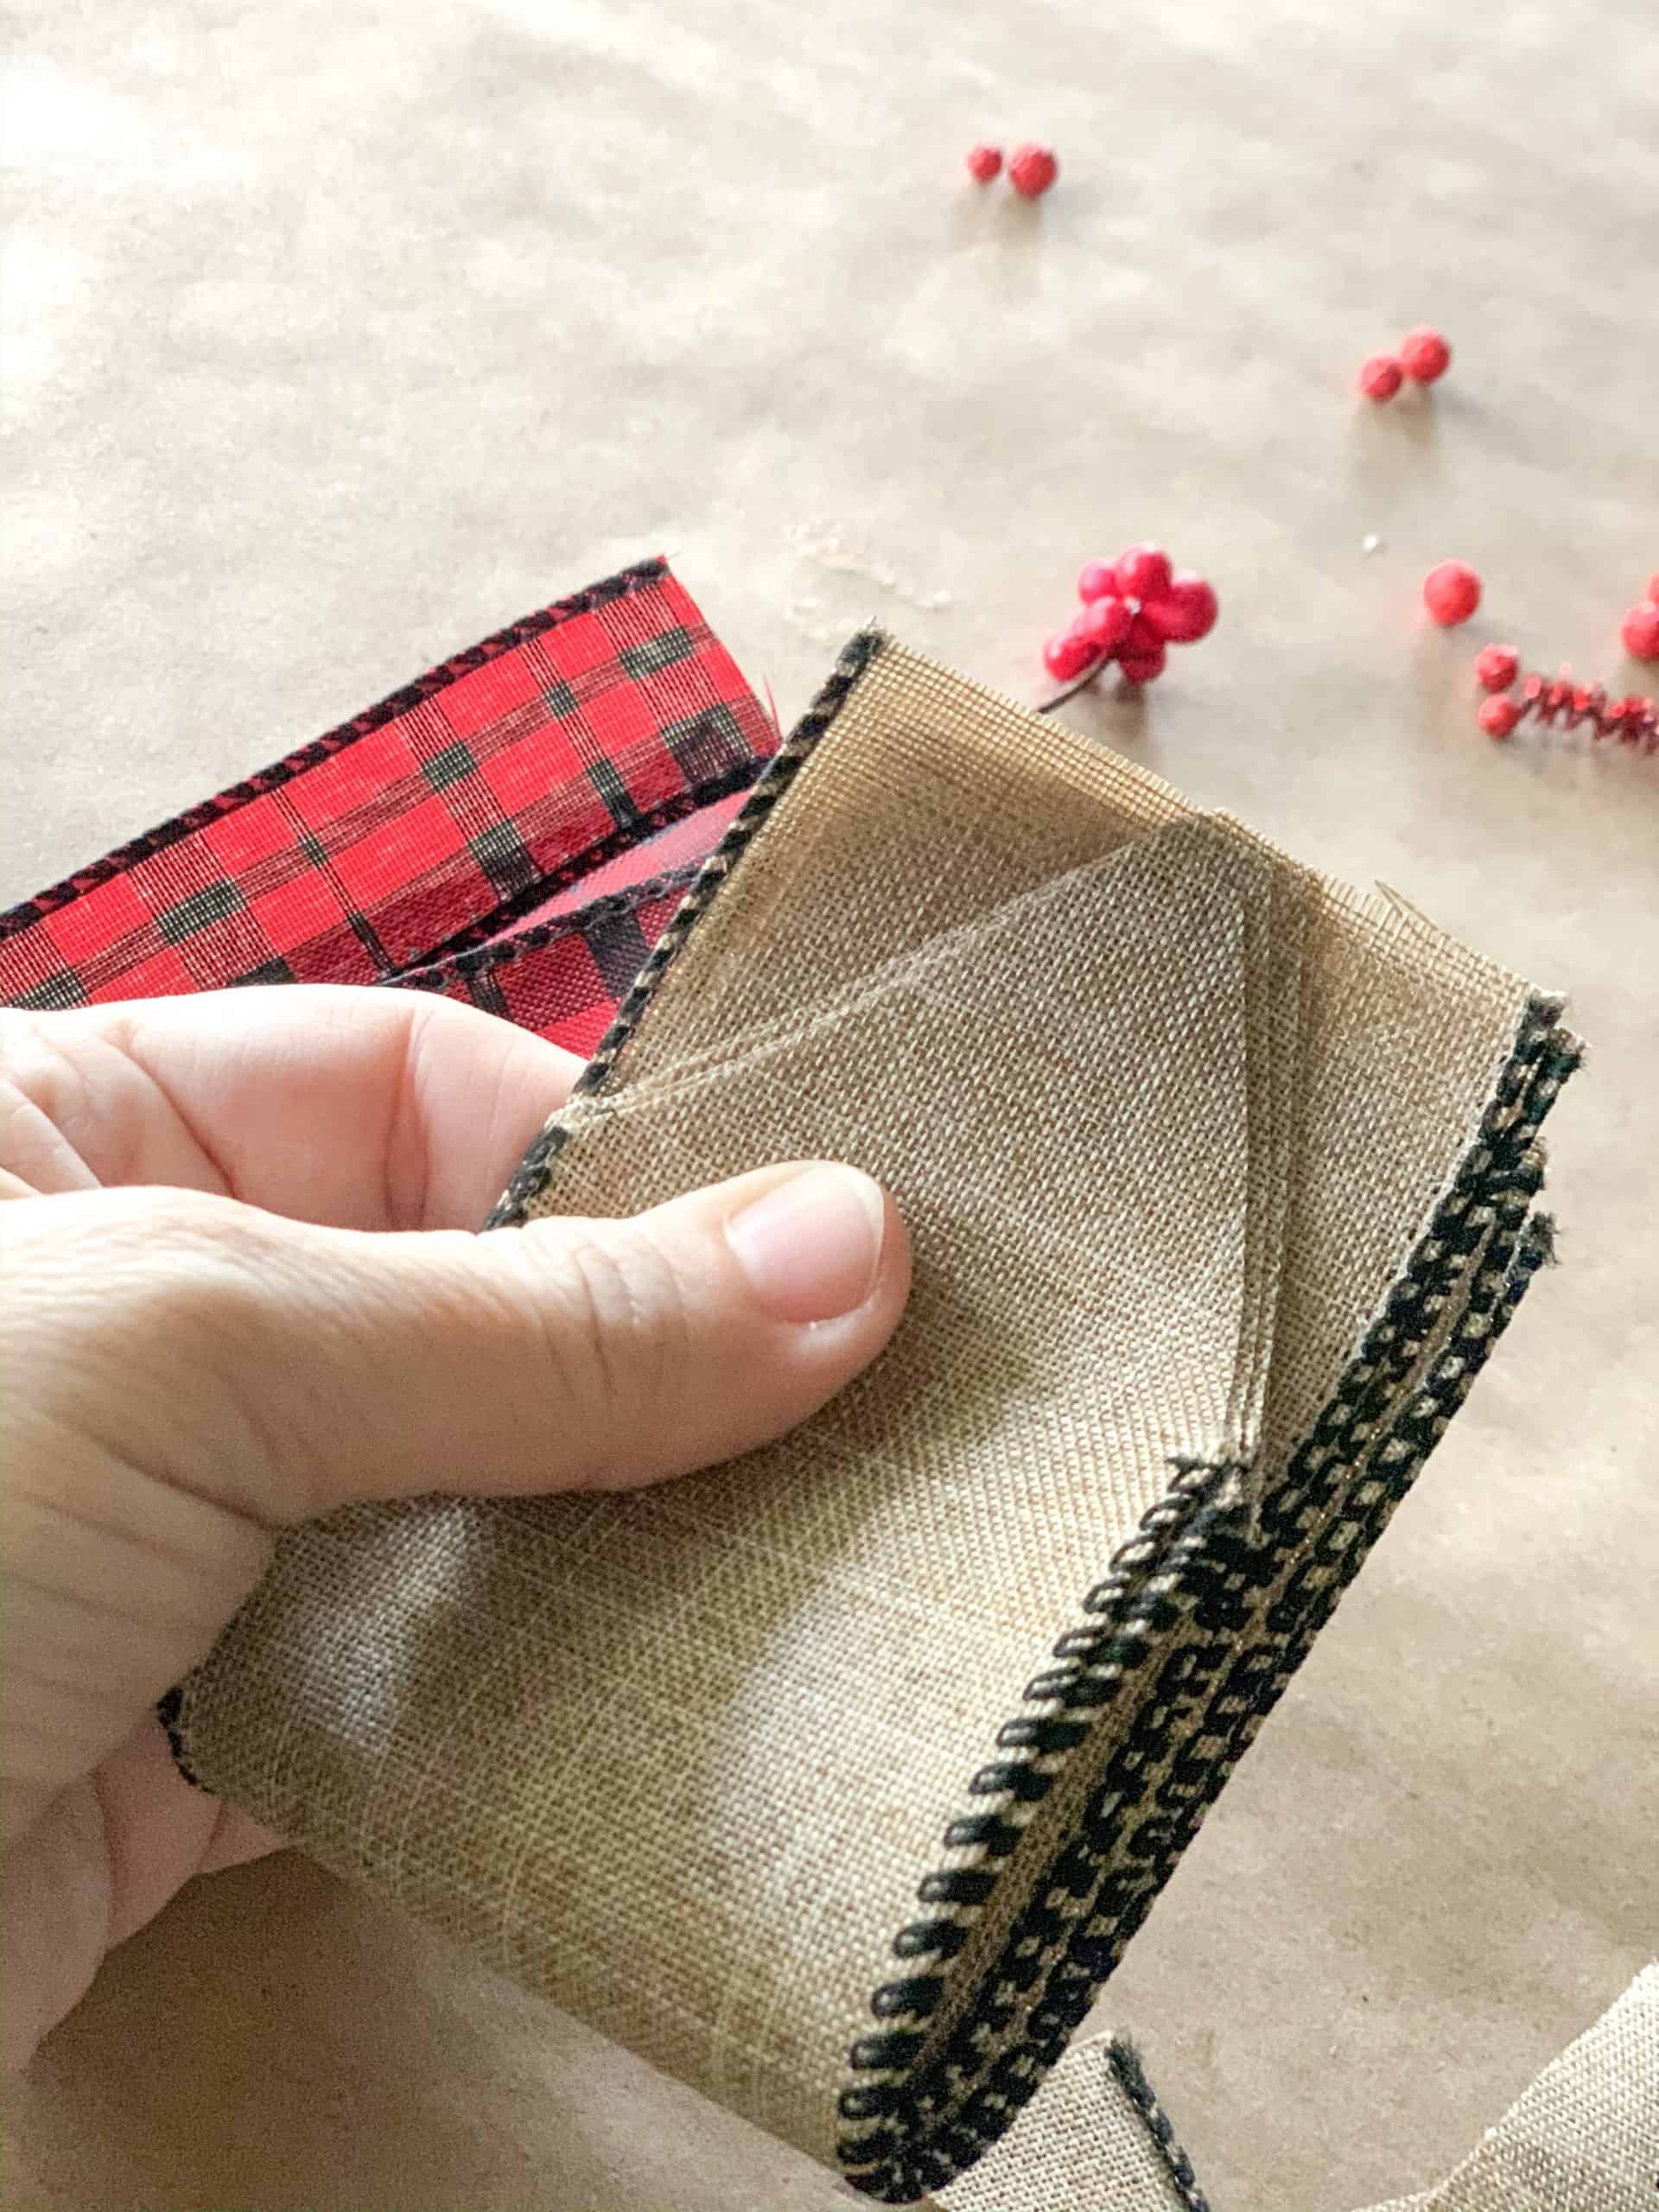
STEP 4 – If you are using the layered ribbon effect, stack the smaller ribbon on top of the larger ribbon pieces.
STEP 5 – Pinch the center of the ribbon in an accordion-type fold and hold in place while doing the same to the second ribbon (set). Attach using a pipe cleaner.
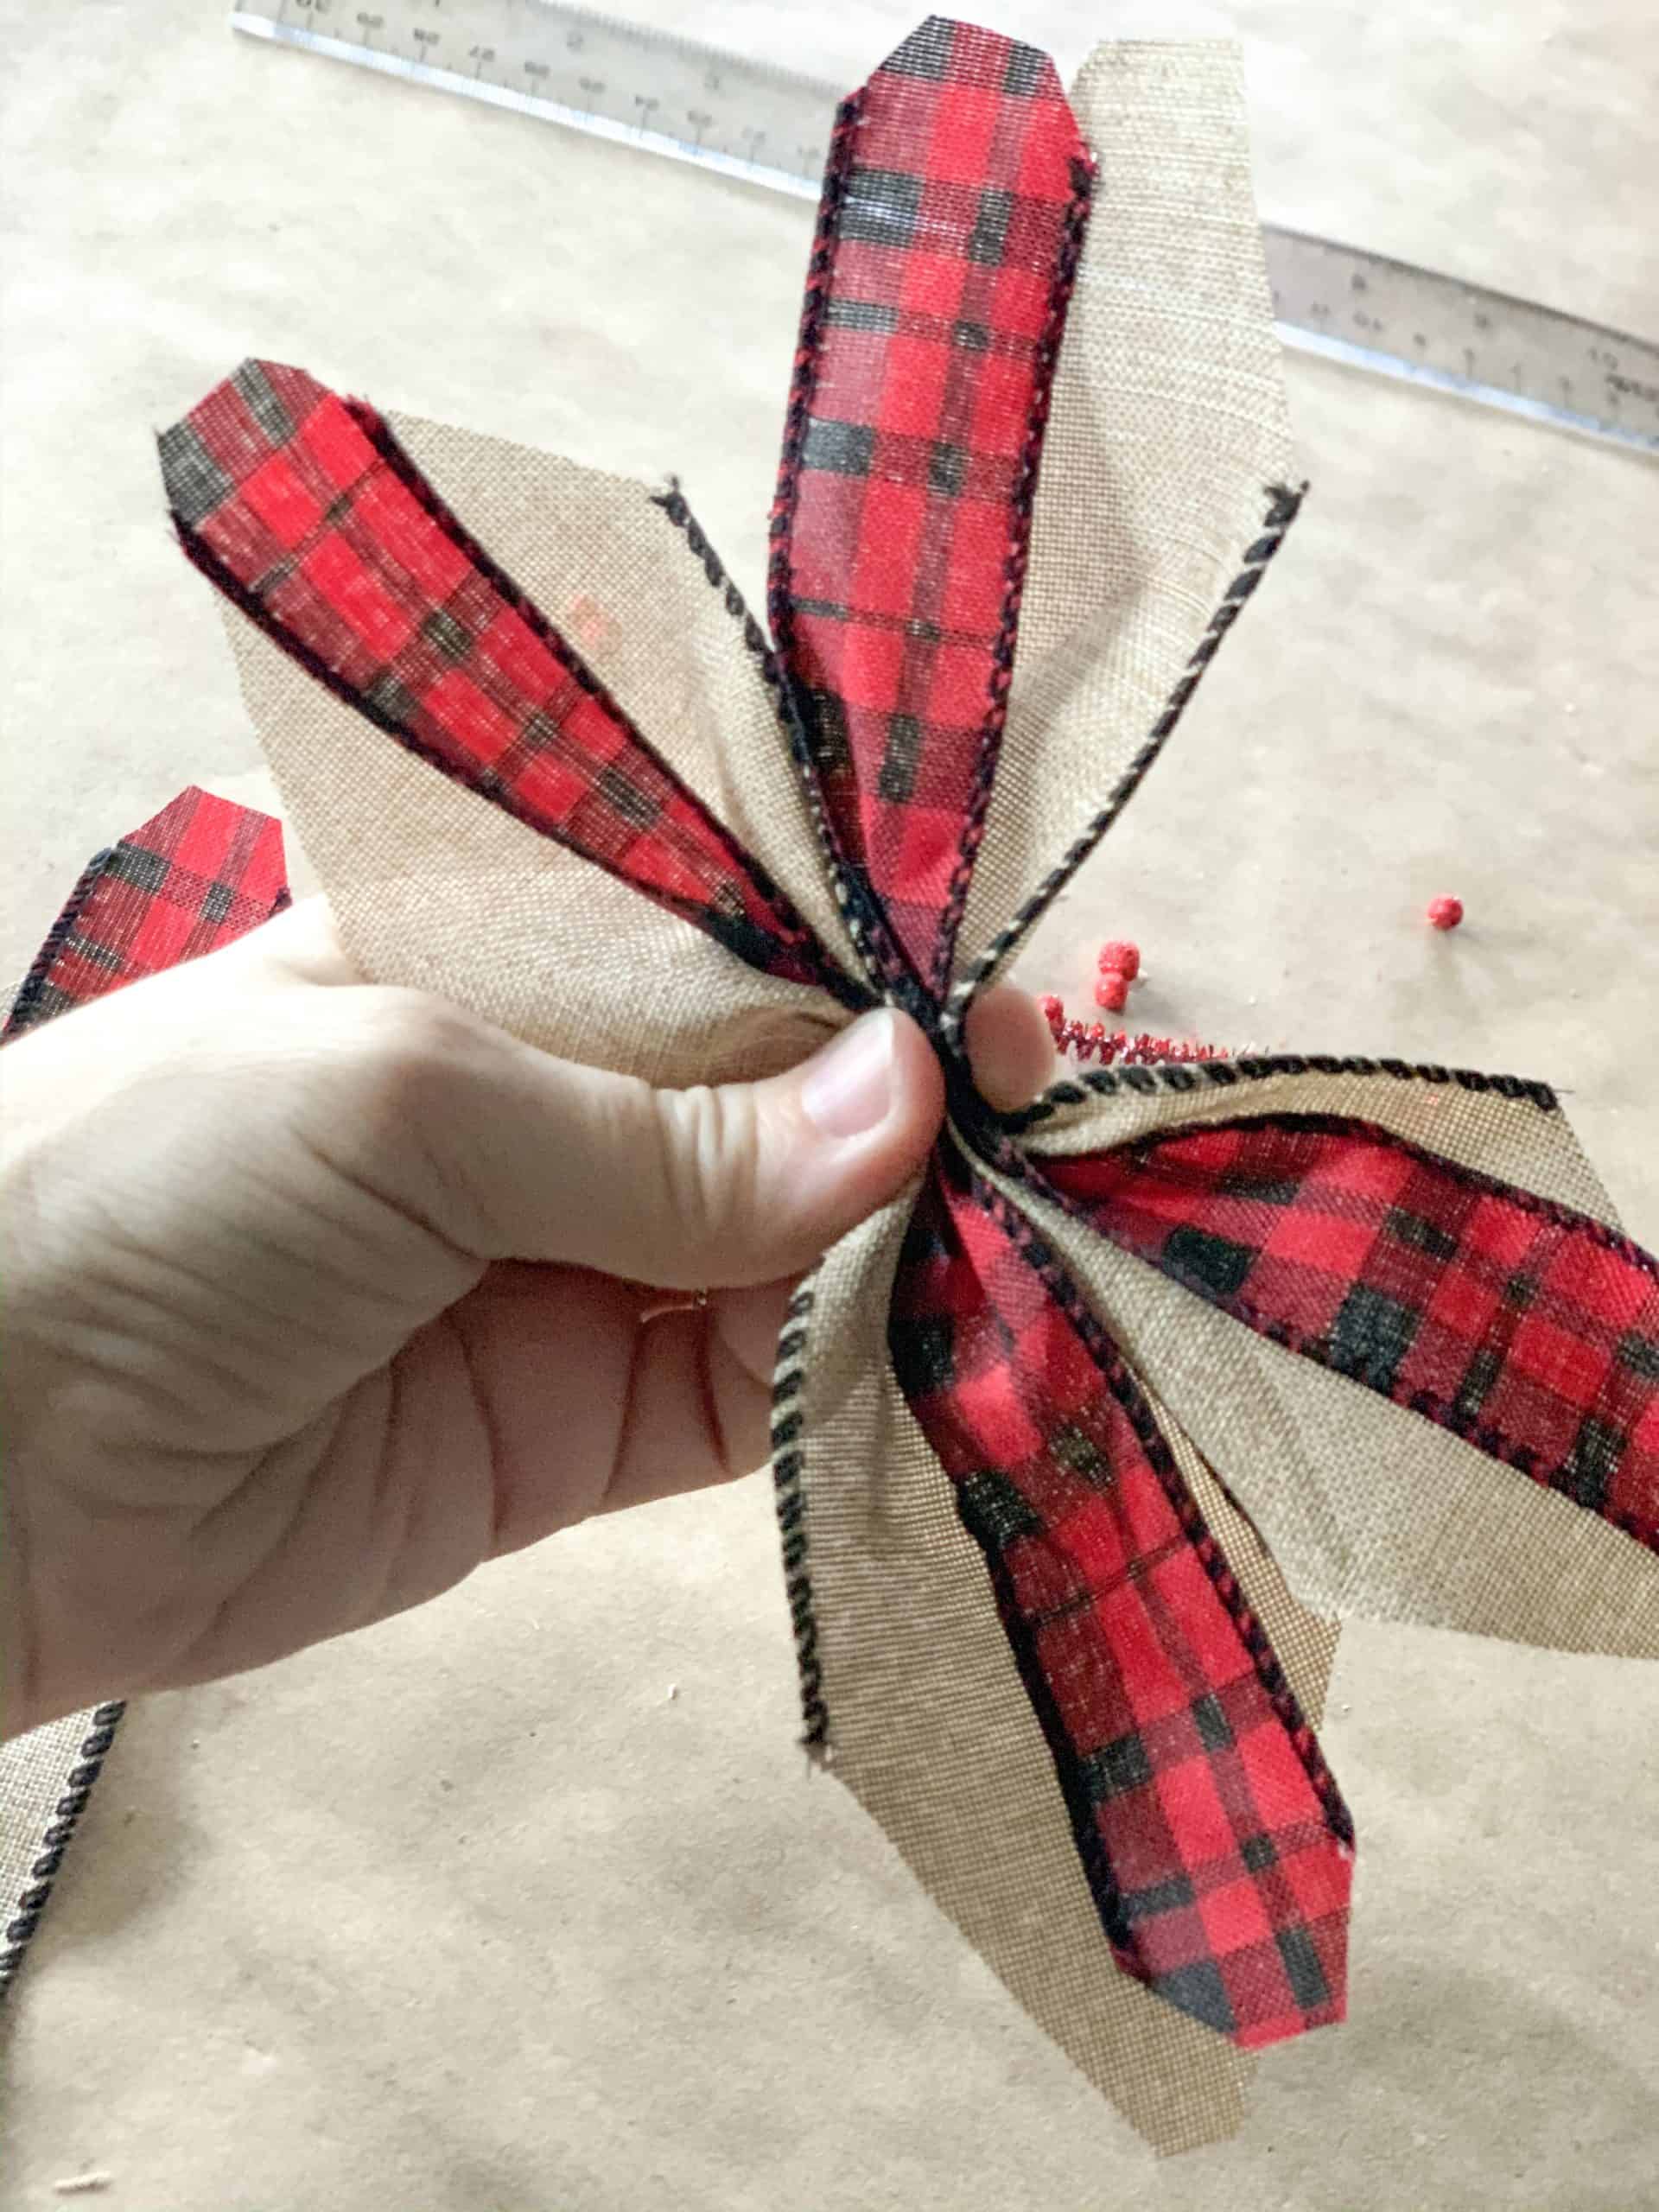
STEP 6 – Repeat Step 5 and place this set of flower petals under your first set securing with the tail of the pipe cleaner.
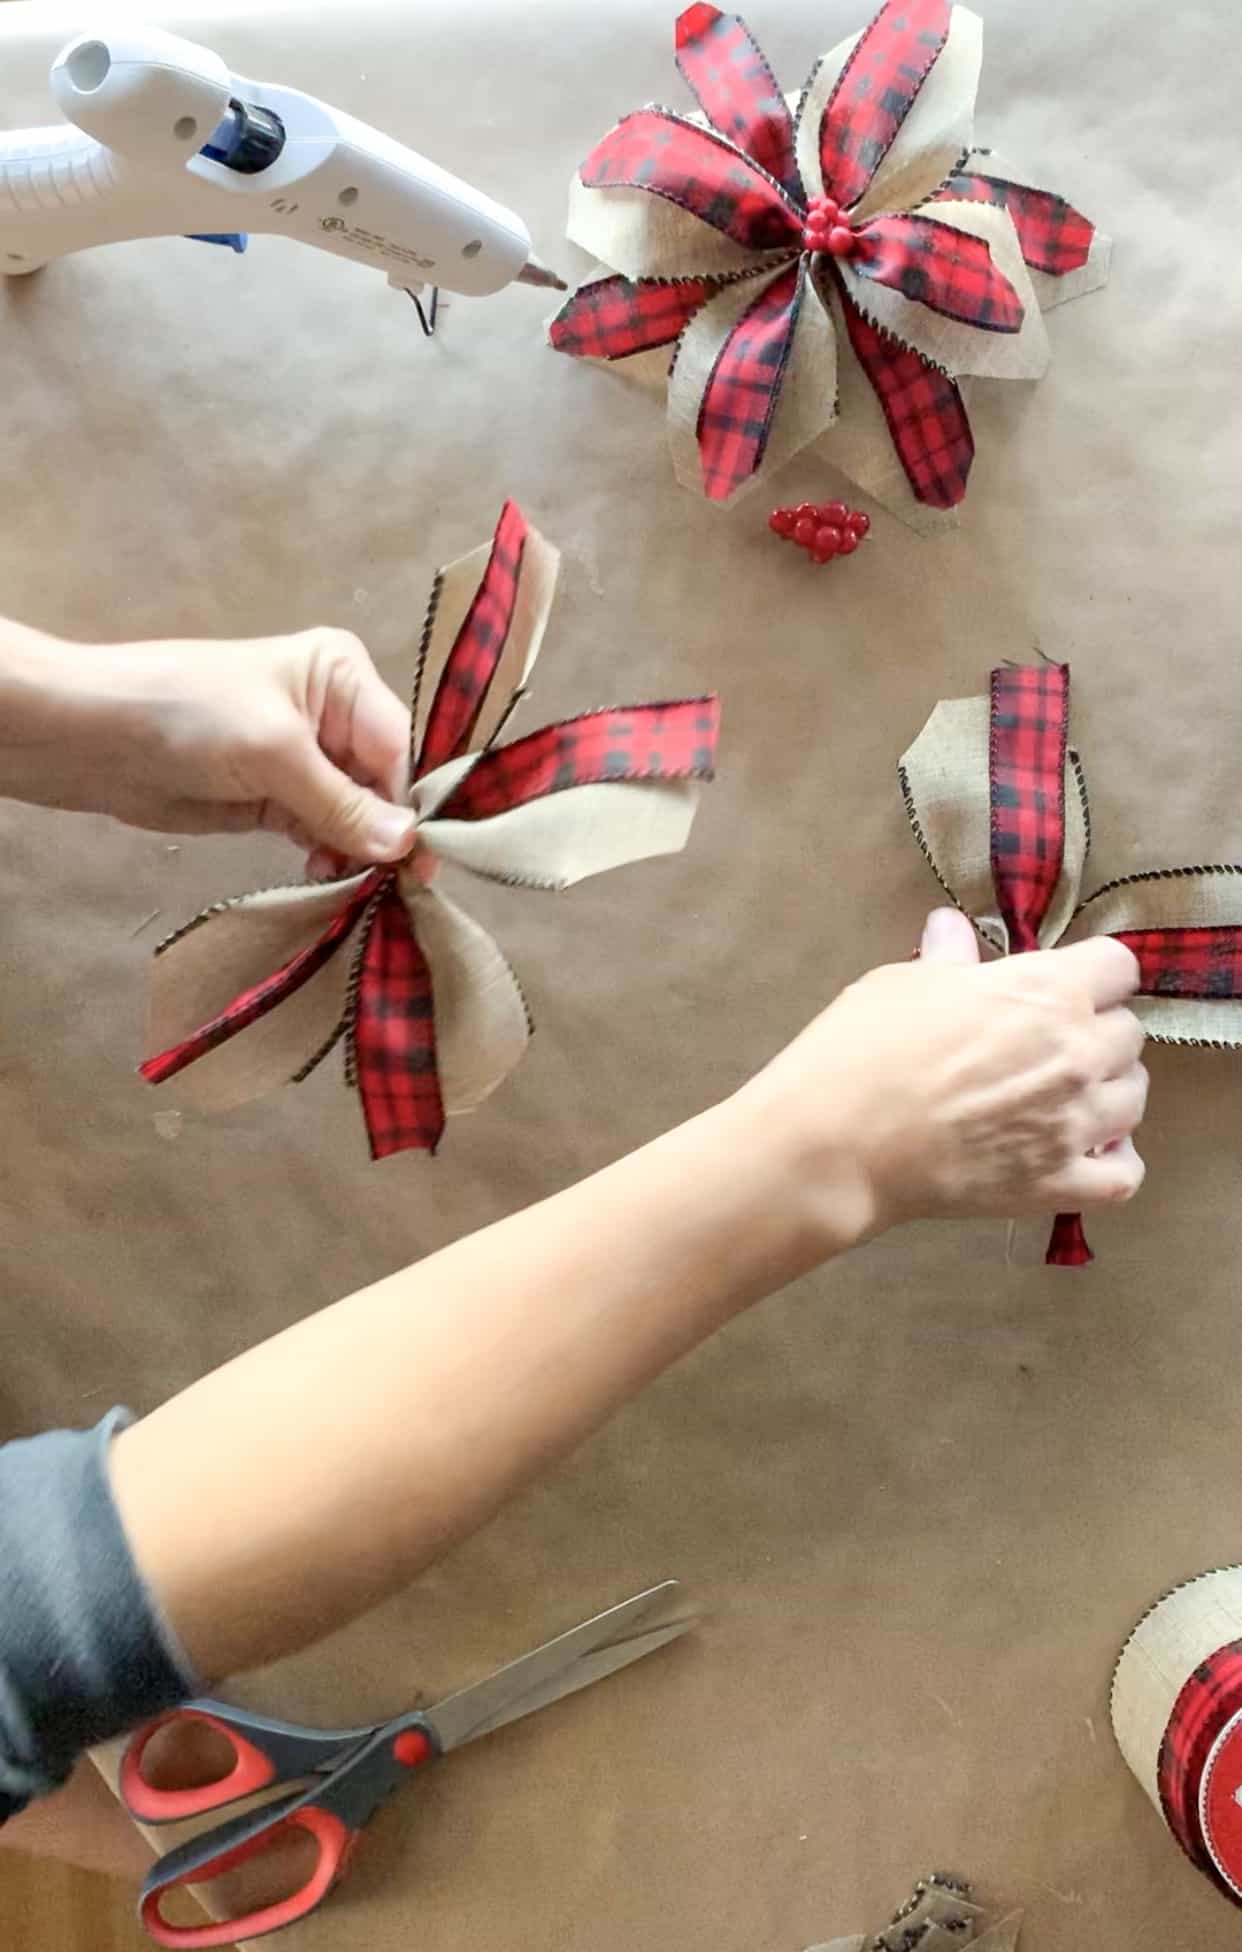
STEP 7 – Fluff the flower petals to the desired shape and look.
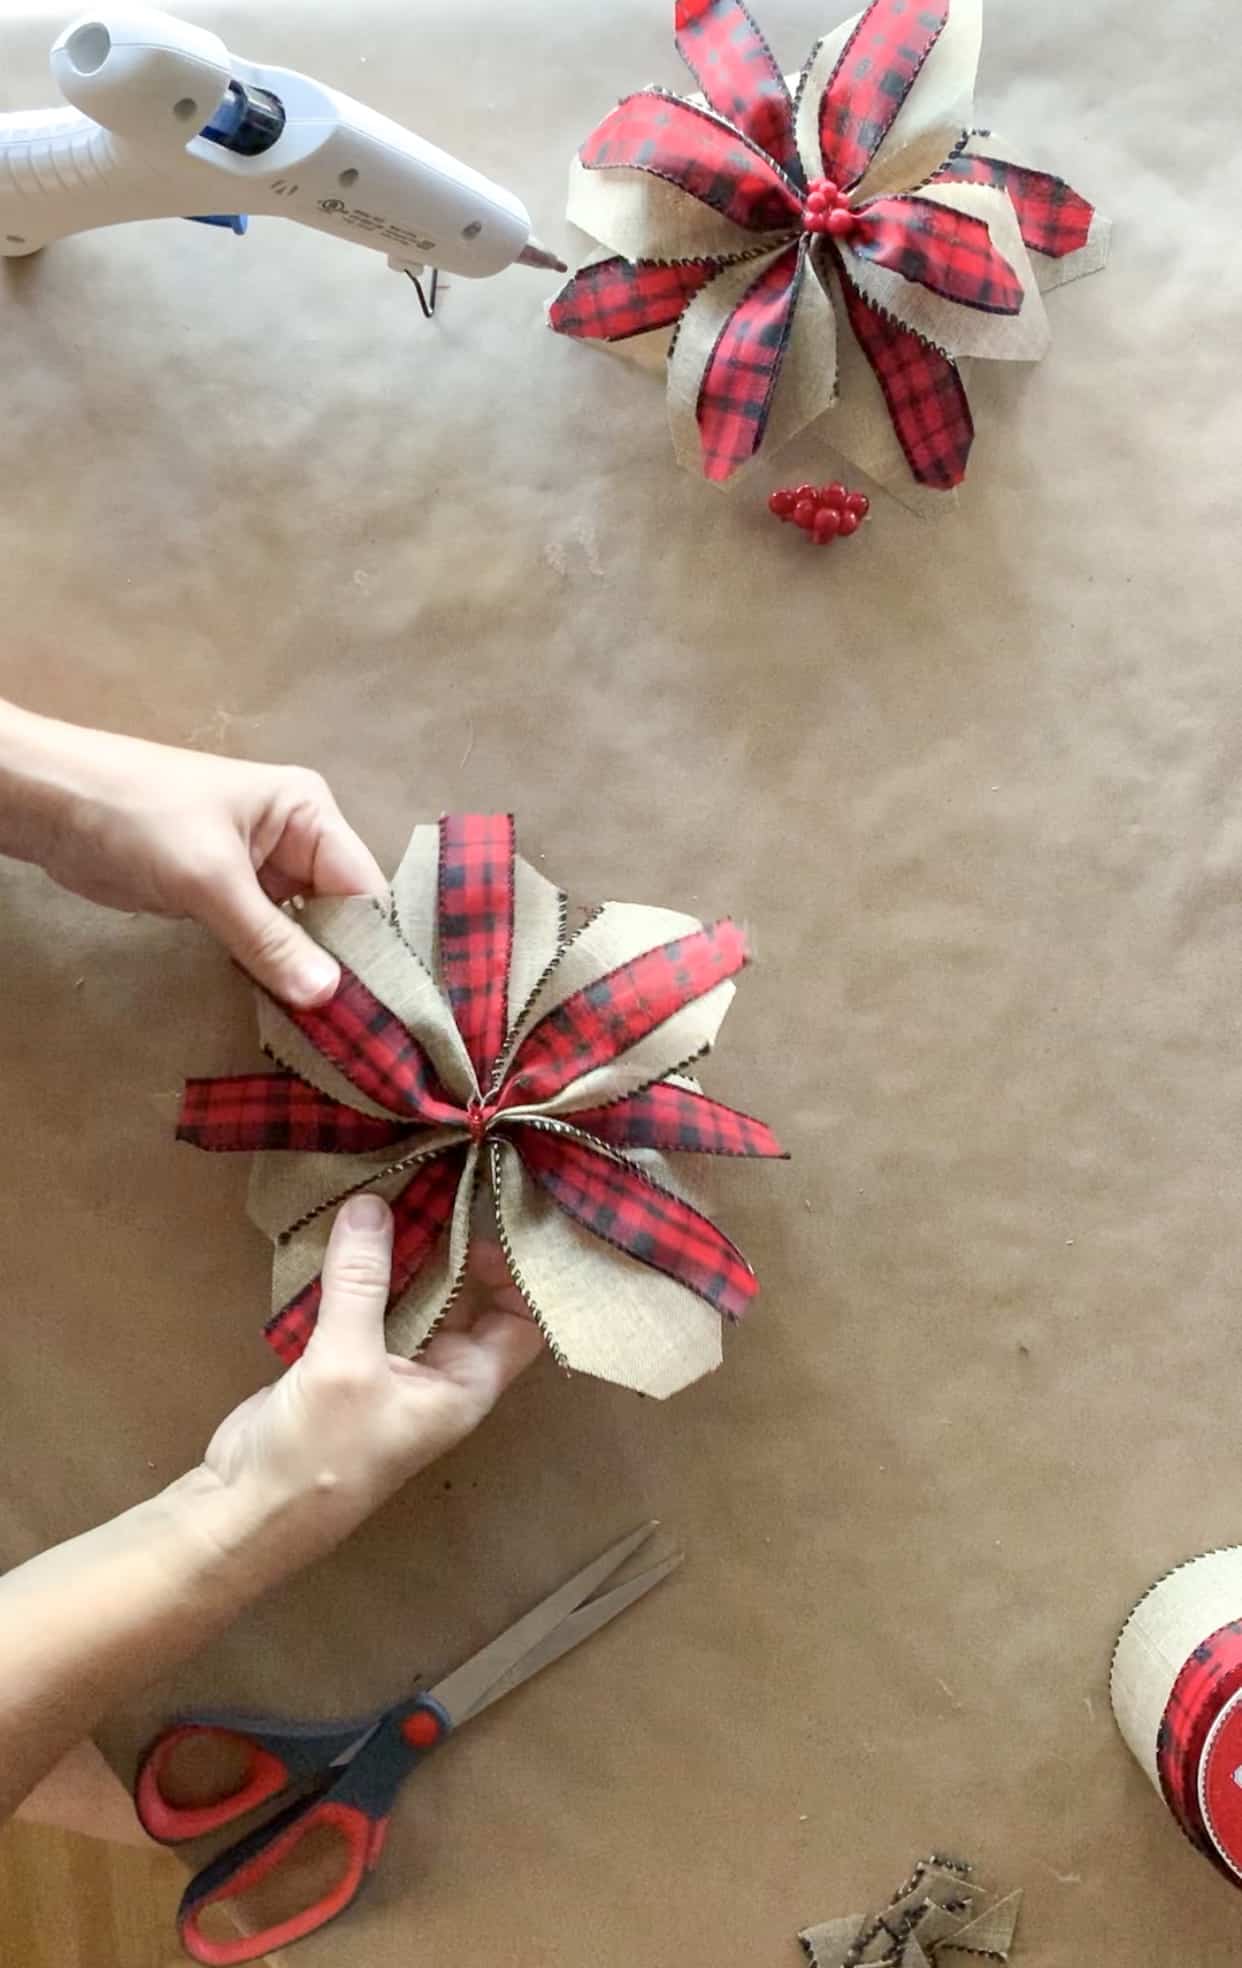
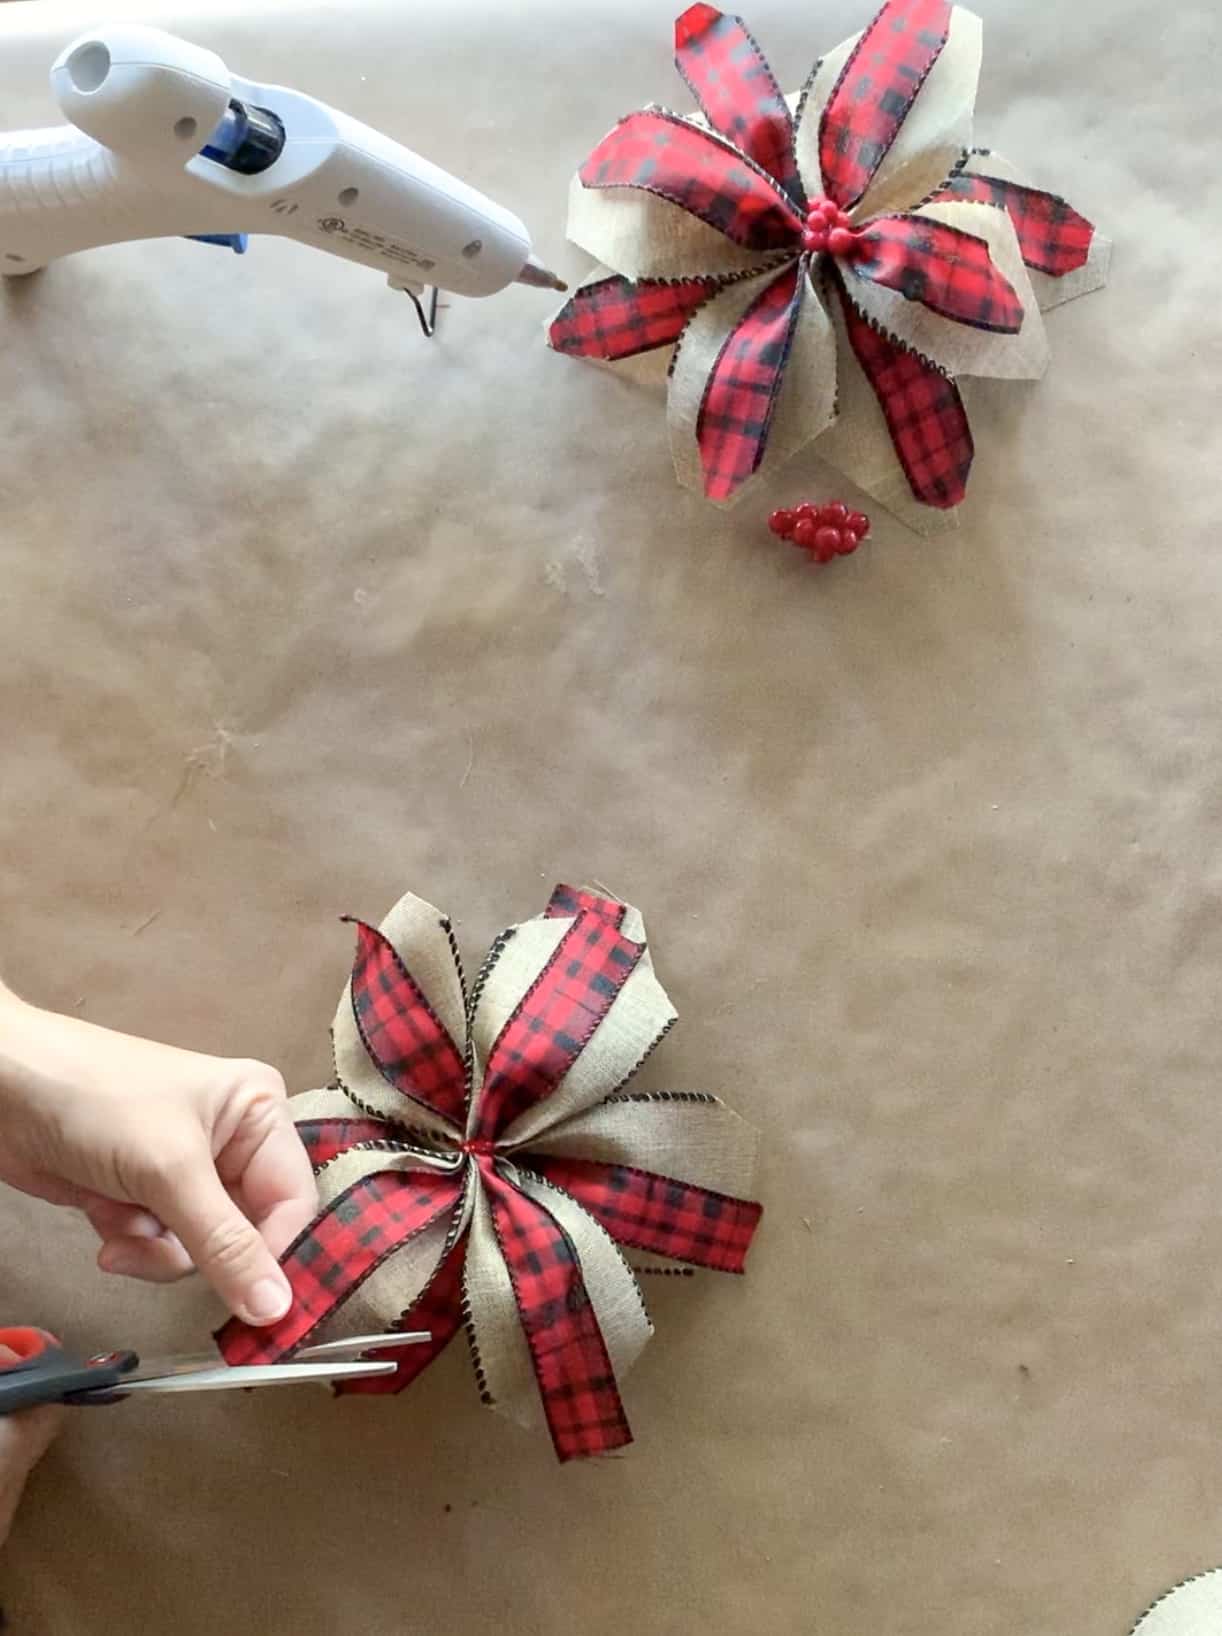
STEP 8 – Shape the ends of the 1″ ribbon.
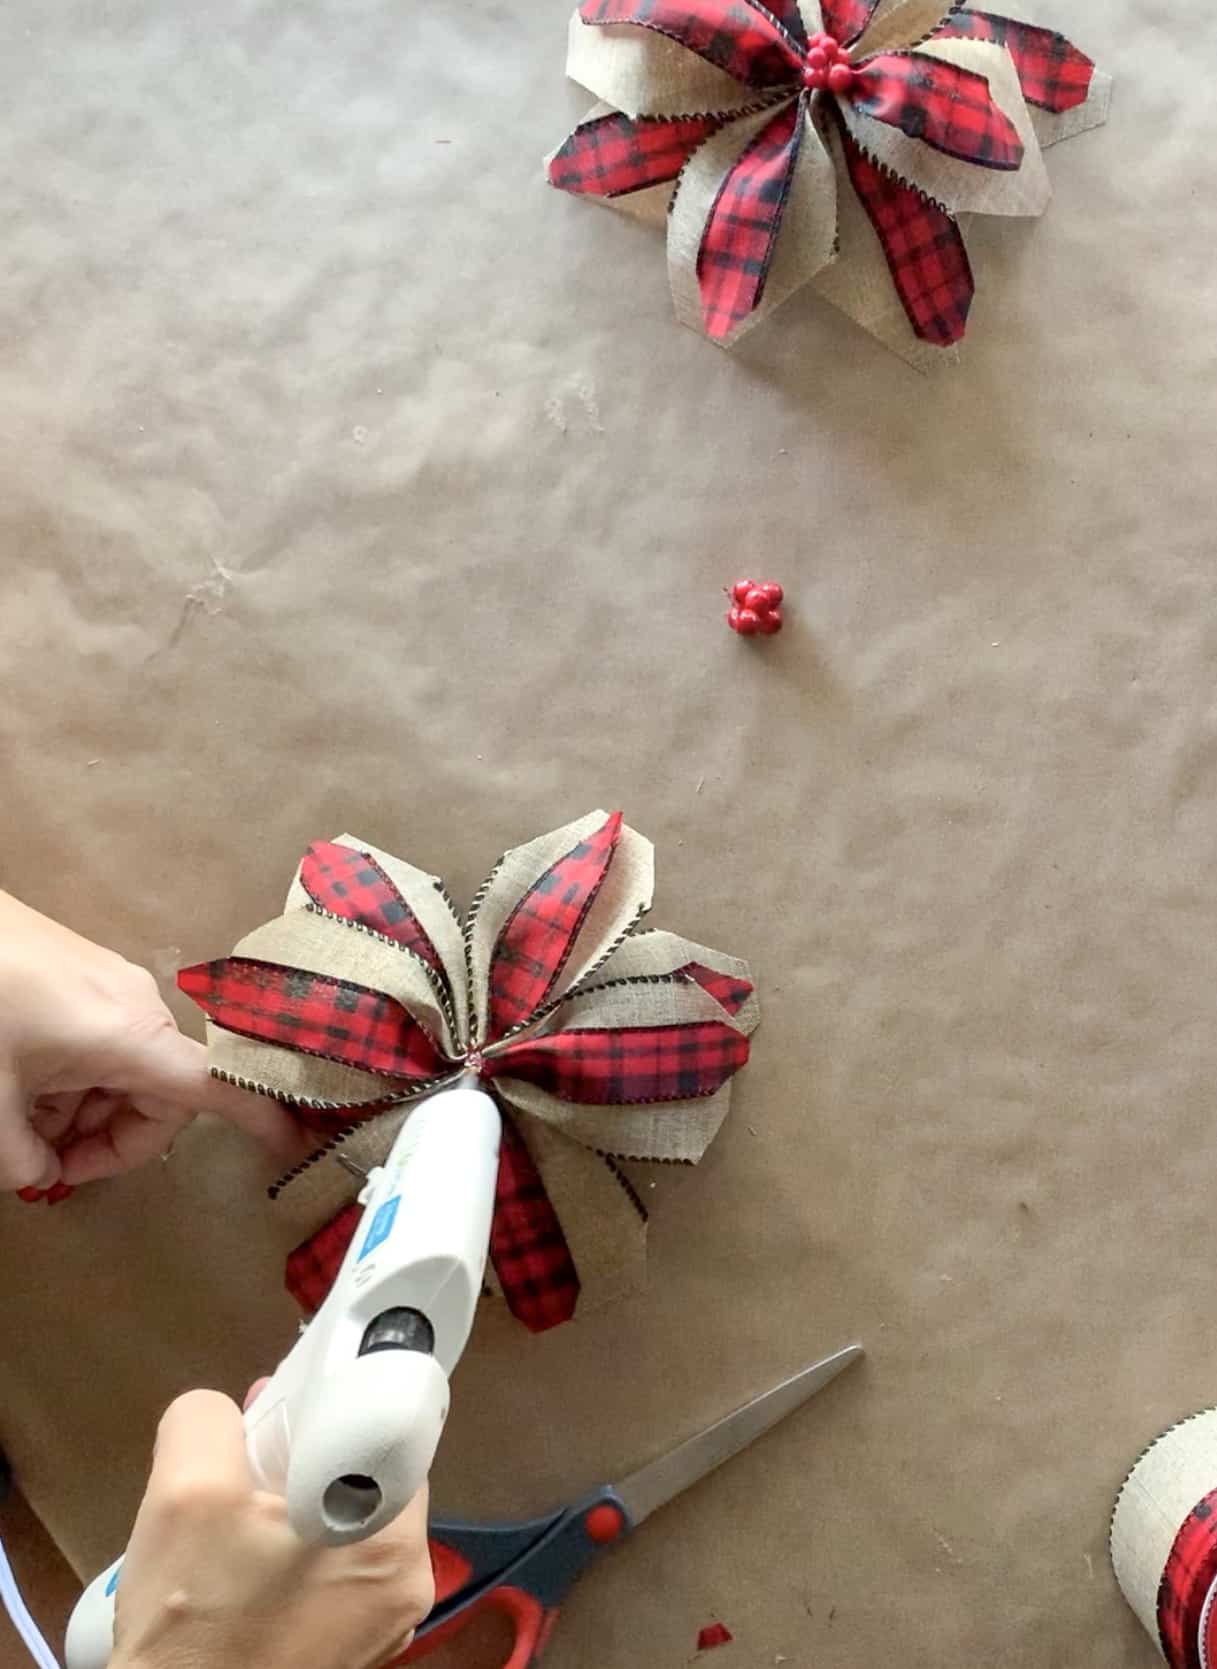
STEP 9 – Add a drop of hot glue to the center of the poinsettia covering the pipe cleaner.
STEP 10 – Add berries or other embellishments to the center of the poinsettia.
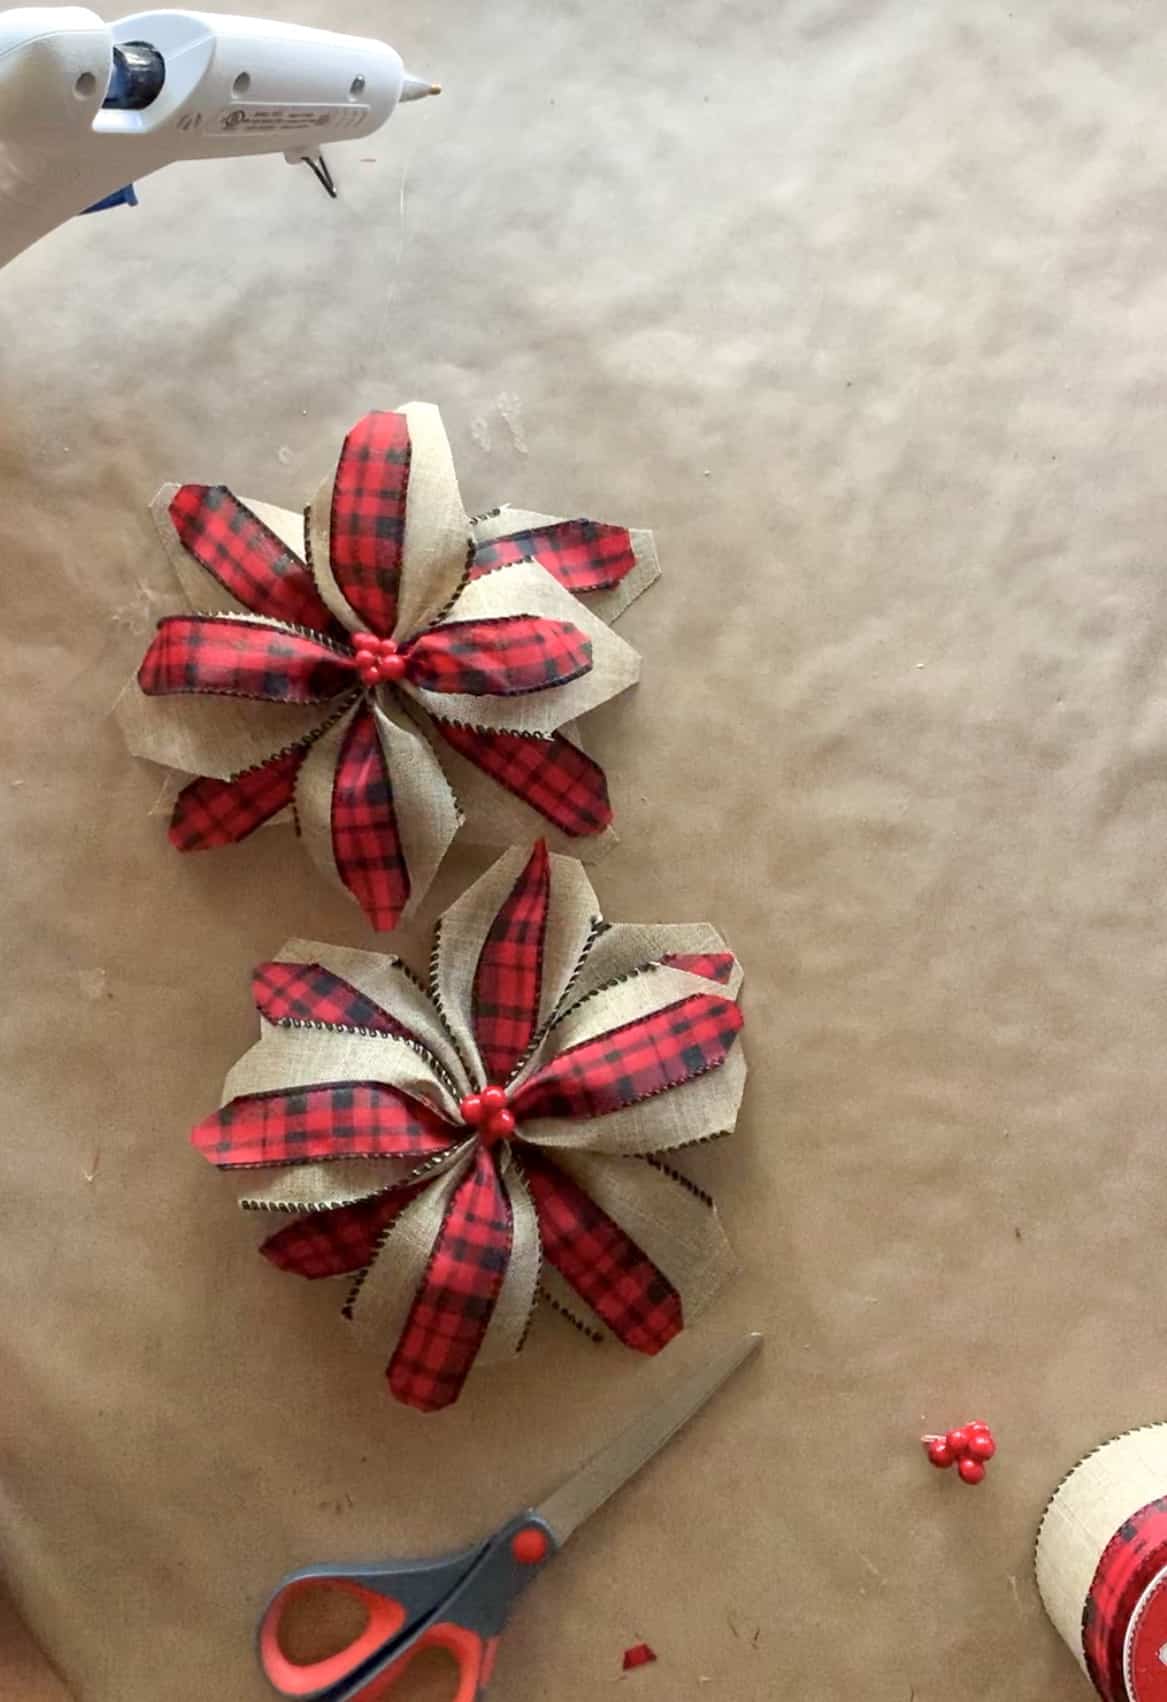
This is a super cute and easy Christmas craft. I use these flowers on my tree, as a bow on gifts, additions to wreaths…the ways to use are limitless.
Let me know how you decorate with your Ribbon Poinsettias in the comments below.
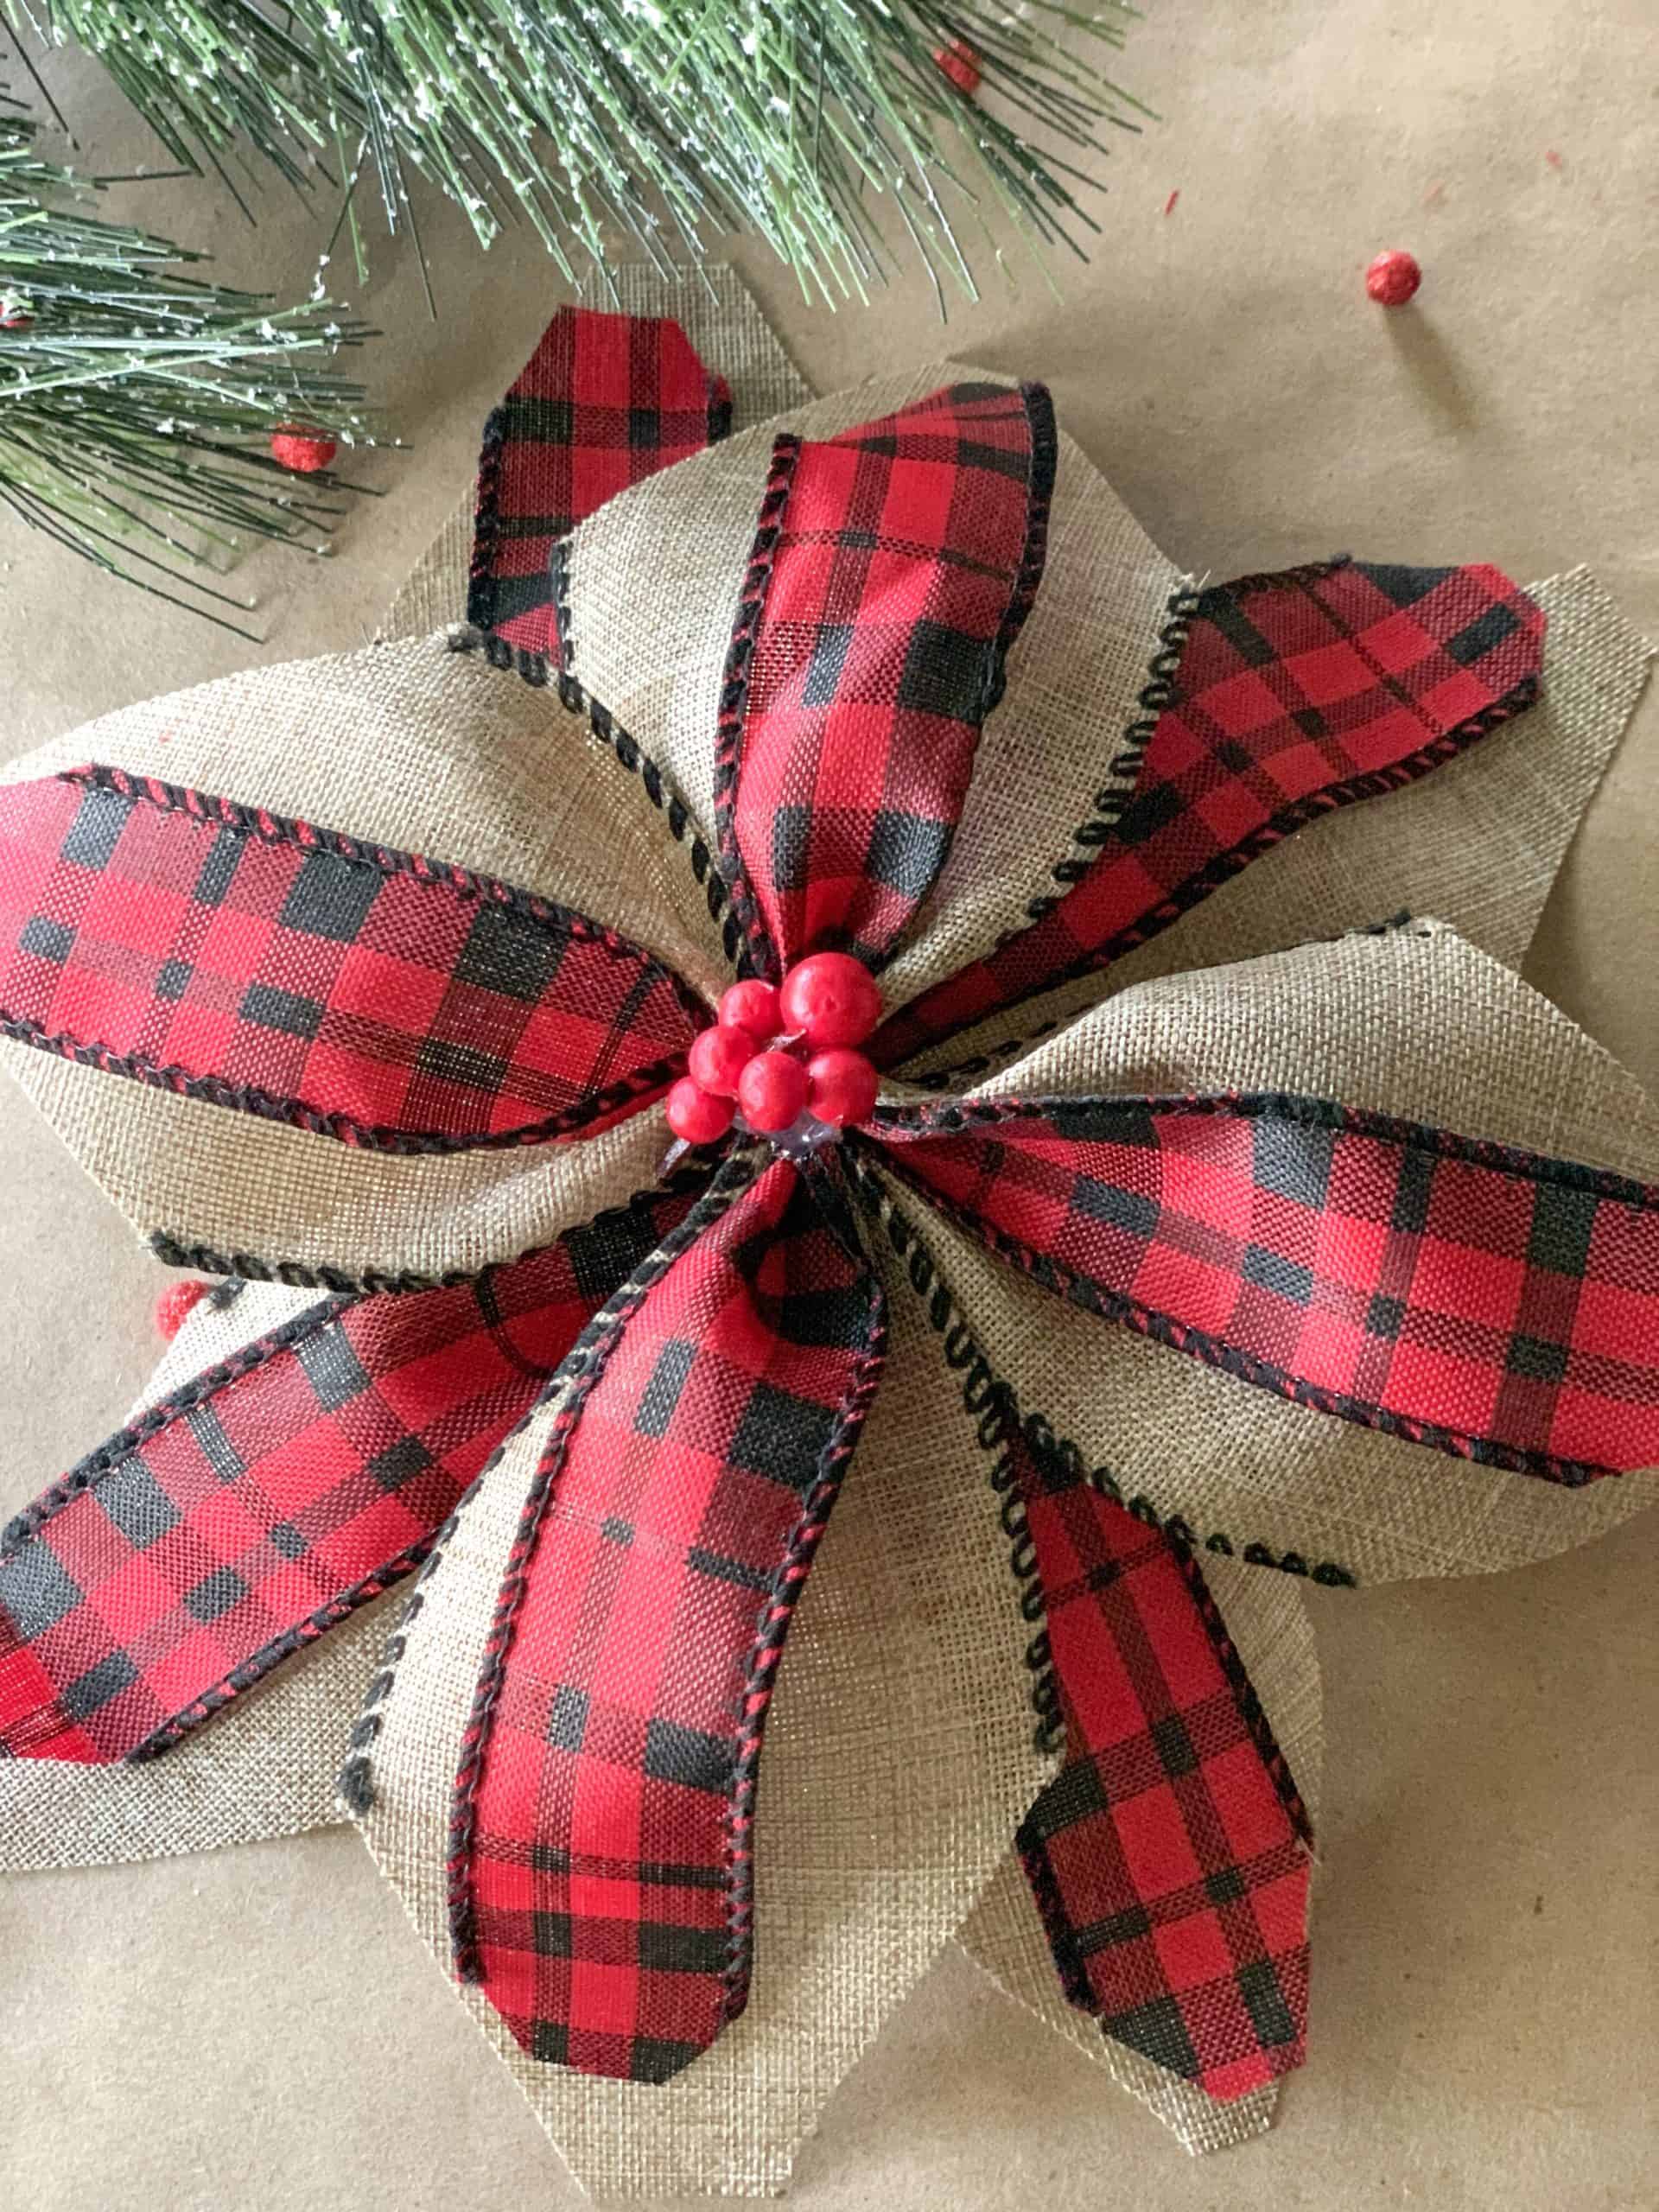
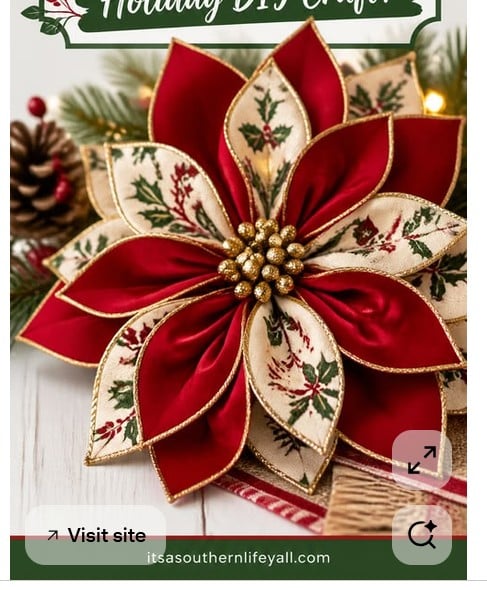
Here is the short of it: You cut wired ribbon into petal lengths, fold and shape each petal, then build the poinsettia in three layers — bottom, middle, top — around a small base, and finish it with a beaded center. It costs a few dollars, takes about half an hour, and the step-by-step with photos is right below. This is Day 1 of the 12 Days of Christmas Crafts.
DIY Ribbon Poinsettia Ornament Instructions
This ornament is built from three layers of folded wired ribbon petals, assembled on a felt base with a gold berry cluster center.
Materials Needed
| Item | Details |
|---|---|
| Red velvet wired ribbon | 2.5 inches wide, with gold trim |
| Cream patterned wired ribbon | 2.5 inches wide, with holly/berry print and gold trim |
| Gold glitter berry cluster | For the center (or gold beads) |
| Stiff felt or cardstock | For the base |
| Hot glue gun & glue sticks | |
| Scissors & ruler | |
| Floral wire (optional) | For securing petal bases |
| Twine or narrow ribbon | For the hanging loop |
Step 1: Cut the Ribbon Sections
The poinsettia is made of three distinct layers. Cut your ribbon to the following lengths:
- Bottom Layer: Cut 8 pieces of the red velvet ribbon, each about 6 inches long.
- Middle Layer: Cut 6 pieces of the cream patterned ribbon, each about 5.5 inches long.
- Top Layer: Cut 6 pieces of the red velvet ribbon, each about 4.5 inches long.
Step 2: Fold and Shape the Petals
Use this folding technique for all ribbon pieces to keep the gold wired edges on the outside of the petals.
- Lay one piece of ribbon flat, back side up.
- Fold the ribbon long ways with the wire sides touching.
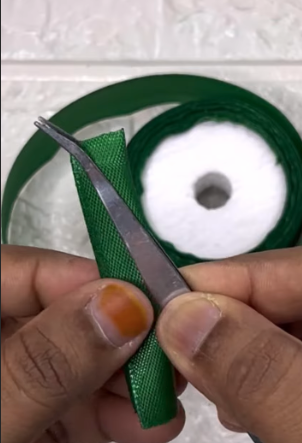
- Cut at an angle to make the point, then either burn the inside frayed edges together or glue or sew them (see the picture below).
- OR
- Find the center point of the top edge.
- Fold the top-left corner down to the bottom-center edge.
- Fold the top-right corner down to the bottom-center edge. Grab the triangle left sticking up and then open it out. (You should now have a triangle/petal shape with the gold wired edges forming the pointed sides.) You will need to sew or glue that seam down, you may want to cut off the excess on the back side.
If you do not want a mid seam at the upper end of the leaf (like the picture – there is no seam) you will need to use gold thread to whip the edges for the gold effect as seen along the edges.
- Tightly pinch and gather the bottom straight edge together to form the base of the petal.
- Secure the pinched base with a dab of hot glue or by twisting a small piece of floral wire around it.
- Repeat for all 20 ribbon pieces.
Step 3: Prepare the Base
- Cut a circle from stiff felt or cardstock, about 2.5 to 3 inches in diameter. This is the foundation you will glue the petals onto.
- (Optional) Glue a loop of twine or narrow ribbon to the back of the circle now so the ornament can be hung later.
Step 4: Assemble the Bottom Layer
- Apply hot glue to the pinched base of one large red petal.
- Press it onto the outer edge of the felt circle.
- Continue gluing the remaining 7 large red petals evenly around the perimeter of the felt base, creating a full circle.
Step 5: Assemble the Middle Layer
- Apply hot glue to the base of the cream patterned petals.
- Glue these 6 petals in a circle slightly closer to the center.
- Tip: Stagger the placement so the points of the cream petals sit in the gaps between the red petals below them.
Step 6: Assemble the Top Layer
- Apply hot glue to the base of the small red petals.
- Glue these 6 petals in a tight circle in the very center of the flower.
- Stagger these petals so they sit in the gaps between the cream petals beneath them.
Step 7: Add the Centerpiece
- Trim the stems off your gold glitter berry cluster so it sits flat.
- Apply a generous amount of hot glue directly into the center hole where all the top petals meet.
- Press the gold berry cluster firmly into the glue and hold it for a few seconds until secure.
Step 8: Final Shaping
- Because you used wired ribbon, you can now adjust the shape of the flower! Gently bend and curve the tips of the petals slightly upward and outward to give the poinsettia a lush, lifelike 3D appearance.
Happy crafting! 🎄 The key to making this look beautiful is using quality wired ribbon — the wire in the edges is what allows you to shape and hold those gorgeous curved petals.
Free printable
One number for the whole season
The Holiday Budget Worksheet gives you one number for Thanksgiving through New Year’s, and the weekly amount that gets you there, before the sales get loud.
No spam, ever. Unsubscribe anytime.
Want a little more help with this? My Debt Free Christmas Planner takes what we talked about here and walks you through it, step by step.





I just love this idea for the Christmas tree! Thanks for sharing. ?
I think they are adorable! Thanks for stopping by!
Love this Jada.. So cute
Thank you so much, Linda!
Super cute!
Thank you! ❤️