Dollar Tree Christmas DIY: Decor Projects That Look Boutique, Not Bargain
The short answer
DIY Dollar Tree Christmas decor looks boutique when you follow three rules: pick two colors and one metallic, take the store look off every piece, and add one real texture like wired ribbon, wood or greenery. The ten projects below cover the mantel, the table, the front door and the tree. Each one is about 15 minutes of hands-on time and runs roughly $3 to $12 in supplies at the time of writing.
Hey, y’all!
Every project in this post is 15 minutes of hands-on time, and most of them cost less than a drive-thru lunch.
You know the moment. You are standing in the seasonal aisle of a pretty home store, holding a lantern with a $48 tag on it. It is lovely. It is also one lantern, and you have a mantel, a table, a front door and a tree to get through before anybody comes over. So you set it back on the shelf, and you feel a little deflated walking out.
Here is what I want you to know before you give up on a pretty house this year: that lantern was mostly glass, ribbon and good styling. You can buy glass and ribbon at the dollar store. The styling is the part nobody tells you, and it is the part this post is about. This is my hub for DIY Dollar Tree Christmas decor, sorted by room, so you can pick one corner of the house, give it 15 minutes, and be done for today.
What makes DIY Dollar Tree Christmas decor look boutique
Dollar-store decor does not look inexpensive because of what it cost. It looks inexpensive when ten different colors, three kinds of glitter and a price sticker are all talking at once. Quiet that down and the same pieces read as a collection.
- Two colors and one metallic, for the whole house. Red, cream and gold. Green, white and silver. Decide before you walk in, and leave anything outside the palette on the shelf, however cute it is.
- Take the store look off. Peel every sticker, snip every hang tab and plastic loop, and wash the glass. Two minutes, and it is the biggest difference on this list.
- Add one real texture. Wired ribbon, a wood slice, twine, a pinecone from the yard. One honest material next to a plastic one lifts the whole arrangement.
- Double it, then group it in odd numbers. One thin garland looks thin. Two twisted together look full. Three candles look styled; two look like a pair you forgot to finish.
One basket, the whole house: what to put in it
Before the projects, the basics that show up again and again below: wired ribbon in your two colors, floral wire, pine and berry picks, flameless candles, Epsom salt (it is the prettiest faux snow there is), glue sticks for the glue gun you already own, and twine. Dollar-store stock changes by store and by week, so go in with the palette, not a rigid list, and swap freely.
If you want the spending decided before you are standing in the aisle, my Christmas on a budget plan gives decorating its own small line so it never borrows from the gift money.
The mantel
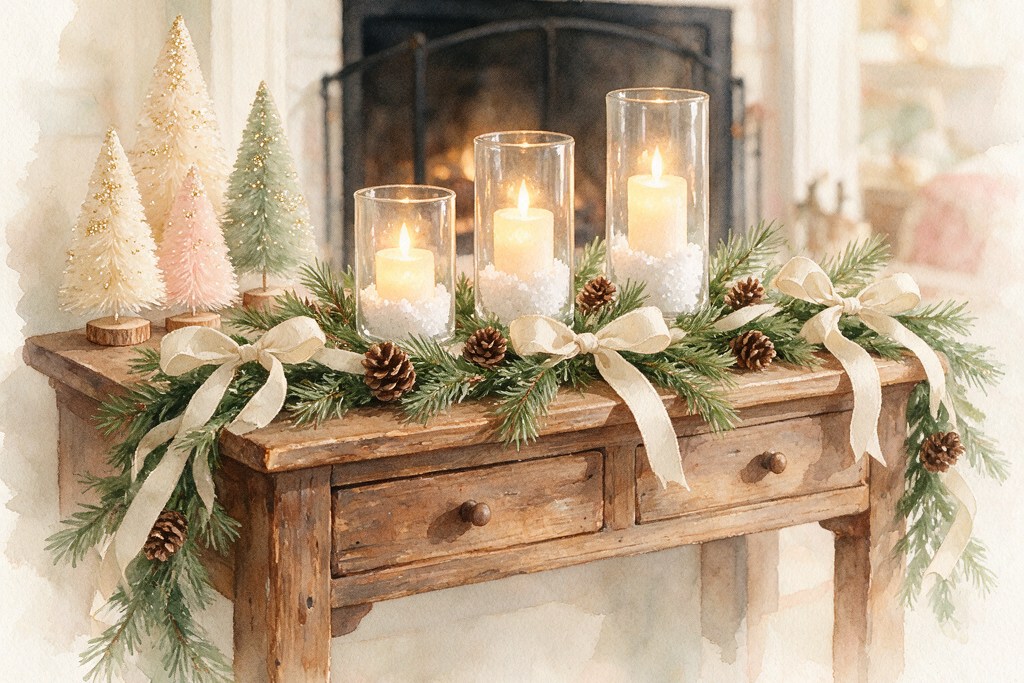
1. The snowy candle trio
Supplies: three glass cylinders or candle holders in different heights, Epsom salt, three flameless candles, wired ribbon. Total: about $6 to $9.
- Peel the stickers, then wash and dry the glass.
- Pour an inch or two of Epsom salt into each one.
- Nestle a flameless candle into the “snow.”
- Tie ribbon around the tallest cylinder only, and set all three at one end of the mantel rather than the middle.
2. The bottle-brush forest
Supplies: five to seven bottle-brush trees in mixed sizes, small wood slices or mini clay pots, white craft paint, glue. Total: about $5 to $8.
- Dry-brush a little white paint across the tips of each tree for snow.
- Glue each tree to a wood slice, or to an upside-down clay pot when you want height.
- Cluster them in a loose group of five or seven, tallest toward the back.
3. The garland upgrade
Supplies: two plain pine garlands, one roll of wired ribbon, pinecone or berry picks, floral wire. Total: about $7 to $12.
- Twist the two garlands together into one full one.
- Fluff every branch tip outward. This is the step that takes it from flat to full.
- Wire a pick in every foot or so.
- Weave the ribbon through loosely, tucking it in and letting it billow back out.
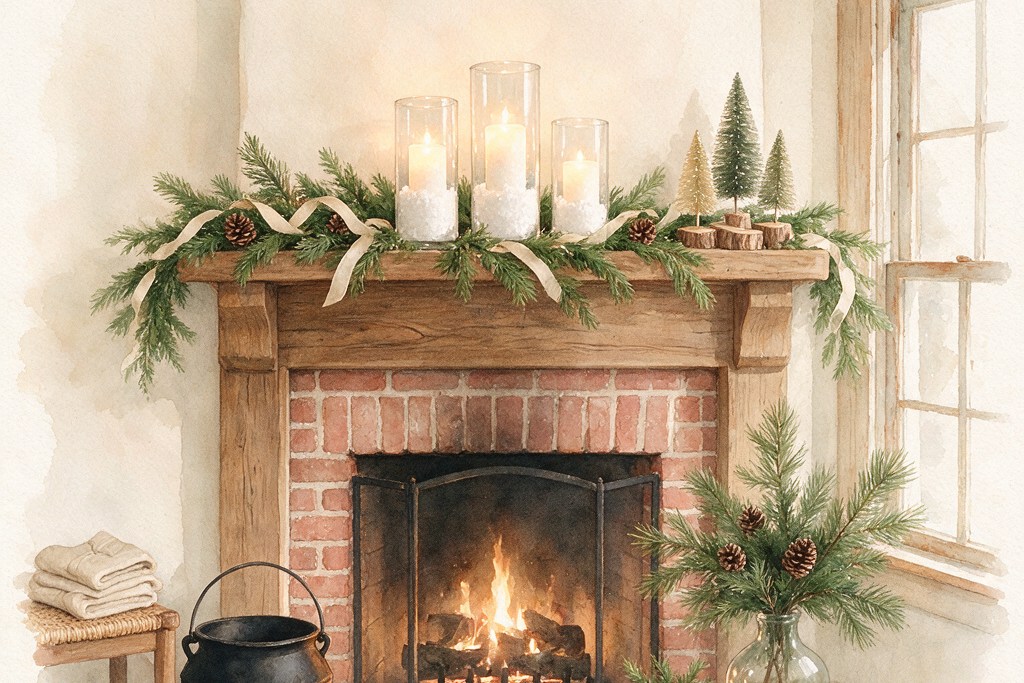
No mantel? These same three projects style up just as well on an entry table, a sideboard or the top of a bookshelf.
The table
4. Frosted jar luminaries
Supplies: three glass jars, Epsom salt and craft glue (or frosted-glass spray), twine, a greenery sprig, flameless tea lights or a short string of fairy lights. Total: about $5 to $8 for three.
- Brush glue over the outside of a clean jar and roll it in Epsom salt. Let it dry.
- Wrap the neck with twine and tuck in the greenery.
- Drop in a flameless tea light or fairy lights. No real flame near the twine and greenery, ever.
This one is my own workshop project, and it is the one I would start with if you have never made anything before.
Want the printable templates for those jars?
The free Mason Jar Magic Workshop Kit has snowflake, star and silhouette wraps sized for pint and quart jars, the full dollar-store supply list, and a one-page technique card to prop on the craft table. Send me the free kit →
5. The charger centerpiece
Supplies: one metallic charger plate, three flameless pillar candles, two greenery picks, a handful of shatterproof ornaments in your palette. Total: about $6 to $10.
- Set the three candles off-center on the charger.
- Snip the greenery picks apart and tuck the pieces around the base.
- Fill the gaps with ornaments, smallest ones last.
6. Jingle-bell napkin ties
Supplies: twine or narrow ribbon, a pack of jingle bells, sprigs snipped from one greenery pick. Total: about $3 to $5 for eight.
- Cut eight lengths of twine, about 18 inches each.
- Thread a bell to the middle of each one.
- Tie around a rolled napkin and slip a sprig under the knot.
The front door
7. The wreath
The wreath gets its own full tutorial, because it has more steps than will fit here. My Dollar Tree DIY Christmas wreath is built on a 14-inch wire form from about ten dollar-store items, and it was my answer to an $80 store wreath I could not bring myself to buy. Prices have moved since I made it, but the method has not. Make it in your two colors and it will tie the door to everything inside.
8. The porch greenery bucket
Supplies: a metal bucket or planter (or one you already own), a floral foam block, four to six pine and berry picks, pinecones, a wired-ribbon bow. Total: about $6 to $10.
- Wedge the foam into the bucket.
- Push the tallest picks into the center and the shorter ones around the rim, angled outward.
- Fill the gaps with pinecones.
- Wire the bow to the front, just under the rim.
The tree
9. Filled clear ornaments
Supplies: clear fillable ornaments, Epsom salt, greenery snips, ribbon scraps. Total: about $4 to $6 for half a dozen.
- Pop the caps off and pour a spoonful of “snow” into each ornament.
- Slide in one greenery snip or a curl of ribbon. One thing per ornament looks finished; four things look crowded.
- Replace the caps and hang each one with ribbon instead of a wire hook.
If handmade ornaments are your favorite part, my rustic gnome ornaments and farmhouse felt leaf ornaments both have step-by-step tutorials.
10. The ribbon topper with streamers
Supplies: two rolls of wired ribbon, floral wire. Total: about $3 to $5.
- Make six big loops from the first roll and wire them together at the center.
- Cut four long streamers from the second roll and wire them underneath.
- Wire the whole thing to the top of the tree and let the streamers trail down through the branches.
When it goes sideways (because it will)
The hot glue will leave strings on everything. A hair dryer on low melts them right off. A glittery pick will shed across the table, so give it a light coat of hairspray outside, or pass on glitter this year. The garland will look thin the first time you hang it, which only means it needs its twin. And your store will be out of the one thing you came for, because dollar-store shelves are different every week. Swap it for something in your palette and keep going.
Some years you will make all ten of these. Some years you will make the candle trio, set it on the mantel, and call the house decorated. Both of those are a home that somebody tended. Done is better than perfect, and three candles glowing in a quiet room are done.
If the decorating is only one of forty things you are carrying this season, The Homefire Holiday Season Planner ($24.97) is where I put the rest of them: the dates, the one number, the gift list and who is bringing what, decided once, fifteen minutes at a time.
Questions people ask about dollar-store Christmas decor
What Dollar Tree Christmas decorations look expensive?
Plain glass, wired ribbon, pine garland, bottle-brush trees and shatterproof ornaments in a single color. The simpler the piece, the better it styles. Skip anything with printed words or heavy glitter.
How much does it cost to decorate for Christmas from the dollar store?
The projects here run about $3 to $12 each at the time of writing. Most people pick three or four, which usually lands somewhere between $15 and $40. Prices vary by store and change over time.
Can I use real candles in these projects?
Use flameless candles or fairy lights. Every project here puts ribbon, twine or greenery close to the light, and none of those belong near an open flame.
How long do these Christmas decor projects take?
About 15 minutes of hands-on time each. Glue and paint need time to dry afterward, but that part does not need you.
Ready to make the first one tonight?
Start with the jars. The free Mason Jar Magic Workshop Kit walks you through one cozy sitting, from a plain dollar-store jar to a luminary glowing on your table, with the templates already sized and the shopping already listed. I want the kit →
Back to that $48 lantern
So you set the lantern back on the shelf. Good. On the way home you stop at the dollar store with two colors and one metallic in your head, and you leave with three glass cylinders, a bag of Epsom salt and a roll of ribbon. Fifteen minutes after supper there is a little row of candlelight at the end of your mantel, and the room feels like Christmas is coming.
That is the whole secret, y’all. It was never about the price tag. It was about somebody taking a few minutes to make the house feel cared for. And if you would rather make gifts than decor this year, my guide to easy homemade Christmas presents is the place to go next.
You don’t have to be perfect — tend the home fire, in the minutes you have.
Keep tending the fire, y’all.
Robin
This post is not sponsored by or affiliated with Dollar Tree or any other store; store names are used only to describe where supplies can be found. Prices and stock vary by store and change over time, so every total here is an estimate at the time of writing.
Want a little more help with this? The Homefire Holiday Season Planner keeps your decorating days, gift list and holiday budget in one place, so the whole season has a plan and not just the mantel.