
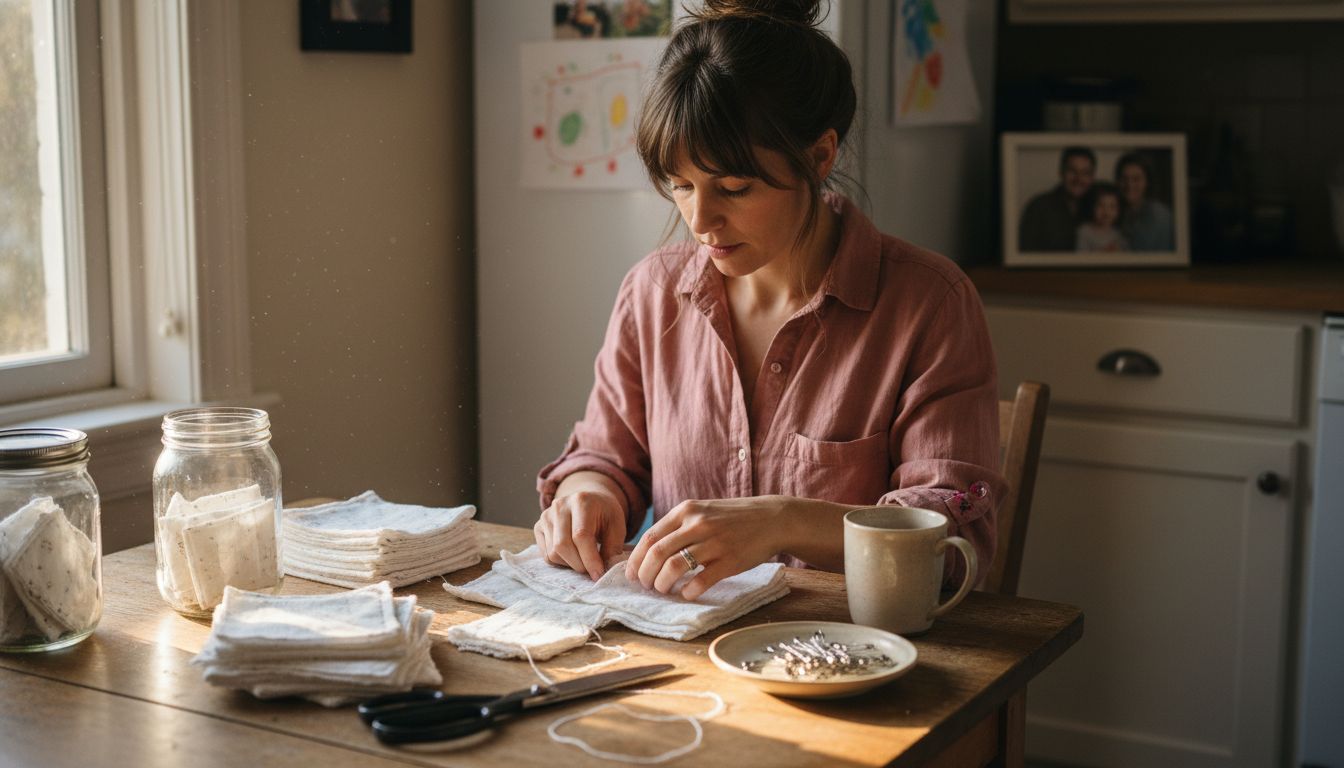
How To Create Your Own DIY Reusable Makeup Wipe Easily
More american households are switching to sustainable options and reusable makeup wipes are leading the way. In fact, over 1.6 billion disposable wipes are used every day worldwide, creating massive waste. Choosing to make your own wipes at home not only reduces trash but also puts you in control of what touches your skin. This practical guide walks you through easy steps so you can craft customized, eco friendly wipes that work just as well as store bought ones.
Table of Contents
- Step 1: Gather Essential Materials for Reusable Wipes
- Step 2: Cut and Prepare Fabric Squares Safely
- Step 3: Sew or Assemble Durable Makeup Wipes
- Step 4: Test Effectiveness and Washability of Wipes
- Step 5: Store and Use Your DIY Reusable Makeup Wipe
Quick Summary
| Key Insight | Explanation |
|---|---|
| 1. Gather appropriate materials | Use soft fabrics like cotton or bamboo for your wipes, and prepare a nourishing cleaner with witch hazel, castile soap, and oils. |
| 2. Cut fabric into uniform squares | Wash and press fabric, then cut 3.5-inch squares. Pin right sides together to prevent shifting during sewing. |
| 3. Sew with care for durability | Align squares right sides together and stitch carefully. Topstitch edges to reinforce seams and prevent fraying. |
| 4. Test effectiveness after washing | Check your wipes with various makeup types to ensure effective removal and washability after multiple uses. |
| 5. Store wipes properly to maintain hygiene | Store in a clean, sealed glass container and wash regularly to keep wipes fresh and effective for use. |
Step 1: Gather Essential Materials for Reusable Wipes
Creating your own DIY reusable makeup wipes starts with collecting the right materials. You’ll want to assemble a collection of supplies that are gentle on your skin and perfect for wiping away makeup effectively.
First, you’ll need some soft base fabrics to form the actual wipes. Cotton fabric and bamboo terry towelling work amazingly well for this project. Grab some scissors or a rotary blade, plus pins and a measuring tape to help you cut precise squares. For the cleaning solution, gather witch hazel, water, castile soap, a carrier oil like jojoba, and vitamin E oil to create a nourishing mixture.
Pro tip: Choose fabrics that are soft enough for your face but also durable enough to withstand repeated washing. Baby washcloths can be an excellent alternative if you don’t want to cut your own fabric squares. A glass storage container will help you keep your finished wipes clean and organized.
With these materials ready, you’re set to move on to the next exciting step of creating your eco friendly makeup removal solution!
Step 2: Cut and Prepare Fabric Squares Safely
Now that you have your materials ready, it is time to transform your fabrics into perfect makeup wipe squares. This step is all about precision and creating uniform pieces that will work wonderfully for your DIY project.
Washing and pressing your fabric before cutting is crucial for getting the best results. You will want to start by preparing a clean, flat surface with a cutting mat. Using a rotary cutter will help you achieve those clean, straight edges that make professional looking wipes. Most tutorials recommend cutting squares around 3.5 inches (about 8 cm) which is the perfect size for facial wipes.
Pro tip: When cutting your fabric squares, place your pieces right sides together and pin them to prevent any shifting during the next steps. This little trick will save you time and frustration later. Double check your measurements before cutting to ensure all your squares are uniform.
With your fabric squares neatly cut, you are now ready to move on to creating the actual wipes!
Step 3: Sew or Assemble Durable Makeup Wipes
With your fabric squares cut and ready, it’s time to transform them into sturdy, professional looking makeup wipes that will last through countless uses. This step is all about creating a polished final product that feels great on your skin.
Start by placing your fabric squares right sides together, aligning the edges carefully. You’ll want to use a sewing machine or a tight hand stitch to join the pieces. Precise stitching techniques are crucial for creating durable wipes that can withstand repeated washing and use.
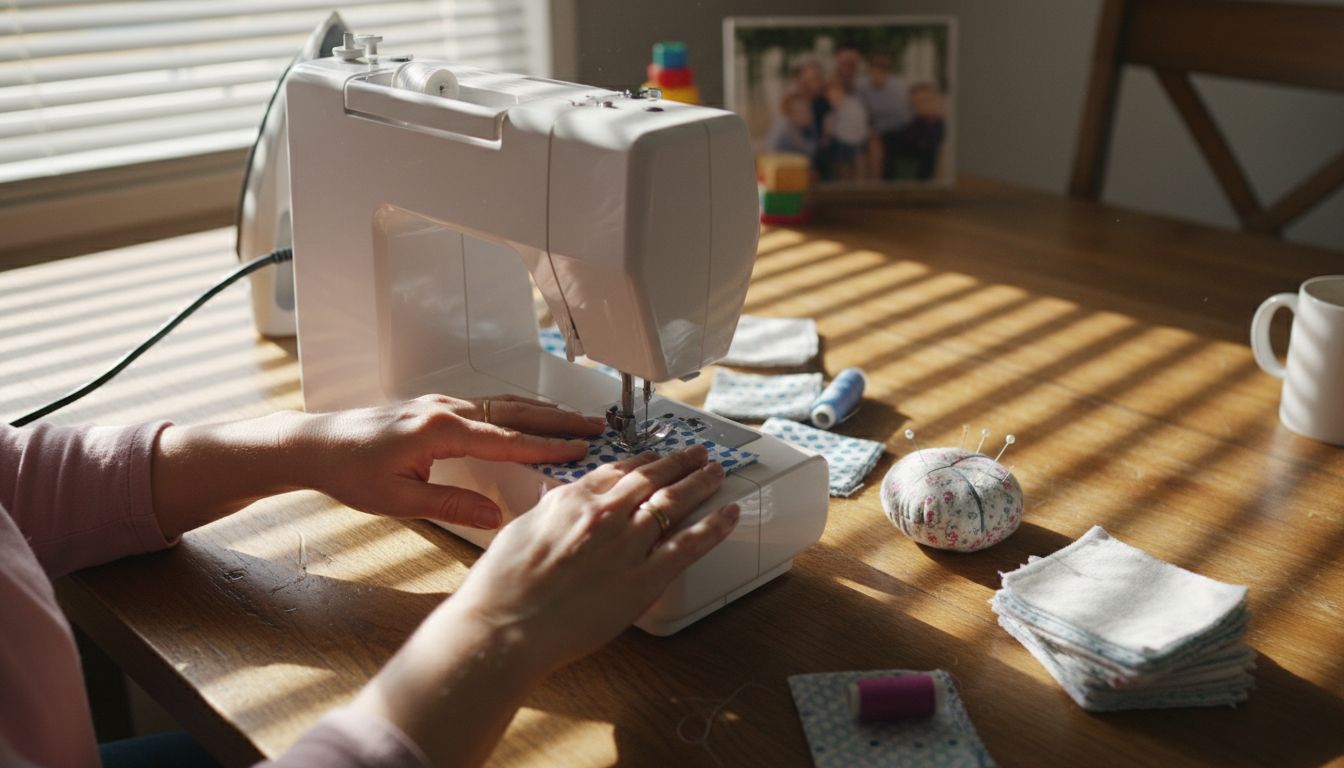
Pro tip: After sewing the edges, turn your wipes right side out and press them flat. Topstitching around the edges will not only give your wipes a professional finish but also reinforce the seams and prevent fraying. This extra step makes your homemade wipes look like they came from a high end store.
Now that your wipes are sewn and looking fabulous, you are ready to prepare them for their makeup removing debut!
Step 4: Test Effectiveness and Washability of Wipes
Now that you have created your handmade makeup wipes, it is crucial to understand their performance and durability. This step will help you evaluate how well your DIY wipes work and ensure they can stand up to repeated use and washing.
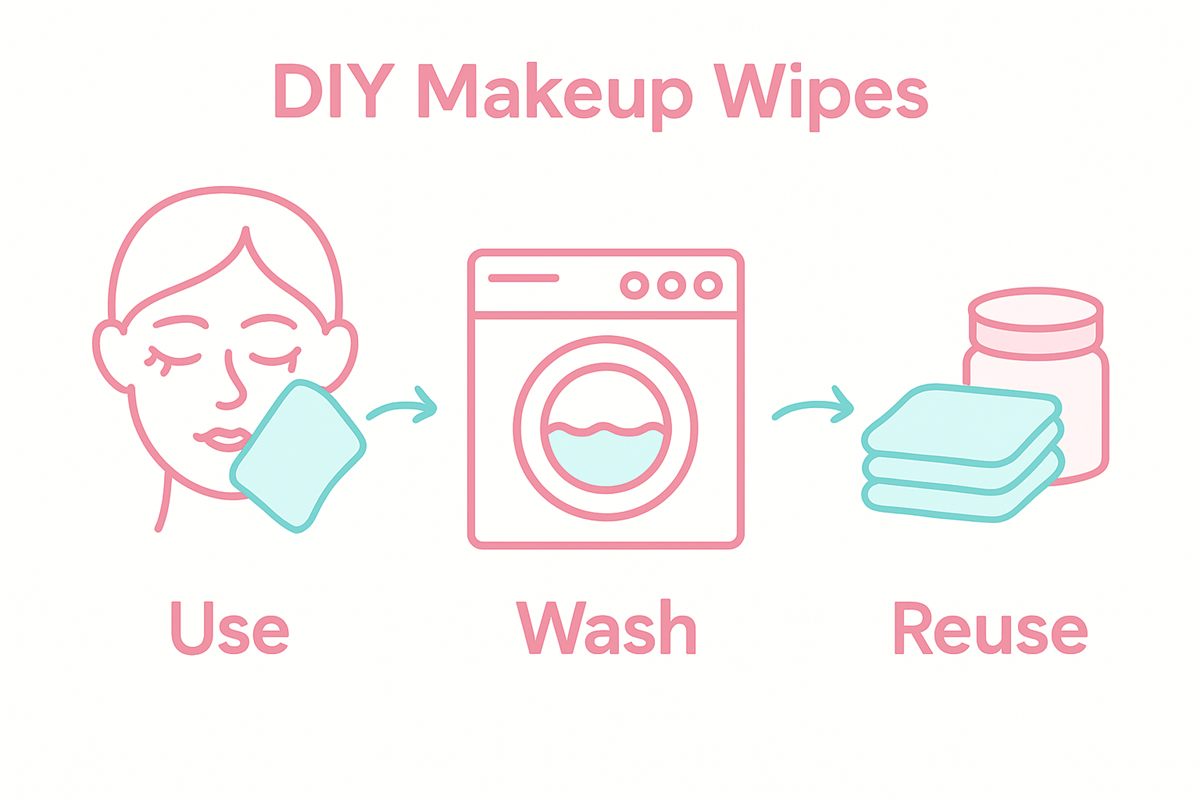
Materials like bamboo fiber and organic cotton are excellent choices for creating makeup removal wipes that are gentle on your skin. Start by testing your wipes with different types of makeup such as waterproof mascara, foundation, and long lasting lipstick to assess their cleaning power. Gently apply your homemade makeup remover solution and see how effectively the wipes remove makeup without excessive rubbing.
Pro tip: Research shows that natural fabric wipes can be washed multiple times while maintaining their effectiveness. To test washability, run your wipes through a gentle wash cycle and air dry. Check for any color fading, loss of softness, or structural damage. A high quality DIY makeup wipe should retain its shape and cleaning ability after several washes.
With your wipes tested and proven effective, you are now ready to start your eco friendly makeup removal routine!
Step 5: Store and Use Your DIY Reusable Makeup Wipe
Congratulations on creating your very own eco friendly makeup wipes! Now it is time to learn how to properly store and use these awesome reusable cleaning tools to get the most out of your DIY project.
Store your freshly made wipes in a clean glass container like a mason jar to keep them moist and ready for action. Seal the container tightly to maintain freshness and prevent bacteria growth. When you are ready to use a wipe, simply remove one from the container, apply your homemade makeup remover solution, and gently wipe away makeup without harsh rubbing.
Pro tip: Rotate your wipes regularly and wash them after every few uses to maintain hygiene. [Learn how to repurpose old items in creative ways to complement your sustainable makeup routine]. Keep a small designated container for used wipes so you can easily launder them together, ensuring they stay clean and ready for your next makeup removal session.
With your DIY makeup wipes stored and ready, you are all set to enjoy an eco friendly and budget conscious skincare routine!
Simplify Your Sustainable Beauty Routine and Home Life Today
Making your own DIY reusable makeup wipes is a smart way to solve the problem of wasteful disposable products while saving money and caring for your skin gently. This article highlights key challenges like choosing the right fabrics, ensuring durability through sewing, and maintaining hygiene by washing your wipes properly. Achieving a balance between eco friendly habits and a busy lifestyle can feel overwhelming at times.
If you want to take your sustainable living a step further and overcome daily clutter or time management hassles you face, we have practical solutions waiting for you. Discover easy organization hacks and simple living strategies that complement your new reusable makeup wipes and bring calm to every area of your home. Visit Its a Southern Life Y’all for expert tips you can start using today. Ready to create a more peaceful environment and efficient routine? Start transforming your life now with proven productivity tools and inspired budgeting advice designed for busy families aiming for work life balance.
Frequently Asked Questions
What materials do I need to create my own DIY reusable makeup wipes?
You will need soft base fabrics like cotton or bamboo terry, scissors or a rotary blade, measuring tape, and pins. Additionally, gather ingredients for the cleaning solution such as witch hazel, water, castile soap, a carrier oil like jojoba, and vitamin E oil to enhance your wipes.
How should I cut the fabric for the reusable makeup wipes?
Cut your fabric into uniform squares, ideally around 3.5 inches (approximately 8 cm). Wash and press your fabric first, then use a rotary cutter on a cutting mat for clean edges to ensure all your wipes are the same size.
What sewing techniques should I use for my DIY makeup wipes?
Align your fabric squares right sides together and use a sewing machine or hand stitch to join them. After sewing, turn the wipes right side out and topstitch around the edges for durability and a professional look.
How can I test the effectiveness and washability of my wipes?
Test your wipes by using them with various types of makeup, including waterproof products, to ensure they clean effectively. Wash them on a gentle cycle and air dry to assess if they maintain their shape and softness after multiple washes.
How should I store my DIY reusable makeup wipes?
Store your makeup wipes in a clean glass container like a mason jar to keep them moist. Seal the container tightly to ensure freshness and prevent bacteria growth, and rotate them regularly to maintain hygiene.
How often should I wash my reusable makeup wipes?
Wash your wipes after every few uses to keep them clean and hygienic. A good rule of thumb is to launder them within 5–7 uses to ensure they remain effective and soft against your skin.
Recommended
- Complete Guide to Dewrinkling Clothes Without Iron – It’s a Southern Life Ya’ll
- 27 Old Things to Use New Ways (To Save Money) – It’s a Southern Life Ya’ll
- Glycerin Soap Benefits : Everything You Need to Know – It’s a Southern Life Ya’ll
- Creating Homemade Bath Bombs for Fun Family Projects – It’s a Southern Life Ya’ll