
Repurposed Cotton Square Ornament
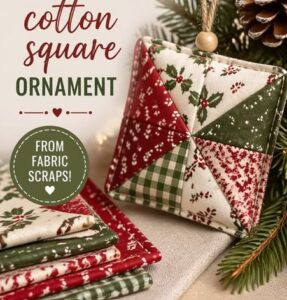 There is an additional set of instructions for a SQUARE ornament at the bottom of this article if you’d like to try that version:
Free printable
One number for the whole season
The Holiday Budget Worksheet gives you one number for Thanksgiving through New Year’s, and the weekly amount that gets you there, before the sales get loud.
No spam, ever. Unsubscribe anytime.
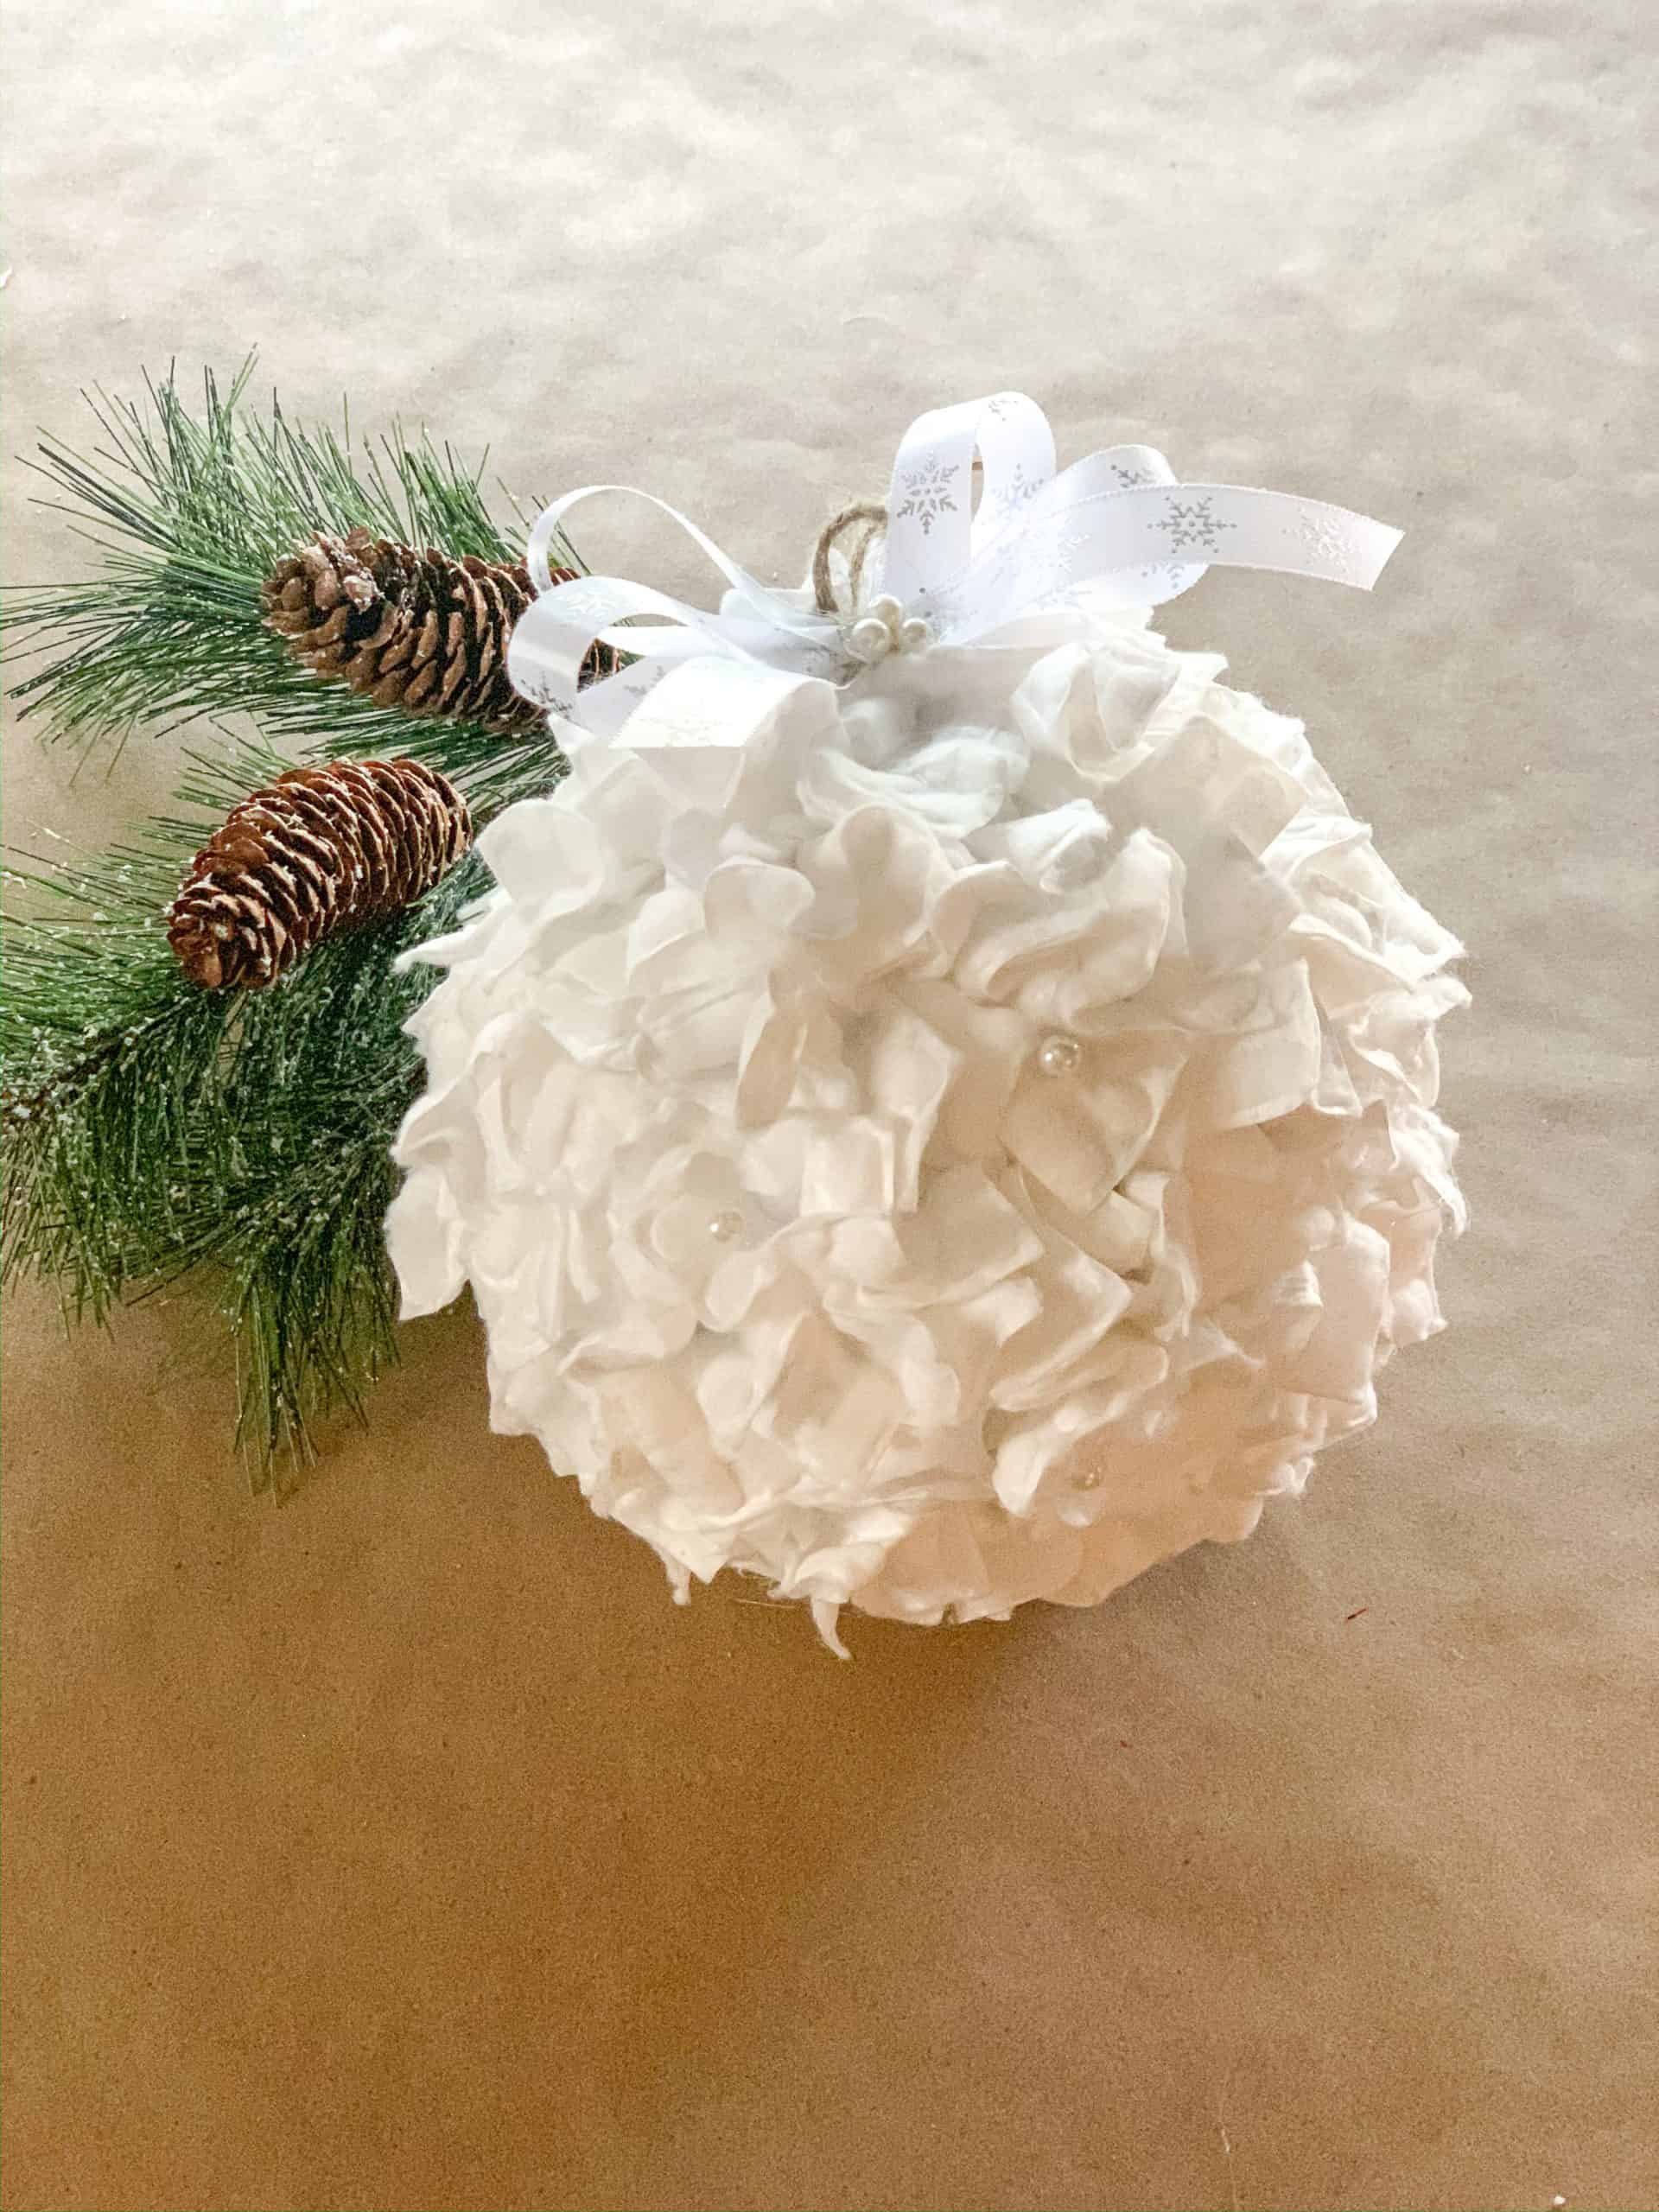
Christmas is drawing near and I’ve been challenging myself to create budget-friendly Christmas decorations. Although this is my favorite time of the year, it’s the most draining on our pocketbooks. Sticking to my budget for a cash-only Christmas includes all of the extras, so I find ways to remain very frugal during the season. This repurposed cotton square ornament is one of my favorite creations. It has that expensive boutique look while costing around $3 and taking 30 minutes to make.

(This post may contain affiliate links. What does that mean to you? Well, if you click on a product and make a purchase, I may receive some compensation at NO charge to you. If you want to read the boring stuff, my full disclosure can be found here.)
Yes! Your eyes aren’t playing tricks on you! This beautiful ornament is very affordable to make…both with time and money.
I sat down to create this beauty as part of an ornament exchange where we had to keep out handmade goodie under $5. I had oodles of ideas but wanted something that would impress.
Thinking of ways to recreate an old fashioned fabric scrap ornament I saw years ago, it hit me to do an all-white version. I first thought of using felt and cutting the squares but that just seemed like a time zapper there. Then it hit me…I would repurpose makeup remover pads and cross my fingers that it would work.
So off to the Dollar Tree for my supplies. Unfortunately, my local Dollar Tree didn’t have square makeup remover pads so these were found at Walmart. But, they were still very affordable with the pack costing around $2.50 (and I didn’t use the entire pack).
RELATED POST: Farmhouse Felt Leaf Ornaments
Here’s the short of it: You cover a plain plastic ornament with cotton makeup remover pads — about 120 of them, each pinched into a little cone with a drop of hot glue — then finish it with a jute hanger, a ribbon bow, and a scatter of glass pearls. It runs around $3 and takes about 30 minutes. Full step-by-step is below, and there’s a flat square version at the end of the post if you’d rather work with fabric scraps.
Here is the short of it: You fold square cotton makeup remover pads into little triangles, then layer and pin them around a covered cardboard base until both sides are full. A pack of pads runs about $2.50 at Walmart or the Dollar Tree, so the whole ornament costs around $3 and takes about half an hour. Step-by-step photos are right below, and there is a second square version further down.
Supplies needed:
- Large Christmas Ornament
– you are covering the entire ornament so any color would work.
- Cotton Squares
– I used 120 to cover this ornament.
- Jute Twine
- Ribbon
- White Glass Pearls
- Scissors
- Glue Gun
- Glue Sticks
 – you are covering the entire ornament so any color would work.
 – I used 120 to cover this ornament.


How to make a repurposed cotton square Christmas ornament
STEP 1 – Cut approximately 8″ of jute twine, slide it through the top of the ornament and tie.
STEP 2 – Form cone shapes by adding a drop of glue to the center of the cotton square. Then pinch the backside of the square to form the shape. For this large ornament, I used 120 cotton squares.
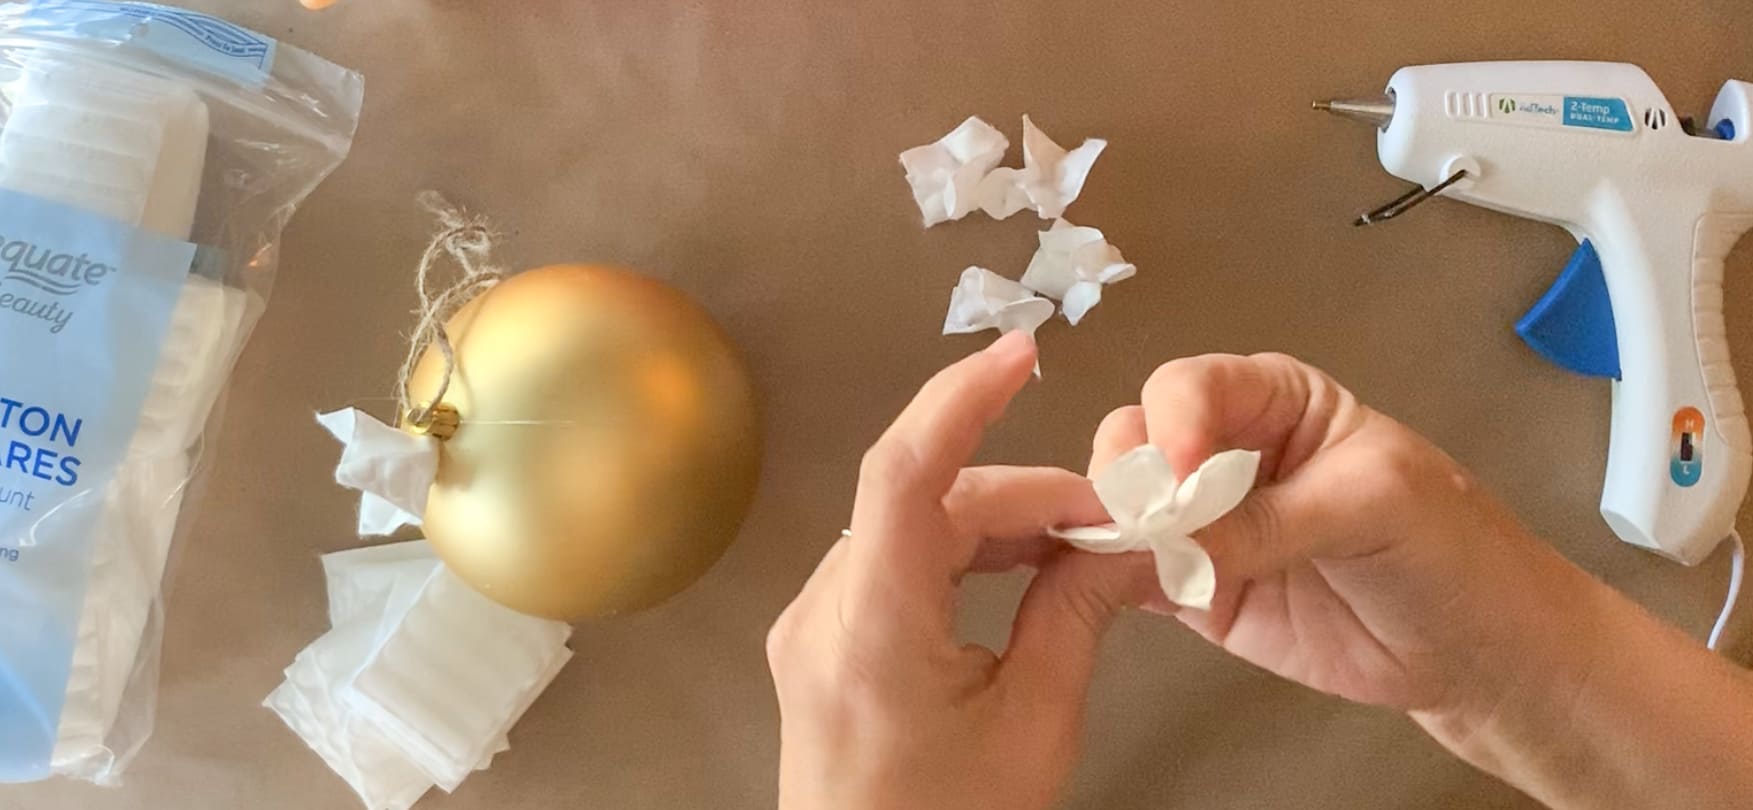
STEP 3 – Glue the cotton shapes to your ornament. Start at the top and work your way down in a circular motion leaving 1/2″ between each shape. Glue the pointed end to the plastic ornament. I left my glue gun on the low setting.
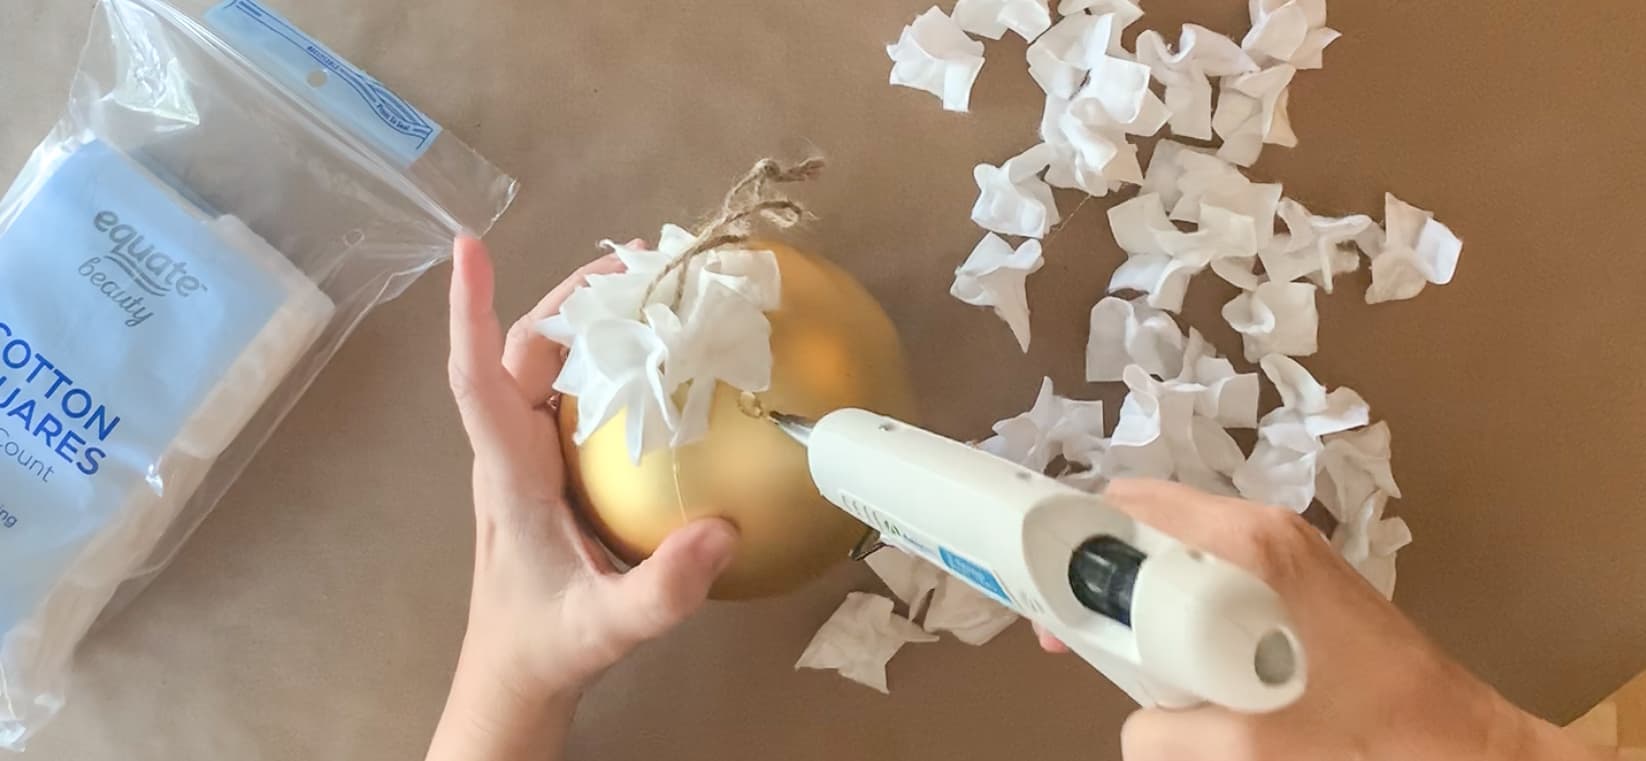
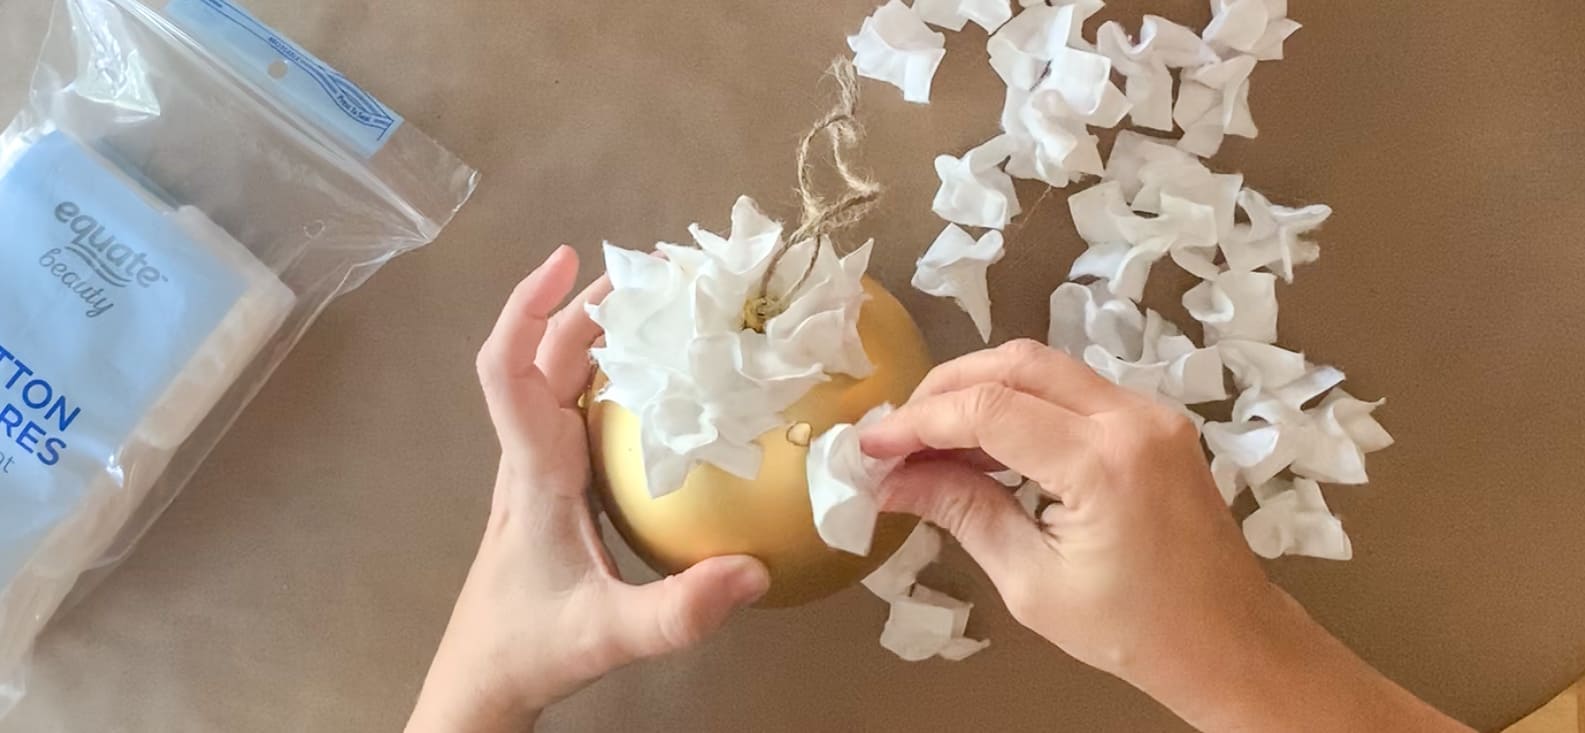
STEP 4 – Ater covering the entire ornament, check for holes where the color of the ornament peeks through. When you find a hole, add a little glue and squeeze the shapes together and push down to cover the hole.
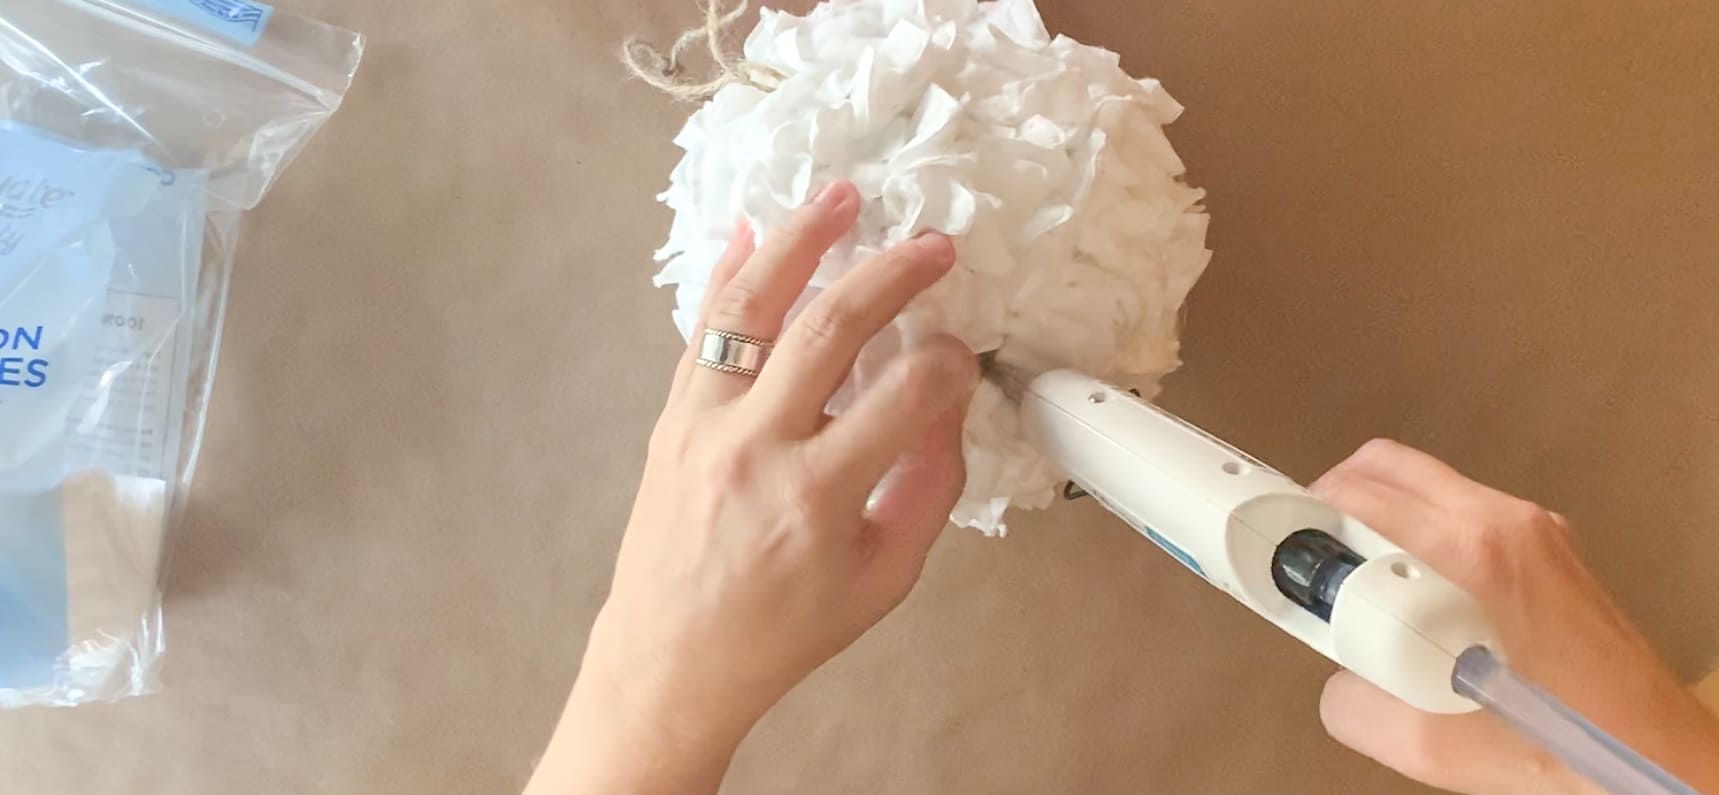
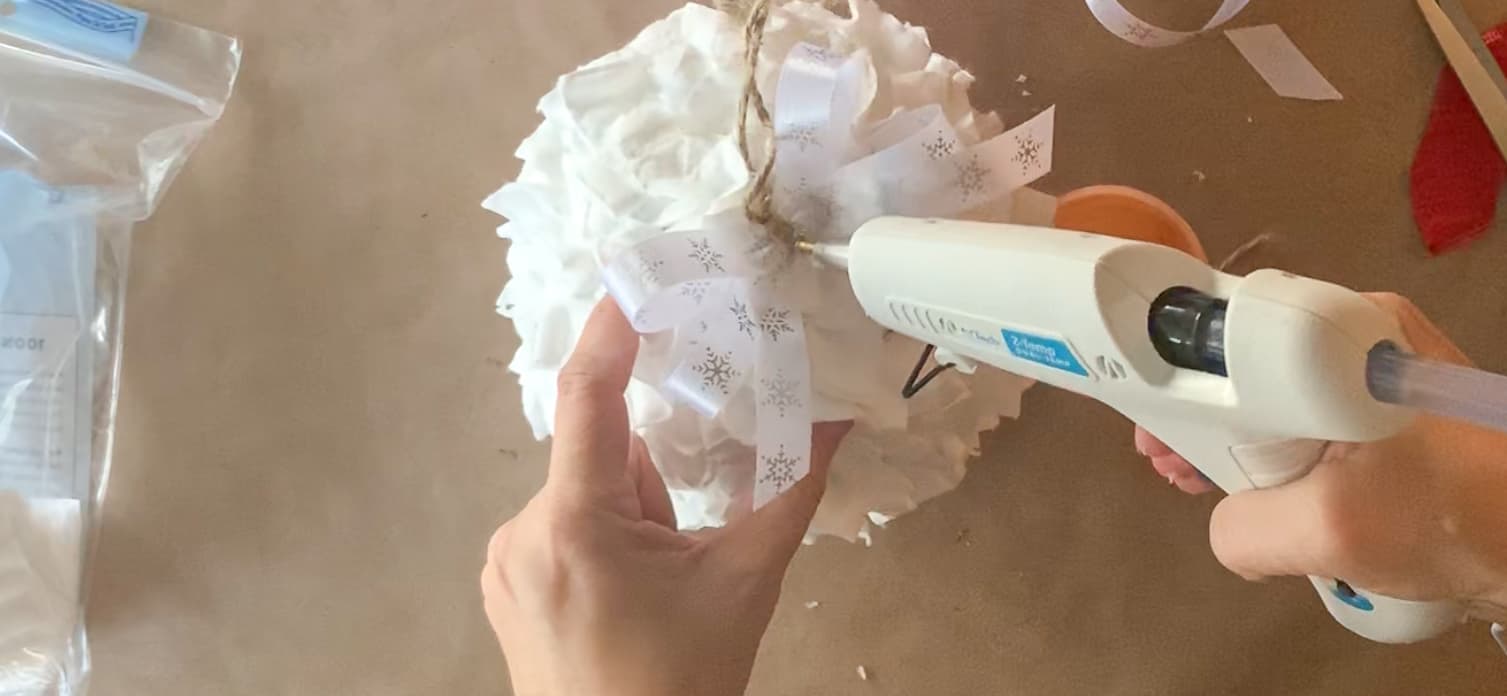
Step 5 – Create a bow for the top of your ornament. I used a 1/2″ ribbon with silver snowflakes from the Dollar Tree. This is a double loop freeform bow and is secured using a small piece of jute. Attach the bow to the top of the ornament using a small amount of hot glue.
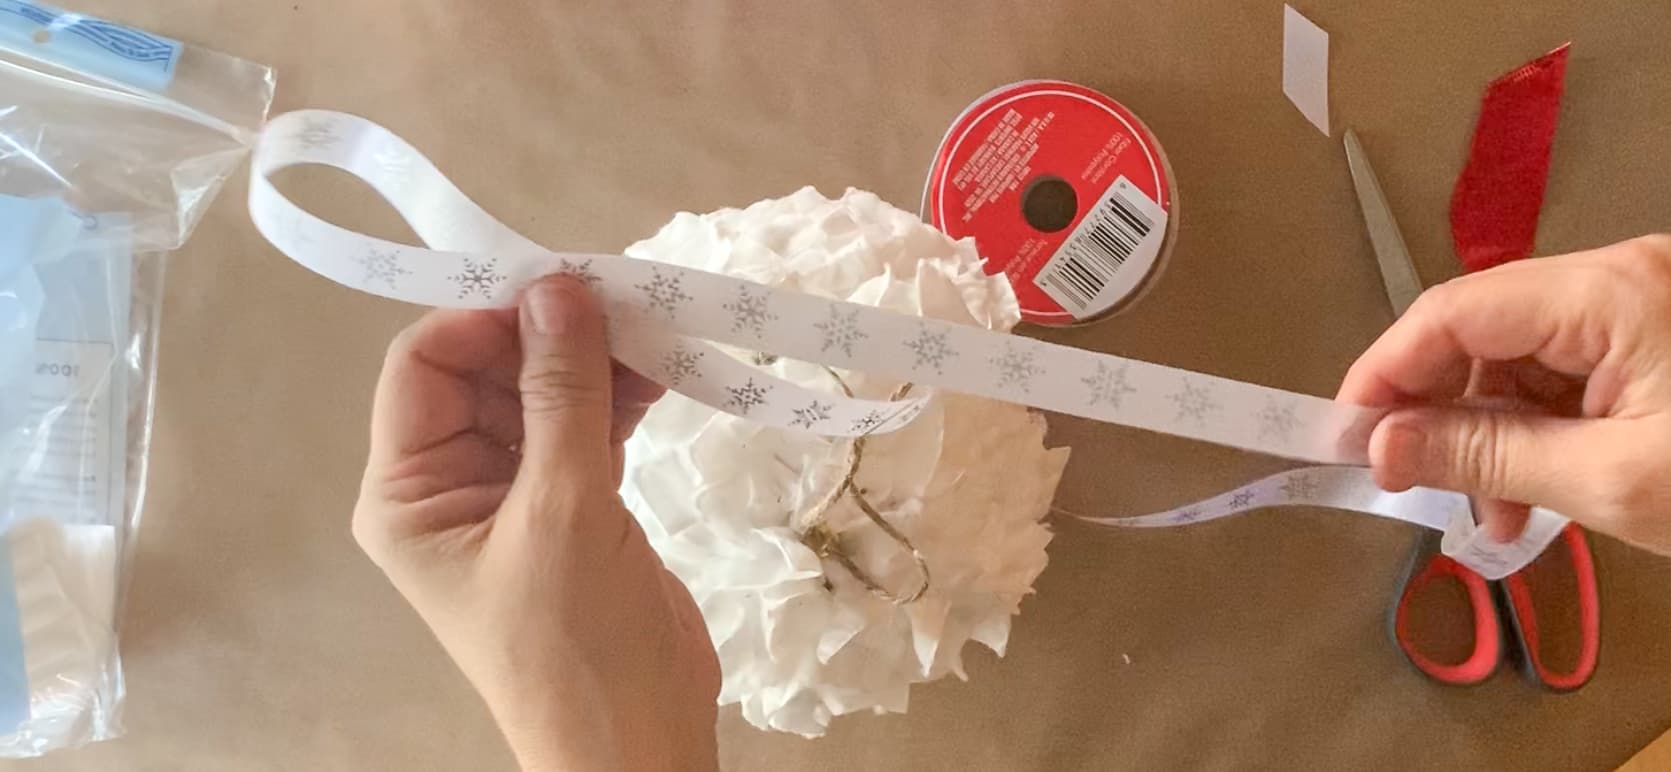
STEP 6 – I glued three glass pearls at the center of the bow to cover the jute twine.
STEP 7 – Randomly glue glass pearls around the ornament. You can add as few or as many as you want.
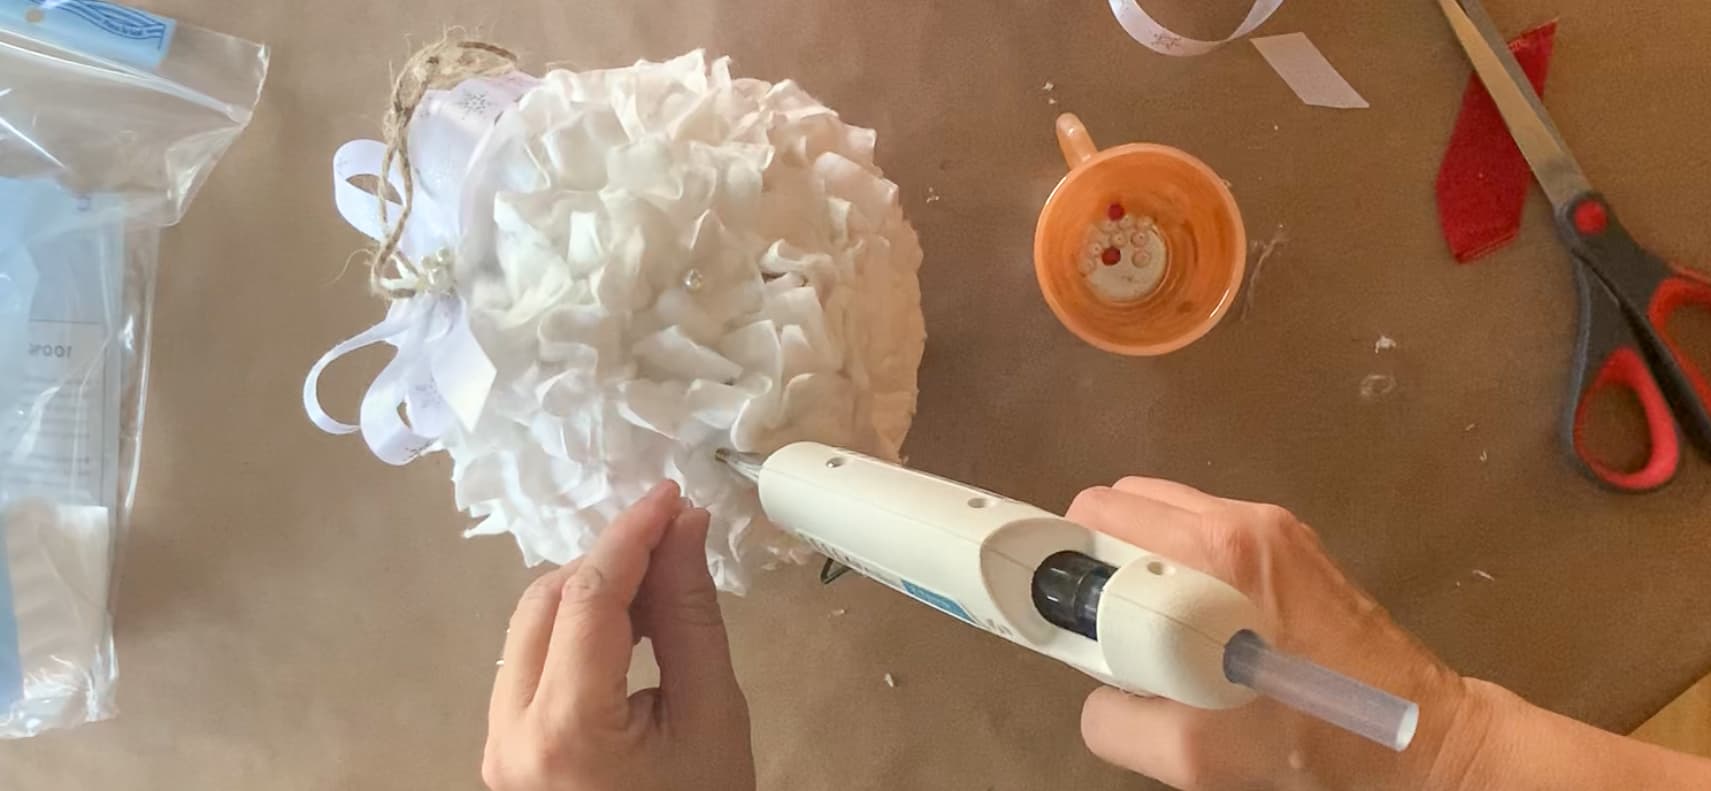
When I showed my friends the completed project, they couldn’t believe this was made with makeup remover pads. What do you think?
RELATED POST: Rustic Gnome Ornaments
Although I made this as a Christmas ornament, I can see this used at wedding or baby showers. Imagine covering an entire beach ball and hanging in the center of a room…WOW!
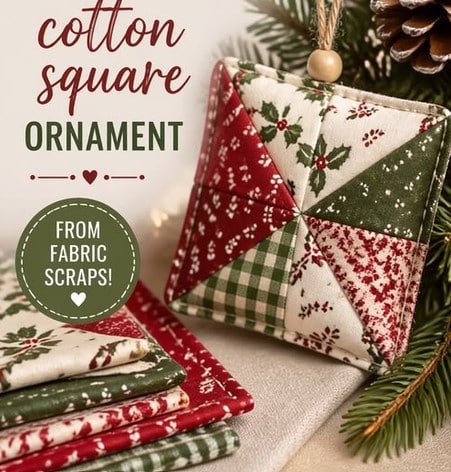
DIY Cotton Square Folded Fabric Ornament Instructions
This ornament is a classic folded fabric patchwork ornament — made by folding cotton fabric squares into triangles and layering them around a cardboard base to create a 3D puffed square shape. No sewing machine required.
DIY Cotton Square Folded Fabric Ornament InstructionsThis ornament is a classic
Materials Needed
| Item | Details |
|---|---|
| Cotton fabric scraps | Assorted Christmas prints (red, green, cream, gingham, floral) |
| Scissors or rotary cutter | For clean, accurate cuts |
| Ruler and cutting mat | For measuring fabric squares |
| Hot glue gun & glue sticks | Primary assembly tool |
| Cardboard or chipboard | For the base squares |
| Fiberfill or batting | A small amount for stuffing |
| Wooden bead | 1 small round bead for the top |
| Twine or jute cord | For the hanging loop |
| Straight pins (optional) | To hold pieces while glue dries |
| Iron & ironing board | For pressing fabric pieces flat |
Step 1: Cut Your Fabric Squares
- Cut 16 fabric squares, each 3 inches x 3 inches, using a variety of Christmas prints.
- Cut 2 squares of cardboard, each 2.5 inches x 2.5 inches, for the rigid base.
- Cut 2 squares of fabric, each 3.5 inches x 3.5 inches, to cover the cardboard bases.
Step 2: Cover the Cardboard Base Pieces
- Place one cardboard square in the center of one 3.5-inch fabric square (wrong side of fabric
- facing up).
- Apply hot glue to each edge of the cardboard and fold the fabric edges over, pressing them
- down onto the back. Miter the corners neatly.
- Repeat for the second cardboard and fabric square. Set both aside.
Step 3: Fold the Fabric Triangles (Key Technique)
Repeat this process for all 16 fabric squares:
- Press each 3-inch fabric square flat with an iron.
- Fold the square in half diagonally to form a triangle, with the right (printed) side on the outside.
- Press flat.
- Fold the triangle in half once more (point to point) to create a smaller, thicker triangle. Press flat.
- You now have a petal unit — two loose points at the base and one folded point at the top.
- Repeat until you have 16 petal units total.
Step 4: Assemble the First Side
- Take one covered cardboard square (fabric side facing up).
- Place 4 petal units in the center so all four folded points meet exactly in the middle, with
- open/raw edges facing outward toward the corners. Glue down.
- Place 4 more petal units in the gaps between the first four, folded points also meeting in the
- center. Glue down.
- You should now have 8 petal units creating a pinwheel/star pattern on the front face.
Step 5: Add the Hanging Loop
- Cut a piece of twine or jute cord 6 to 8 inches long.
- Thread it through the wooden bead and tie a knot below the bead so it cannot slip through.
- Fold the twine into a loop, apply hot glue to the two raw ends, and press them firmly onto the
- top edge of the assembled front panel.
Step 6: Assemble the Second Side
- Repeat Step 4 on the second covered cardboard square, gluing 8 petal units in the same
- pinwheel arrangement.
Step 7: Join the Two Sides
- Hold the two assembled sides back-to-back (cardboard bases facing inward, petal sides
- facing outward).
- Tuck a small pinch of fiberfill between the two cardboard bases for a soft, puffed appearance.
- Apply hot glue around the edges of one base and press the two halves firmly together. Hold
- until set.
Step 8: Finish the Edges
- Tuck any loose fabric edges inward and secure with small dabs of hot glue.
- For a polished finish, glue a narrow strip of coordinating ribbon or fabric trim around the outer
- edge to conceal any raw edges.
Step 9: Final Touches
- Gently adjust the petal units so the folded points meet cleanly in the center on both sides.
- Tug the hanging loop to confirm the bead and twine are secure.
- Your cotton square ornament is complete and ready to hang!
Pro Tips
- Use woven quilting cotton for the crispest folds and most authentic patchwork look.
- Pre-wash your fabric scraps to prevent shrinkage or color bleeding.
- Press every fold with a hot iron before gluing — this makes a huge difference in the final neatness.
- Mix 3 to 4 different fabric prints for the most visually interesting result, just like the one in the image.
Free printable
One number for the whole season
The Holiday Budget Worksheet gives you one number for Thanksgiving through New Year’s, and the weekly amount that gets you there, before the sales get loud.
No spam, ever. Unsubscribe anytime.
Want a little more help with this? My Debt Free Christmas Planner takes what we talked about here and walks you through it, step by step.






Love this, Jada! Will definitely try this! ?
Thank you, Tammy! ❤️