Create Pins for Pinterest
HOW TO CREATE PINS FOR PINTEREST WITH CANVA
You’re scrolling through Pinterest and you see all of these amazingly beautiful pins that are drawing you in. You want to create eye-catching pins that people can’t resist clicking but how? How do you create perfect pins without spending an arm and a leg? Oh! And with ZERO design experience! I’m here to tell you that it is possible to create pins for Pinterest using a FREE design tool. Yes, Canva is your answer.
(This post may contain affiliate links. What does that mean to you? Well, if you click on a product and make a purchase, I may receive some compensation at NO charge to you. If you want to read the boring stuff, my full disclosure can be found here.)
Now if you are saying, “Robin, I’m not a designer. I don’t even know where to start.” Just sit back and stop stressing because I’m here to show you how to design amazing pins for Pinterest in just minutes. And the best part is that you can use Canva for FREE!
Full disclosure here…I do some of my designing using Photoshop. But I’m not a Photoshop pro by any stretch of the imagination. I leave that title to my youngest daughter. Creating a Photoshop pin takes me an hour or more, no joke! Creating pins for Pinterest in Canva takes me minutes.
Seriously! The ease of Canva makes designing eye-catching pins a breeze.
Let’s stop chatting and let’s get to work!
Create an account in Canva
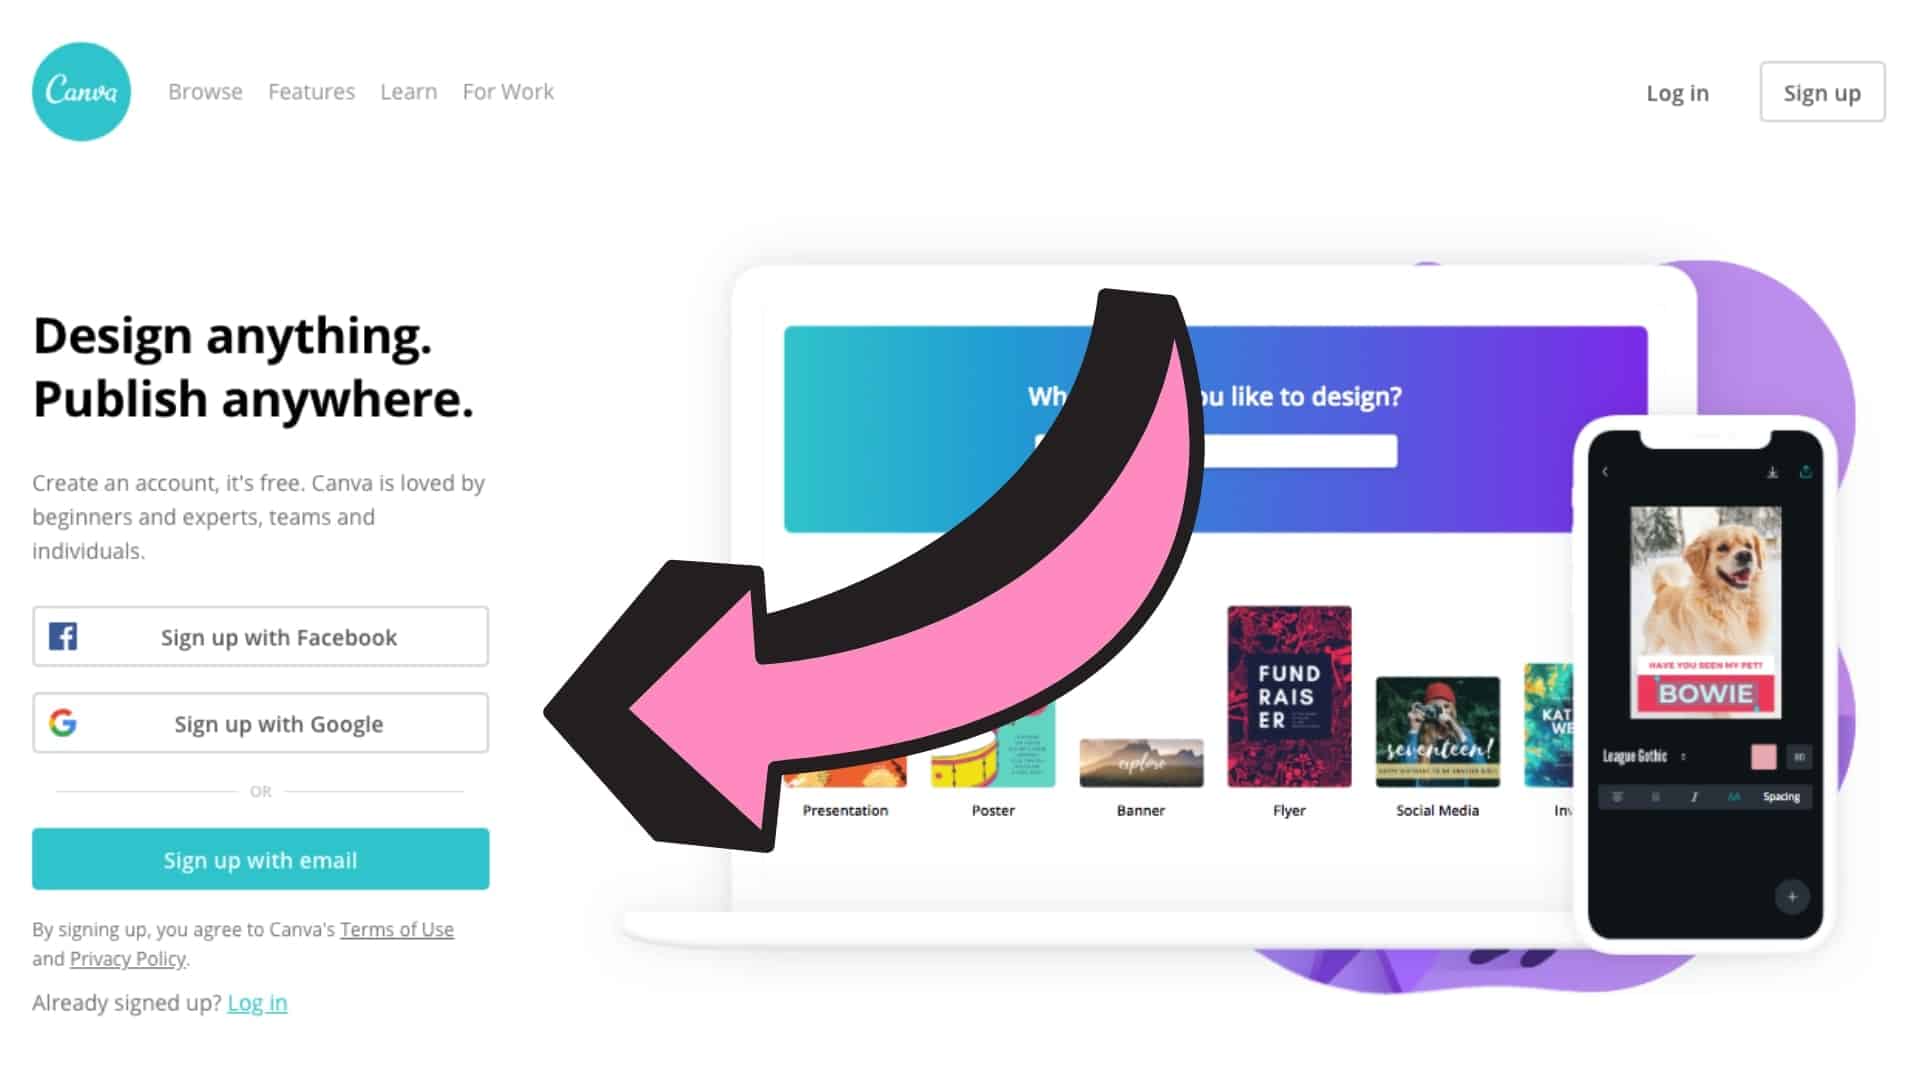
Before we dive in, you have to handle the business of signing up. It’s quick and easy. Go to the Canva website and choose from the options of signing up using Facebook, Google, or your email address.
Now Let’s Create Pins for Pinterest
Want to see Canva in action? I’ve created this easy-to-follow video to show you how I create a pin for Pinterest. The video takes you step-by-step through my process and includes a few Canva Pro Tips. You will be amazed by how easy it is to create graphics for free.
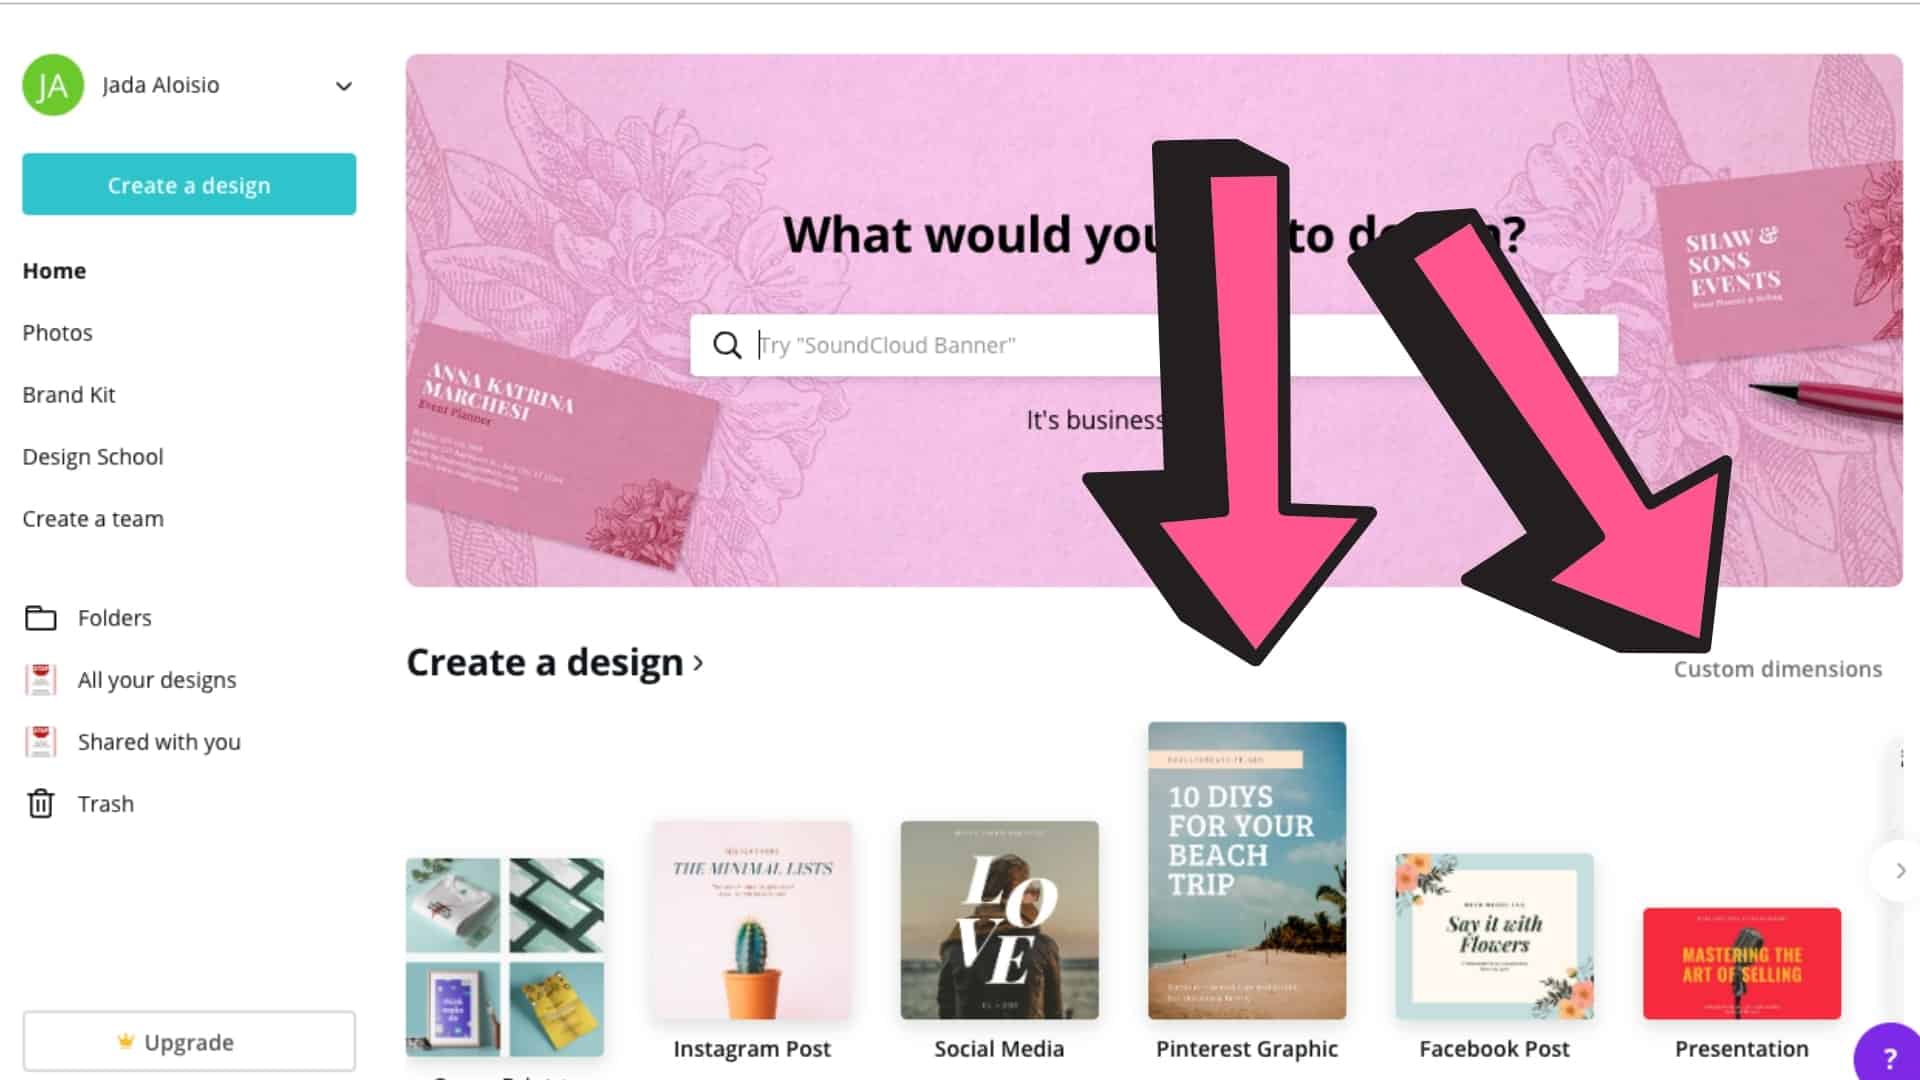
Choose the design or custom dimensions
Pinterest suggests using a 2:3 ratio when creating pins. The Canva Pinterest design fits that ratio using 735px x 1102px but many people use 600px x 900px. Personally, I like to use 1000px x 1500px but it is just a preference. In all honesty, I have not found much of a difference in using any of these sizes that fit the 2:3 ratio.
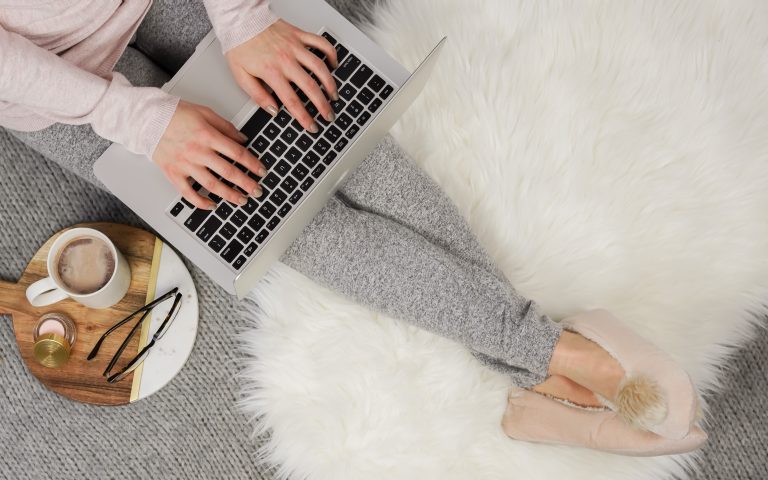
Find the perfect image
Stock photos are life when it comes to my blog. A lot of what I write about doesn’t give me many options to create my own images so I use stock photos on a regular basis.
At the beginning of your blogging journey, you might not be ready to purchase images. Although blogging is a relatively inexpensive business, the expense can add up if you are not careful. Lucky for you (and me) there are plenty of free stock images available online.
Here are a few of my favorite free stock photo sites:
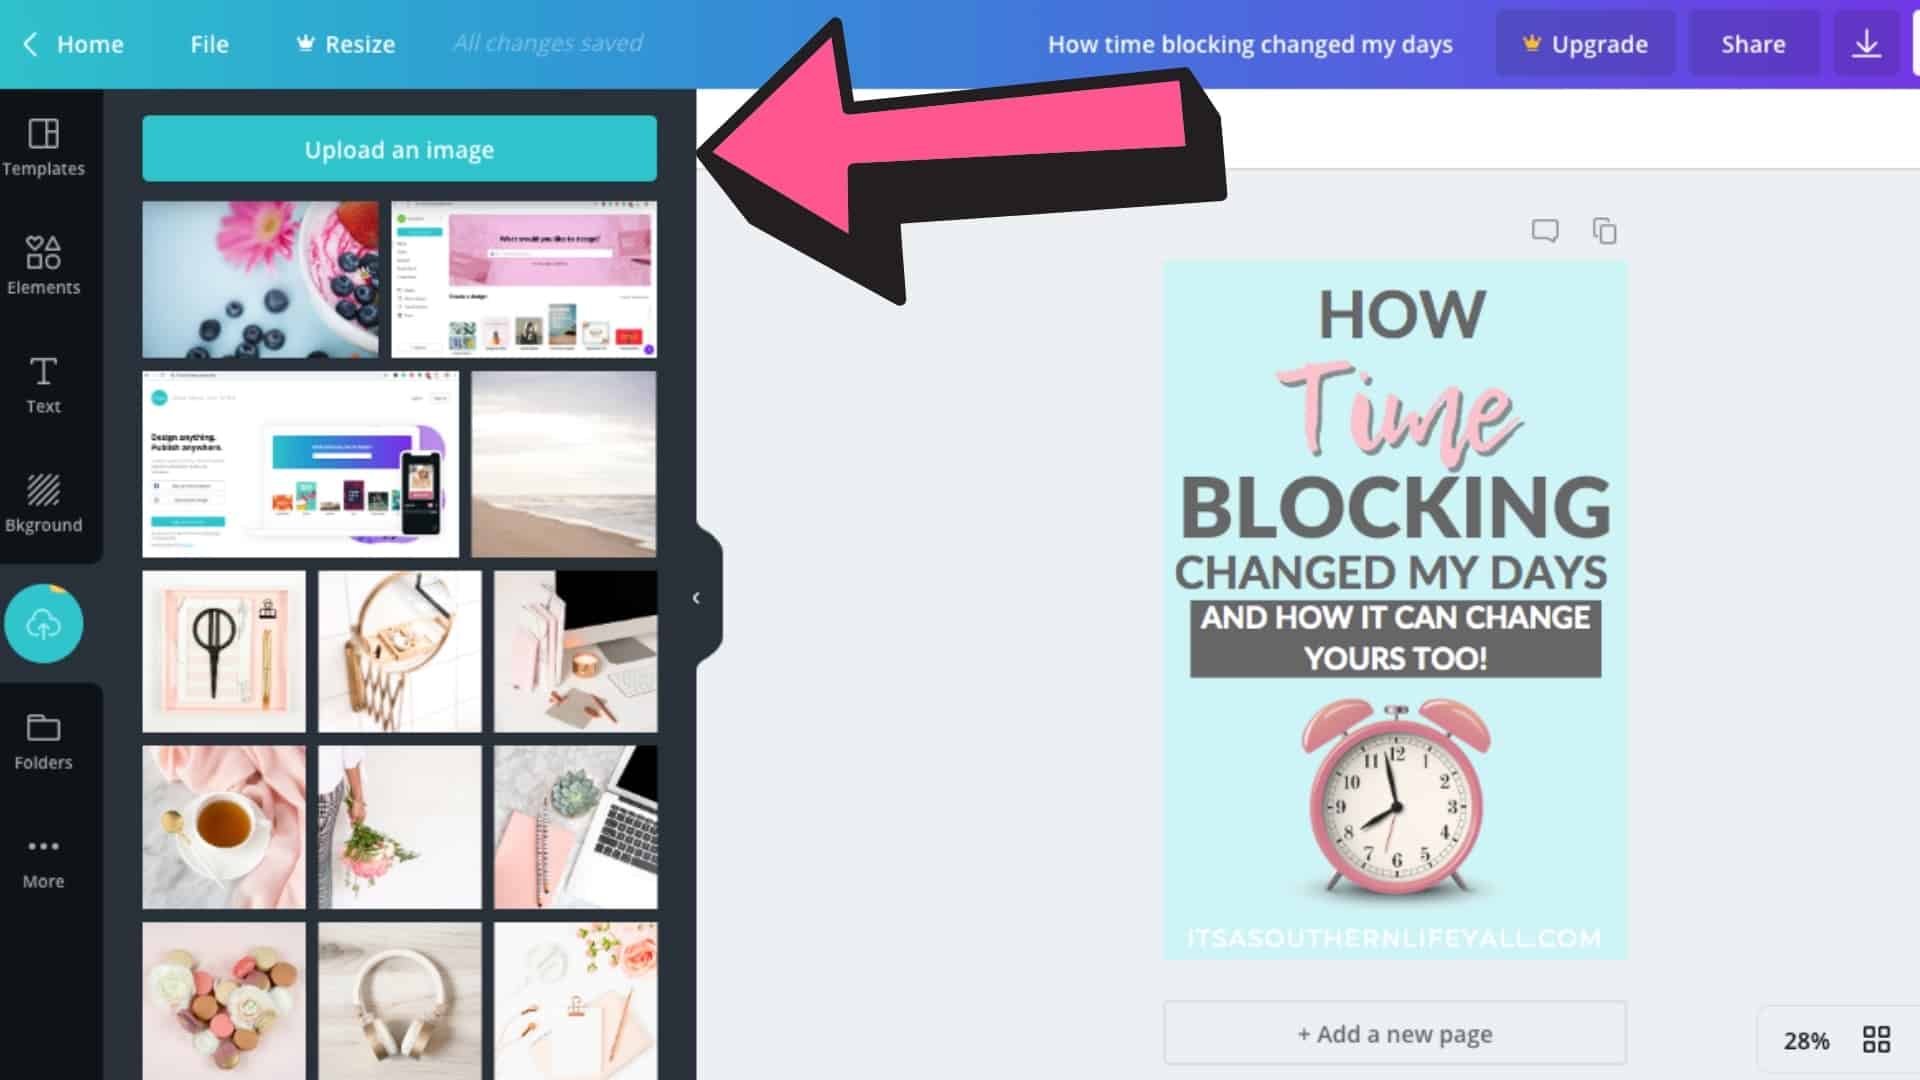
Once you have picked the perfect image, upload it to your Canva profile. You cannot do this from your home screen. Open any pin and click on the uploads tab on the left side menu. Either drag your image or click on the upload button and get your image into your gallery.
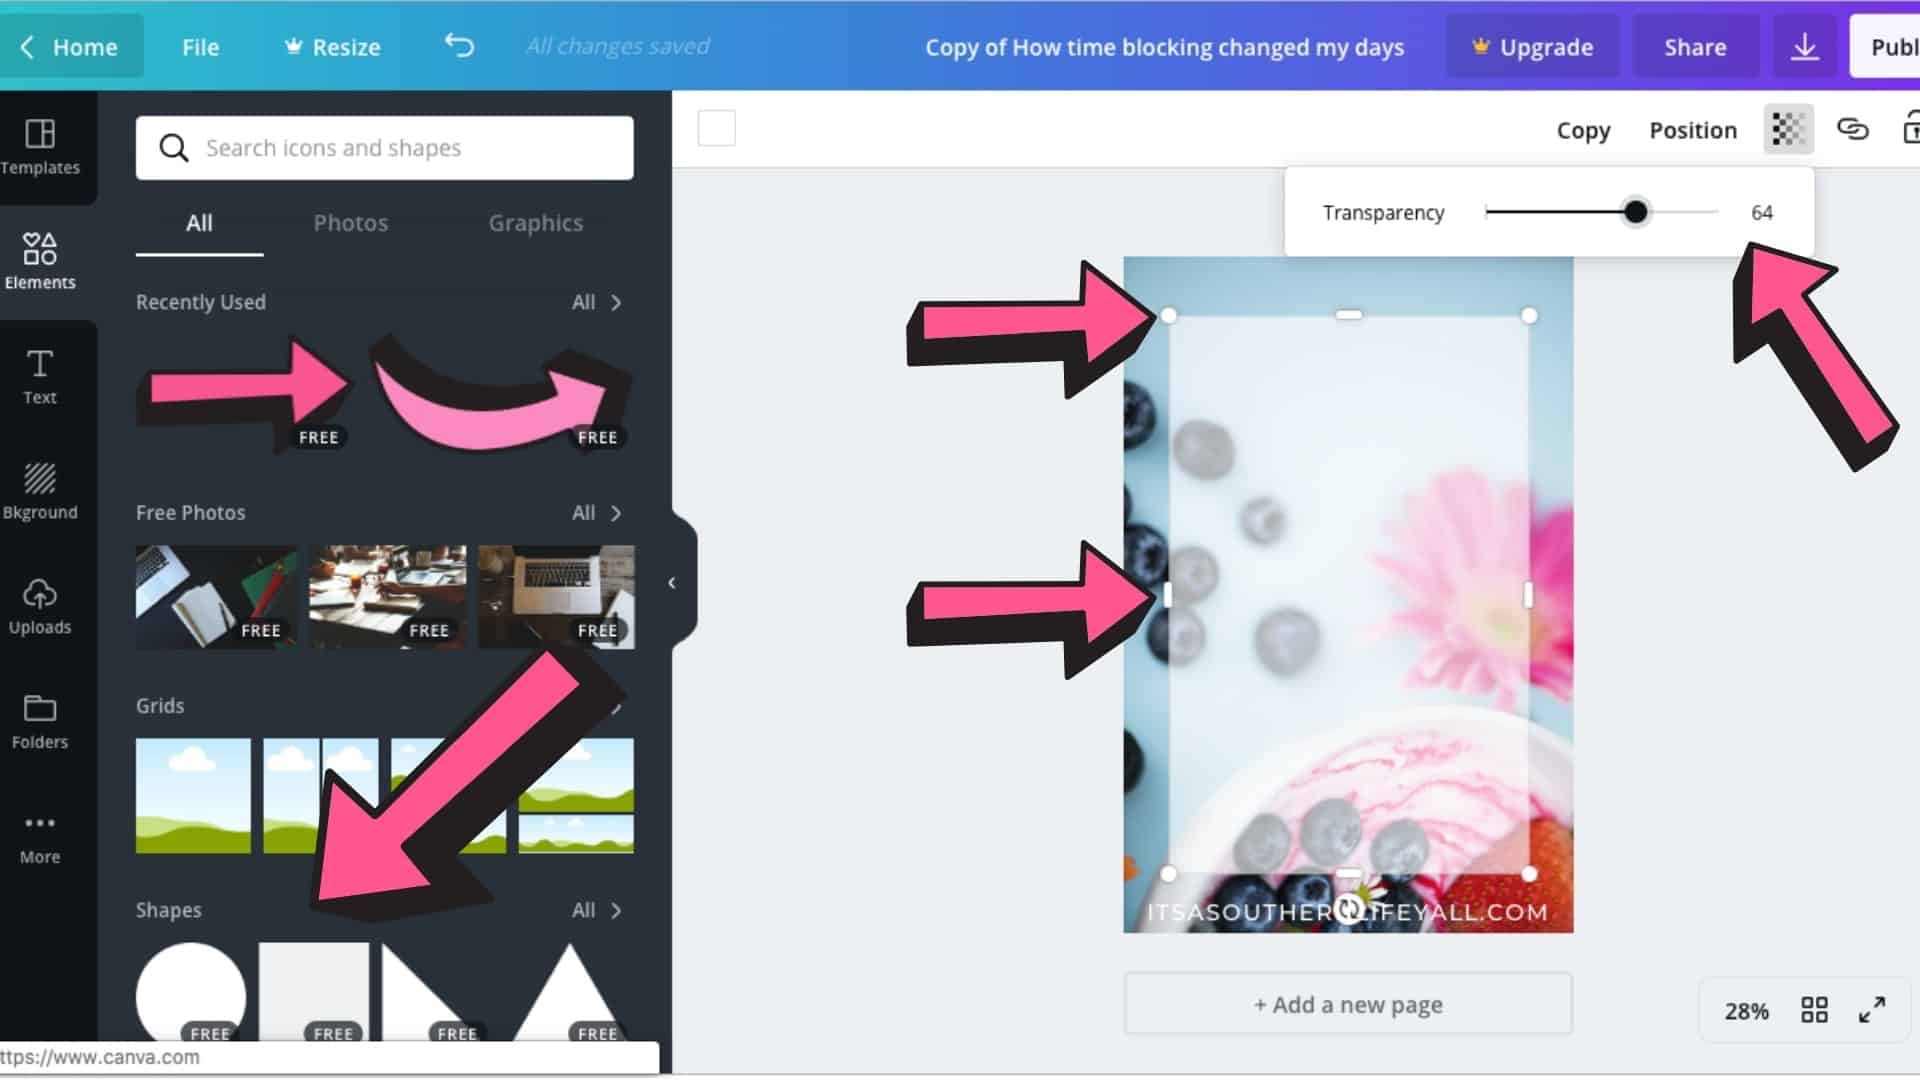
To add overlay or not to add overlay
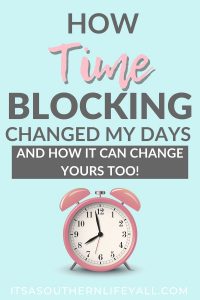
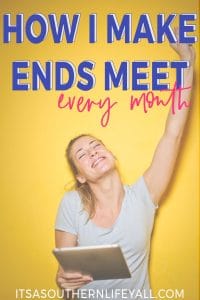
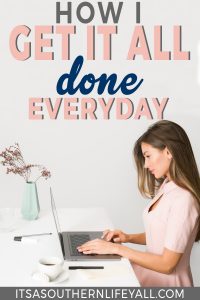
Adding an overlay on top of your image can help with readability. But there are times you don’t need an overlay (see the images below).
The addition of an overlay is simple in Canva. The steps are laid out for you in the video (above) around the 7:20 mark.
To add an overlay, simply go to shapes and choose the square shape. You can pull the square over the full image or position the square anywhere within the borders of the images. Resize and reshape the square using the side and diagonal handles on the shape. Adjust your transparency as needed or wanted.
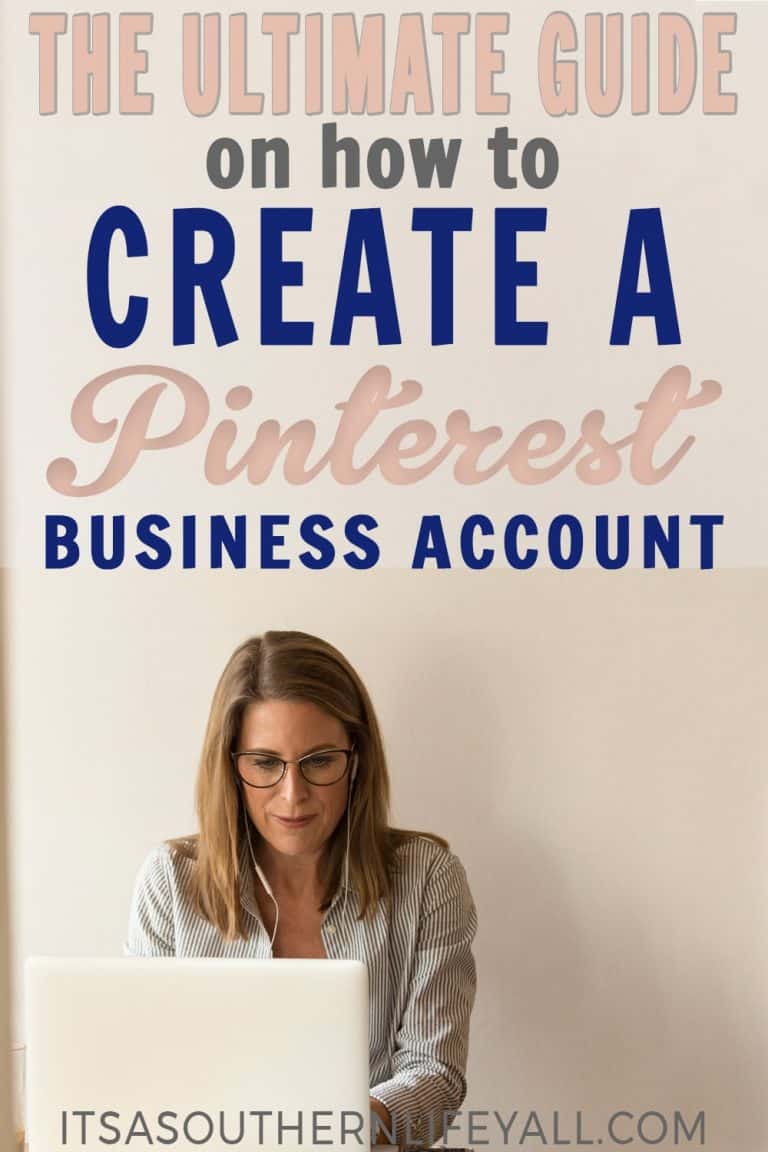
Choosing your fonts and color scheme
The free version of Canva offers a large selection of fonts for you to choose from. But if you have specific fonts you use for your brand, you can easily add them if you upgrade your Canva account to Canva Work. I am personally fine with using what is available in the free version of Canva.
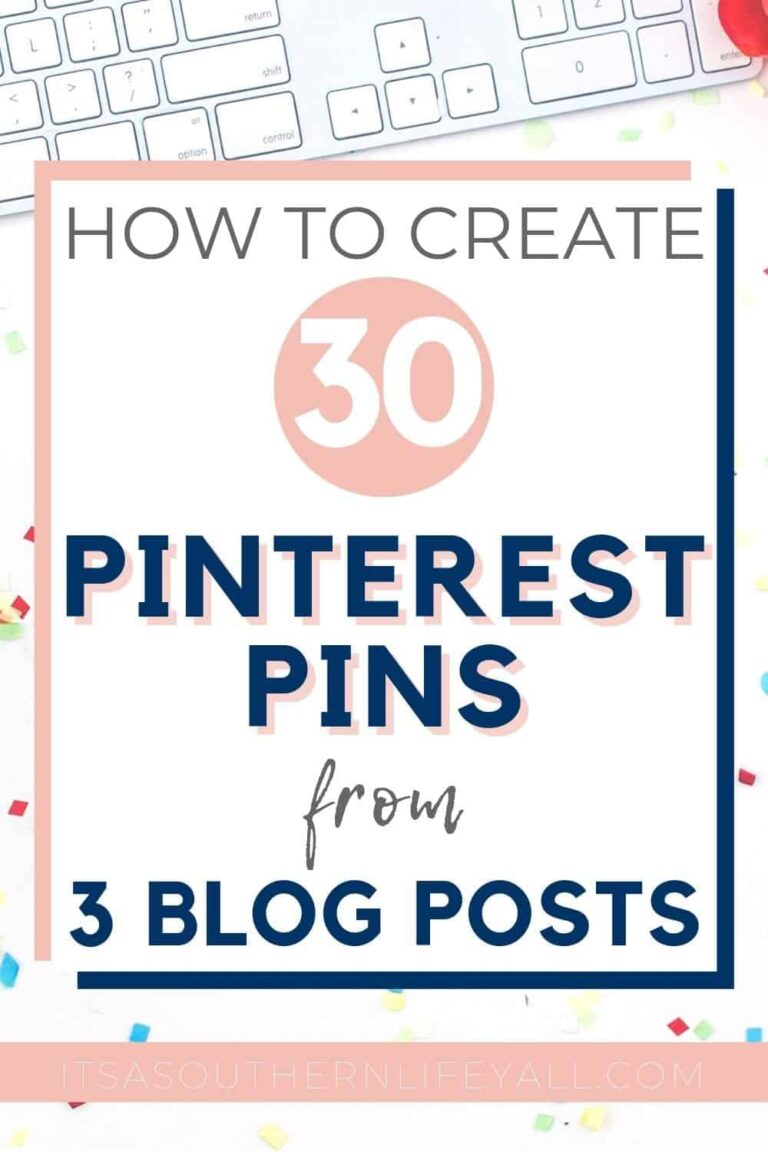
Although there are tons of font combinations you can make, I strongly suggest using no more than 2 or 3 font choices in your pins. Generally, I choose one font that has several bold options and an accent font. Busy pins are hard to read and will have readers running instead of clicking to read more.
Remember the old rule of less is more when creating your pins.
It’s the same with colors. I feel it is important to have branded colors but I also feel you should change things up from time to time. I love using the Adobe Color Wheel to help me find complementary colors for my pins.
Don’t forget your branding
Be sure to add your logo and/or your URL to every pin.
If you are looking for a solid pinning strategy, I highly recommend Pinteresting Strategies. This is the strategy that exploded my traffic and helps me reach up to 4,000 pageviews a day. CLICK HERE to learn more!
Did you find this post helpful? Do you have more questions about Canva? I would love to hear from you in the comments below.

I needed this…thank you!!!
Lots of helpful tips. I use Canva but didn’t know how to make the overlay. I will definitely put this to use.
Great information, thank you! I love Canva, but there’s a lot here I didn’t know. Killer pins, here I come… I hope!
I’m so happy you found this information useful!
I’m so glad I could help. If there is anything else you want to learn about Canva, just send me an email.
You can do it!
Great advice, Jada.
My additional takeout was the last free pictures site. I’ll try it.
Question:
Is there a way to add a shadow to the font in Canva?
I see you using it, but my guess is it’s done in Photoshop
The shadow on the font was created in Canva and is a lesson in my course, Design like a Pro with Canva. I actually teach more than one way to create a shadow with Canva along with many other tips to make your Canva designs not look like Canva.
This was so useful – especially the tip about pressing T to get a text box! Thank you for sharing
Hi. I just finished your Canva course and it was exactly what I needed. It was to the point, practical, yet full of amazing ideas! The trick with the letters blew me away! Thank you for putting it together.
You’re welcome!
I’m so happy you found the post useful!